Why Do We Need to Compare and Merge Workbooks?
Take a look at the following dataset:
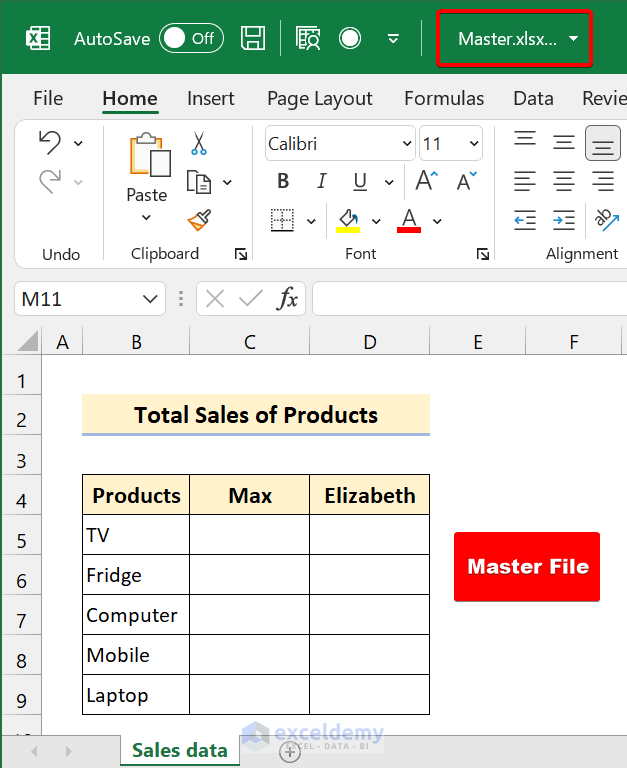
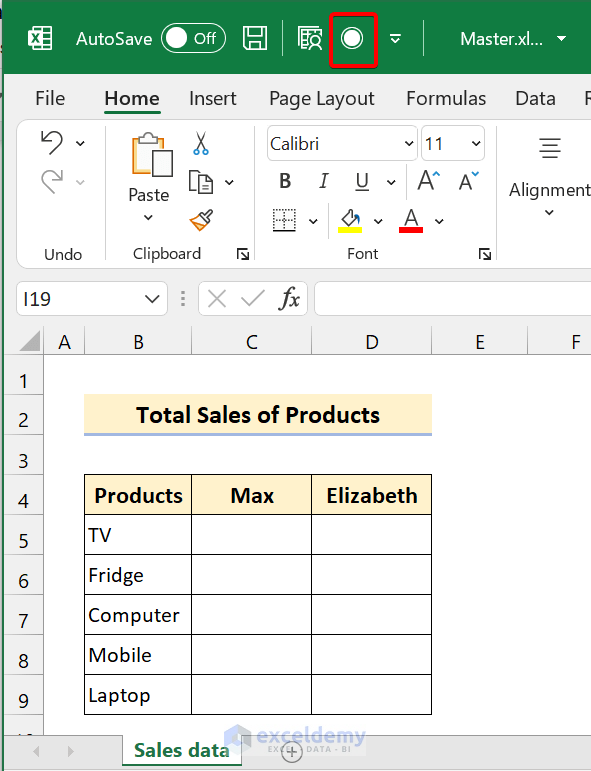
This is the Master file. Or you can see the main file. We have a workbook that will include the sales amount.
We have two salespersons, Max and Elizabeth.
We shared the file among them. This is the workbook of Max:
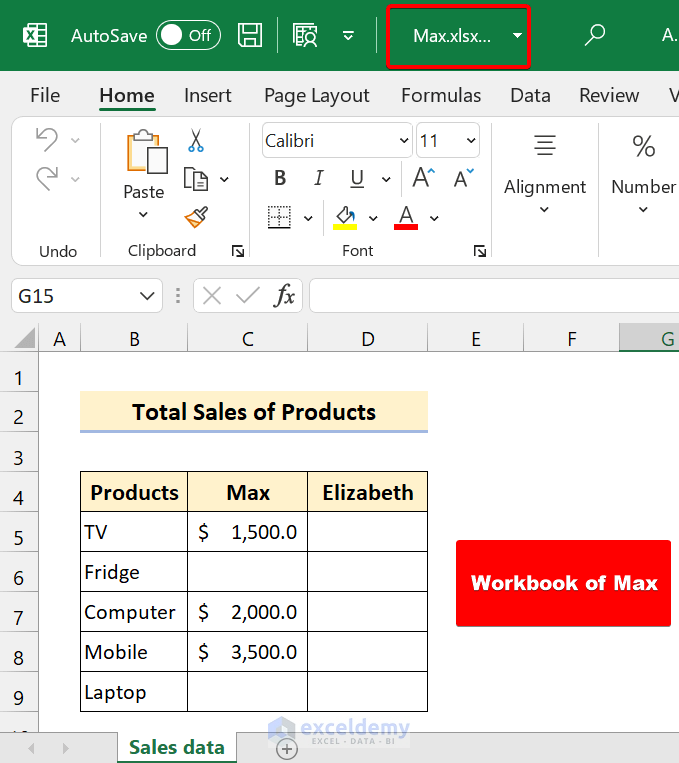
As you can see, Max has given some data in his workbook.
On the other hand, this is the workbook of Elizabeth:
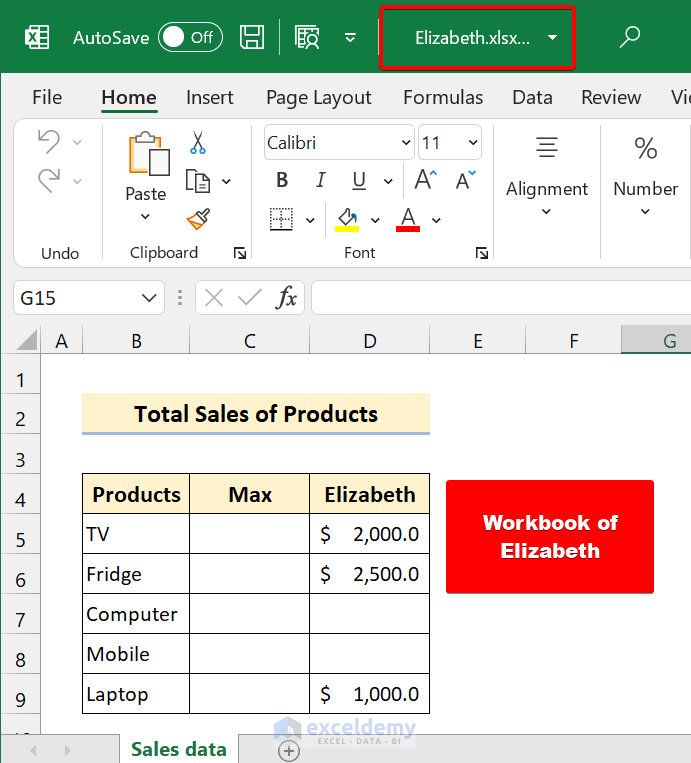
Elizabeth also has given input in her workbook.
When we merge the workbooks, it will give us the following output:
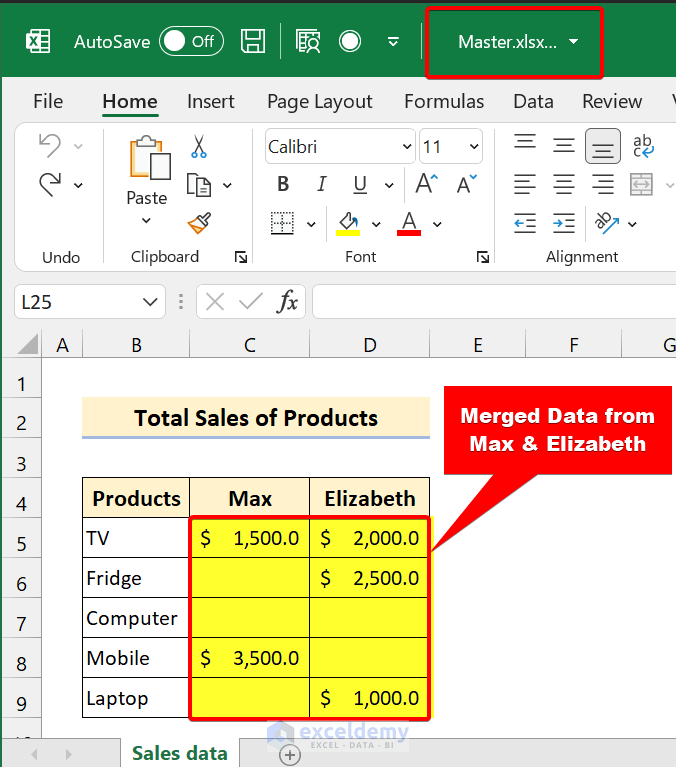
We have merged the two workbooks. You can compare these two workbooks in the master workbook in Excel.
How to Compare and Merge Excel Workbooks – 3 Steps
We are using this master dataset:
Step 1 – Share the Workbooks in Excel
Remember, compare and merge workbooks in Excel only work for shared workbooks. So, it is quite essential to share the workbook first so that you can merge it later.
Now, you can find the Share Workbook option in the Review tab. But, most of the time, this button is hidden. So, we will add this button to the Quick Access Toolbar.
Steps
- Click on File.
- Click Options (If you are seeing More, click More then go to Options).
- Select Quick Access Toolbar from Excel Options.
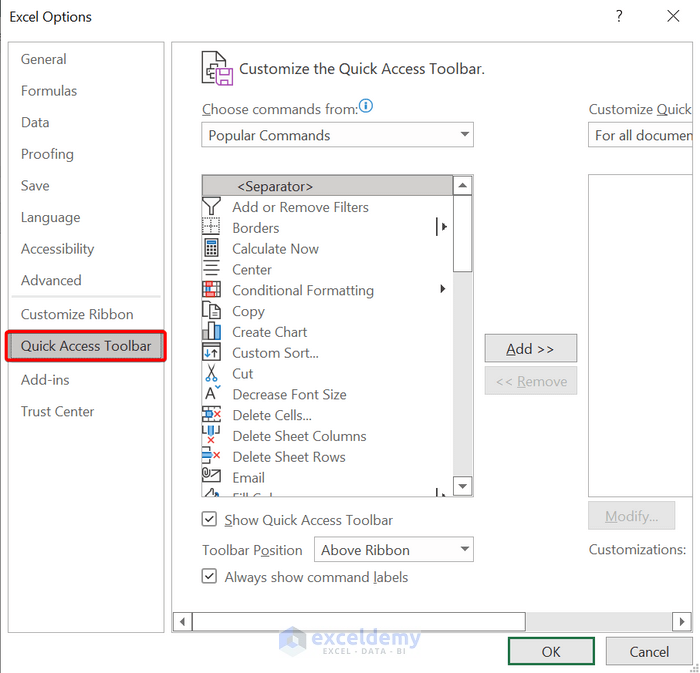
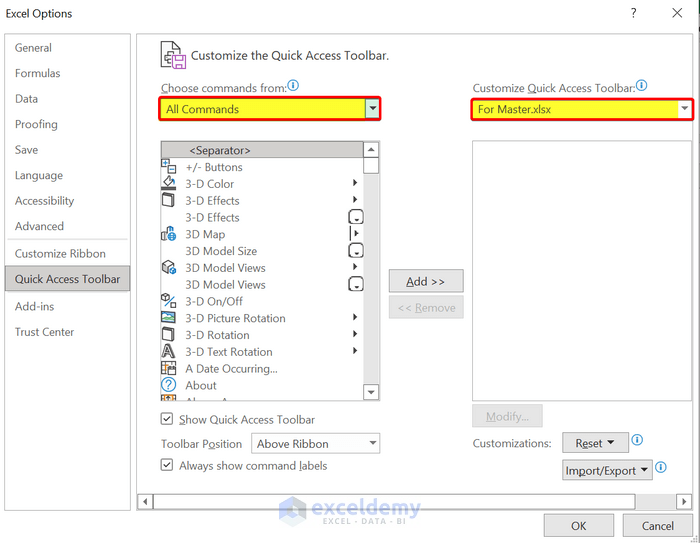
- From the Choose commands from dropdown menu, select All Commands.
- From the Customize Quick Acess Toolbar dropdown, select Master.
- Select Share Workbook (Legacy) from All Commands. Click on Add.
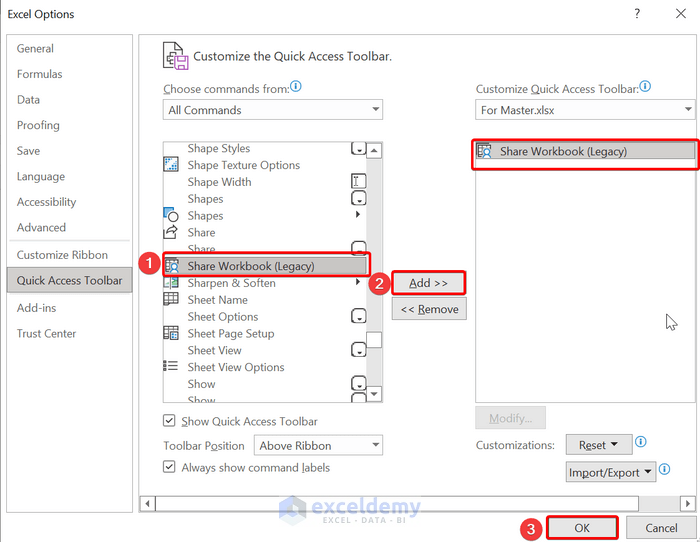
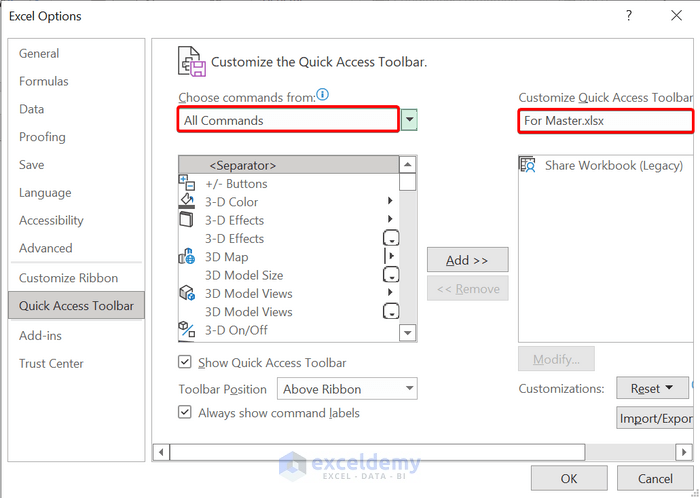
- Click on OK. You can now see the Share option in the Quick Access Toolbar.

- Click on Share.
- Mark the checkbox and click on OK.

Step 2 – Enable the Compare and Merge Workbooks Command in the Quick Access Toolbar
Steps
- Click on File.
- Click Options (If you are seeing More, click More > Options).
- Select Quick Access Toolbar from Excel Options.
- From the Choose commands from dropdown menu, select All Commands.
- From the Customize Quick Access Toolbar dropdown, select Master.
- Select Compare and Merge Workbooks from All Commands.
- Click on Add.

- Click on OK. You can see the Share option in the Quick Access Toolbar.
Step 3 – Merge and Compare Workbooks in Excel
Let’s see the other workbooks that we will merge.
This is the workbook of Max that we saved as Max.xlsx:
Max has given his input into the workbook.
This is the workbook of Elizabeth which is saved as Elizabeth.xlsx:
Steps
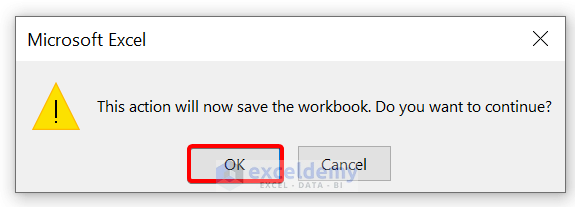
- Click on the Compare and Merge Workbooks button in the Quick Access toolbar.
- Click on OK.
- Select Max.xlsx and Elizabeth.xlsx.
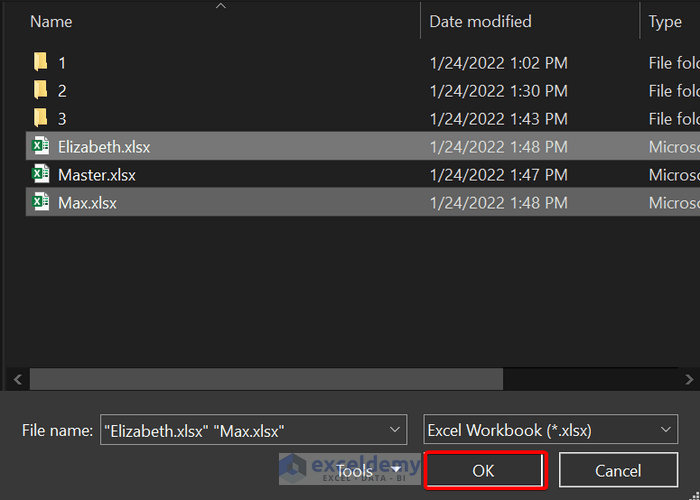
- Click on OK.
Things to Remember
- You can’t perform this if you haven’t shared your Excel workbook.
- The workbooks must be saved in the same folder as the Master workbook.
- You must save the workbooks with different names.
Download the Practice Workbooks
<< Go Back To Merge Excel File | Merge in Excel | Learn Excel
Get FREE Advanced Excel Exercises with Solutions!
