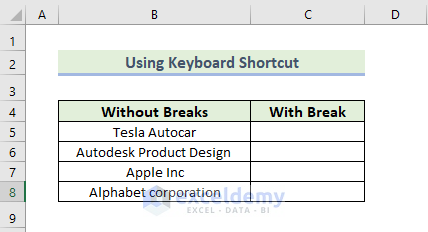
Solution 1 – Applying Keyboard Shortcuts
This method only works in a single cell, so you need to repeat the steps for every cell.
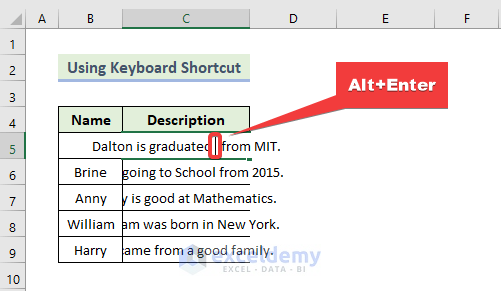
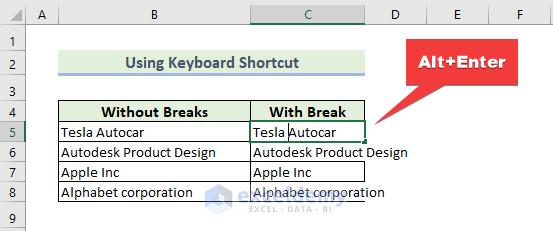
Case 1.1 – Using Right Alt + Enter
The column C has values that don’t fit.

Steps:
- To get into any cell, double-click on it or press F2.
- Place your mouse cursor in the position where a line break needs to be added.
- Press Alt + Enter.
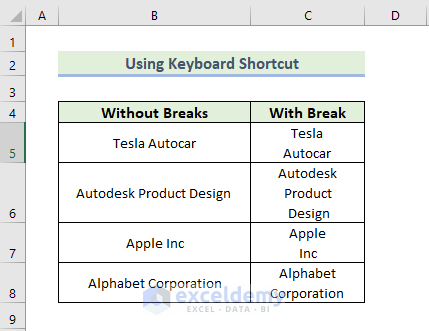
- Repeat for the other cells.

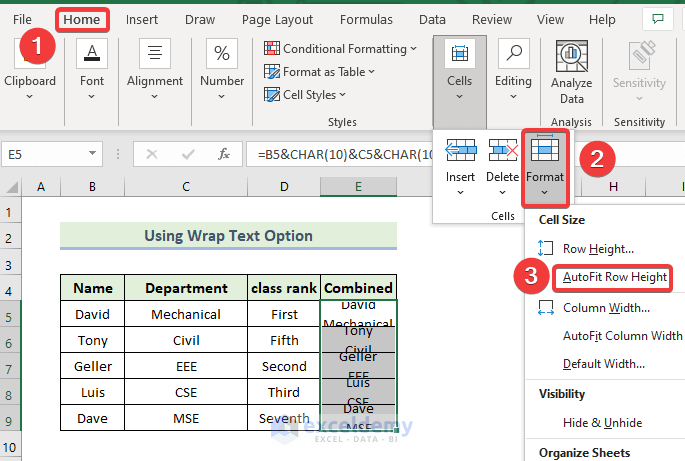
- Select the range of the cells C5:C9. Go to the Home tab, select Format, and select AutoFit Row Height.
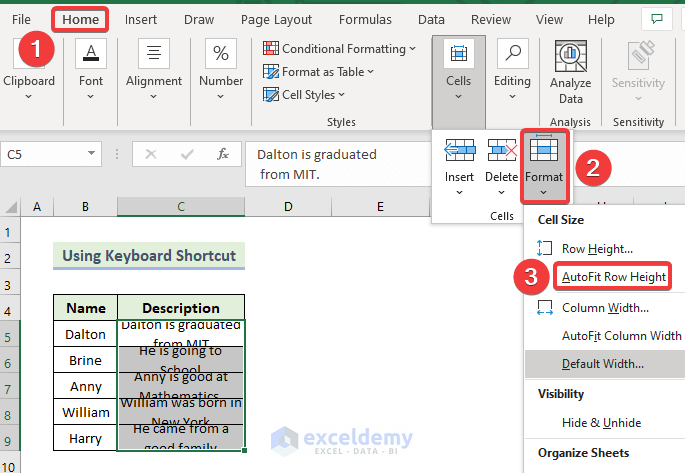
You’ll get a line break in an Excel cell as shown below.

Case 1.2 – Applying Windows + Alt + Enter
- Click on cell C5 and press Windows + Alt + Enter.
- Repeat for all cells.
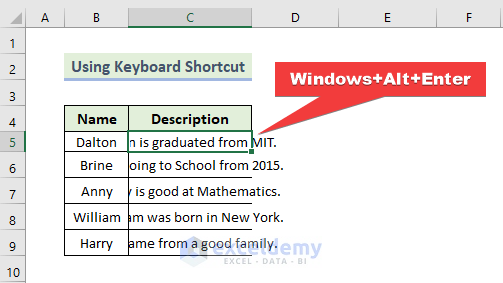
Here’s the result.

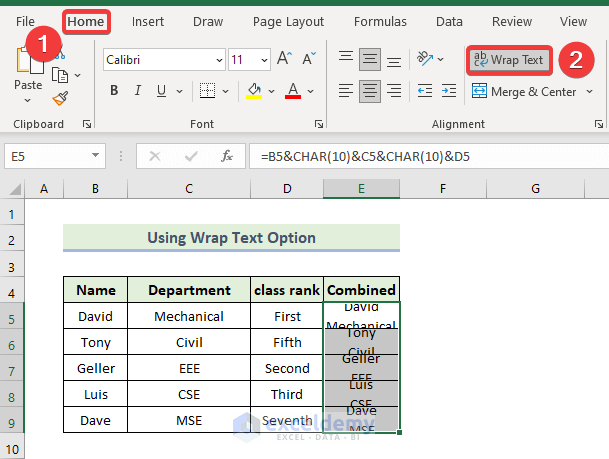
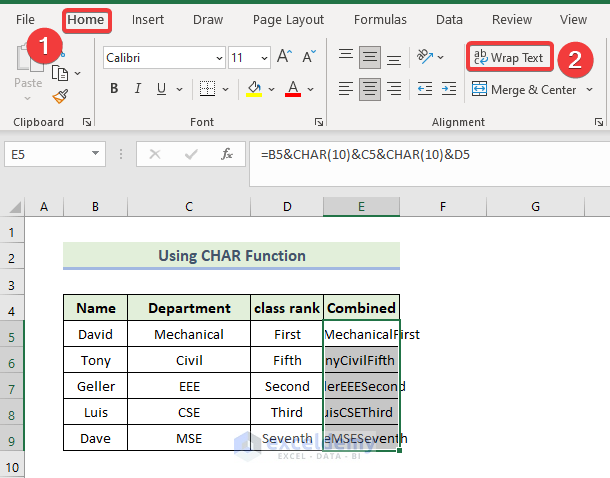
Solution 2 – Utilizing the Wrap Text Command
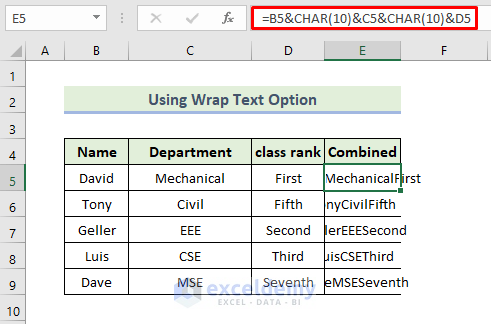
We have a dataset that used the CHAR function to combine the strings of columns B, C, and D. We want to show a line break in column E.
Steps:
- Select the range of the cells E5:E9.
- Go to the Home tab and select the Wrap Text option.
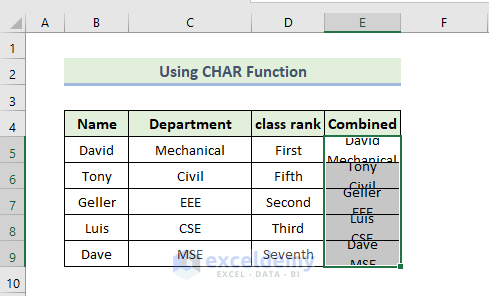
- You will get the following output.
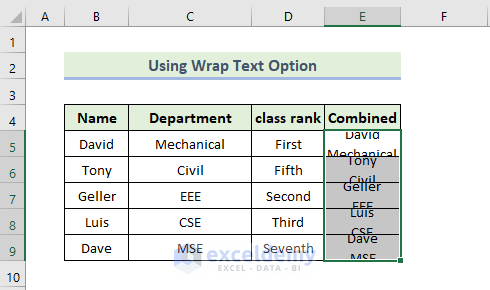
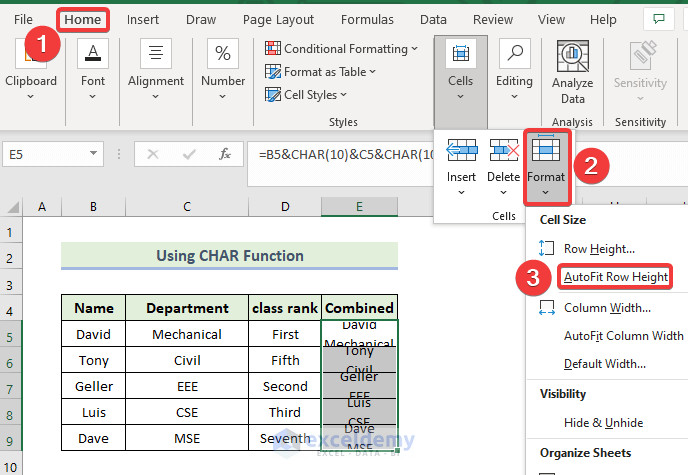
- Go to the Home tab, select Format, then select AutoFit Row Height.
Here’s the result.

How to Insert a Line Break Properly in a Cell
Method 1 – Insert a Line Break Using a Keyboard Shortcut
We will use the Alt + Enter key from the keyboard.
Steps:
- Copy the range of cells B5:B8 and paste them into the range of cells C5:C8.
- To get into any cell, double-click on it or press F2.
- Place your mouse cursor in the position where a line break needs to be added.
- Press Alt + Enter.
- Repeat for all cells.
Read More: How to Make Excel Go to Next Line Automatically
Method 2 – Using the CHAR Function to Insert a Line Break
Steps:
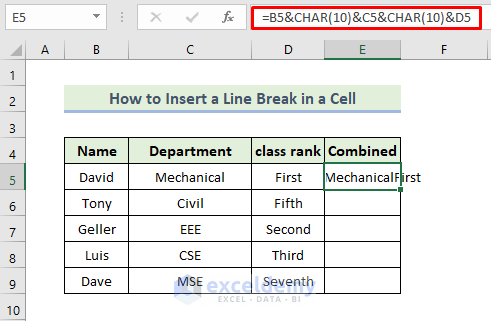
- Use the following formula in the cell E5:
=B5&CHAR(10)&C5&CHAR(10)&D5
The CHAR function returns the specified code number from the character set off the computer. This formula will combine column B, C, and D and returns the result in column E.
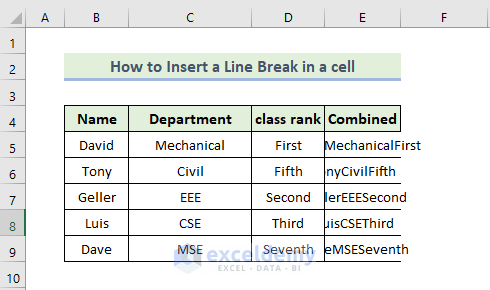
- Press Enter and drag the Fill handle icon.
- You will get the following output.
- Select the range of the cells E5:E9.
- Go to the Home tab and select the Wrap Text command.
- You will get the following output.
- Go to the Home tab, select Format, then select AutoFit Row Height.
Here’s the result.

Download the Practice Workbook
Related Articles
- How to Remove Line Breaks in Excel
- How to Replace Line Break with Comma in Excel
- Find and Replace Line Breaks in Excel
- How to Replace a Character with a Line Break in Excel
- How to Space Down in Excel
<< Go Back to Line Break in Excel | Text Formatting | Learn Excel
Get FREE Advanced Excel Exercises with Solutions!
