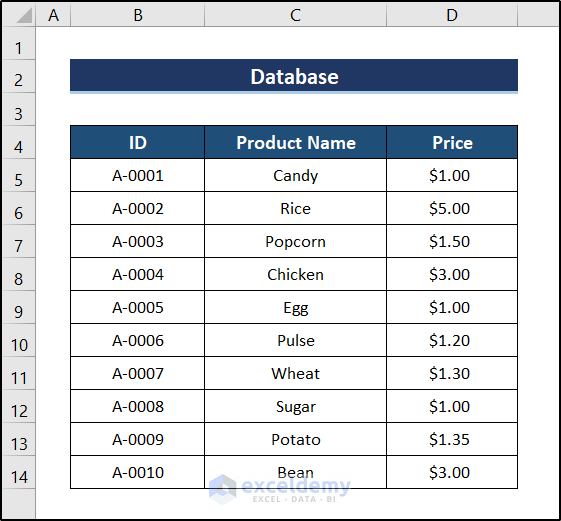
Step 1 – Create a Database
This is a sample database.
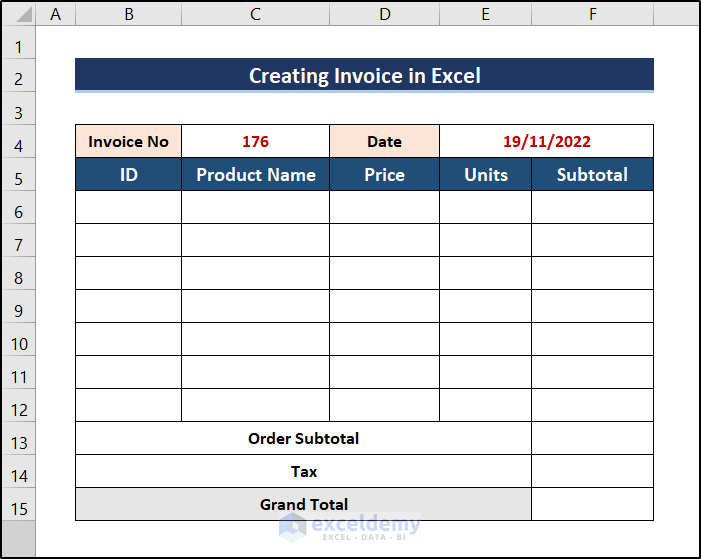
Step 2 – Create an Invoice Template
- Select the following template:
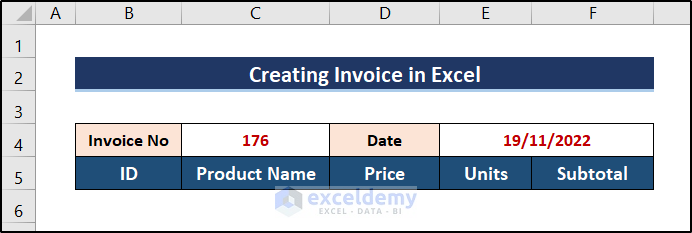
- Leave cells for total orders with tax calculations.
- Keep slots for template creation.
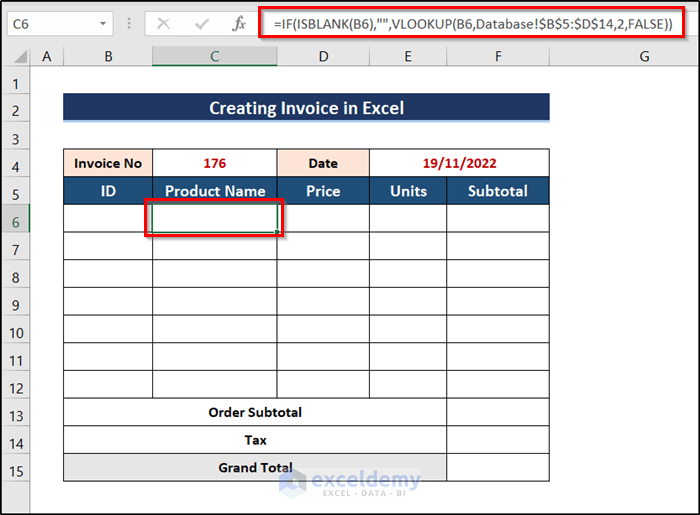
Step 3 – Enter Data to Create an Invoice
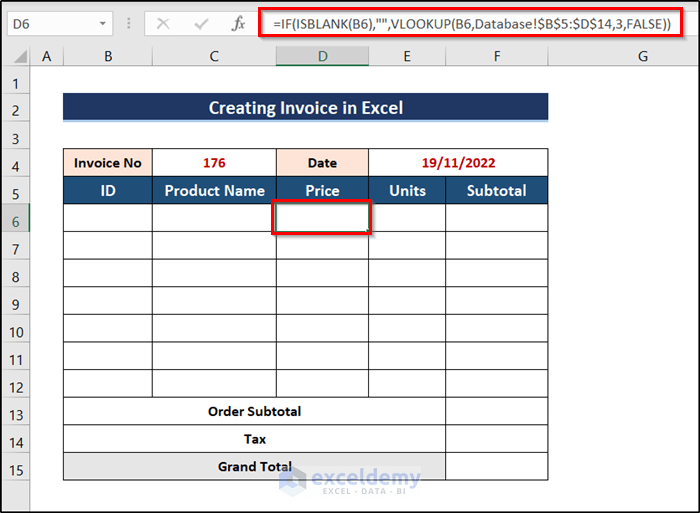
- Select C6 and enter the following formula:
=IF(ISBLANK(B6),"",VLOOKUP(B6,Database!$B$5:$D$14,2,FALSE))
- Press Enter.
- Select D6 and enter the following formula:
=IF(ISBLANK(B6),"",VLOOKUP(B6,Database!$B$5:$D$14,3,FALSE))
- Press Enter.
Formula Breakdown
- VLOOKUP(B6,Database!$B$5:$D$14,2,FALSE) searches for B6 in B5:D14 in the sheet “Database” and shows the output from the 2nd column of the range where the exact match occurs.
- ISBLANK(B6) checks if B6 is blank and returns a boolean value.
- IF(ISBLANK(B6),””,VLOOKUP(B6,Database!$B$5:$D$14,2,FALSE)) checks if the ISBLANK function returns TRUE. If it does, it returns an empty string. Otherwise, it proceeds with the VLOOKUP portion of the formula.
- To test the values and check if the formulas are working, enter a value in B6 matching an ID from the database.
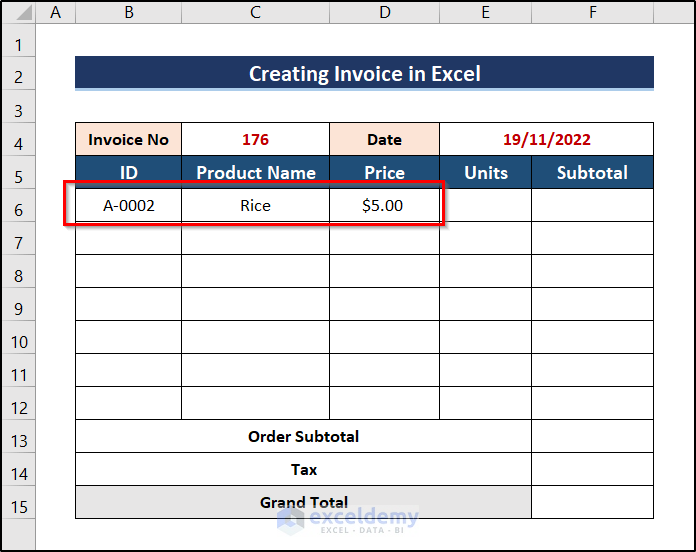
This is the output.
Step 4 – Perform Calculations
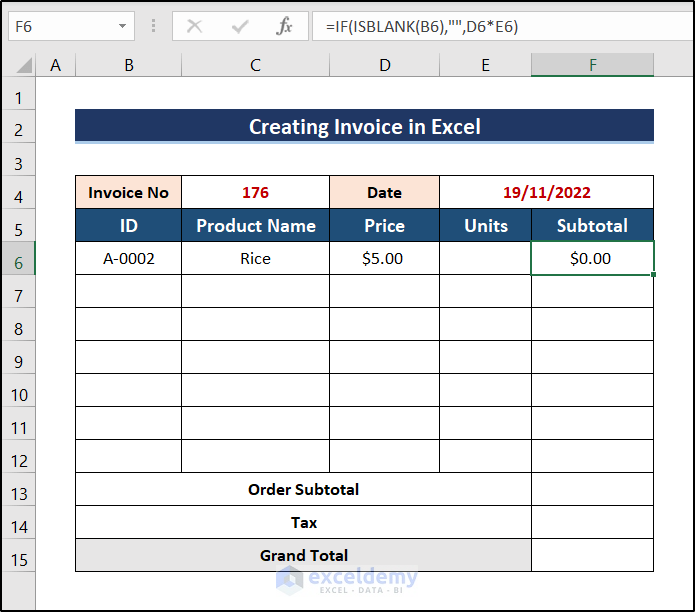
- Select F6 and enter the following formula.
=IF(ISBLANK(B6),"",D6*E6)
- Press Enter.
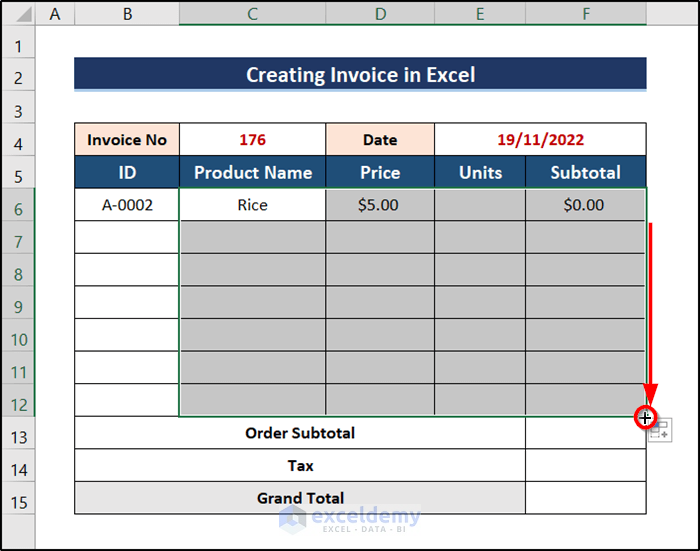
- Select C6:F6 and drag the fill handle down.
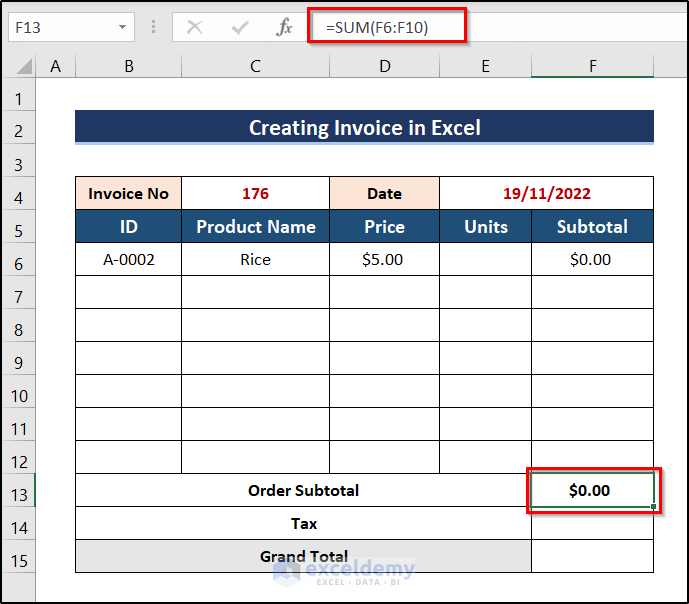
- Select F13 and use the following formula.
=SUM(F6:F12)
- Press Enter.
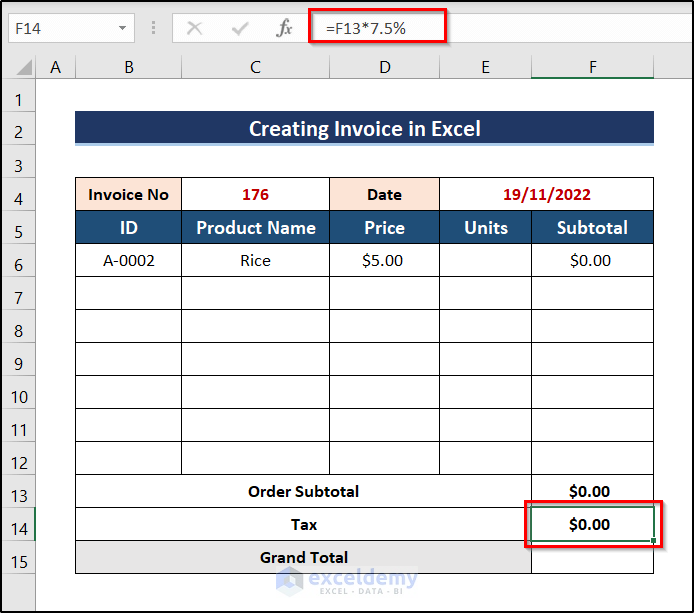
- Inl F14, use the following formula.
=F13*7.5%
- Press Enter.
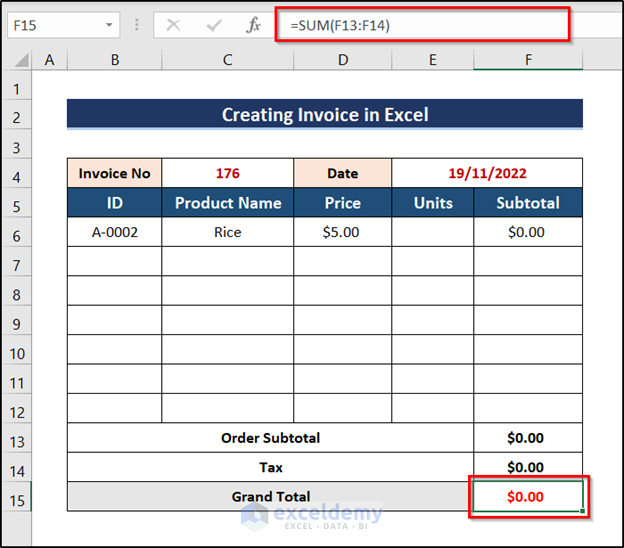
- Enter the following formula in F15 for the “Grand Total” calculation.
=SUM(F13:F14)
- Press Enter.
The invoice template is complete. Test it by inserting a sample unit for the first product.
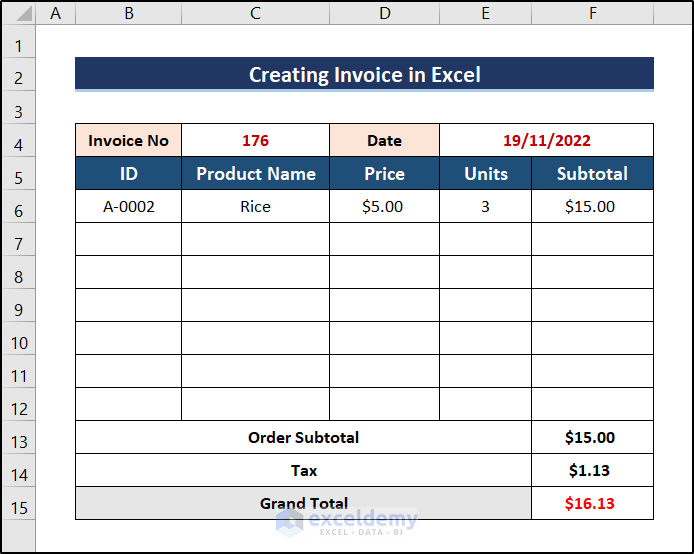
This is the output.
Step 5 – Final Output
Enter product IDs in the “ID” column and ordered units.
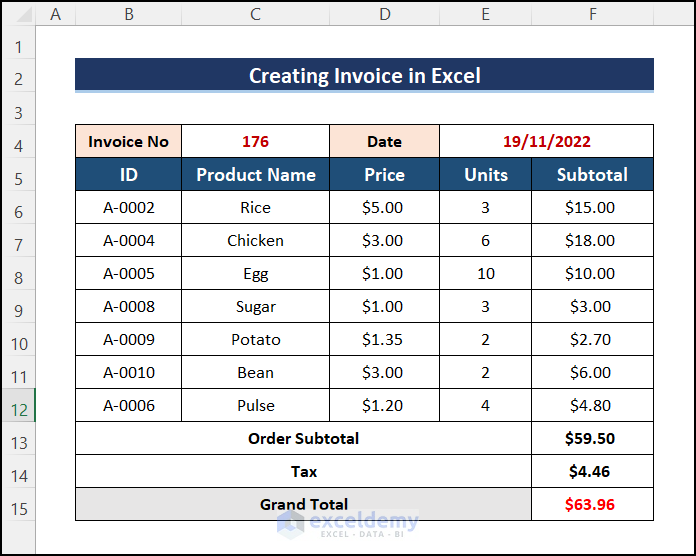
This is the final output.
Download Practice Workbook
Download the workbook.
Related Articles
- How to Create a Cash Book in Excel
- How to Do Bookkeeping for Small Business in Excel
- Excel Test for Accounting Interview
- Advanced Excel Test
- How to Create an Order Form in Excel
<< Go Back to Excel for Accounting | Learn Excel
Get FREE Advanced Excel Exercises with Solutions!
