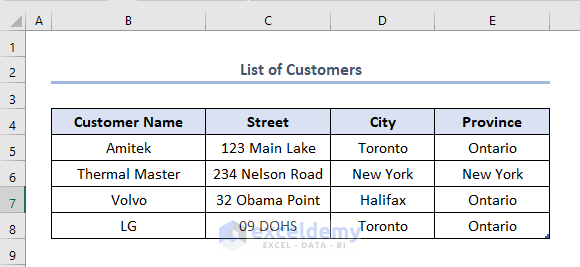
Step 1. Making a Customer List Table
In the following dataset, List of Customers, there are column headers Customer Name, Street, City, and Province. Every customer has a detailed address, which we will try to input in the order form.
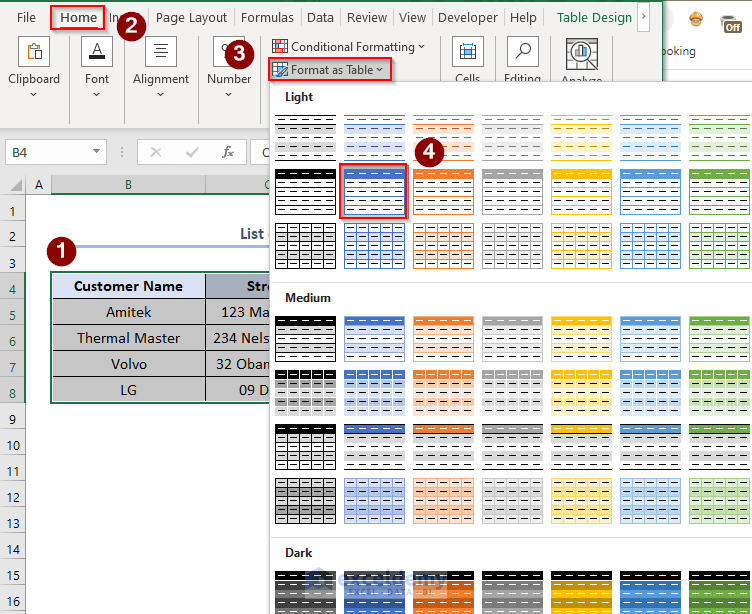
- Select the cells.
- Go to Home
- Choose Format as Table > pick any format from the options. In this case, it is Light Blue type.
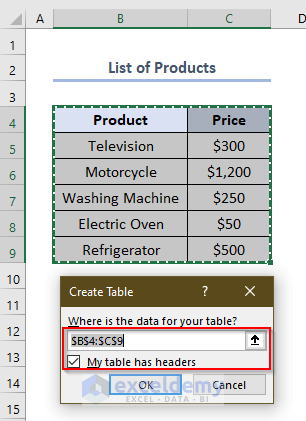
- A Create Table window will appear.
- Make sure that the table range is our selected cells and My table has headers ticked.
- Click OK.

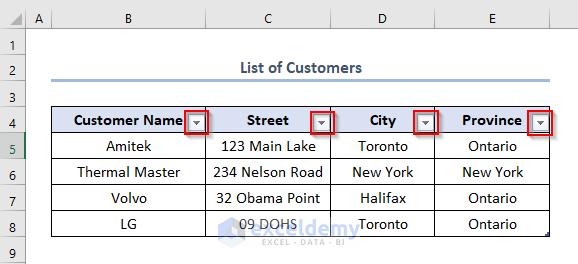
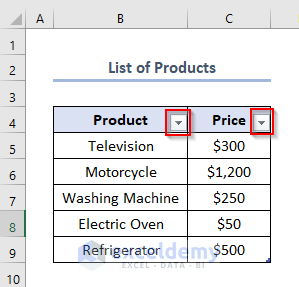
- We’ll see that the drop-down options are added to every column header.
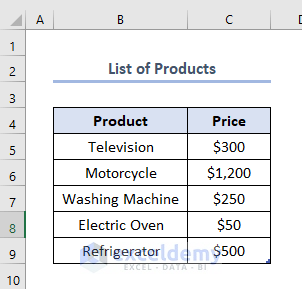
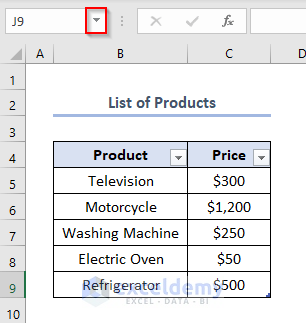
Step 2. Creating a Products List Table
We have made a list of products in the following dataset. It has column headers as Product and Price.
- Create a table following the procedures we have discussed before.
- Make sure the data range is our selected cells.
- A table will look like this.
Step 3. Naming the Products List and Customers List
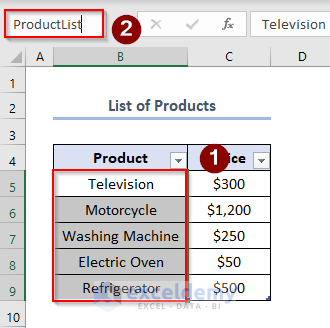
- Select the cells B5:B9 (without the column header)
- Click the box just left of the function box and give a name there. In this case, it is ProductList.
- Press ENTER.
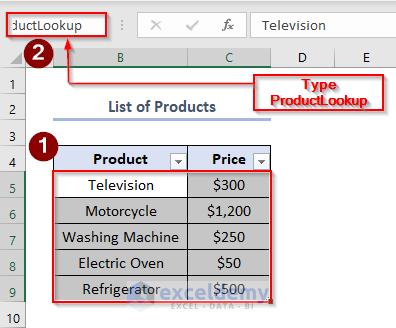
Give a name to the whole dataset of the List of Products.
- Select the cells of B5:C9.
- Give a name like ProductLookup.
- Press ENTER.
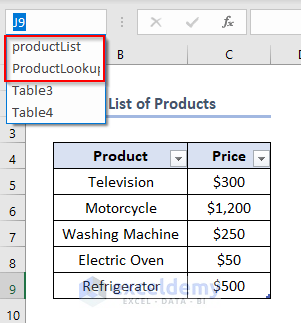
- If we want to check the name, click the drop-down button shown in the figure.
- We’ll see that the names are added.
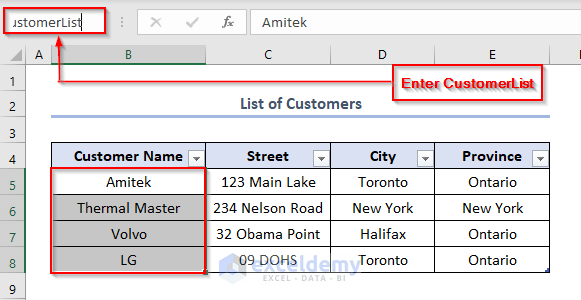
- We can add CustomerList like this.
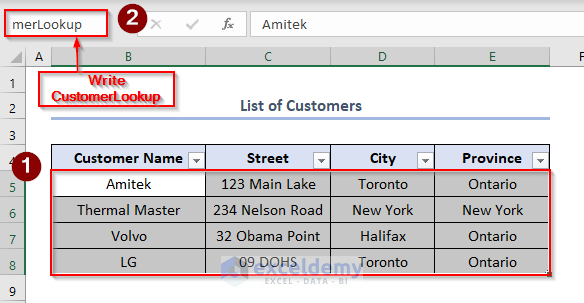
And the CustomerLookup will be like this.
Step 4. Initiating an Order Form
- Enter the Order Form in the B4 cell.
- To add a date, use the TODAY function and enter the formula in the E4:
=TODAY()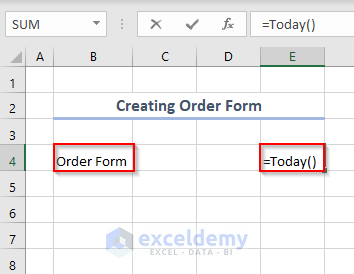
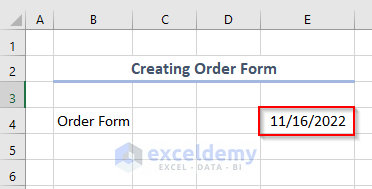
- Press ENTER and get today’s date.
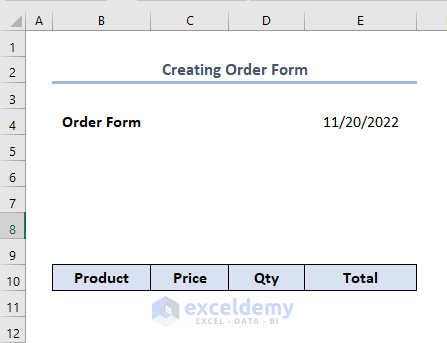
- Insert column headers, which we need for the order form.
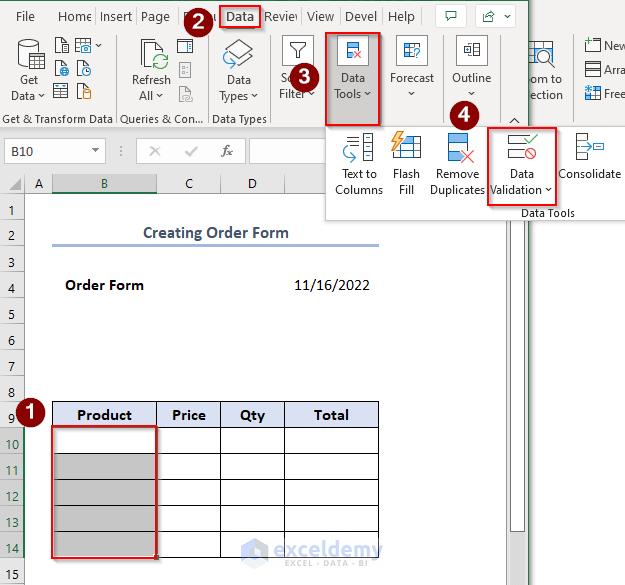
Step 5. Creating a Product Drop-Down
- Select the cells B10:B14. Here, the number of selected cells can be according to our requirements.
- Go to Data > select Data Tools > choose Data Validation.
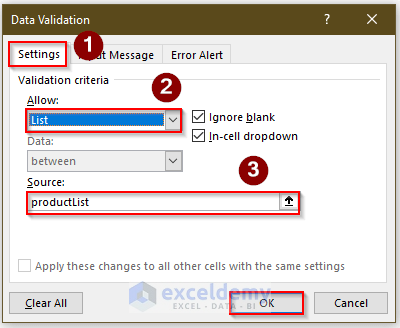
A Data Validation window will appear.
- Go to Settings > select List in the Allow box > click in the Source box and press F3.
- Select productList > click OK.
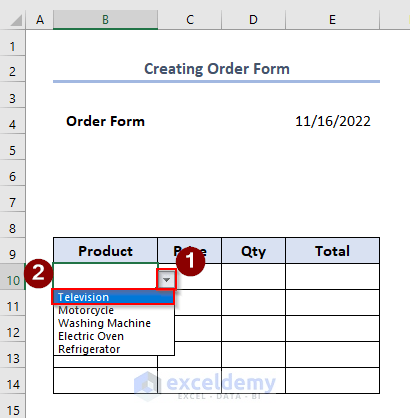
- We’ll see the drop-down bars in every selected cell of the Product column.
- If we choose an option, television, it will be added to that cell.
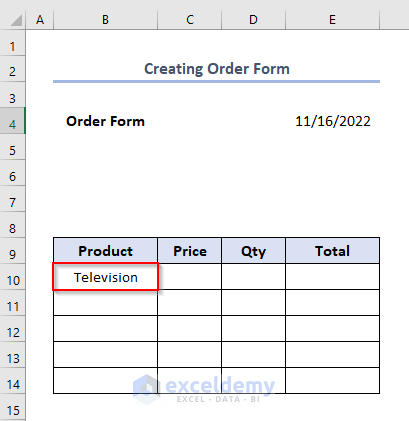
- Television is added to the selected cell.
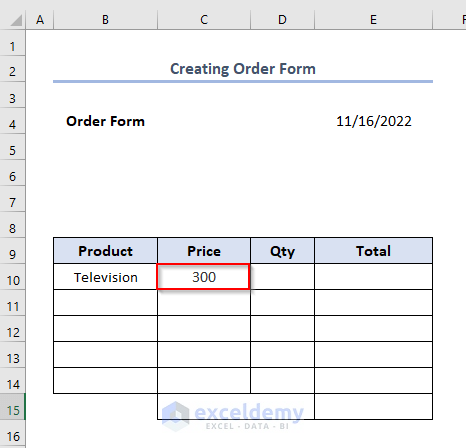
Step 6. Adding Price Lookup
Enter the formula in cell C10:
=IF(B11="","",VLOOKUP(B11,ProductLookup,2,FALSE))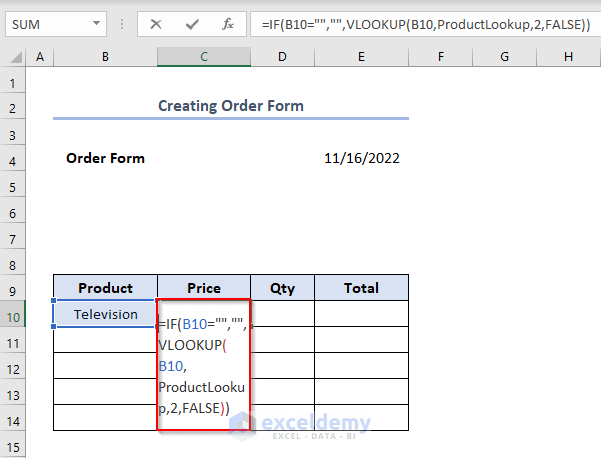
- Press ENTER to get the output. The Price of the Television will automatically be included in the C10. If we give any other item, the subsequent Price will automatically be shown in the C10 cell.
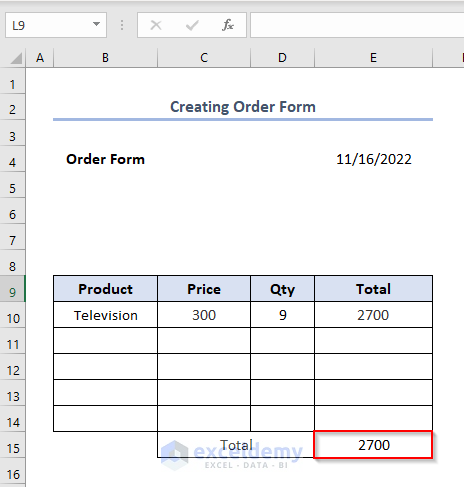
Step 7. Total the Order and Format the Form
- Enter the Quantity in cell D10 manually.
- Enter the formula in cell E10:
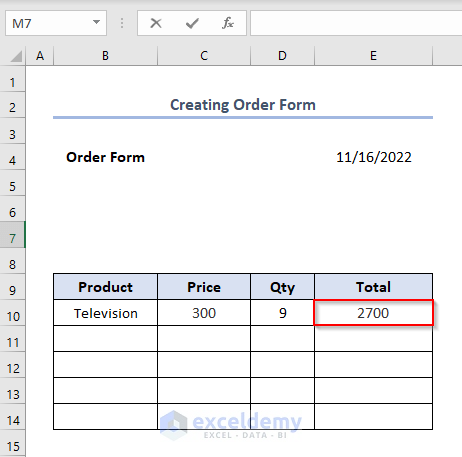
=IF(C11="","",C11*D11)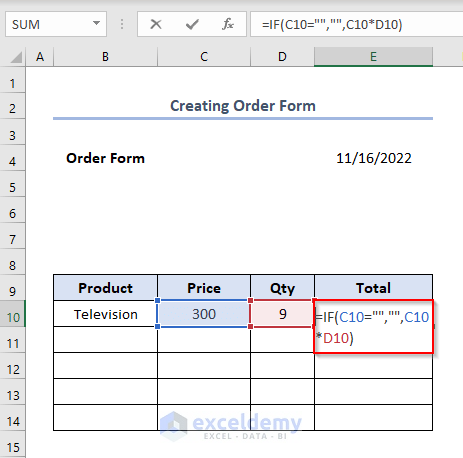
- Press ENTER to get the output as 2700.
We’ll then fill all the cells with the specific products and calculate their total price. We want to find out the Total price of all the products in the E15 cell.
- Enter the formula with the SUM function in cell E15:
=SUM(E10:E14)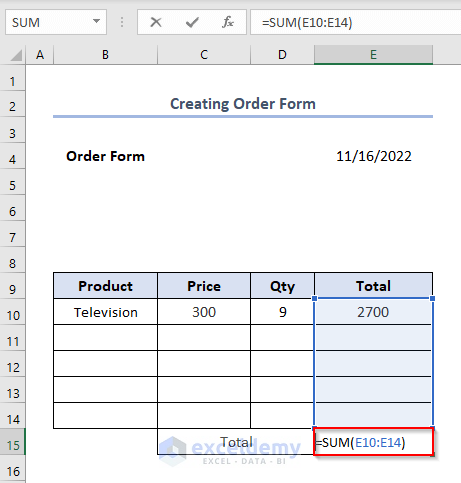
- Press ENTER to get the output.
Step 8. Creating a Customer Drop-Down and Lookup
- Enter Ship to in cell B5:
- Select the B6 cell > go to Data > choose Data Tools > click Data Validation.
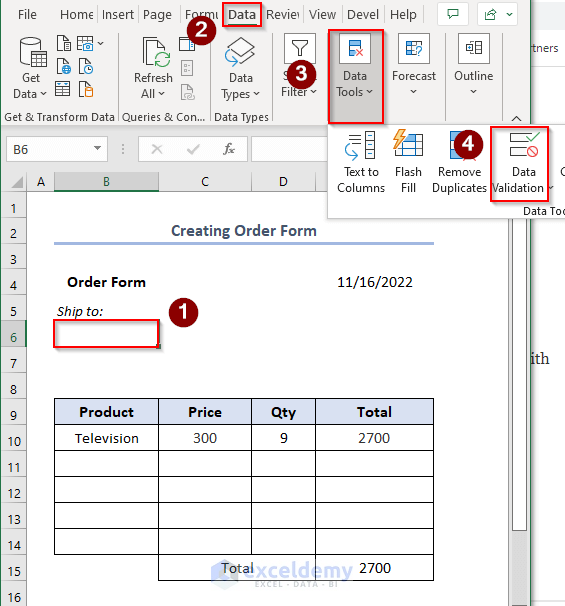
- A Data Validation window will appear.
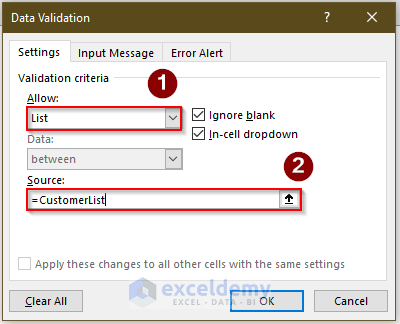
- Go to Settings > select List in the Allow box > click the Source box and press F3. it will show the options of pre-named sheets.
- Select CustomerList from the options.
- Press OK.
- The CustomerList drop-down bar will appear like this. If we select one, say, Volvo, cell B6 will fill with Volvo.
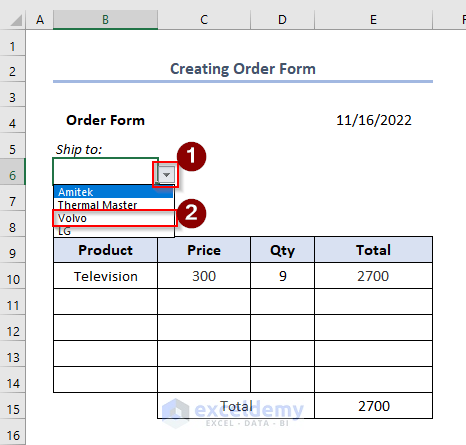
- The filling up of cell B6 is like this.

- To add the street name of the customer, enter the formula in cell G7:
=IF(B6="","",VLOOKUP(B6,CustomerLookup,2,FALSE))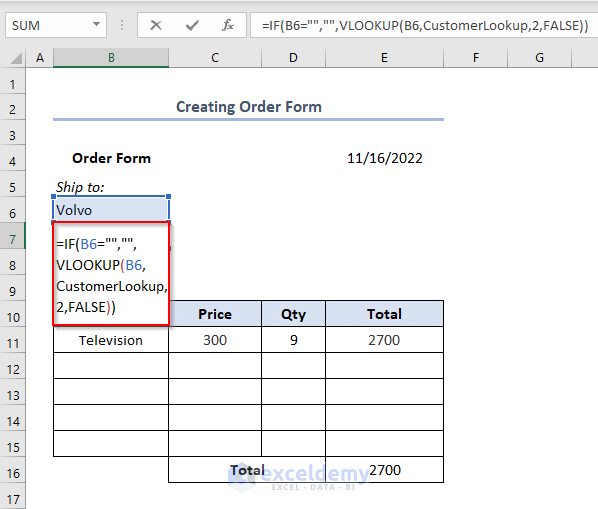
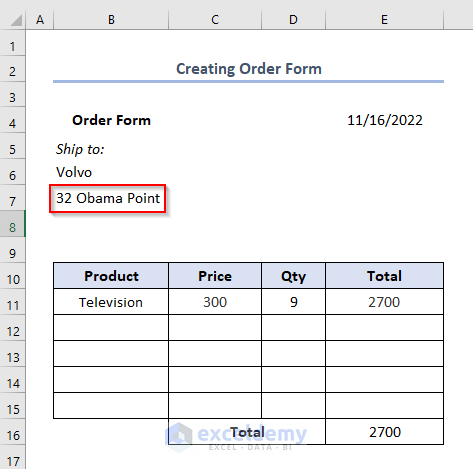
- After pressing ENTER, the street name will be added automatically.
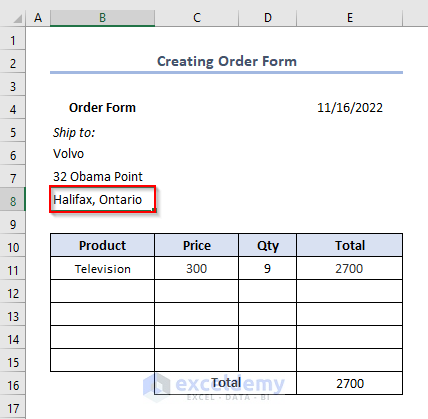
Now, we will add the state name and country name.
- Enter the formula in cell B7:
=IF(B6="","",VLOOKUP(B6,CustomerLookup,3,FALSE) & ", " &
- If we press ENTER, we’ll see the state name and country name of the selected Customer.
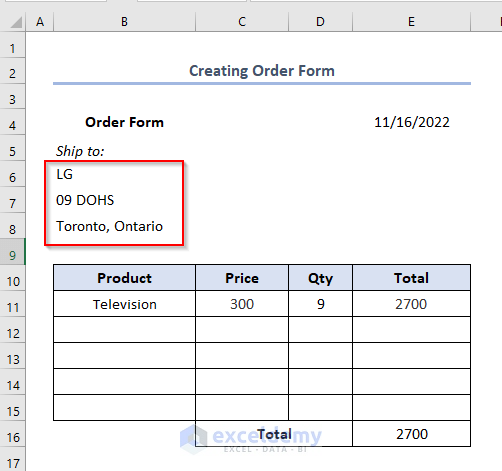
- If we change the Customer, LG, the address will be changed automatically.
- The address for LG will appear as this:
Download the Practice Workbook
Related Articles
- How to Do Bookkeeping for Small Business in Excel
- How to Create a Cash Book in Excel
- Excel Test for Accounting Interview
- Advanced Excel Test
- How to Create Invoice in Excel with Database
<< Go Back to Excel for Accounting | Learn Excel
Get FREE Advanced Excel Exercises with Solutions!
