Dataset Overview
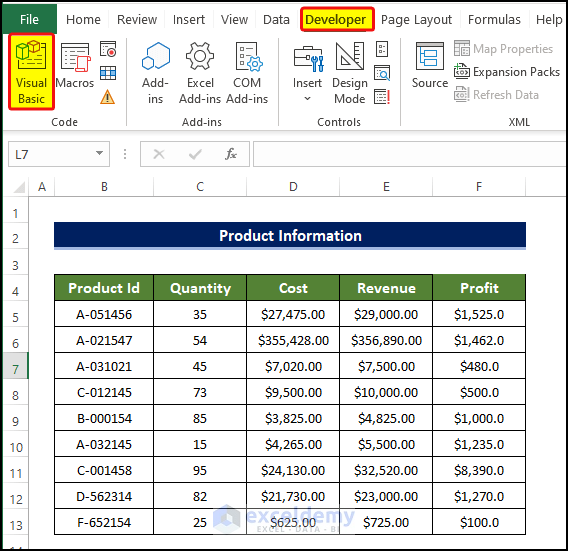
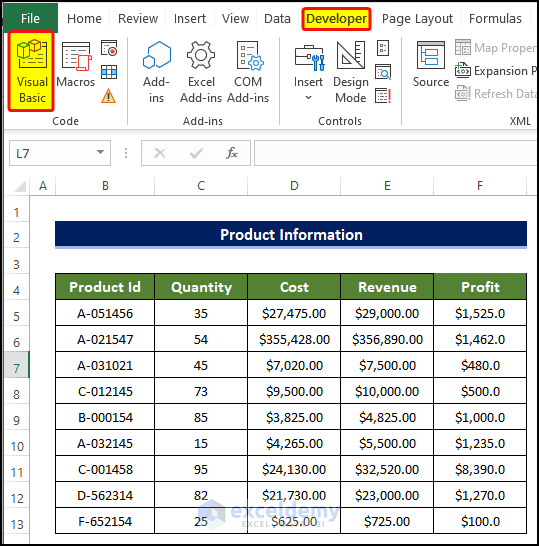
We are going to use the below dataset for demonstration purposes. We got the product information for different types of products and their cost, revenue, profit, etc. 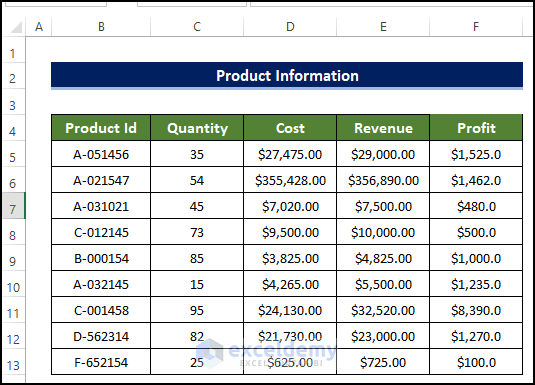
Method 1 – Directly Open Workbook as Read-Only
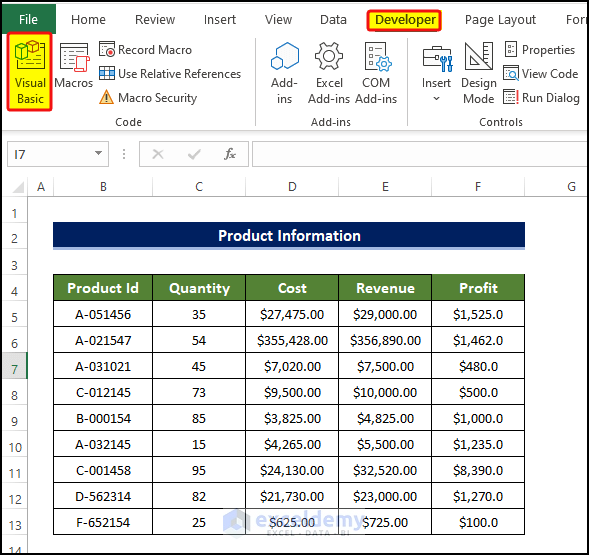
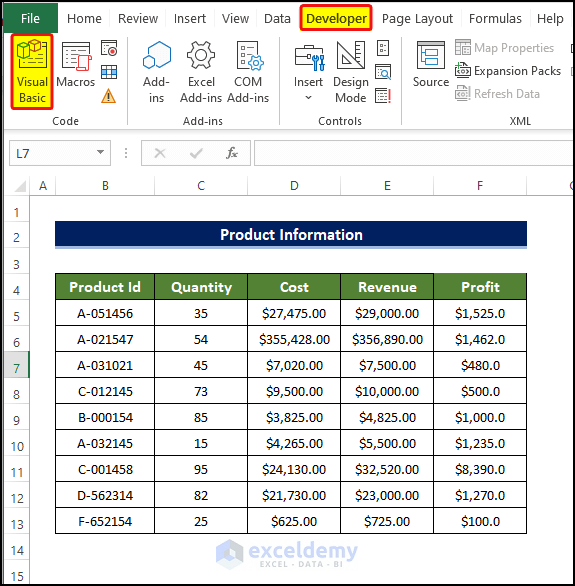
- Go to the Developer tab and click on Visual Basic. If you don’t see the Developer tab, enable it or press Alt+F11.
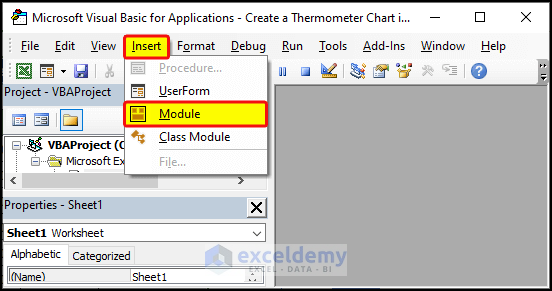
- In the Visual Basic Editor, click Insert and select Module.
- In the Module editor window, enter the following code:
Sub File_Open_Directly()
Dim wrkbk As Workbook
Dim filepath As String
filepath = "C:\Users\USER\Desktop\VBA Code"
Set wrkbk = Workbooks.Open(Filename:=filepath, ReadOnly:=True)
End Sub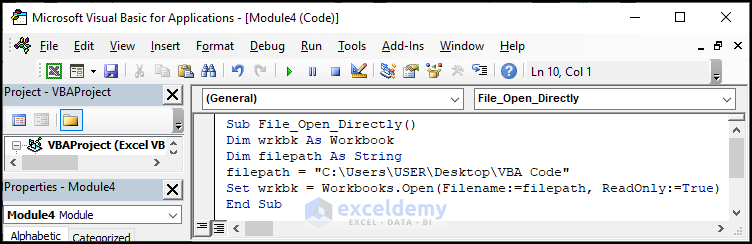
- Close the Module window.
- Go to the View tab > Macros.
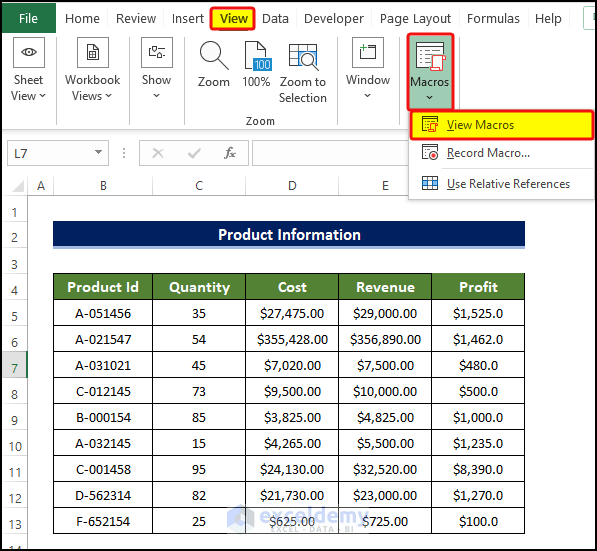
- Click on View Macros, select the macro that you created.
- Click Run.
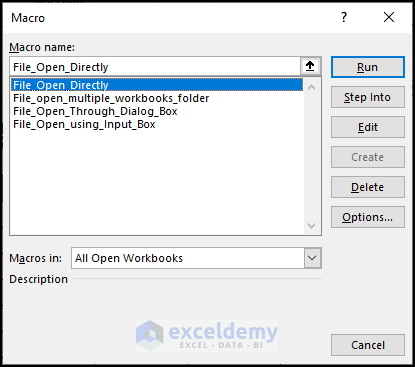
- Select the macro named File_Open_Directly and click Run.
- The Excel file at the specified location will open as read-only.

Breakdown of the Code
Sub File_Open_Directly()
- We provide a name for the sub-procedure which is File_Open_Directly.
Dim wrkbk As Workbook
- We set the workbook name as the Workbook variable.
Dim filepath As String
- We declare the file path as a String variable.
filepath = “C:\Users\USER\Desktop\VBA Code”
- Set the filepath variable with your desired file location path.
Set wrkbk = Workbooks.Open(Filename:=filepath, ReadOnly:=True)
- We open the file in the file_path directory variable and set the ReadOnly as True.
End Sub
- We end the sub-procedure of this code.
Read More: Excel VBA to Open Workbook in Background
Method 2 – Open Workbook as Read-Only Using Dialog Box
- Follow the same steps as in Method 1 to open the Visual Basic Editor.
- Click Insert and select Module.
- In the Module editor window, enter the following code:
Sub File_Open_Through_Dialog_Box()
Dim File_Explorer As Office.FileDialog
Dim selection_item As String
Set File_Explorer = Application.FileDialog(msoFileDialogFilePicker)
With File_Explorer
.Filters.Clear
.Filters.Add "Excel File type", "*.xlsx?", 1
.Title = "Choose your file"
.AllowMultiSelect = False
.InitialFileName = "C:\Desktop"
If .Show = True Then
selection_item = .SelectedItems(1)
End If
Set book = Workbooks.Open(Filename:=selection_item, ReadOnly:=True)
End With
End Sub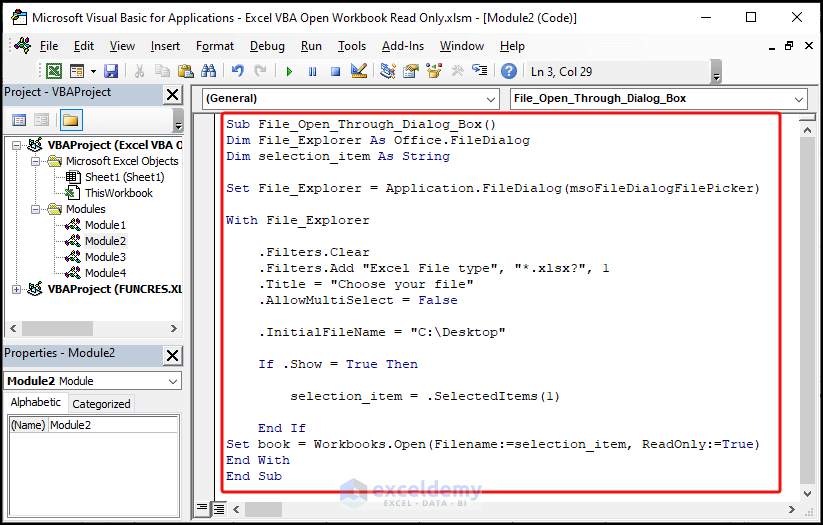
- Close the Module window.
- Go to the View tab and select Macros.

- Select the macro named File_Open_Through_Dialog_Box and click Run.

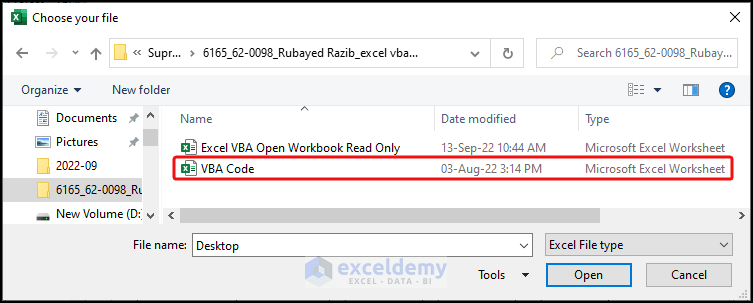
- A file dialog box will open.
- Choose the file you want to open as read-only and click Open.
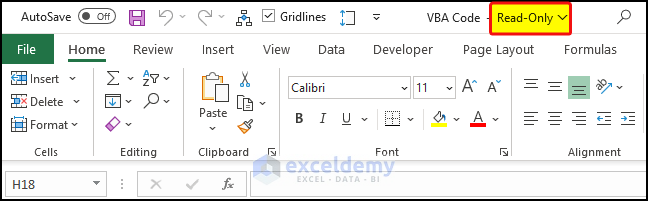
- The selected file will now open in read-only mode.
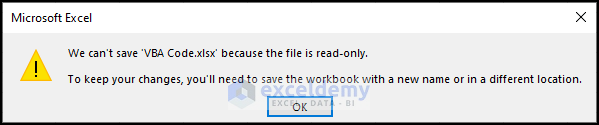
- Try to save the file by pressing Ctrl+S.
- As the file is opened as read-only, the attempt to save the file will fail.
- Click OK.
Breakdown of the Code
Sub File_Open_Through_Dialog_Box()
- We provide a name for the sub-procedure which is File_Open_Through_Dialog_Box.
Dim File_Explorer As Office.FileDialog
- We set the file explorer dialog box as Office.FileDialog variable.
Dim selection_item As String
- We declare the selection_item as a String variable.
Set File_Explorer = Application.FileDialog(msoFileDialogFilePicker)
- This line of code will open the file dialog box and set the file location in File_Explorer.
- In the procedure, we will enter the necessary attributes of our dialog box.
Filters.Clear will clear any previous filter applied in the dialog box.
Filters.Add “Excel File type”, “*.xlsx?”, 1 will show only the xlsx files in the dialog box.
Title = “Choose your file” this will set the dialog box title
AllowMultiSelect = False disallow multiple selections of files.
InitialFileName = “C:\Desktop” will open the immediate first window after opening the dialog box.
If.Show = True Then
selection_item = .SelectedItems(1)
End If
- This IF the procedure will save the file location in the selection_item variable.
Set book = Workbooks.Open(Filename:=selection_item, ReadOnly:=True)
- This line will open the workbook save in the selection_item directory variable
End With
- Here, we end with the procedure of this code.
End Sub
- We end the sub-procedure of this code.
Read More: How to Open Workbook with Variable Name with Excel VBA
Method 3 – Open Multiple Workbooks as Read-Only from a Folder
In this method, we’ll open multiple Excel files as read-only from a specified folder simultaneously. Make sure you’ve extracted the folder location beforehand.
- Go to the Developer tab and click on Visual Basic. If you don’t see the Developer tab, enable it, or press Alt+F11.
- In the Visual Basic Editor, click Insert and select Module.
- In the Module editor window, enter the following code:
Sub File_open_multiple_workbooks_folder()
Dim wb As Workbook
Dim File_Path As String
Dim path_combine As String
File_Path = "C:\Users\USER\Desktop\Suprov\6165_62-0098_Rubayed Razib_excel vba open workbook read only\"
path_combine = Dir(File_Path & "*.xls*")
Do While path_combine <> ""
Set wb = Workbooks.Open(File_Path & path_combine)
path_combine = Dir
Loop
End Sub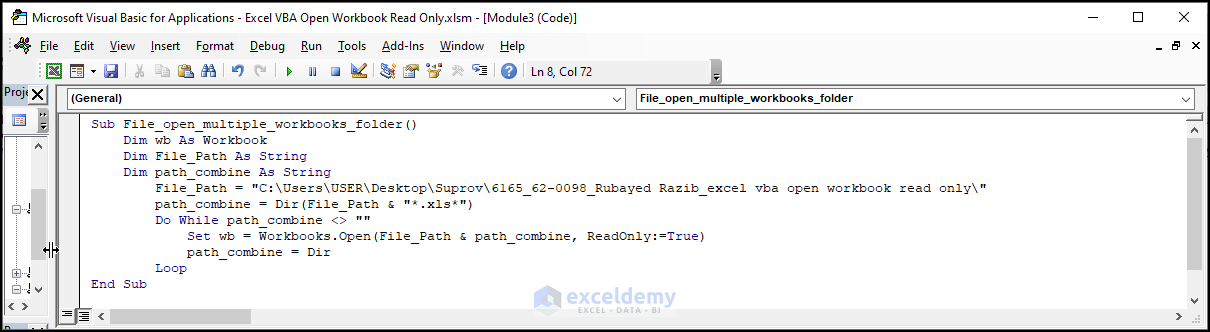
- Close the Module window.
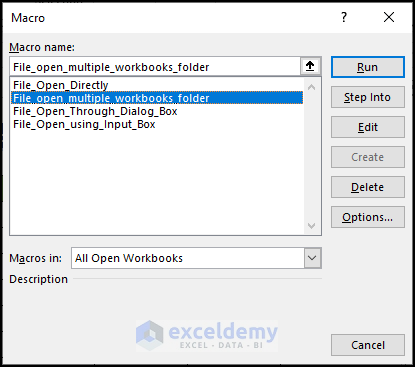
- Go to the View tab and select Macros.

- Select the macro named File_open_multiple_workbooks_folder and click Run.
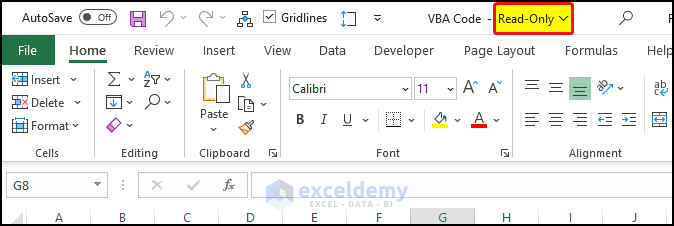
- All files from the specified folder will now be open.
- Check the file names—they should have the Read-Only tag.
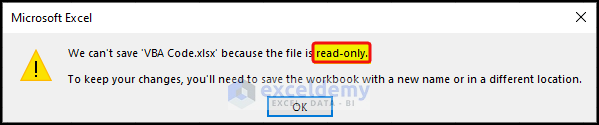
- Try to save the file by pressing Ctrl+S.
- As this file is a read-only file, it will fail to save the file and will show the below warning sign.
- Click OK.
Breakdown of the Code
Sub File_open_multiple_workbooks_folder()
- We provide a name for the sub-procedure which is File_open_multiple_workbooks_folder.
Dim wb As Workbook
- We set the workbook box as the wb variable in Workbook type.
Dim File_Path As String
- We declare the File_Path as a String variable.
Dim path_combine As String
- We declare the path_combine variable as a String-type variable.
File_Path = “C:\Users\USER\Desktop\Suprov\6165_62-0098_Rubayed Razib_excel vba open workbook read only\”
- This line will set the folder location in the File_Path variable.
path_combine = Dir(File_Path & “*.xls*”)
- This line will combine file direction with extension. Then store this into path_combine string type variable.
Do While path_combine <> “”
Set wb = Workbooks.Open(File_Path & path_combine)
path_combine = Dir
Loop
- This line will look for the files with the xlsx extension in the designated folder. And if there is any file with the XLS extension, then it will open the file.
End Sub
- We end the sub-procedure of this code.
Read More: How to Open Workbook from Path Using Excel VBA
Method 4 – Using Input Box to Open a Workbook as Read-Only
With this approach, you can choose whether to open the file as read-only or editable.
- Follow the same steps as in Method 3 to open the Visual Basic Editor.
- Click Insert and select Module.
- In the Module editor window, enter the following code:
Sub File_Open_using_Input_Box()
Dim wrkbk As Workbook
Dim x As Integer
Dim filepath As String
filepath = "C:\Users\USER\Desktop\VBA Code"
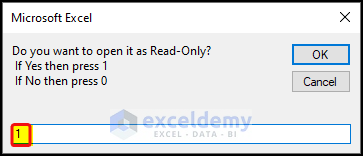
x = InputBox("Do you want to open it as Read-Only?" _
& vbCrLf & " If Yes then press 1" _
& vbCrLf & " If No then press 0")
Set wrkbk = Workbooks.Open(Filename:=filepath, ReadOnly:=x)
End Sub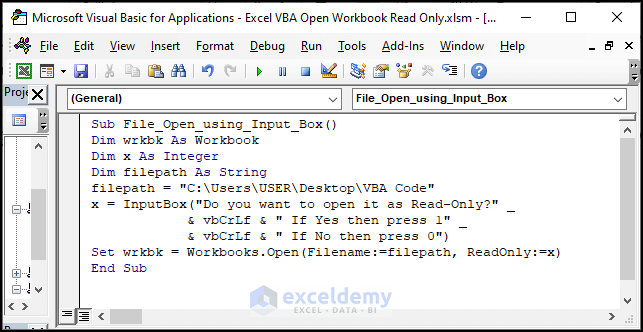
- Close the Module window.
- Go to the View tab and choose Macros.
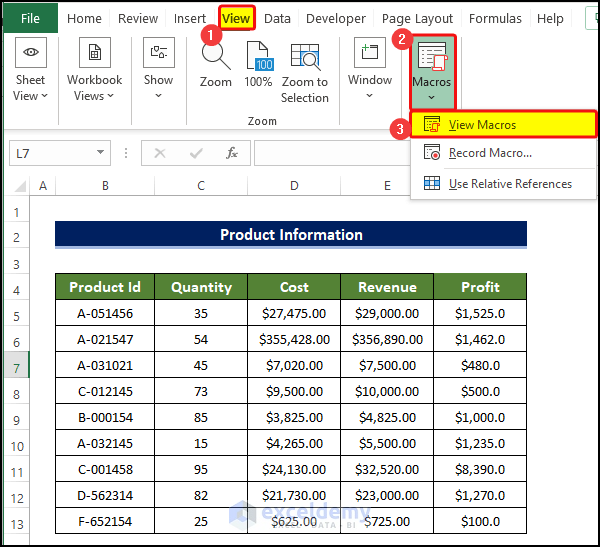
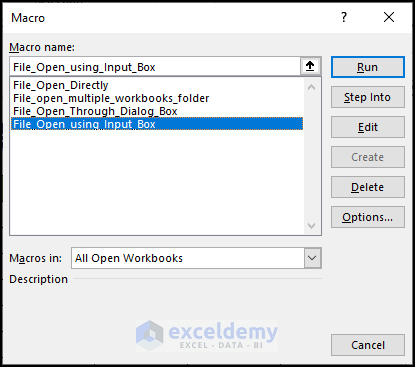
- Select the macro named File_Open_using_Input_Box and click Run.
- A message box will appear.
- Enter 1 if you want to open the file as read-only and click OK.
- The intended file will open in read-only mode.
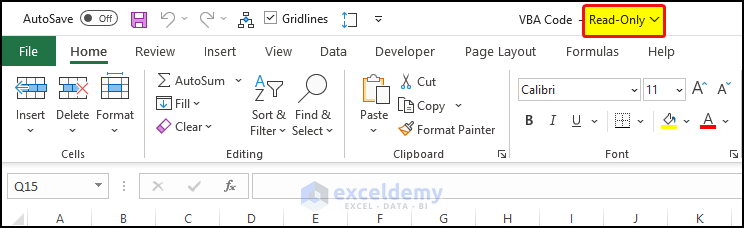
You’ll notice the read-only tag next to the file name. Attempting to save the file will fail.

Breakdown of the Code
Sub File_Open_using_Input_Box()
- We provide a name for the sub-procedure which is File_open_multiple_workbooks_folder.
Dim wrkbk As Workbook
- We set the workbook box as the wrkbk variable in Workbook type.
Dim x As Integer
- We declare the x as an Integer variable.
Dim filepath As String
- We declare the filepath variable as a String type variable.
filepath = “C:\Users\USER\Desktop\VBA Code”
- This line will set the file location in the File_Path variable.
x = InputBox(“Do you want to open it as Read-Only?” _
& vbCrLf & ” If Yes then press 1″ _
& vbCrLf & ” If No then press 0″)
- This line of code will ask users whether they want to open the file as read-only or not and enter the value according to this. The response then will pass to the variable x.
Set wrkbk = Workbooks.Open(Filename:=filepath, ReadOnly:=x)
- This line will open the file saved in the directory mentioned in the code, and whether the file will open as read-only or not will depend on the value of x entered in the previous step.
End Sub
- We end the sub-procedure of this code.
Read More: How to Open Workbook and Run Macro Using VBA
Download Practice Workbook
You can download the practice workbook from here:
Related Articles
- Excel VBA to Open Workbook from Path in Cell
- How to Browse for File Path Using Excel VBA
- How to Open Folder and Select File Using Excel VBA
- How to Open File Dialog Default Folder with Excel VBA


This is by FAR the BEST explanation i have ever read on the internet for a technical solution. I have (was) in the IT business from Programmer to Business owner and I find MOST technical explanations, lets just say, less than communicationalbe (I know this is not a word) but explains why i am saying. i will say this, i am 80 yrs old and am learning Excel VBA just for fun and building a system for some friends. I WILL be searching on your name for help in the future as my 1st place to look. Thank you so much.
Dear John Summers,
You are most welcome. Your appreciation means a lot to us to write such technical and informative article in future.
Regards
ExcelDemy