In this article, I’ll show you how you can develop and use a Yes No message box in VBA in Excel.
Develop and Use a Yes No Message Box with Excel VBA (Quick View)
Sub Yes_No_Message_Box()

Answer = MsgBox("Do You Like ExcelDemy?", vbYesNo)

If Answer = vbYes Then
    Range("C3") = Range("C3") + 1
ElseIf Answer = vbNo Then
    Range("C4") = Range("C4") + 1
End If

End Sub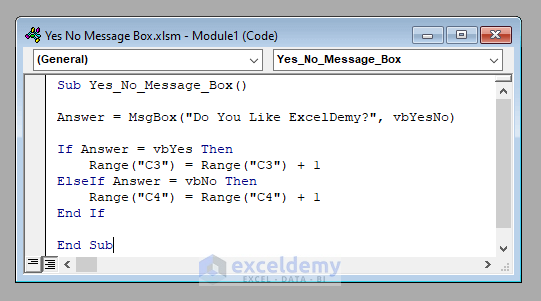
An Overview of the VBA Code to Develop and Use a Yes No Message Box (Step-by-Step Analysis)
Let’s learn the use of a yes-no message box with a simple example. The message box will ask you a question, do you like ExcelDemy?
If your answer is yes, you will click Yes in the message box. And if your answer is No, you will click No.
Now, what will happen after you click yes or no in the message box? In the active worksheet, there are 2 cells that contain the number of people who like and dislike ExcelDemy. If you hit yes, the number in the like cell will increase by one.
And if you hit no, the number in the dislike cell will increase by one.
So, how to accomplish this whole task with a VBA code? Easy. There are 2 major steps in the whole process.
- Developing the Yes-No Message Box
- Using the Output of the Message Box
I am showing the detail of each step for your learning.
⧪ Step 1: Developing the Yes-No Message Box
First of all, you have to create the yes-no message box in VBA. This is easy. Use the same procedure as the ordinary message box, with the question as to the argument, along with a new argument vbYesNo.
Here the question is, “Do You Like ExcelDemy?”
Answer = MsgBox("Do You Like ExcelDemy?", vbYesNo)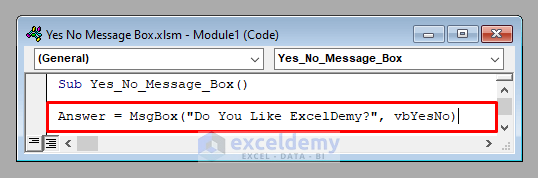
⧪ Step 2: Using the Message Box Output
Next, we’ll accomplish a task using the message box output. Here, cell C3 contains the number of people who like ExcelDemy, and cell C4 contains the number of people who don’t like ExcelDemy.
So, if the answer is Yes, cell C3 will increase by one. And if it’s No, cell C4 will increase by one.
We’ll use an If-block to execute this.
If Answer = vbYes Then
    Range("C3") = Range("C3") + 1
ElseIf Answer = vbNo Then
    Range("C4") = Range("C4") + 1
End If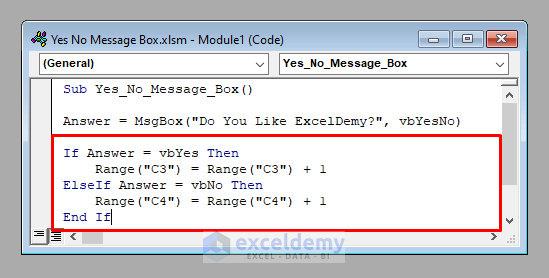
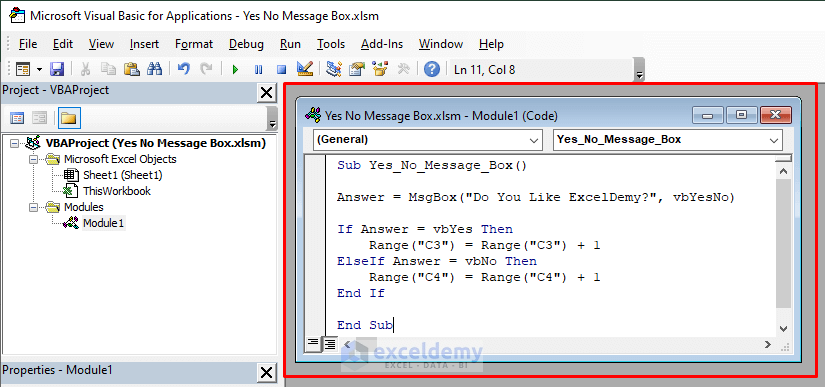
So the complete VBA code will be:
⧭ VBA Code:
Sub Yes_No_Message_Box()

Answer = MsgBox("Do You Like ExcelDemy?", vbYesNo)

If Answer = vbYes Then
    Range("C3") = Range("C3") + 1
ElseIf Answer = vbNo Then
    Range("C4") = Range("C4") + 1
End If

End Sub
Read More: Excel VBA MsgBox Examples
Creating the Macro to Develop and Use a Yes No Message Box in Excel
We’ve seen the step-by-step analysis of the code to develop and use a Yes-No message box. Now, let’s see how we can build a Macro to run the code.
⧪ Step 1: Opening the VBA Window
Press ALT + F11 on your keyboard to open the Visual Basic window.
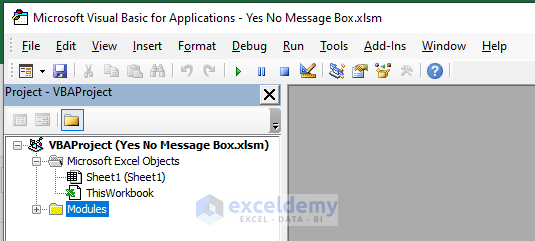
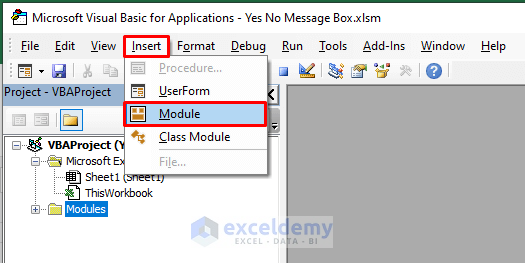
⧪ Step 2: Inserting a New Module
Go to Insert > Module in the toolbar. Click on Module. A new module called Module1 (or anything else depending on your past history) will open.
⧪ Step 3: Putting the VBA Code
This is the most important step. Insert the given VBA code in the module.
⧪ Step 4: Running the Code
Click on the Run Sub / UserForm tool from the toolbar above.
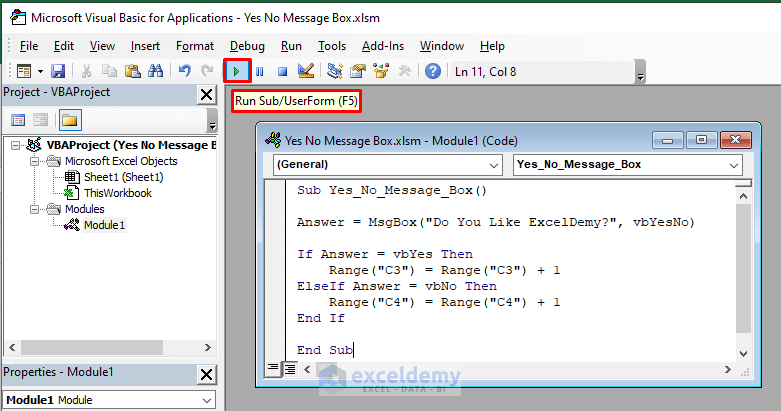
The code will run. A message box will ask you whether you like ExcelDemy or not, with a Yes and a No option.
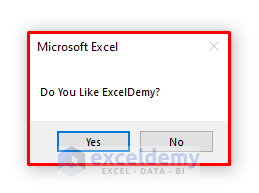
If you choose Yes, the number in cell C3 will increase by one. And if you choose No, the number in cell C4 will increase by one.
Here, I’ve selected yes, so the number of people who like ExcelDemy has increased by one.

Things to Remember
- A message box in VBA contains a total of 4 parameters called Prompt, Button, Title, and Helpfile. Here I’ve shown only 2 parameters, Prompt and Button.
Download Practice Workbook
Download this practice workbook to exercise while you are reading this article.
Conclusion
Therefore, this is the process to develop and use a Yes No message box in VBA in Excel. Do you have any questions? Feel free to ask us.
Related Articles
- How to Show Range Address with MsgBox in Excel VBA
- Excel VBA Code to Click OK on Message Box Automatically
- Pop Up Excel VBA MsgBox When Cell Meets Criteria
- Excel VBA: Create New Line in MsgBox
- Excel VBA to Display Message Box for 5 Seconds
- VBA MsgBox That Will Automatically Disappear in Excel

