Dataset Overview
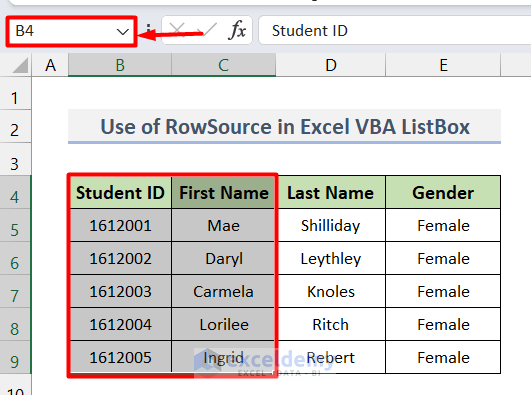
To demonstrate these methods, we’ll use a dataset of some students with their Student ID, First Name, Last Name, and Gender.
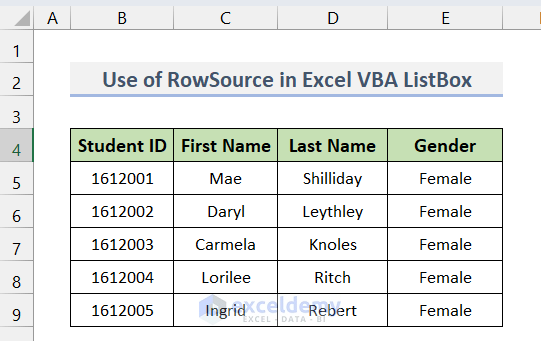
We want to show a portion of this table in a VBA Userform ListBox (for example, B4:C9).
Method 1 – Using a Named Range in the RowSource of a VBA ListBox
Steps
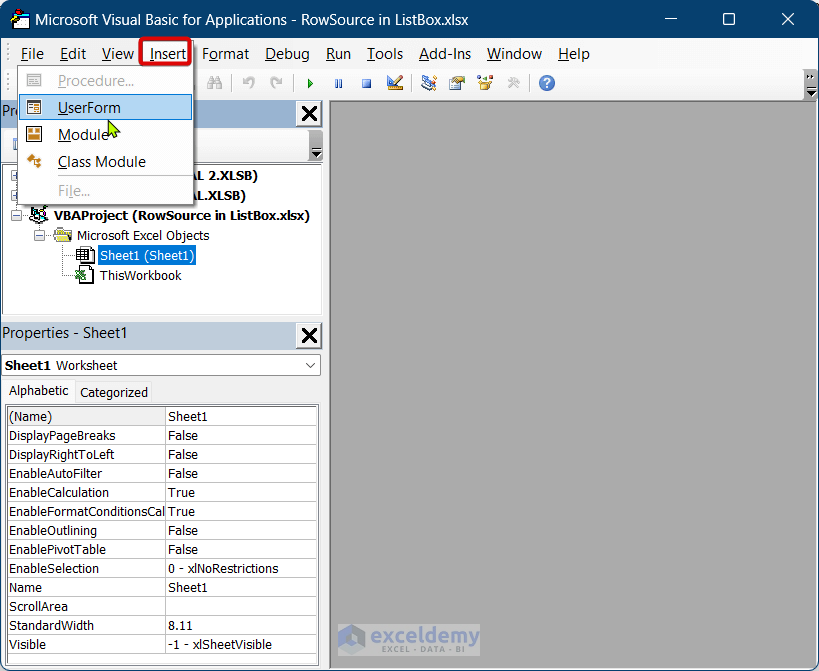
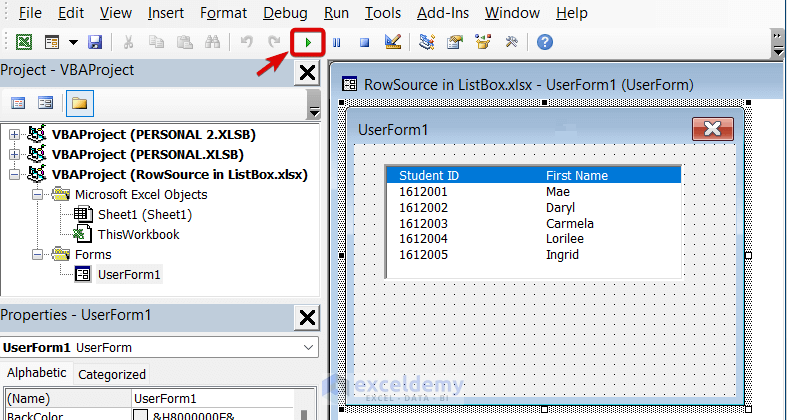
- Open the Visual Basic Editor by clicking Alt+F11.
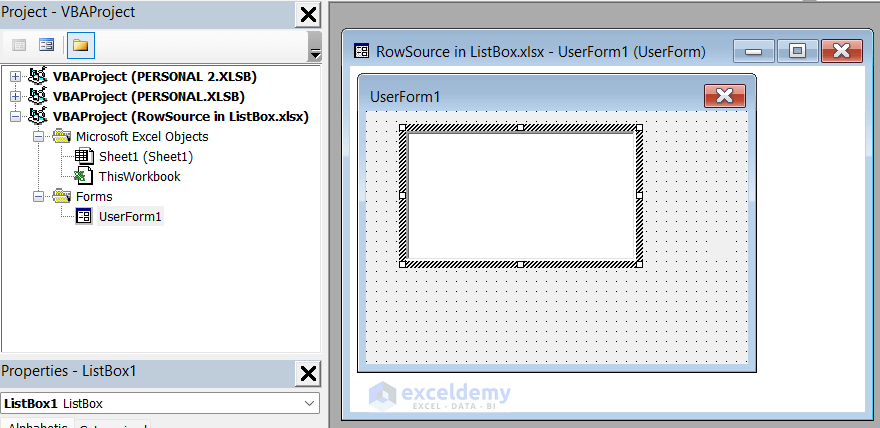
- Create a new UserForm by going to Insert and choosing UserForm.
- In the toolbox, select the ListBox icon and draw a box inside the UserForm window (named UserForm1).
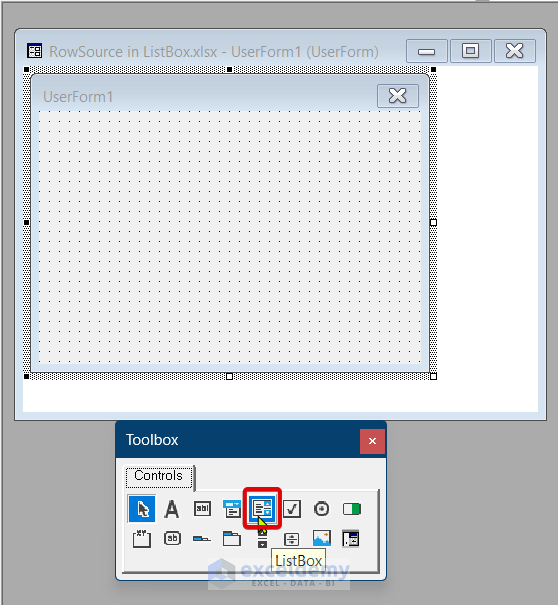
- We will see a ListBox window named ListBox1:
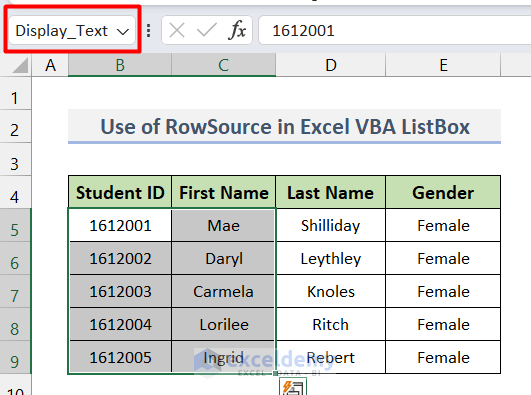
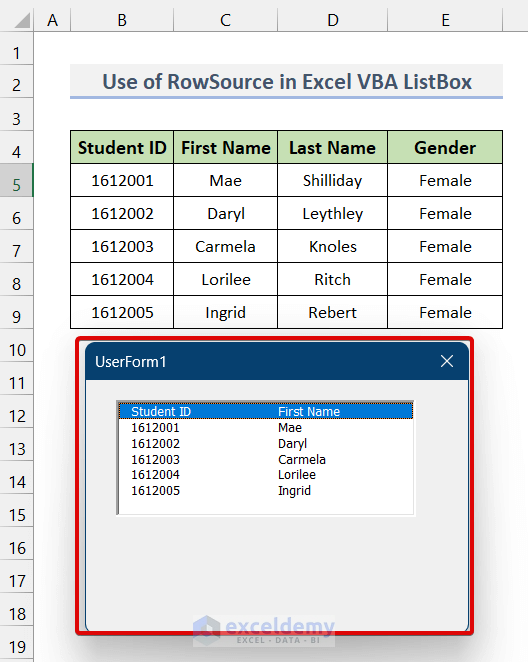
- On the worksheet, select the range you want to display in the ListBox (e.g., B4:C9).
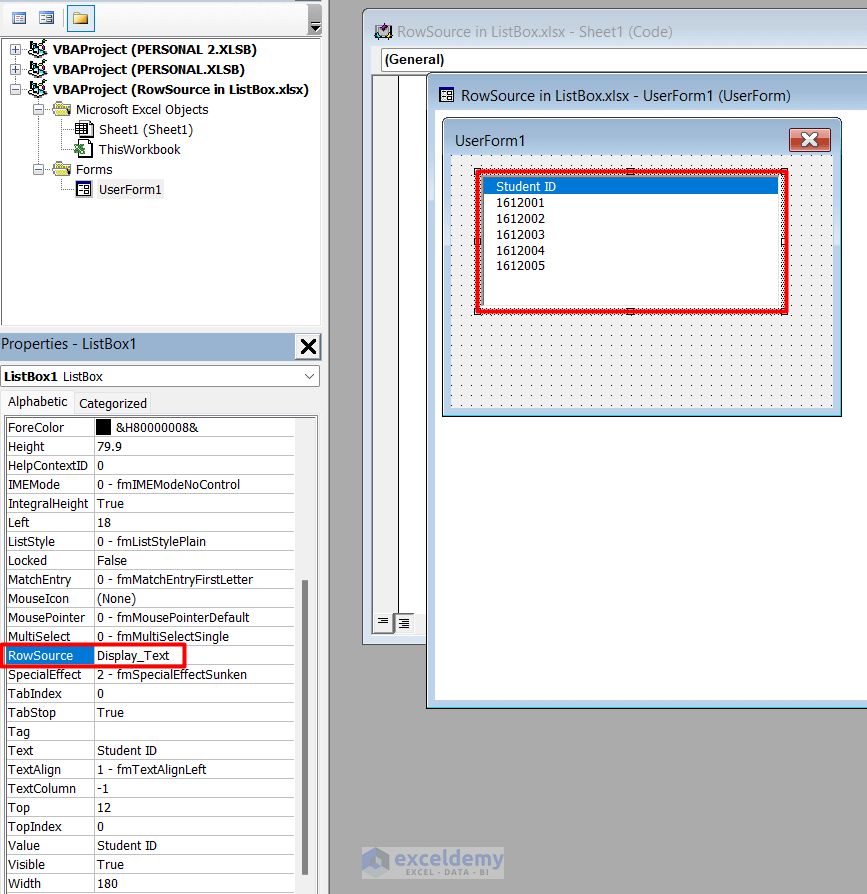
- Go to the Name Box (top left corner) and give a suitable name to the selected range (e.g., Display_Text).
- Return to the VBA editor, left-click on ListBox1, and find the RowSource option in the Properties tab.
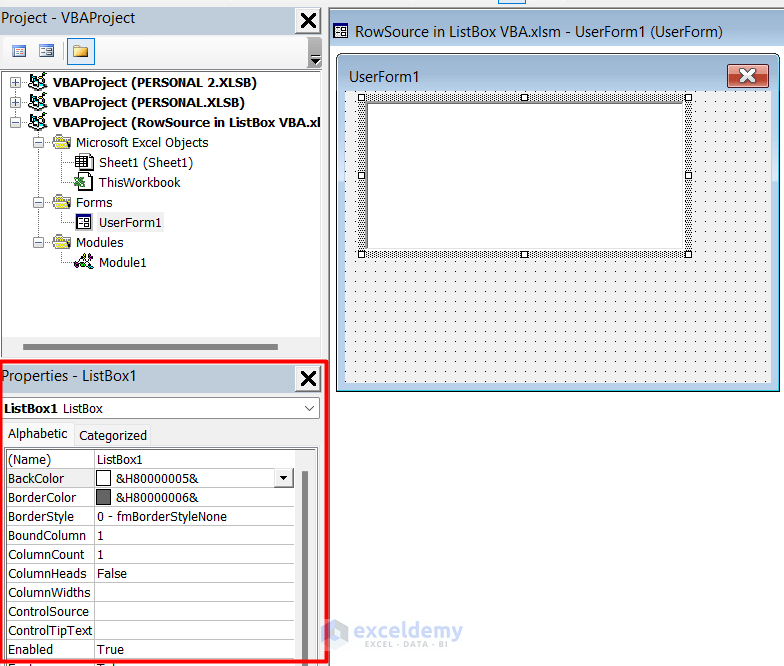
- If you scroll down in the Properties tab, you should see the RowSource option.
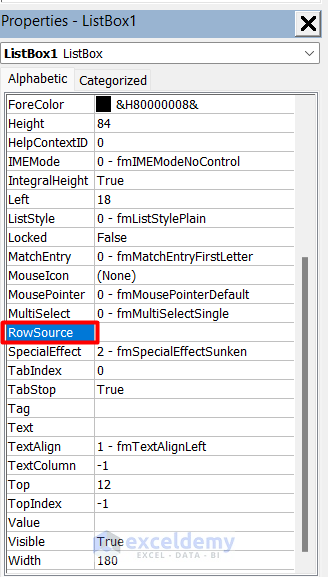
- Enter the name of the range you want to display in the RowSource field.
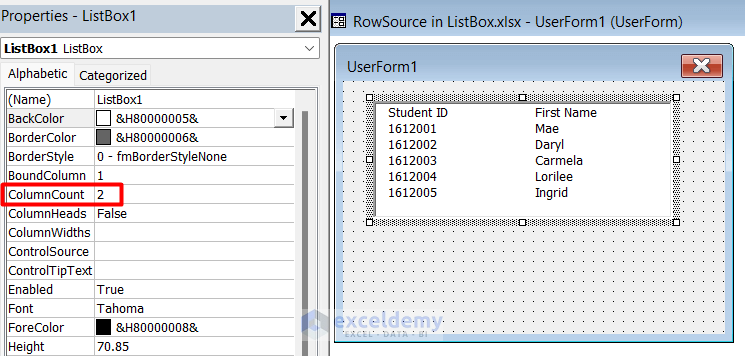
- Specify the number of columns in your range (e.g., 2 for B4:C9).
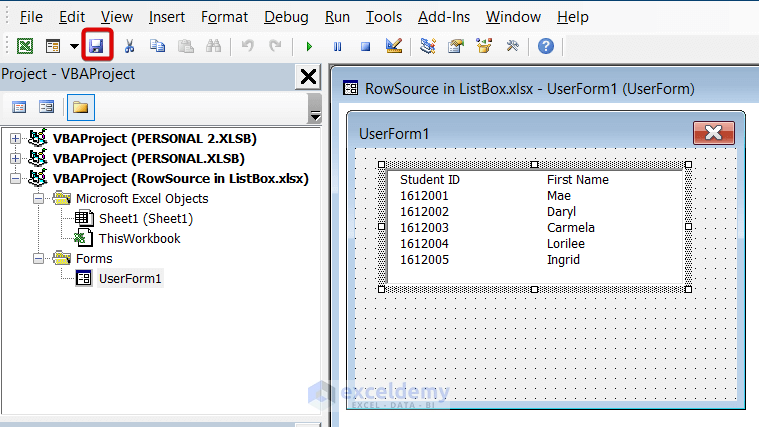
- Save your changes.
- Run UserForm1 to see the data displayed.
- You will see the form, in the main worksheet, containing the data that you have assigned using RowSource.
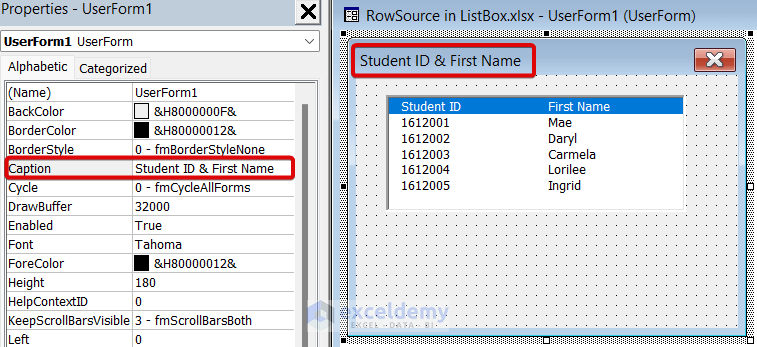
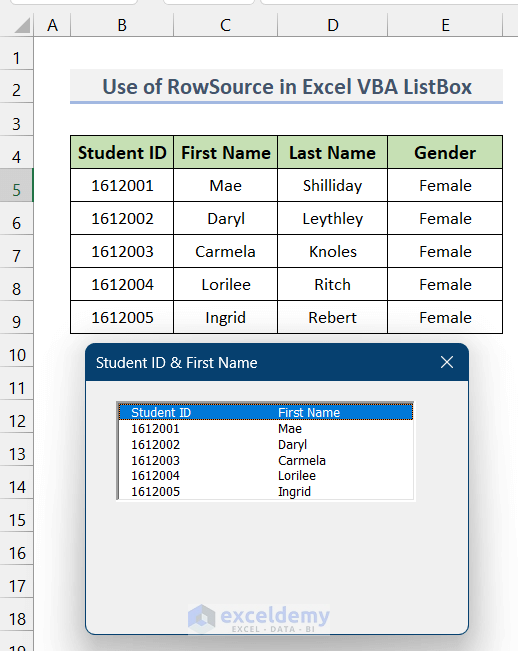
- The name of the form (UserForm1) is displayed in the top left corner. It is called Caption. To change the caption, you need to change it from the Properties tab of Userform1.
Method 2 – Using a Direct Range Reference
- Follow the same steps as in Method 1 until you insert the data address in the RowSource box.
- In the RowSource box, enter the following reference:
Sheet1!B4:C9
- Complete the remaining steps from Method 1 to run UserForm1 with the same result.
Read More: Create ListBox for Multiple Columns in Excel VBA
Things to Remember
- If you don’t see the Properties tab on the left, right-click on ListBox1 and choose Properties to access it.
Download Practice Workbook
You can download the practice workbook from here:
Related Articles
- How to Create Multi Select ListBox in Excel
- How to Sort ListBox with VBA in Excel
- Excel Button to Print Specific Sheets

