Method 1 – Utilize Property Window in Excel VBA to Generate ListBox
STEPS:
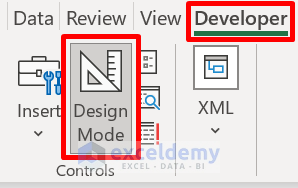
- Navigate to the Developer tab.
- From the Controls group, choose Insert.
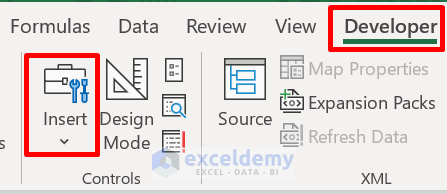
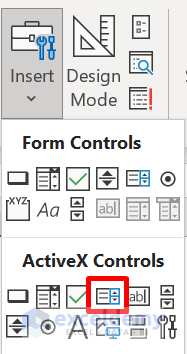
- Click the ListBox icon from the ActiveX Controls section.
- An empty ListBox will be generated, as demonstrated below.
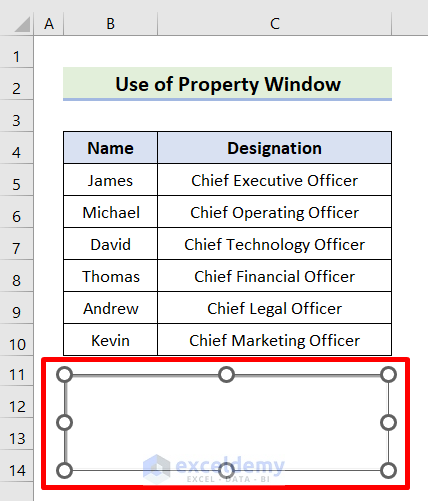
- Right-click in the box.
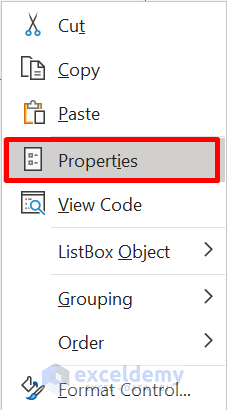
- The context menu will pop up.
- Choose the Properties option.
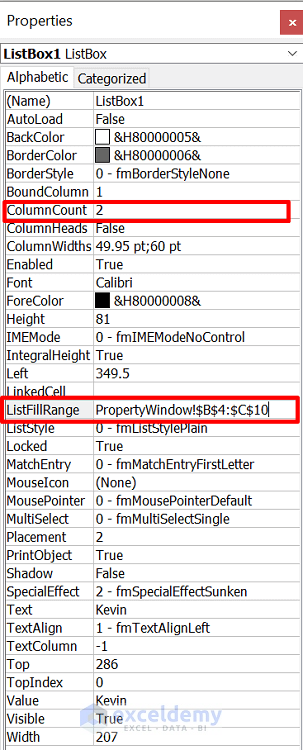
- The Properties window opens.
- Find the ColumnCount property and set the value to 2.
- Go to the ListFillRange property and enter the range. In this case, PropertyWindow!$B$4:$C$10.
- PropertyWindow is the sheet name.
- Close the Property window.
- Go to the Developer tab and click the Design icon to exit from editing.
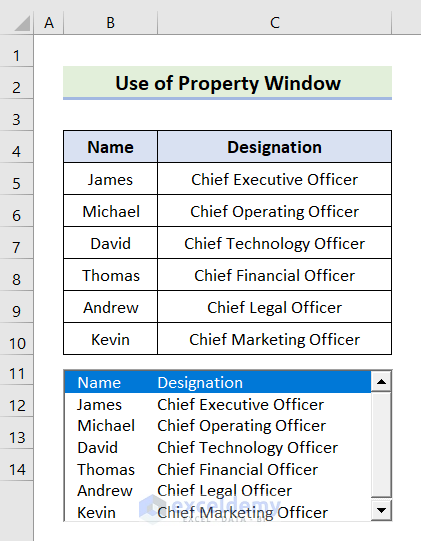
- The output will display as shown below.
Method 2 – Create ListBox for Multiple Columns Through VBA UserForm
STEPS:
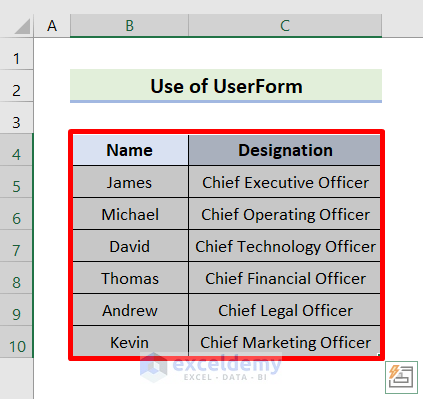
- Select the range B4:C10.
- Go to the Formulas tab.
- From the Defined Names group, pick Define Name.

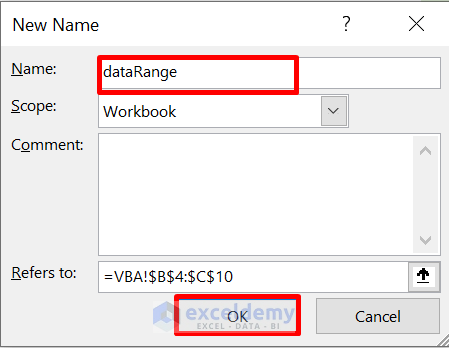
- The New Name window will appear.
- Enter dataRange in the Name input section to name the range.
- It should be noted that we named our sheet VBA.
- Press OK.
- Go to the Developer tab, followed by the Visual Basic icon.

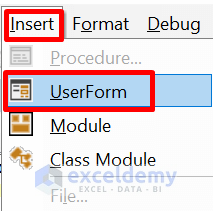
- Click Insert and pick the UserForm option.
- The UserForm will open up as well as a tiny window of Toolbox window for editing purposes.
- From the Toolbox window, click on the ListBox symbol.
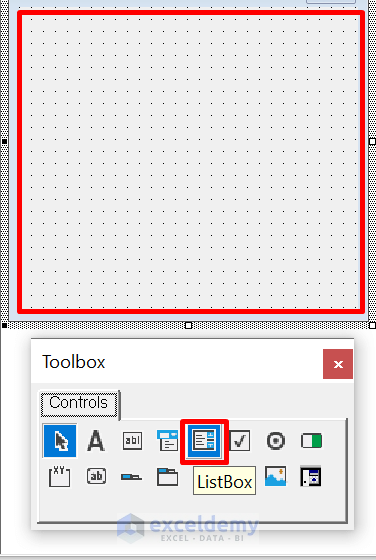
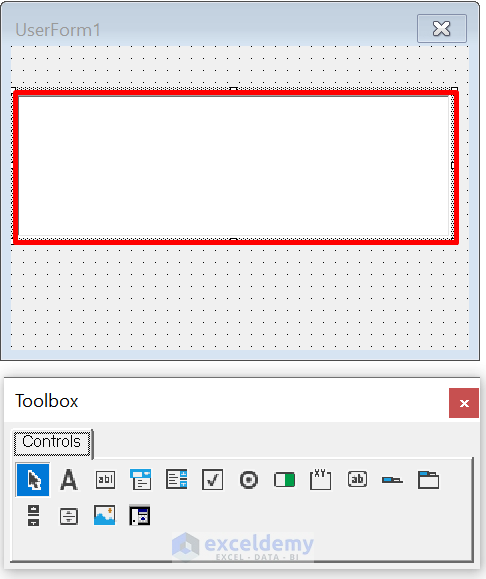
- Use the mouse cursor to draw a ListBox section in the UserForm area.
- Double-click the ListBox field and input the following code in the module box.
Private Sub UserForm_Initialize()
With ListBox1
 .ColumnCount = 2
 .List = Range("dataRange").Value
End With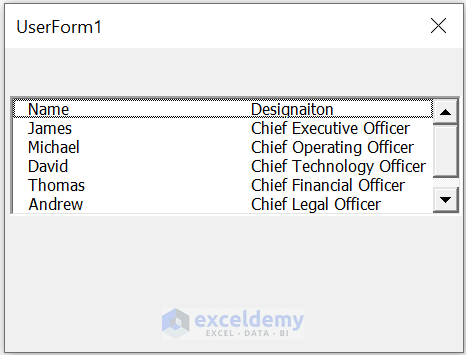
End Sub- Press F5 or click the Run icon.

- The outcome will appear as demonstrated below.
Read More: How to Create Multi Select ListBox in Excel
Download Practice Workbook
Related Articles
- How to Populate Excel VBA ListBox Using RowSource
- How to Sort ListBox with VBA in Excel
- Excel Button to Print Specific Sheets


I can understand easily from your content.
Thank you
Dear Alexandar P,
You are most welcome.
Regards
ExcelDemy