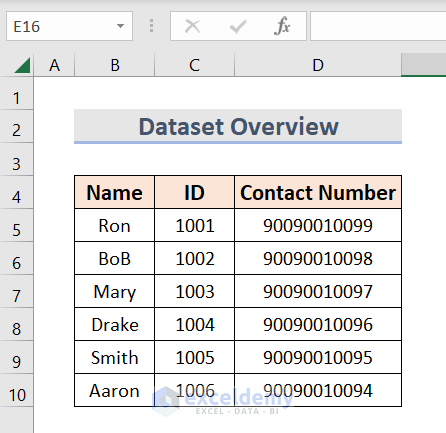
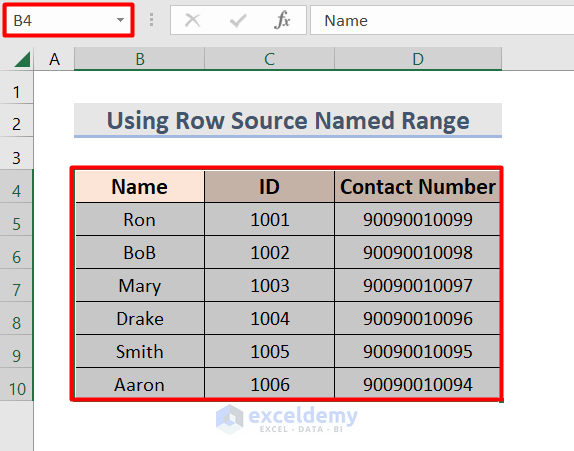
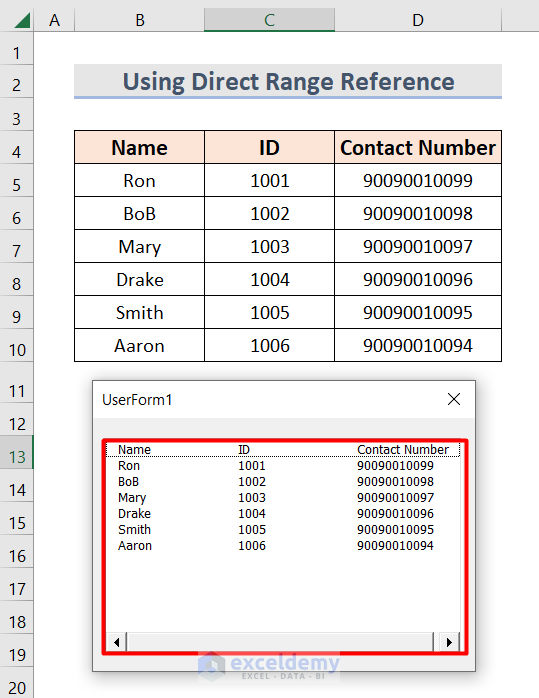
The sample dataset has three columns, Name, ID, and Contact Number. The dataset ranges from B4 to D10.
Step 1 – Creating a ListBox
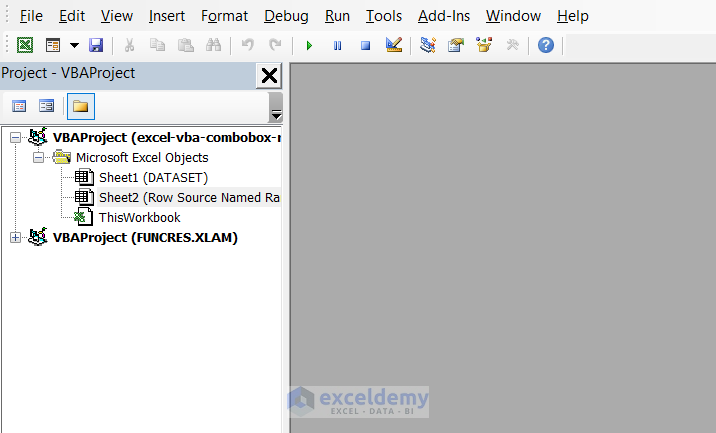
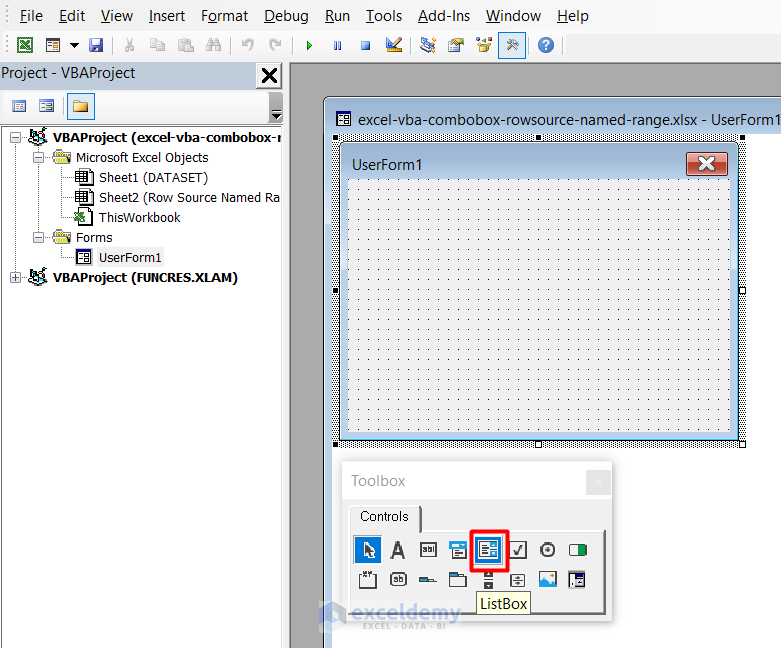
- Press Alt + F11 to open the VBA editor.
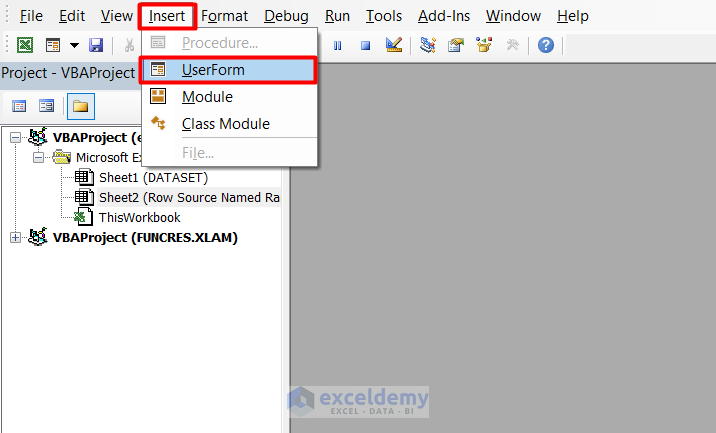
- Go to the Insert tab.
- Select the UserForm option.
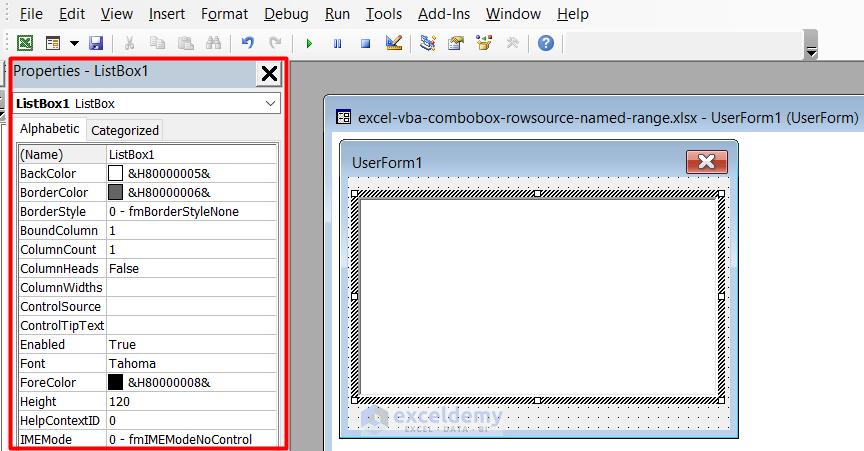
- A userform with a toolbox will appear.
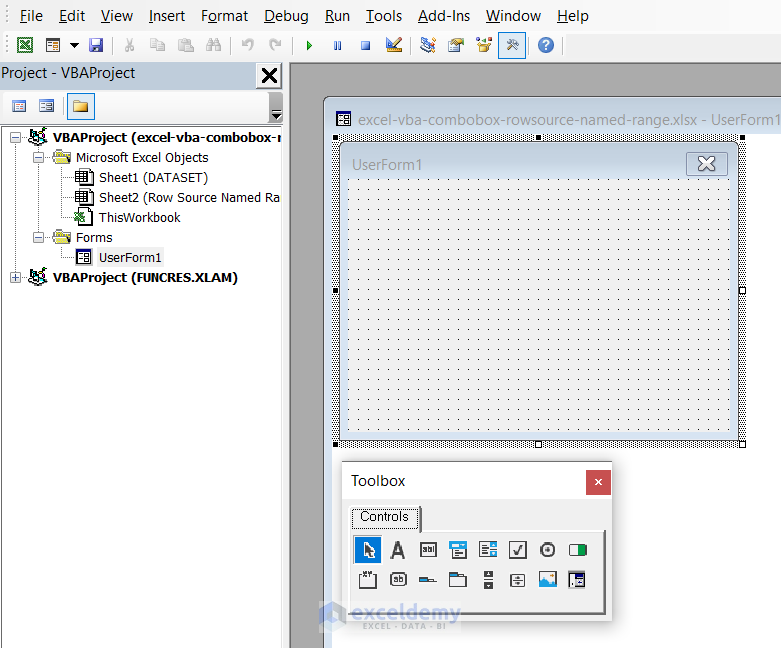
- From the toolbox, select the ListBox option.
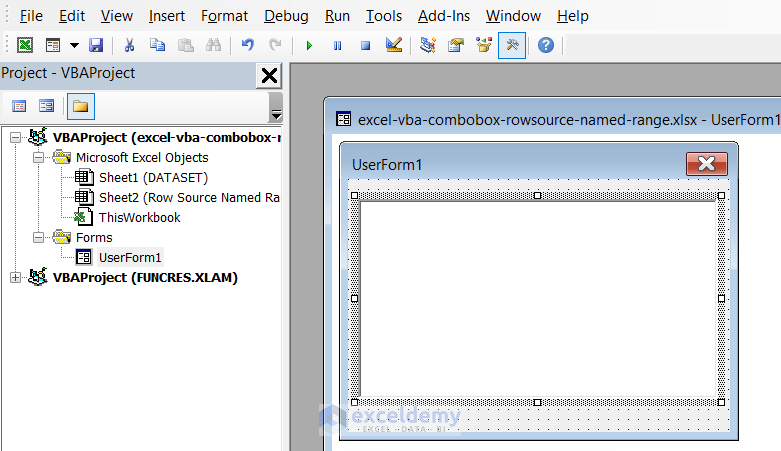
- A list box will appear in the userform.
Step 2 – Renaming the Dataset
- Select the cells from B4 to D10.
- Double-click on the name box at the top left corner of the picture. You will see the name box is filled with the value B4.
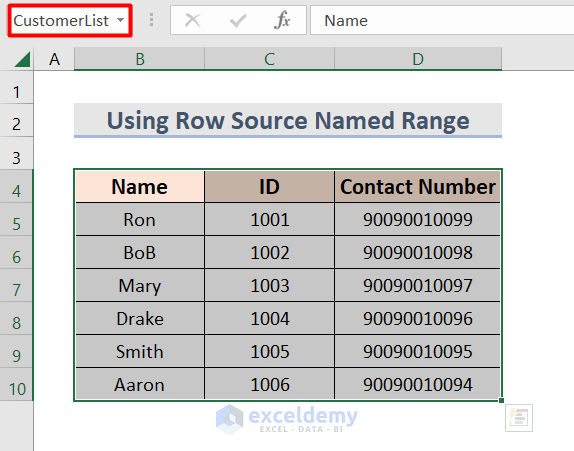
- Change the dataset name to CustomerList.
Step 3 – Changing the RowSource and Column Count
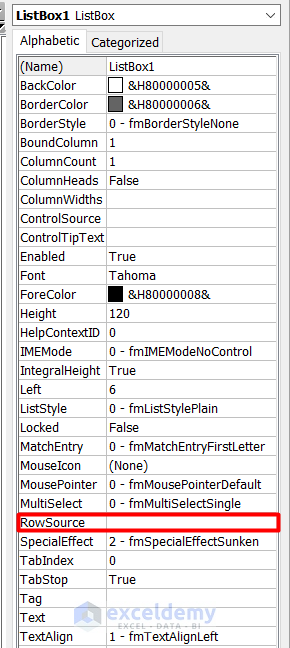
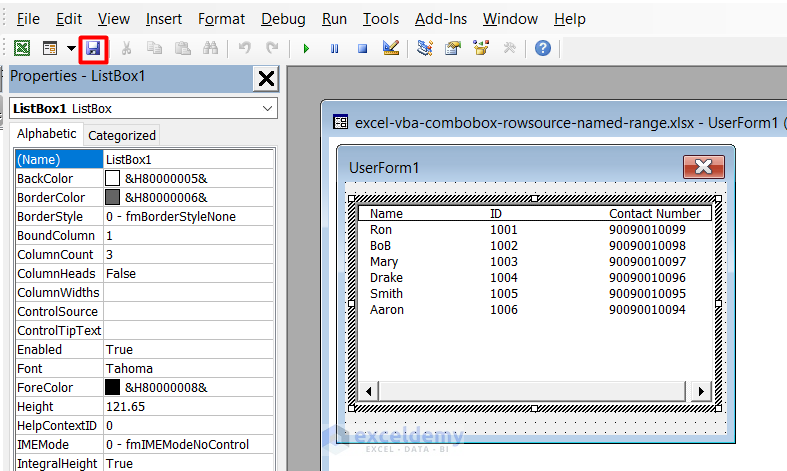
- You will find a property box on the left side of the list box.
- Find the RowSource option in the property box.
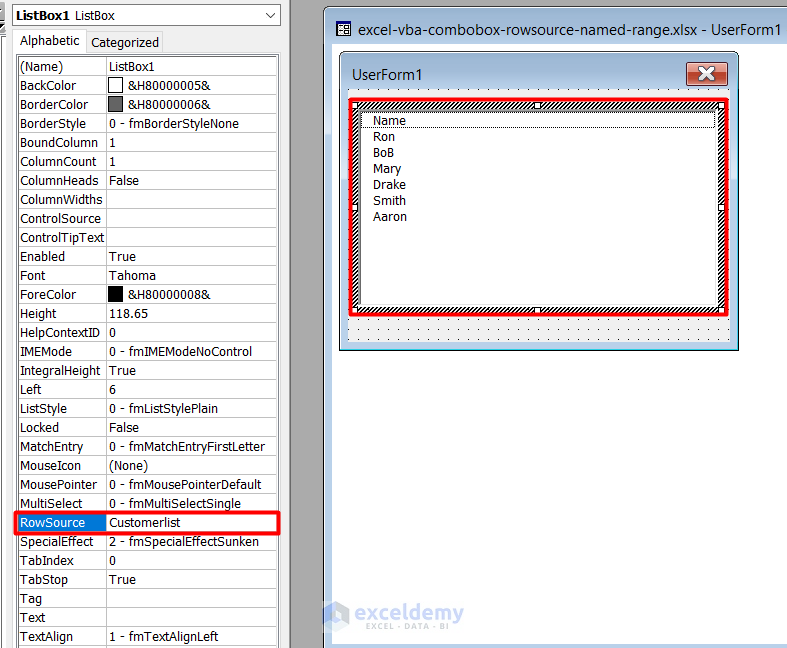
- Change the resource to CustomerList.
- Press Enter.
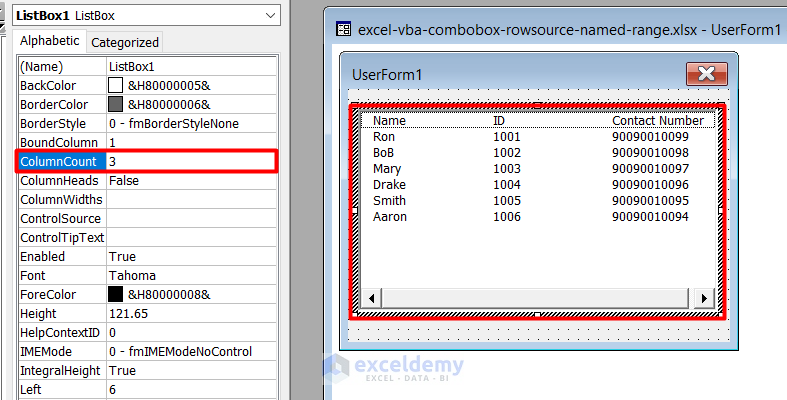
- Change the column count to 3.
- Press the Save icon and save the file.
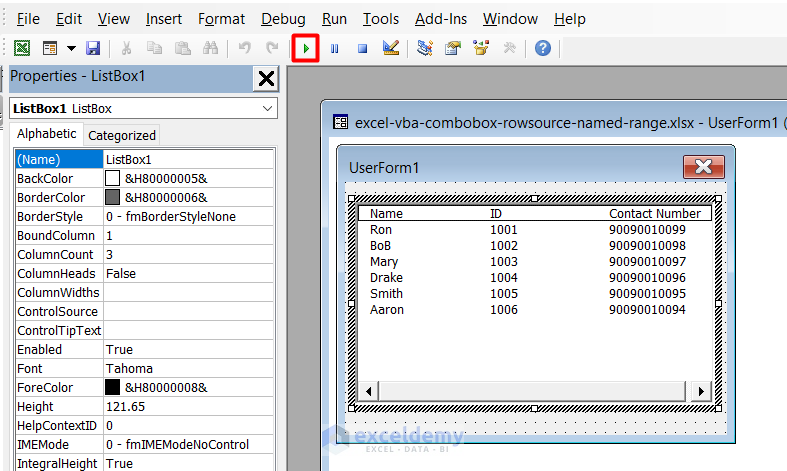
- Press the Run icon or F5 button to show the list box in the Excel sheet.
Read More: Create ComboBox with RowSource in Excel VBA
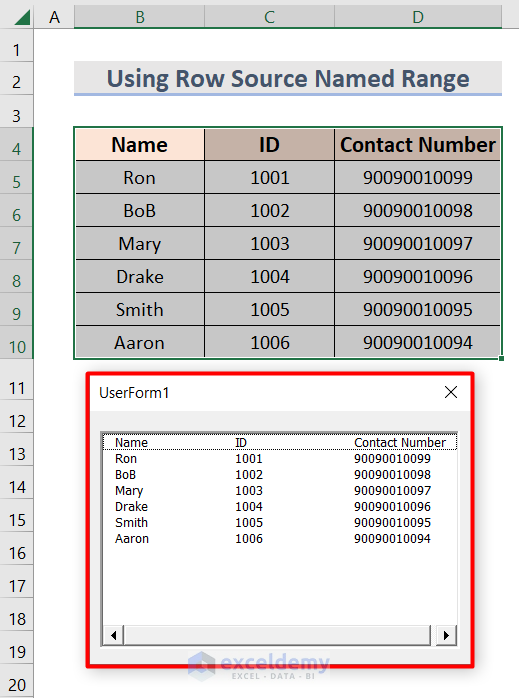
Step 4 – Final Result
- After pressing the run button of the VBA window, the command will show the text box in the Excel worksheet just like the picture given below.
How to Create an Excel VBA ComboBox Using a Direct Range Reference
Steps:
- Follow the steps described in the previous section of this article up to changing the RowSource.
- Input the following RowSource name manually in the RowSource option.
Sheet2!B4:D10 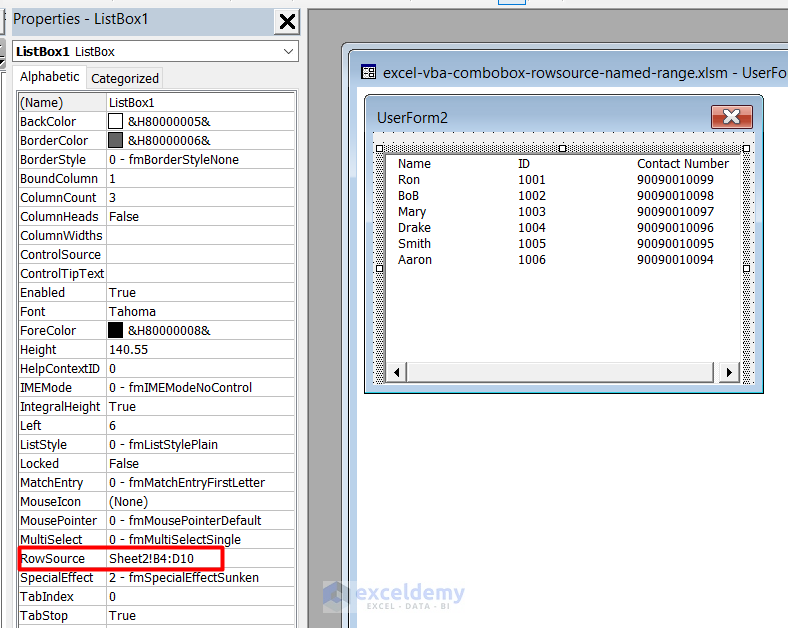
- The column count will remain the same as the previous one.
- Press the Run button.
- This command will show you the list box with the data of the table like the picture given below.
Things to Remember
- If the Properties tab is not visible on the left pan, you may access it by right-clicking the ListBox1 window and selecting Properties.
Download the Practice Workbook
Related Articles
- How to Add Item to ComboBox with VBA in Excel
- Excel VBA ComboBox Value
- How to Use VBA to Populate ComboBox List from Range in Excel
- How to Use Excel VBA ComboBox with Control Source Property
- Excel VBA to Populate ComboBox from Dynamic Range
- Excel VBA ComboBox: Important Properties to Explore

