Adding a VBA ComboBox in Excel
Adding a ComboBox in Excel can be done in two ways: through an ActiveX Control or by creating a UserForm.
In this guide, we’ll focus on creating a ComboBox using a UserForm.
Follow these steps:
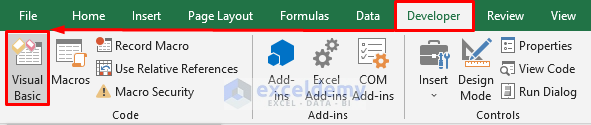
- Open Visual Basic:
- Go to the Developer tab and select Visual Basic.
- This will open the Microsoft Visual Basic Application window.
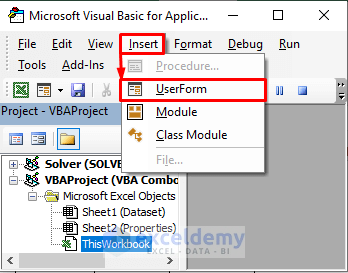
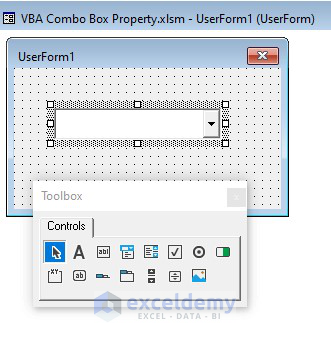
- Create a UserForm:
- From the Insert tab, choose UserForm to create a form.
-
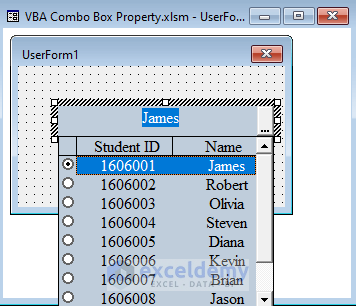
- You’ll see a UserForm and a Toolbox.
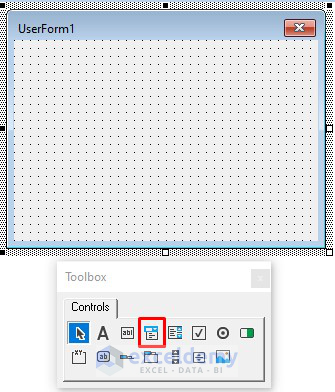
- Add a ComboBox:
- Select the ComboBox icon from the Toolbox and place it on the form where you want it to appear.
-
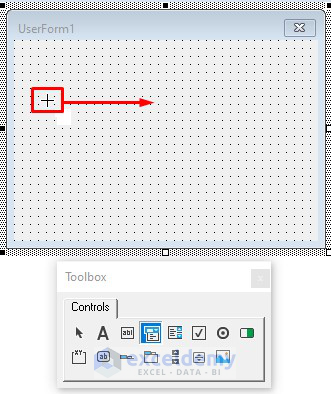
- Put the icon in the place where you want to show your ComboBox.
- Resize the ComboBox by dragging the (+) icon.
-
- We have added a ComboBox in Excel.
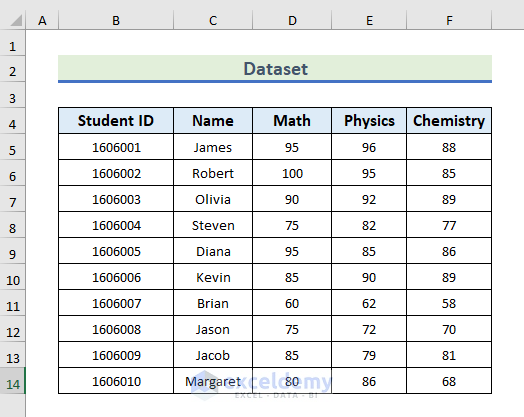
Dataset Overview
We will use a dataset containing the marks of a class. The dataset has information about Student ID, Student Name, and marks in Mathematics, Physics, and Chemistry. We have added a ComboBox to access the dataset.
Accessing the VBA ComboBox Properties
Let’s explore important properties of the VBA ComboBox:
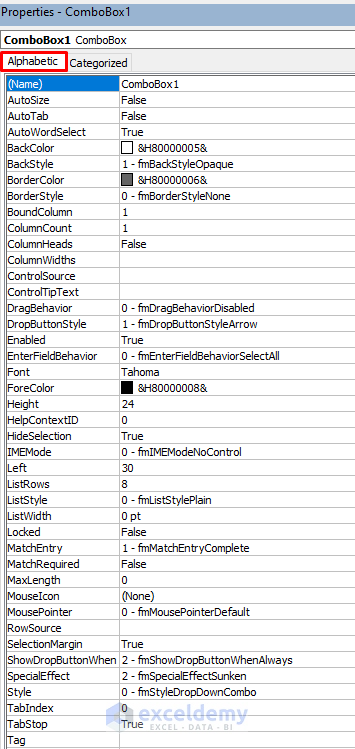
Property 1 – Alphabetic/Categorized Menu Bar
- Right-click on the ComboBox and select Properties.
- In the Properties window, you’ll find two tabs:
- Alphabetic and Categorized.
- The Alphabetic tab lists properties in alphabetical order.
- Alphabetic and Categorized.
-
-
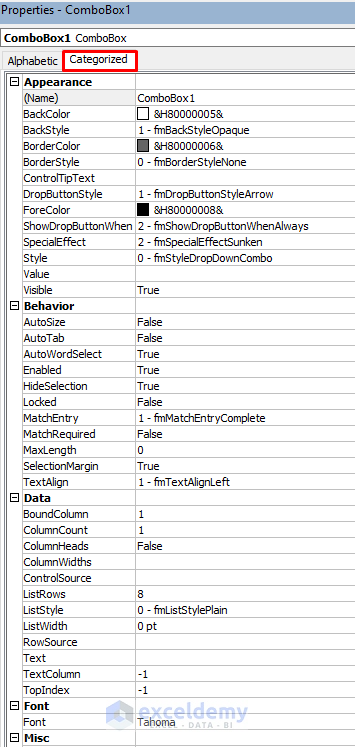
- The Categorized tab groups them logically.
-
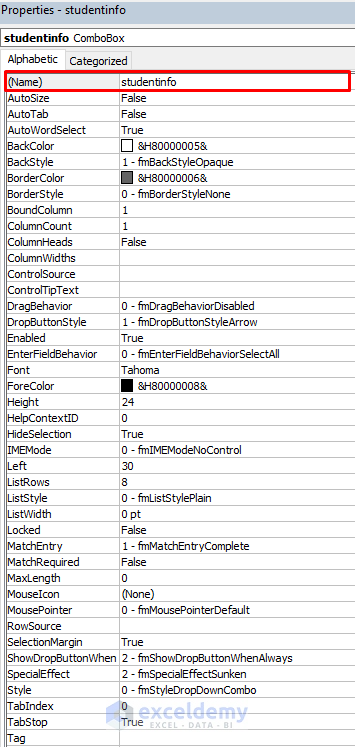
Property 2 – Naming the ComboBox
- You can manually set the name of the ComboBox in the (Name) section.
- For example, we’ve named ours studentinfo.
Property 3 – RowSource Property
- To link the ComboBox to a cell range, use the RowSource property.
- Specify the sheet name and cell range (e.g., Properties!B4:F14).
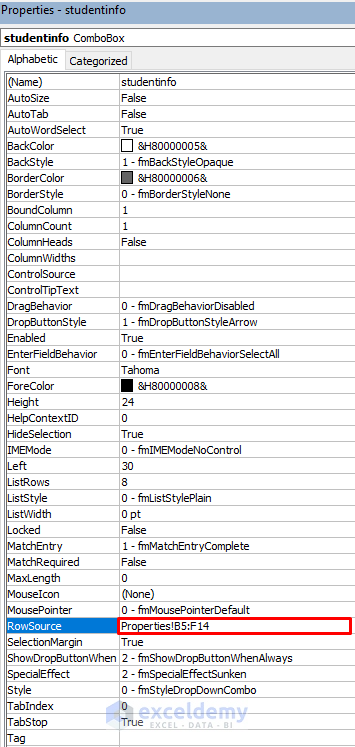
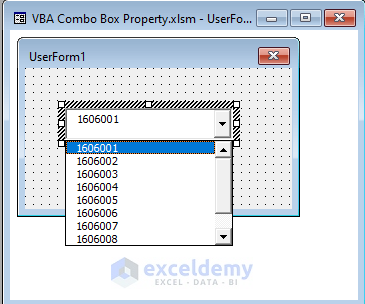
- Click on the drop-down menu of the ComboBox.
- The ComboBox will now refer to your dataset.
Read More: Create ComboBox with RowSource in Excel VBA
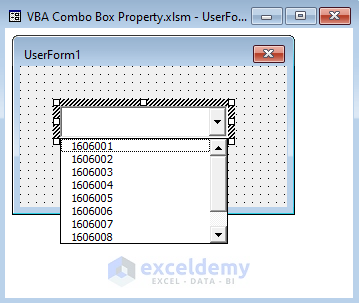
Property 4 – Input Style
- Explore the Style property.
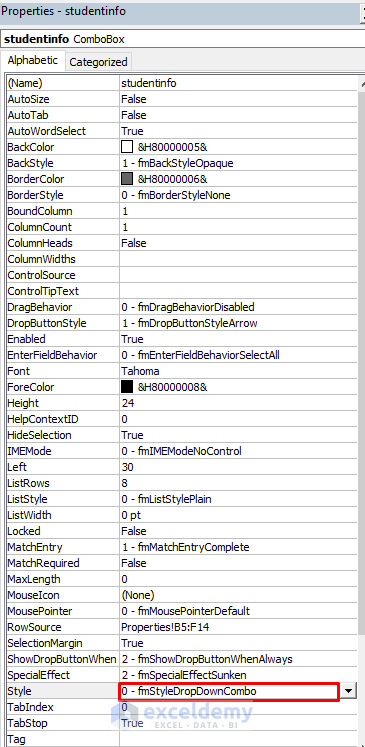
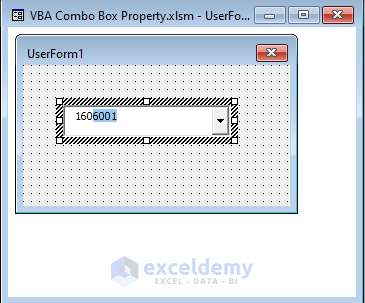
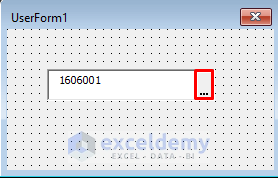
- Choose 0-fmStyleDropDownCombo to allow manual input.
- You can type 1606001 instead of selecting it from the drop-down menu.
- Choose 2-fmStyleDropDownList to restrict input to the drop-down menu.
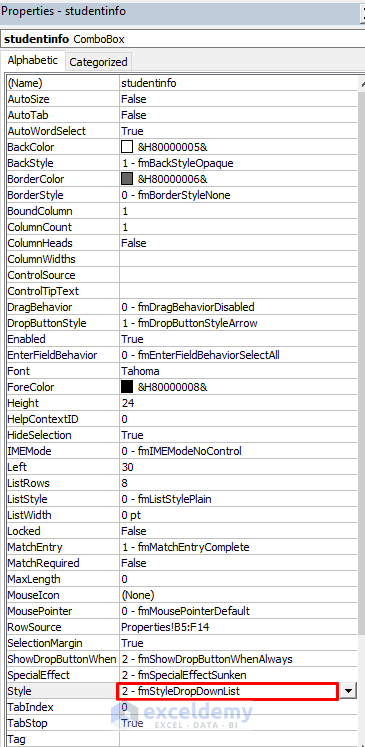
- We cannot manually input data.
- We have to select the data from the drop-down menu.
Property 5 – DropButtonStyle
- This property controls the design of the drop-down icon.
- There are 4 types of styles available.
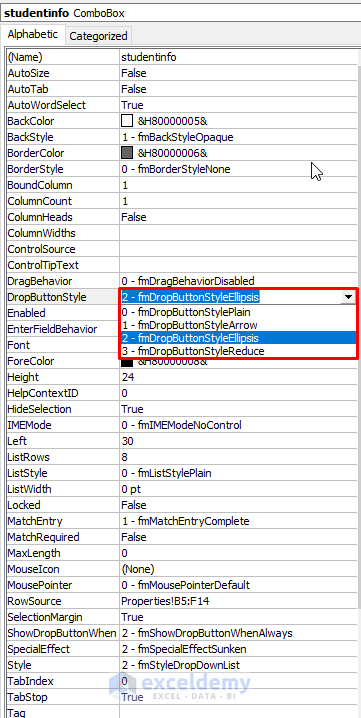
- We’ve selected DropButtonStyleEllipsis for our example.
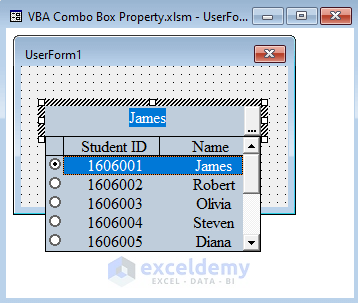
Property 6 – ListStyle
- There are two available styles in the ListStyle property.
- These can be viewed by clicking on the drop-down icon in the ListStyle section.
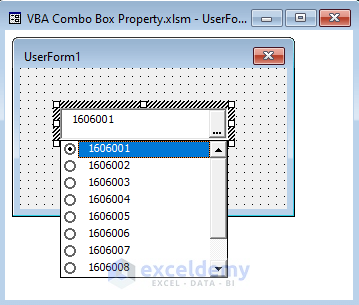
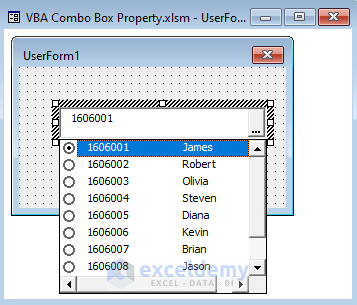
- Plain Style (1-fmListStylePlain): When selected, the options in the ComboBox will display a radio box icon.
- Option Style (0-fmListStyleOption): Choosing this option hides any icons in the ComboBox options.
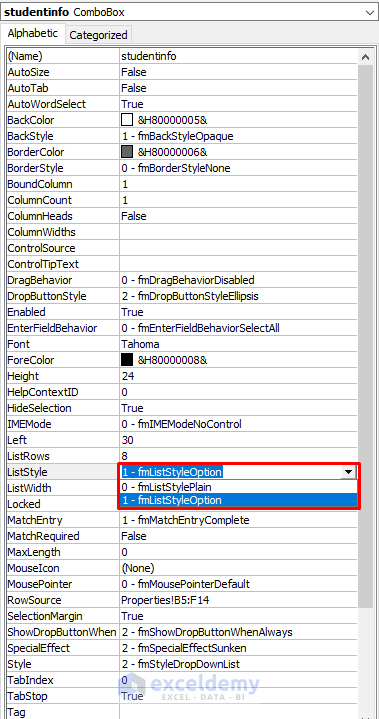
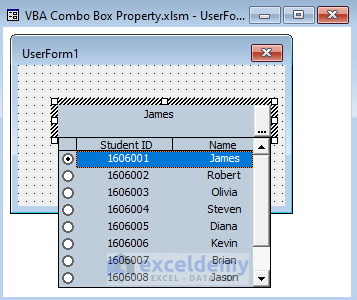
- For our example, we’ve selected the Plain Style, so the ComboBox options will show the radio box icon.
Property 7 – ColumnCount
- The ColumnCount property determines how many columns are visible within the ComboBox.
- By default, it’s set to 1, but we’ll change it to 2.
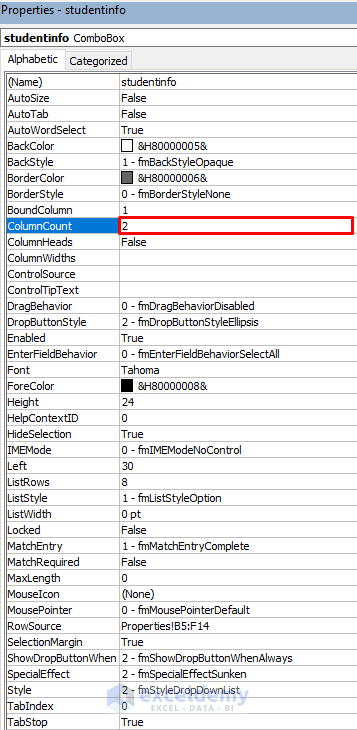
- Now, when you click the drop-down icon, you’ll see two columns of data instead of just one.
- You can even display 3 or 4 columns by adjusting the ColumnCount value accordingly.
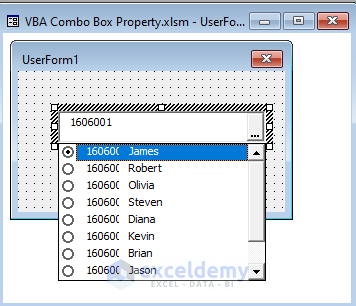
Property 8 – ColumnWidths
- To adjust the width of the ComboBox, use the ColumnWidths property.
- Since we’re working with 2 columns, set two widths—one for each column.
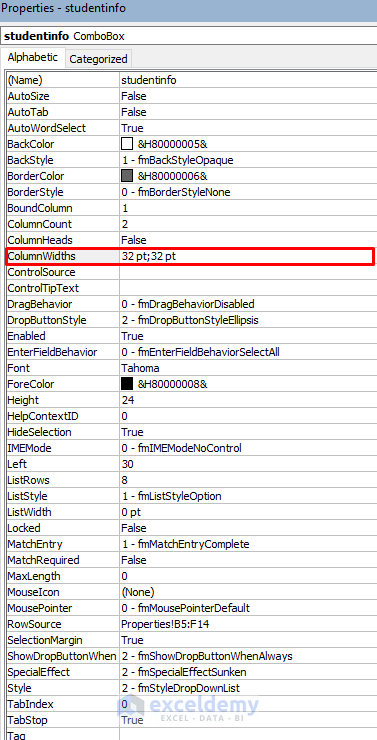
- For example, we’ve set the widths as 32pt;32pt.
- Observe the result—the ComboBox menu’s column width will decrease.
- You can customize these widths as needed, and you can specify them in centimeters or inches.
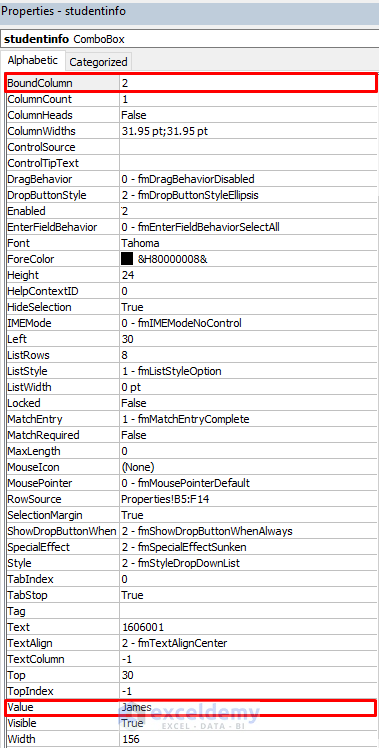
Property 9 – BoundColumn
- By default, it’s set to 1, meaning the ComboBox displays values from the first column.
- Change the BoundColumn value to 2.
- As a result, the Value property will show James.
- This aligns with our dataset, where James is in the second column.
- Feel free to adjust the column value based on your needs.
Read More: Excel VBA ComboBox Value
Property 10 – TextAlign
- The TextAlign property controls the text alignment of the ComboBox heading.
- You can choose left, center, or right alignment.
- For our example, we’ve selected center alignment (2-fmTextAlignCenter).
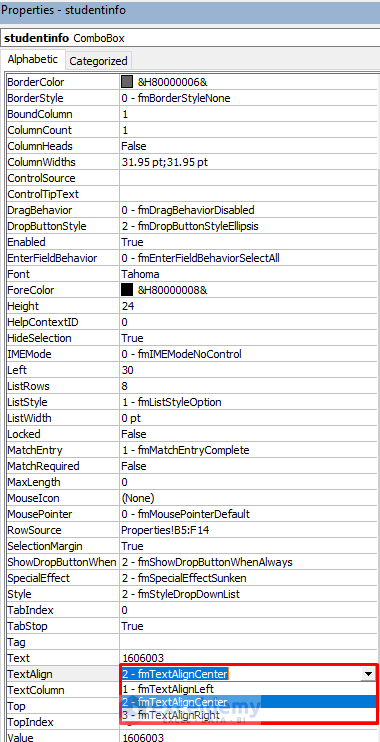
- When you view the ComboBox, you’ll notice that “1606003” is centered.
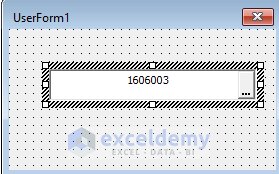
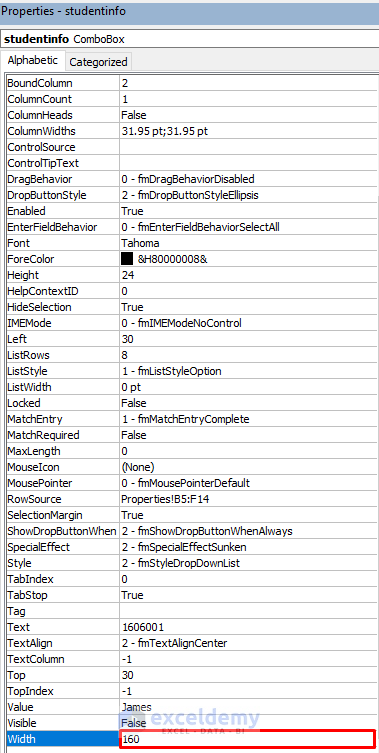
Property 11 – Width
- Use the Width property to modify the ComboBox’s width.
- We’ve set it to 160.
- Adjust this value to increase or decrease the width as desired.
Property 12 – TextColumn
- The TextColumn property determines which column’s data appears as text in the ComboBox.
- Typically, it’s set to 1.
- However, we’ve set it to 2, displaying data from the second column of our initial dataset.
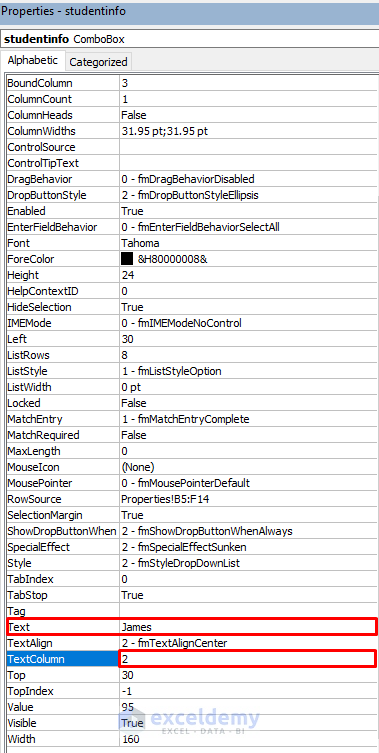
- Now, when you return to the ComboBox, it will show James.
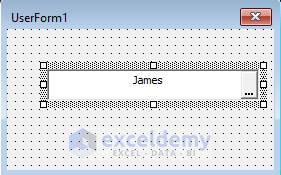
Property 13 – BackColor
- The BackColor property lets you choose the ComboBox’s color.
- Use the drop-down menu to select your favorite color.
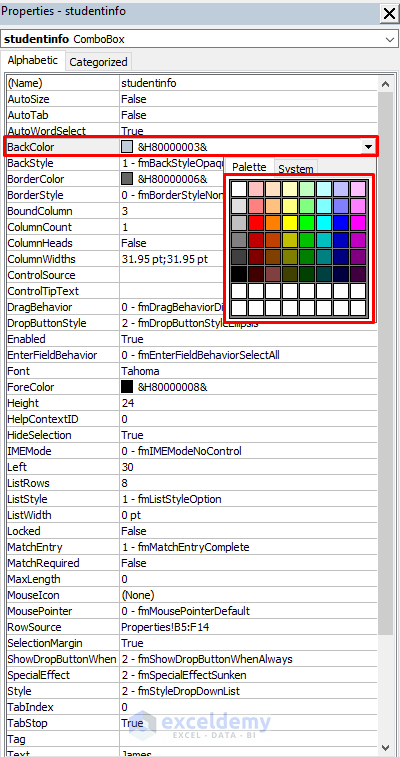
- In our case, we’ve chosen a specific color, and you’ll see the ComboBox’s color change accordingly.
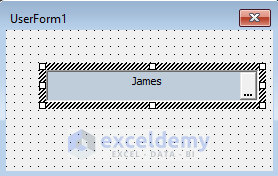
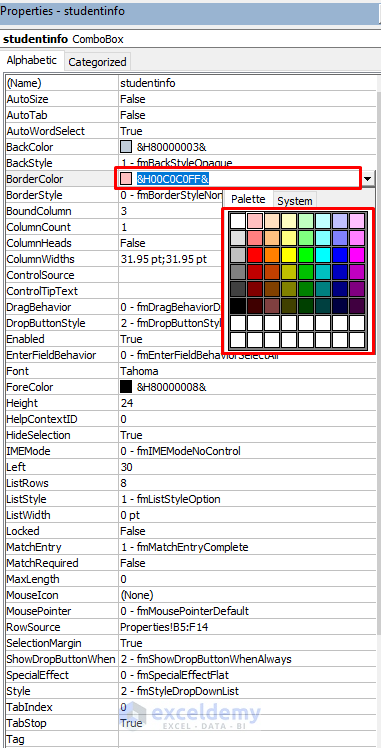
Property 14 – BorderColor
- Similar to previous properties, the BorderColor property allows you to change the border color.
- Adjust it according to your preferences.
Property 15 – ColumnHeads
- By default, the ColumnHeads property is set to False.
- However, if you set it to True, the header will appear at the top of the ComboBox options.
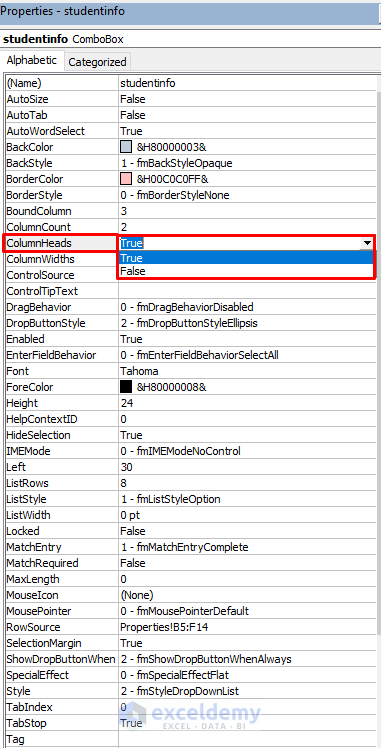
- Even if you didn’t explicitly select a header range from the dataset, it will still display.
- To turn off the header, simply reset the value to False.
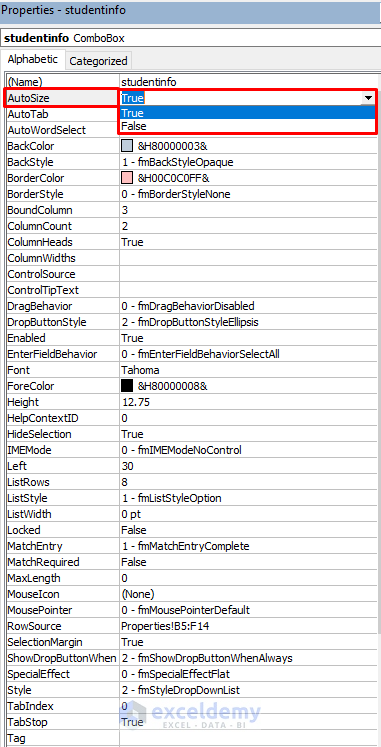
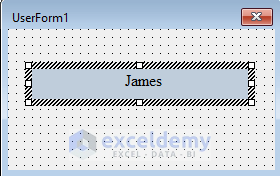
Property 16 – AutoSize
- When enabled, it automatically adjusts the size of the ComboBox.
- Instead of manually adjusting the size, set the AutoSize value to True.
- As a result, the ComboBox will dynamically resize itself.
Property 17 – Font
- We’ll change the font for the ComboBox:
- Go to the Font property.
- Click the drop-down icon to select a font.
- We’ve chosen Times New Roman with a font size of 12.
- Click OK to apply the changes.
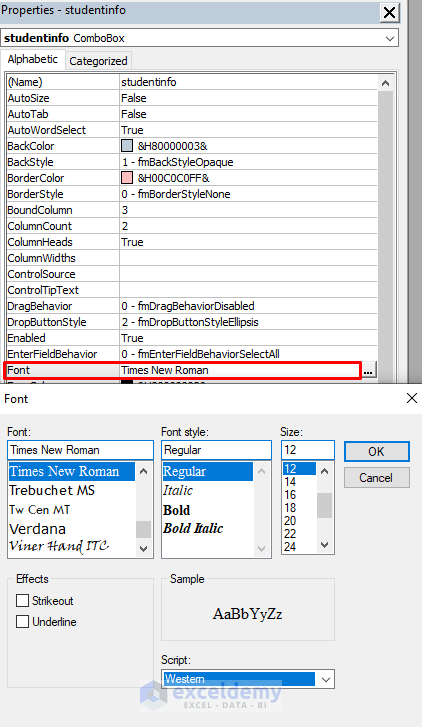
- Observe how the font and font size update in the ComboBox.
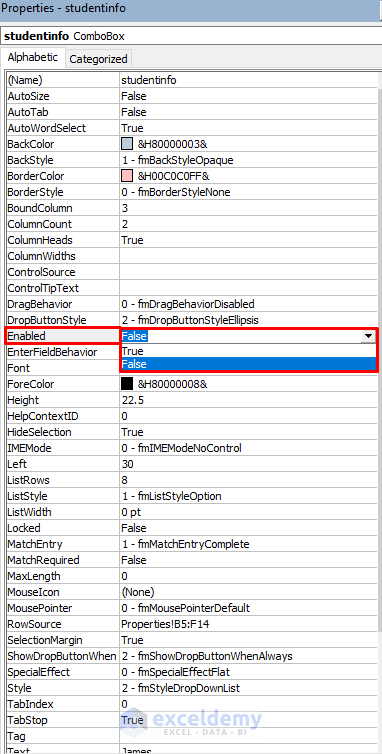
Property 18 – Enabled
- The Enabled property determines whether the ComboBox is active.
- By default, it’s set to True, meaning the ComboBox is enabled.
- To disable it, set the value to False.
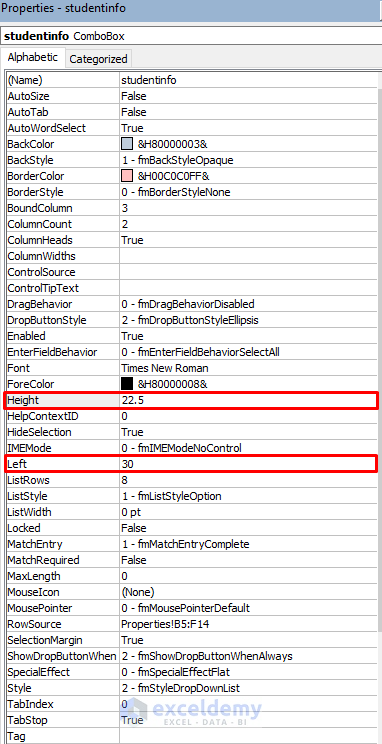
Property 19 – Height and Left Properties
- Now, let’s explore the Height and Left properties:
- Height: Adjust the height of the ComboBox as needed.
- Left: Specify the position of the ComboBox relative to the left corner.
Property 20 – ListRows
- The ListRows property controls how many rows are visible in the ComboBox.
- Previously, it was set to 8, displaying 8 elements.

- We’ve changed it to 5, so now 5 rows are visible.
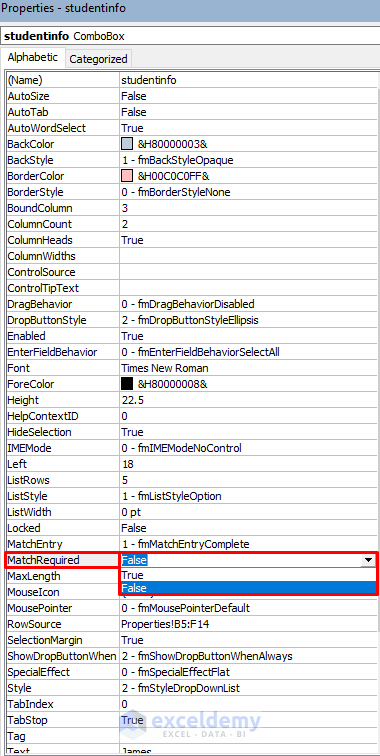
Property 21 – MatchRequired
- When using the Style property (0-fmStyleDropDownComb), you can take advantage of the MatchRequired property.
- By default, it’s set to False.
- With MatchRequired enabled, suggestions appear as you type in the ComboBox.
- For example, if you’re searching for Olivia, you can start typing a few letters, and the suggestions will show up.
Property 22 – ShowDropButtonWhen
- This property controls when the drop-down menu button is visible.
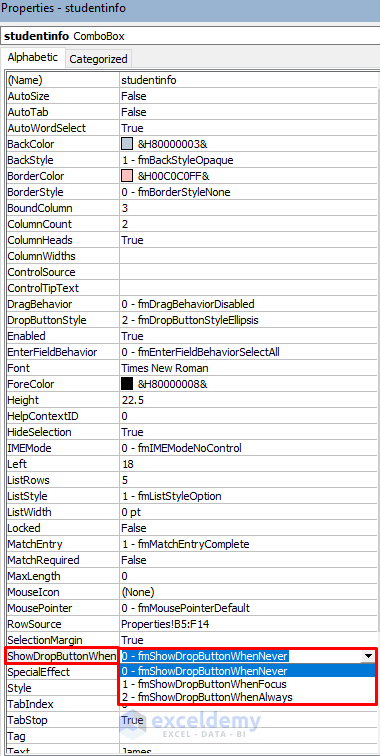
- We’ve selected 0-ShowDropButtonWhenNever, which hides the button.
- You can explore other options to customize its behavior.
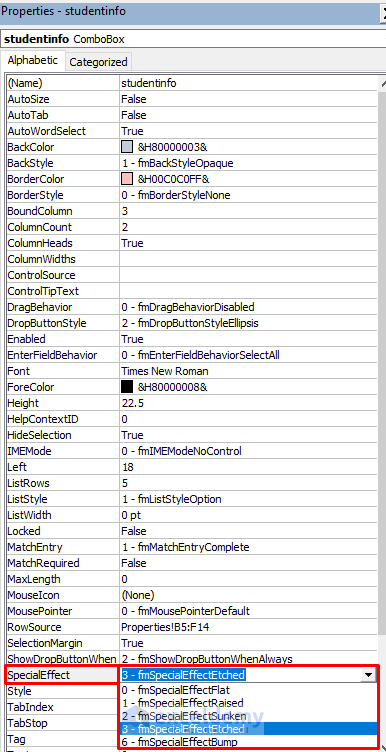
Property 23 – SpecialEffect
- The SpecialEffect property affects the visual appearance of the ComboBox.
- There are five options to choose from, allowing you to customize its outlook.
Download Practice Workbook
You can download the practice workbook from here:
Related Articles
- How to Add Item to ComboBox with VBA in Excel
- How to Use VBA to Populate ComboBox List from Range in Excel
- How to Use Excel VBA ComboBox with Control Source Property
- Excel VBA to Populate ComboBox from Dynamic Range
- How to Get Excel VBA Combobox with RowSource Named Range


Como habilito siquiero hacer una seleccion multiple del control
Gracias César por tu consulta. Lamentablemente, no podemos seleccionar varias opciones en un ComboBox. Sin embargo, si necesita seleccionar varias opciones, puede utilizar el ListBox que tiene la propiedad MultiSelect. Pero un inconveniente de ListBox es que no permite a los usuarios escribir directamente en él. Para obtener más información sobre MultiSelect ListBox, puede leer este artículo.
Saludos
Aniruddah
Equipo Exceldemy
[Thanks Cesar for your query. Unfortunately, we can not select multiple options in a ComboBox. However, if you need to select multiple options, you can use the ListBox that has the MultiSelect property. But, one drawback of ListBox is that it doesn’t allow the users to directly write on it. To learn more about MultiSelect ListBox, you can read this article.
Regards
Aniruddah
Team Exceldemy]
Great information. Regarding the rowsource data, I am trying to reference a particular column in a table of data to populate the combobox. I have gotten it to accept the table (=Sheetname!TableName) but I cannot figure out how to specify a particular column of the table. (My table has several columns)
I have tried adding [Column] with no luck.
Hello SCOTT
Thanks a lot for your kind words. You want to specify a particular column from a table in Excel VBA ComboBox’s RowSource property.
Output Overview:
Let’s assume you have a table named Data in the sheet Database with several columns, and you want to populate your ComboBox with the values from a specific column, let’s say the Project column.
You can use the following format for the RowSource property: =Database!Data[Project]
Hopefully, the idea will help. I have also attached the solution workbook for better understanding. Good luck.
DOWNLOAD SOLUTION WORKBOOK
Regards
Lutfor Rahman Shimanto
Excel & VBA Developer
ExcelDemy