Dataset Overview
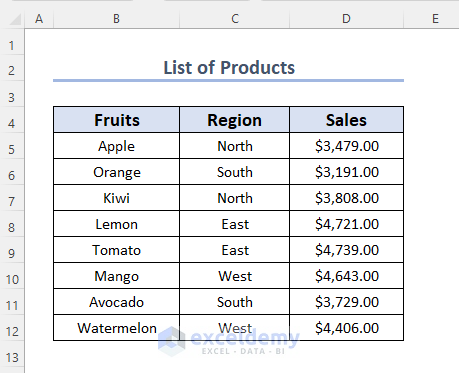
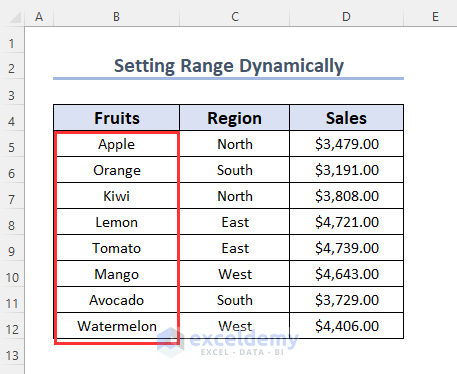
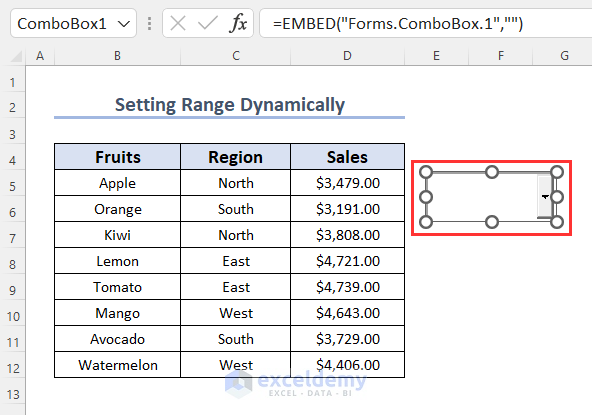
In this tutorial, we’ll work with a dataset containing a list of products, their corresponding regions, and sales values. We’ll explore five methods for creating drop-down lists in a ComboBox using the ListFillRange property.
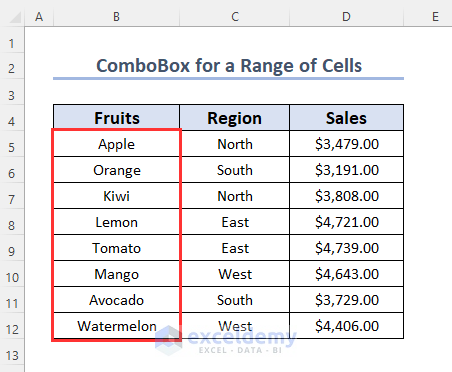
Method 1- Using a Cell Range
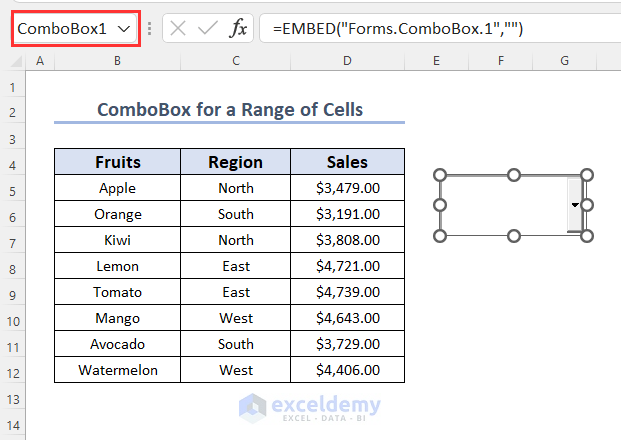
We will create a drop-down list containing the list of products in a ComboBox and the cell range B5:B12 will be used as ListFillRange.
Step 1 – Create a ComboBox
- Go to the Developer tab.
- In the Insert group, select ComboBox (ActiveX Control).
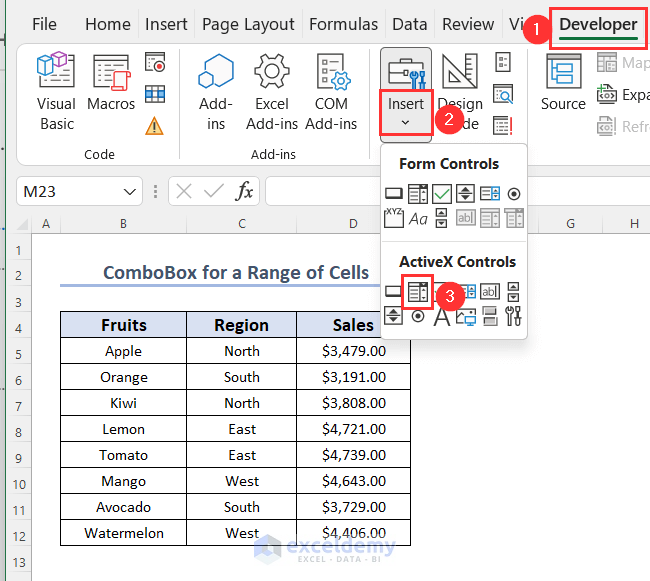
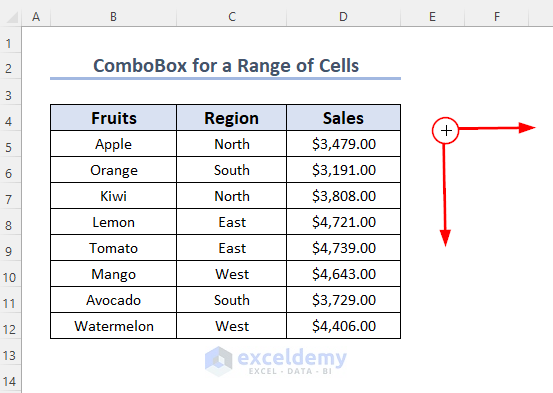
- A plus symbol will appear; drag it down and to the right to create the ComboBox.
The name of the ComboBox is ComboBox1.
Step 2- Enter the Range
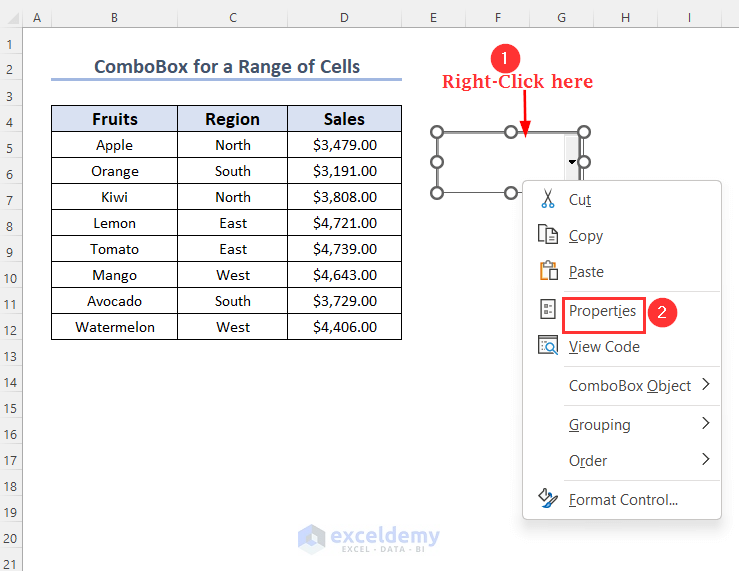
- Right-click on the ComboBox and choose Properties.
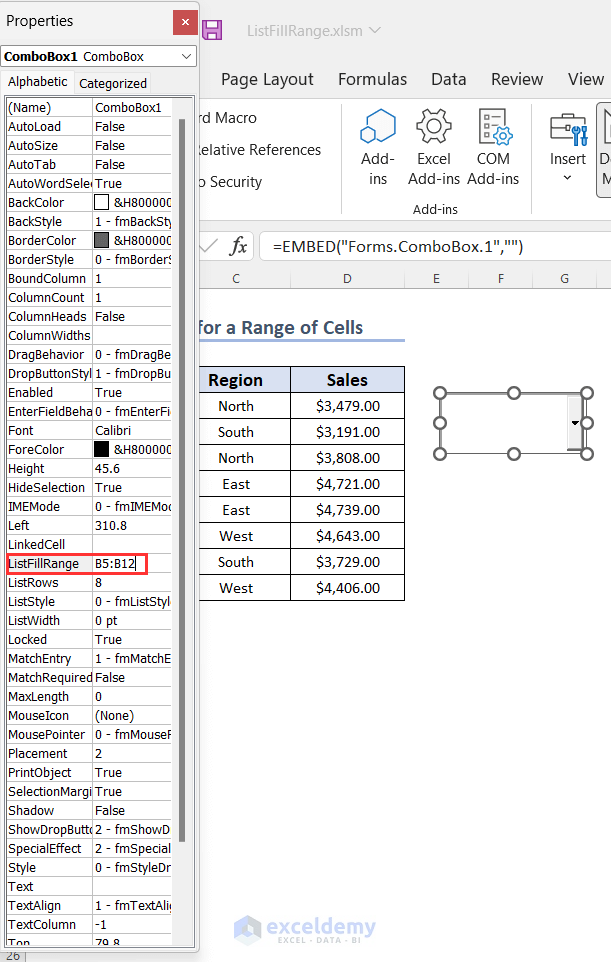
- In the Properties window, enter the range B5:B12 in the ListFillRange box.
- Press ENTER and close the window.
- Turn off design mode by clicking Design Mode in the Developer tab.

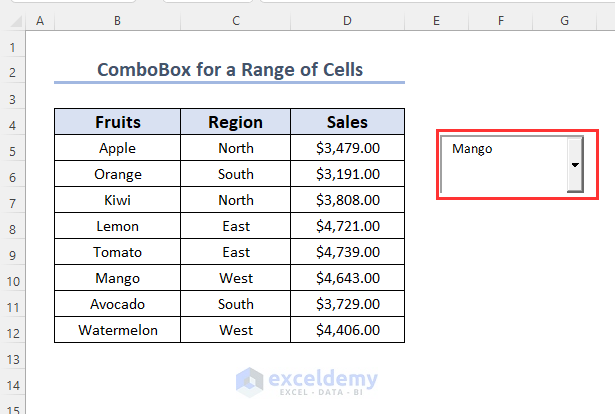
- Click the drop-down symbol to see the list of products. Select Mango.
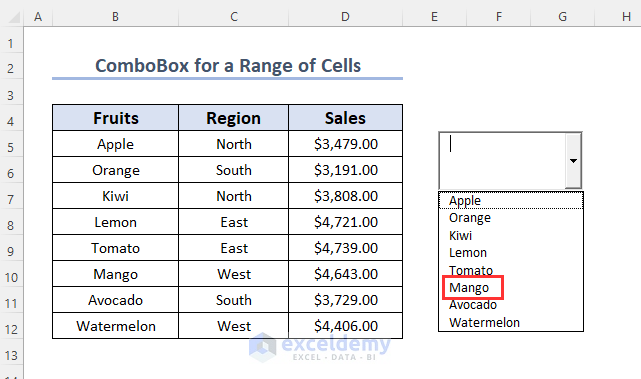
The product Mango will appear in the box.
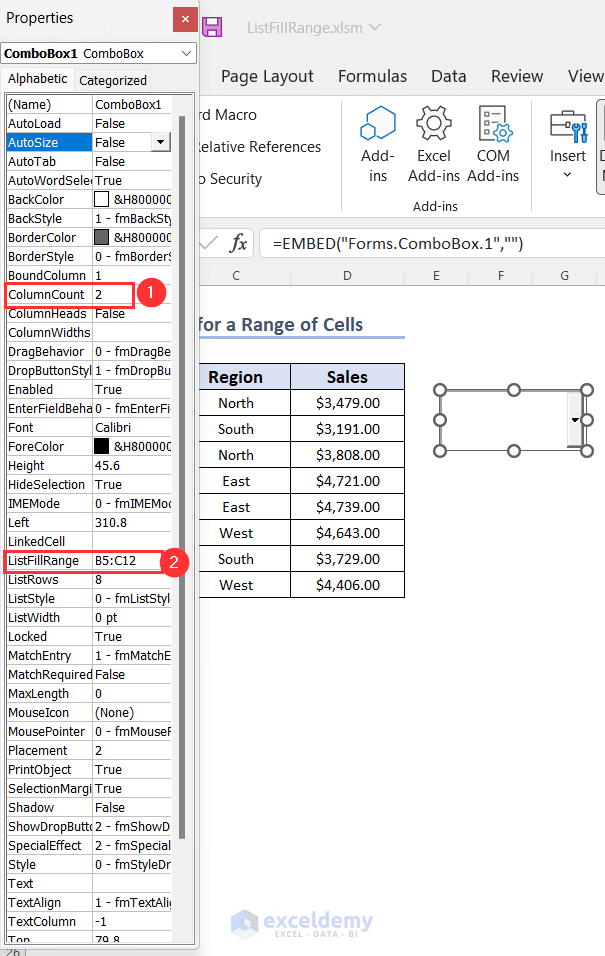
Step 3 – Display Values from Two Columns
- To show both fruit names and corresponding regions:
- Set ColumnCount to 2 in the Properties window.
- Extend the ListFillRange to B5:C12.
- The dropdown list displays fruit names and regions, but only the fruit name appears in the box.
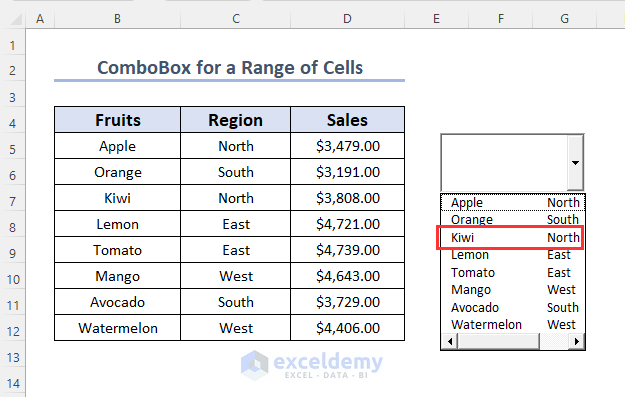
- Select an option (e.g., Kiwi), and only Kiwi will appear in the box.

Read More: How to Create a Searchable ComboBox with VBA in Excel
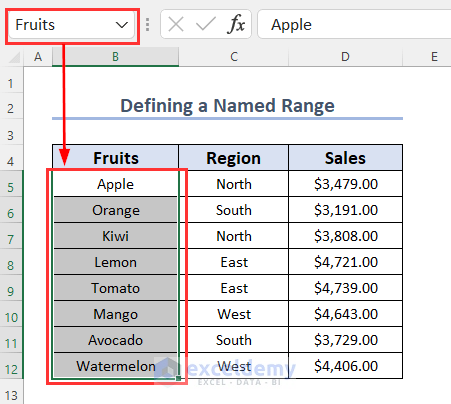
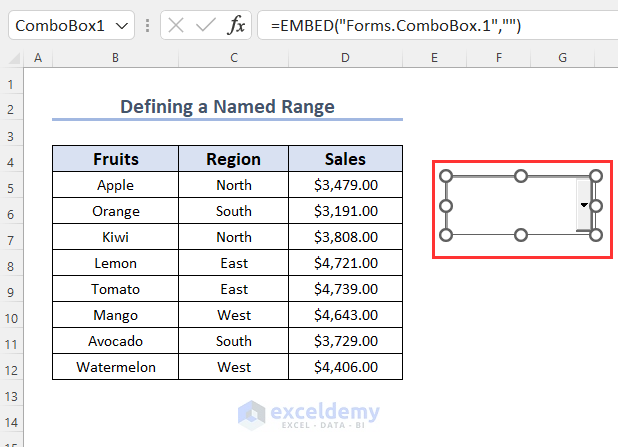
Method 2 – Defining a Named Range
Instead of defining a range of cells directly, here, we will use a name for this range. For example, we can see the name of the fruits in range B5:B12 is Fruits, so we can use this name for declaring this range.
Steps
- Create ComboBox1 (Follow Step 1 from Method1).
- Define a Named Range:
- Disable design mode.
- Right-click on ComboBox1 and select Properties.
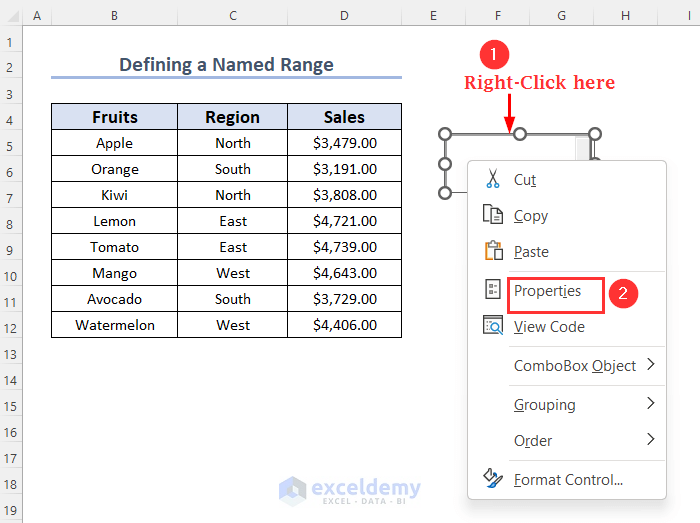
-
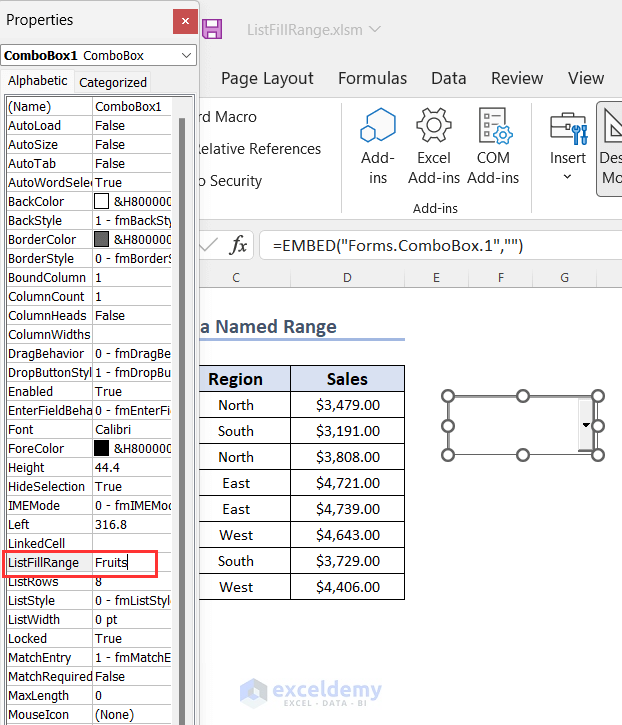
- In the Properties window, enter the range name Fruits in the ListFillRange box.
- Press ENTER and Close the window.
-
- Click the drop-down symbol to see the list of products. Choose Lemon.

-
- The fruit name Lemon will appear in the box.

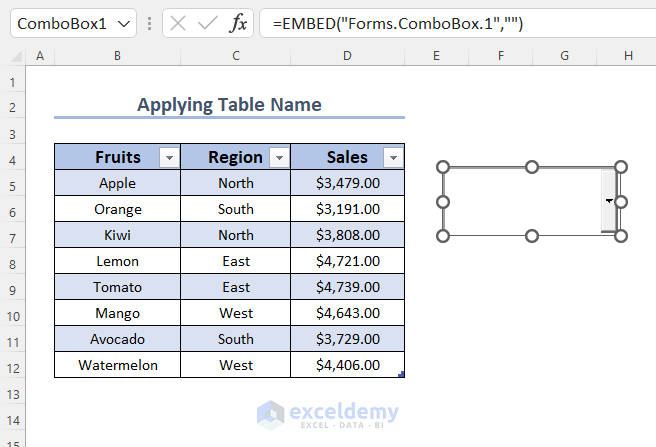
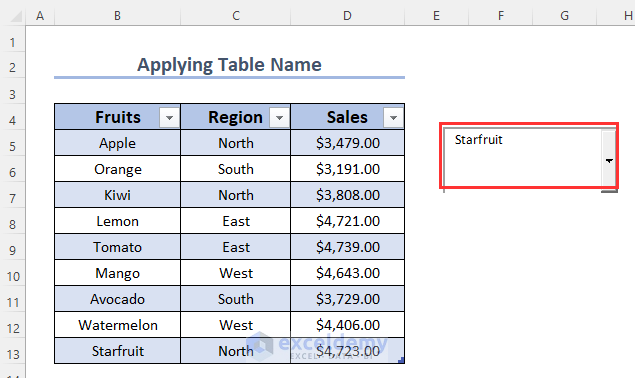
Method 3 – Applying Table Name to Update Drop-Down List of a ComboBox
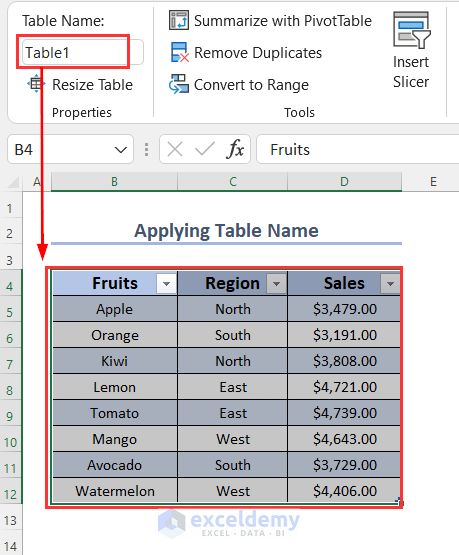
- Table Setup:
- Assume we have a table named Table1.
- Our goal is to use this table name for the ListFillRange property of the ComboBox.
- Unfortunately, this property doesn’t directly accept table names, so we’ll need to use a VBA code.
- Steps:
- Follow Step 1 from Method 1 to create ComboBox1.
-
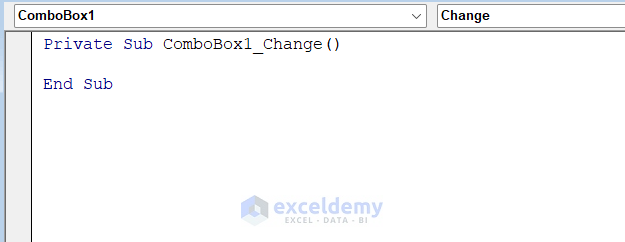
- Double-click on the ComboBox to open the code window.

-
- Replace the existing Change event with a double-click event:
-
-
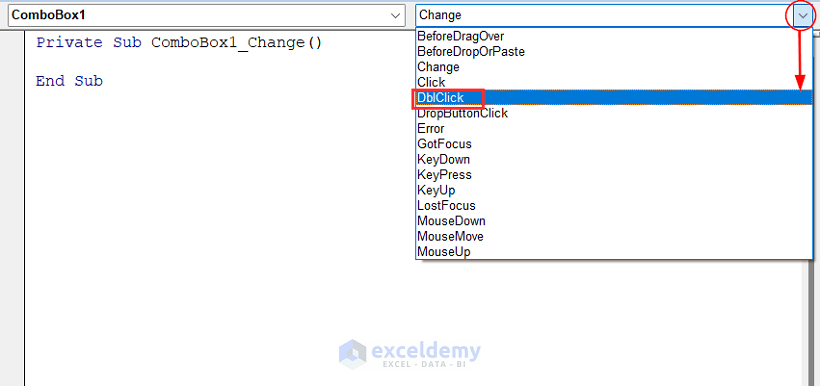
- Click the drop-down symbol next to the procedure portion.
- Select DblClick.
-
-
- Use the following code to enter the table name for the list range:
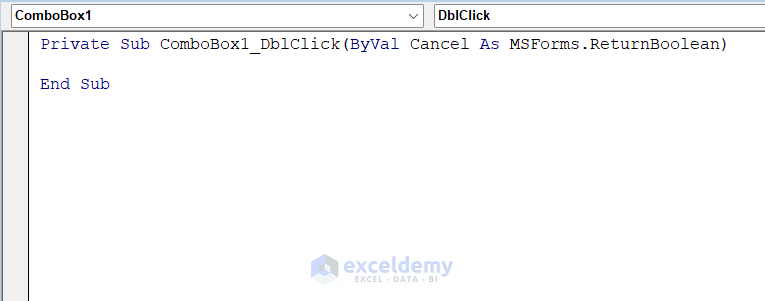
Private Sub ComboBox1_DblClick(ByVal Cancel As MSForms.ReturnBoolean)
Drng = Range("Table1").Address(0, 0)
Me.ComboBox1.ListFillRange = Drng
End Sub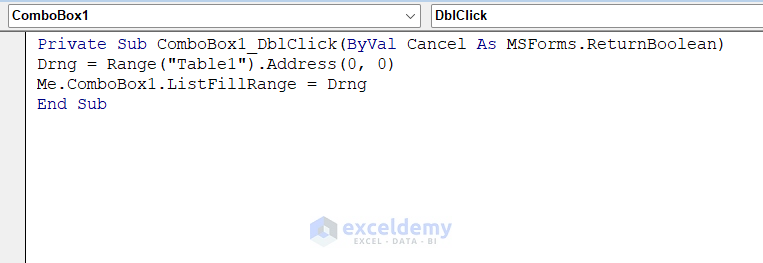
-
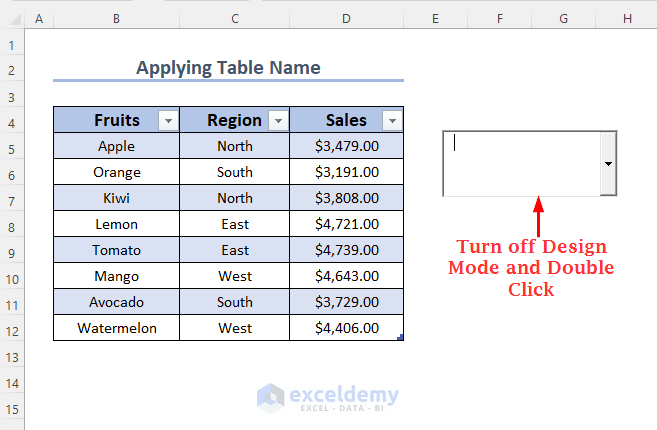
- Return to the main sheet.
- Turn off design mode for the combo box and double-click to activate the code.
-
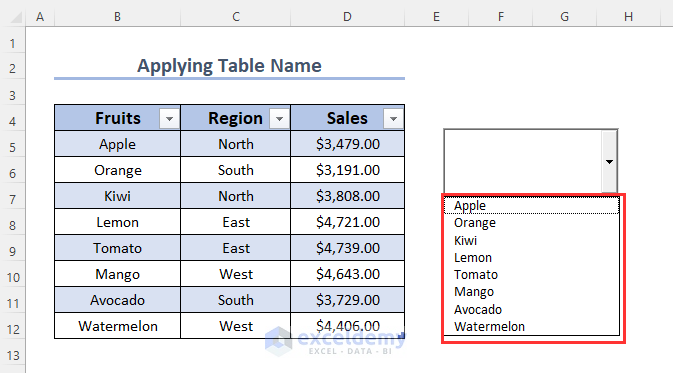
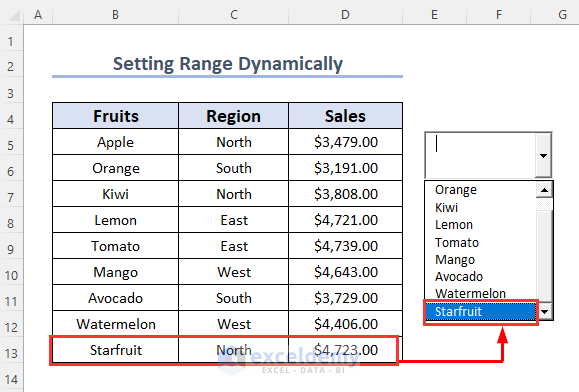
- Click the drop-down symbol to see the list of fruit names.
-
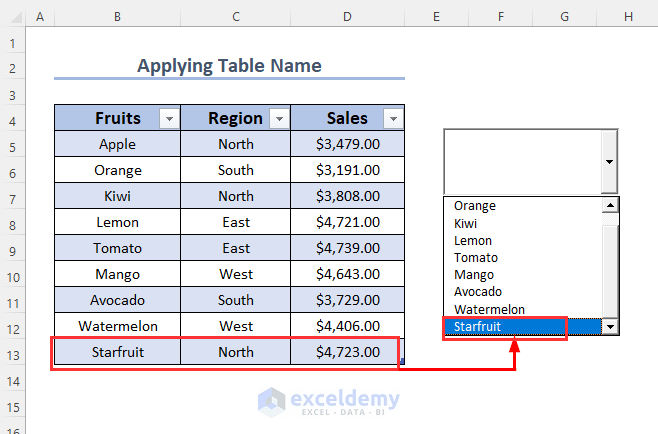
- If you add another row (e.g., Starfruit), it will immediately appear in the combo box due to the advantage of using a table.
- Click on Starfruit.
-
- Starfruit will show in the combo box.
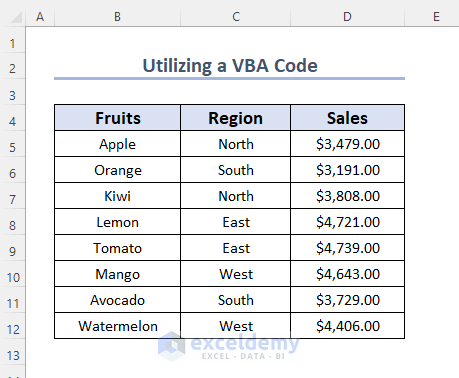
Method 4 – Utilizing VBA Code to Insert a ComboBox with Defined Ranges
Steps:
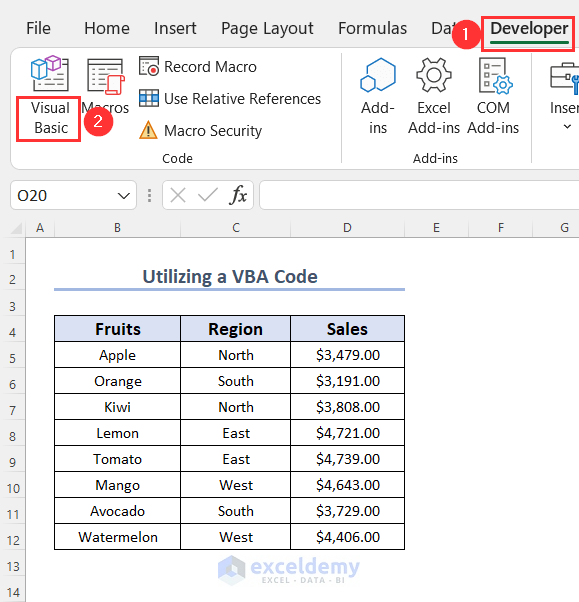
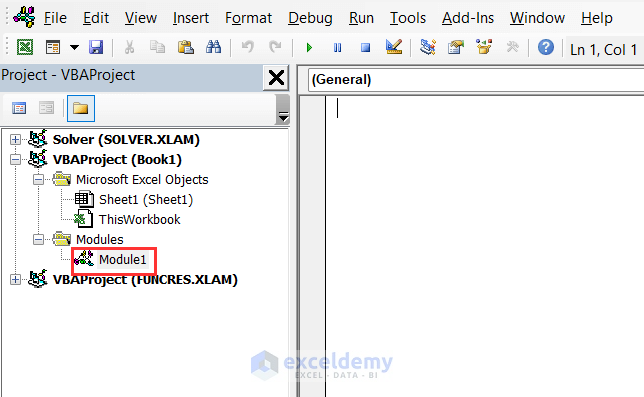
- Go to the Developer tab and click on Visual Basic.
- In the Visual Basic Editor window, go to the Insert tab and click on Module.
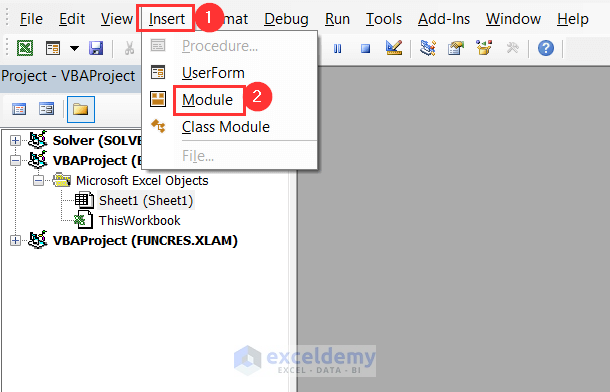
We have created Module 1.
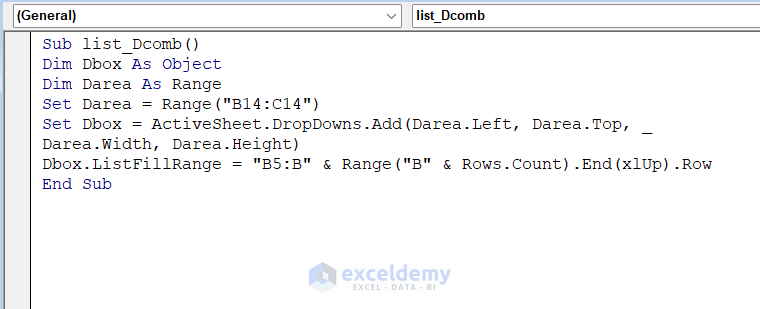
- Enter the following code in your newly created module.
Sub list_Dcomb()
Dim Dbox As Object
Dim Darea As Range
Set Darea = Range("B14:C14")
Set Dbox = ActiveSheet.DropDowns.Add(Darea.Left, Darea.Top, _
Darea.Width, Darea.Height)
Dbox.ListFillRange = "B5:B" & Range("B" & Rows.Count).End(xlUp).Row
End Sub
Code Breakdown
- Here, we have declared Dbox as Object, and Darea as Range.
- We assigned the range B14:C14 to the Darea It indicates the position of the drop-down box.
- With the help of the Dbox variable, we defined the position of this box.
- Using the ListFillRange method we assigned the range starting from B5 to the last used cell of Column B.
- Press F5 to execute the code.
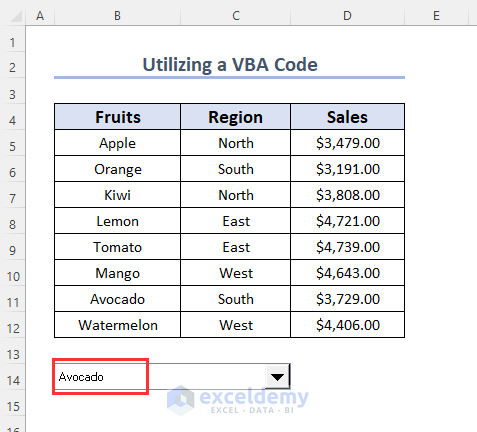
- You’ll have a new ComboBox within the range of B14:C14.
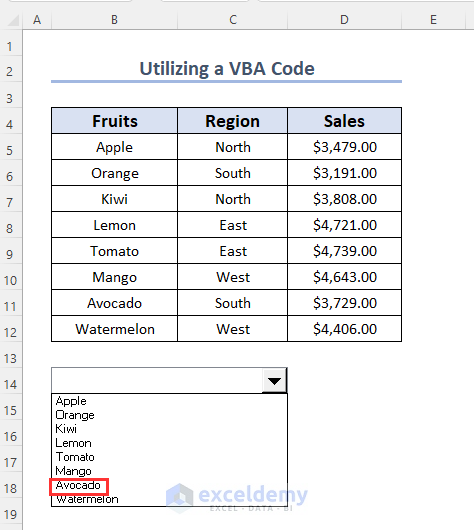
- Select an option from the list (e.g., Avocado) to populate the combo box.
Method 5 – Dynamically Setting a List Range for a ComboBox
In this section, we’ll create a dynamic named range that automatically updates with any changes. We’ll then use this range as a drop-down list for our combo box.
Steps
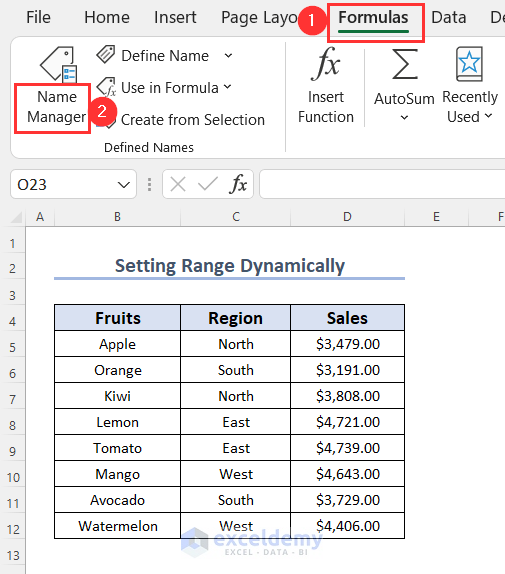
- Go to the Formulas tab and click on Name Manager.
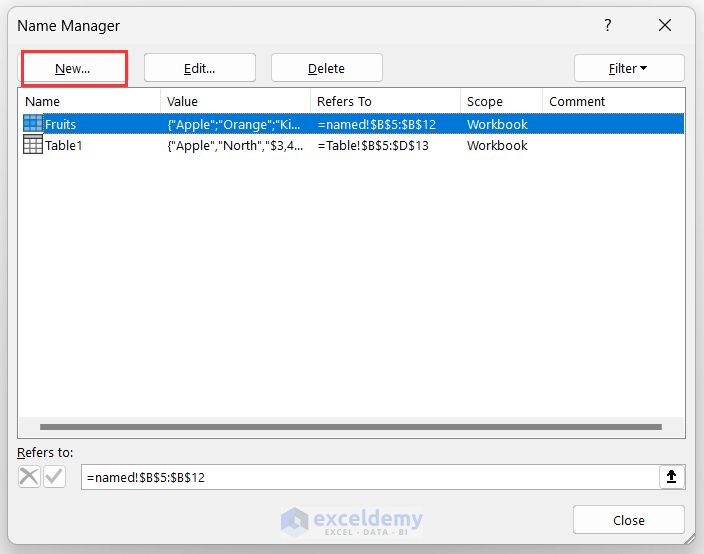
- In the Name Manager dialog box, click New.
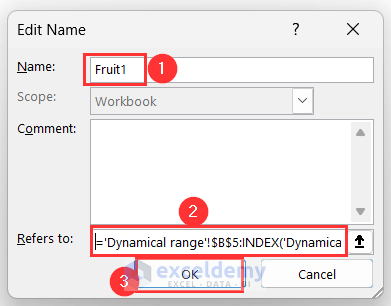
- In the new window, choose any name (e.g., Fruit1) for the Name box.
- Enter the following formula in the Refers to box:
='Dynamical range'!$B$5:INDEX('Dynamical range'!$B:$B, COUNTA('Dynamical range'!$B:$B)+2)Here, the Dynamical range is the sheet name, and $B$5 is the start range.
Formula Breakdown
- COUNTA(‘Dynamical range’!$B:$B) → returns the number of cells containing text or numbers (e.g., 10).
- COUNTA(‘Dynamical range’!$B:$B)+2 →adds 2 because there are 2 blank cells before the end of Column B (e.g., 12).
- INDEX(‘Dynamical range’!$B:$B, COUNTA(‘Dynamical range’!$B:$B)+2) → returns the reference of the cell at the intersection of Column B and Row 12 (e.g., $B$12).
- ‘Dynamical range’!$B$5:INDEX(‘Dynamical range’!$B:$B,COUNTA(‘Dynamical range’!$B:$B)+2) →represents the values within this range.
- Follow Step 1 from Method 1 to create ComboBox1.
- Disable the design mode, right-click on the combo box, and select Properties.
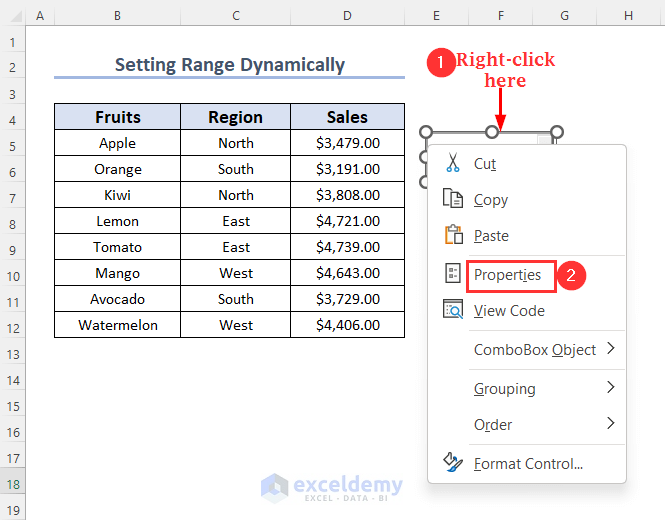
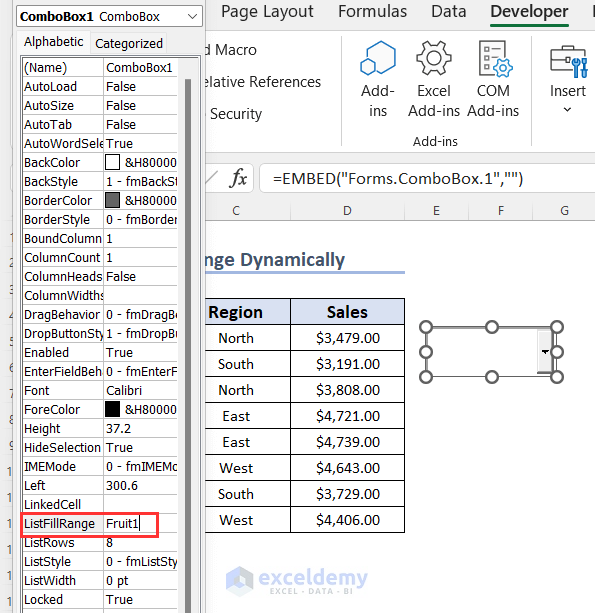
- In the Properties window, enter the range name Fruit1 in the ListFillRange box.
- Press ENTER and Close the window.
- Click the drop-down symbol, and the list of fruit names will appear.
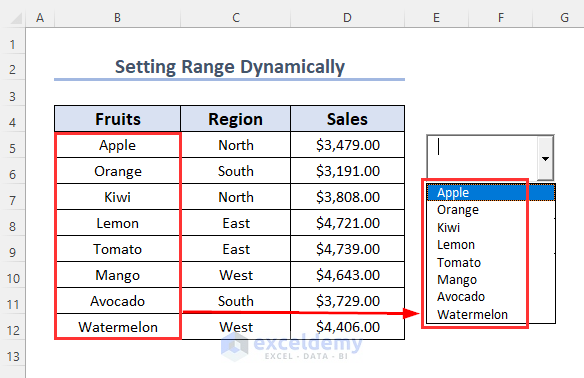
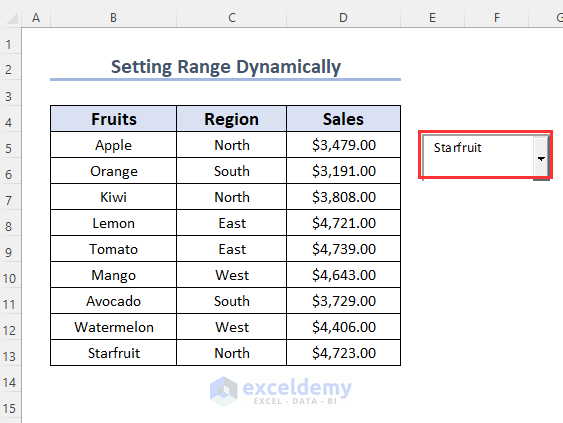
- If you add another row (e.g., Starfruit), it will immediately appear in the combo box’s drop-down list due to the advantage of using a table.
- Click on Starfruit, and your selected fruit name will appear inside the ComboBox.
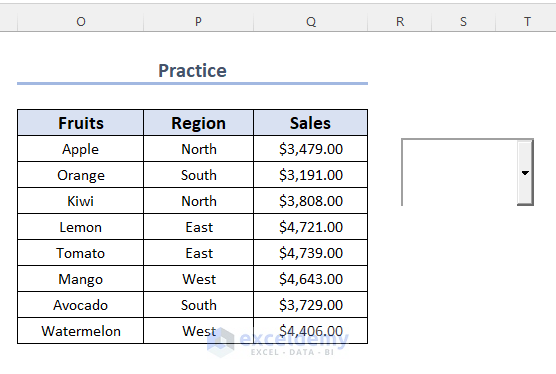
Practice Section
To practice, we have created a Practice section on the right side of each sheet.
Download Practice Workbook
You can download the practice workbook from here:
Related Articles
- How to Select First Item from ComboBox Using VBA in Excel
- How to Use ComboBox to Get Selected Item Utilizing VBA
- How to Clear Items from VBA ComboBox in Excel

