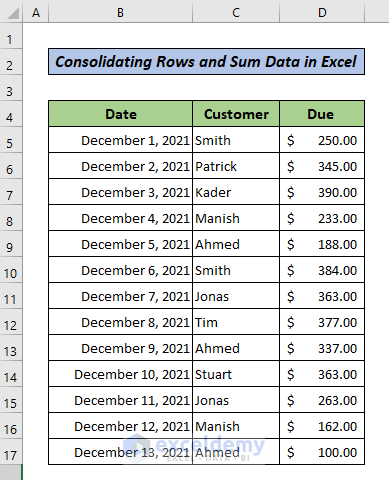
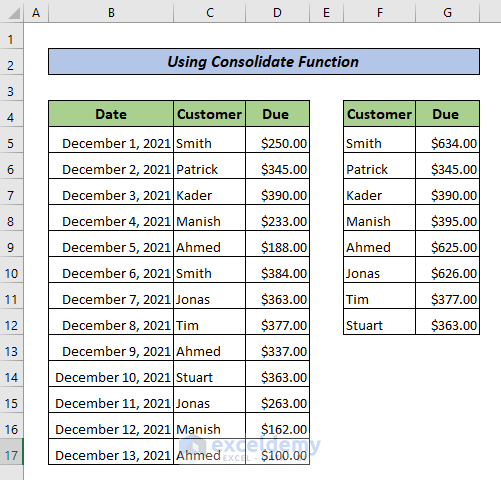
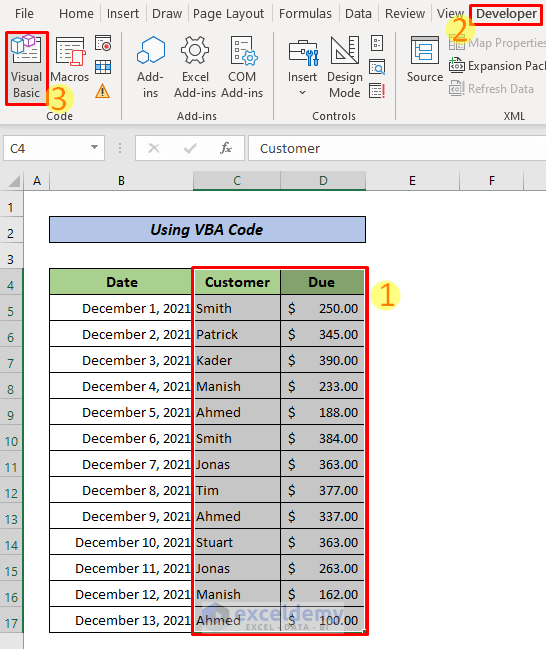
There are duplicate entries in the dataset below.
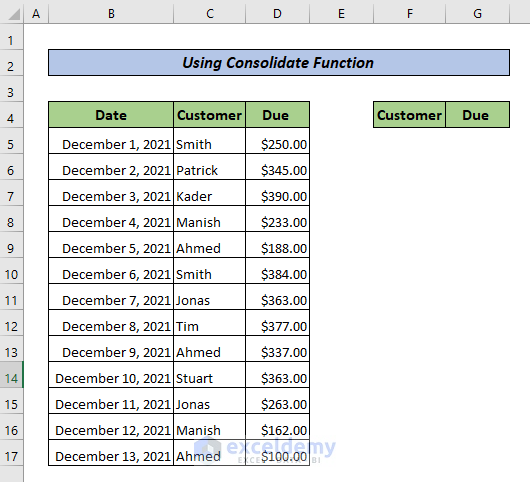
Method 1 – Use the Consolidate Feature in Excel
Steps:
- Copy the headers of the source data.
- Choose a place to see the output and paste the headers.
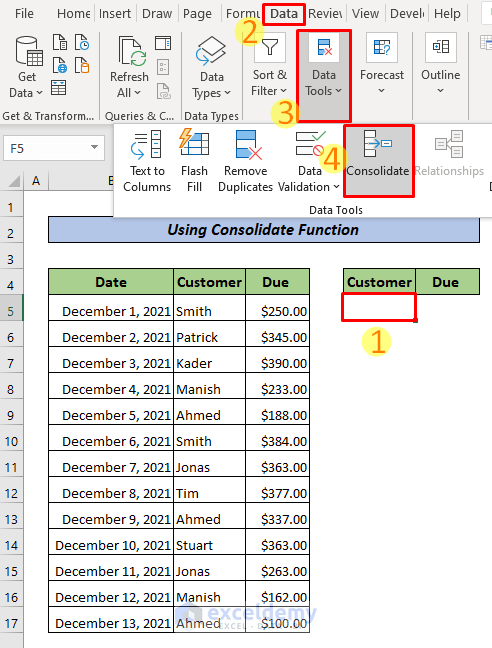
- Select F5.
- Go to the Data tab >> Data Tools >> Consolidate.
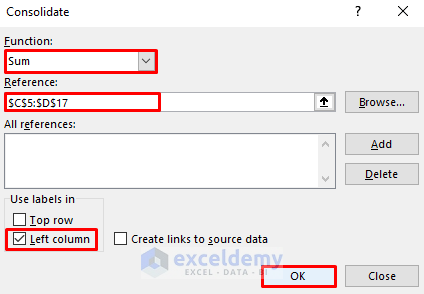
- Select Sum in Functions.
- Enter the cells without headers in Reference box. Use $ for an absolute reference.
- Check Left Column.
- Click OK.
This is the output.
Method 2 – Using the SUMIF Function and the Remove Duplicates Tool
Steps:
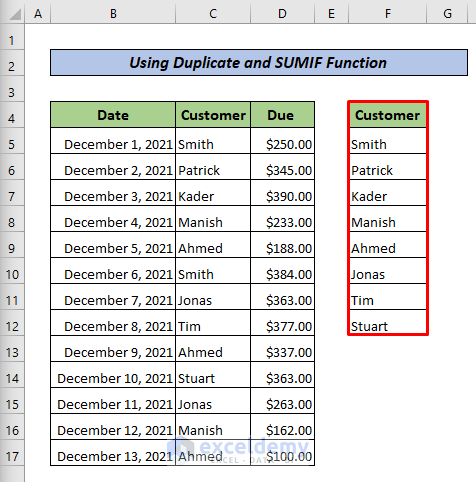
- Copy the Customer column with the header (C4:C17).
- Choose a place to see the output and paste the column.
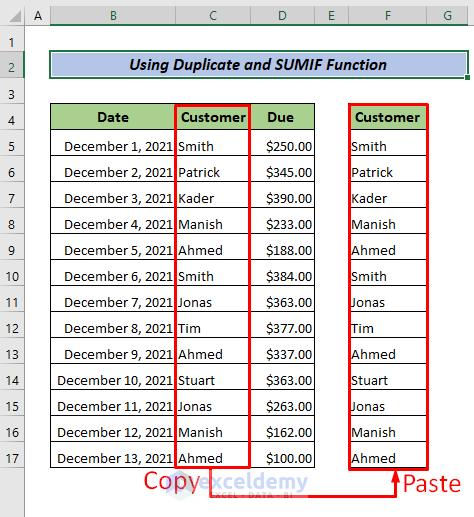
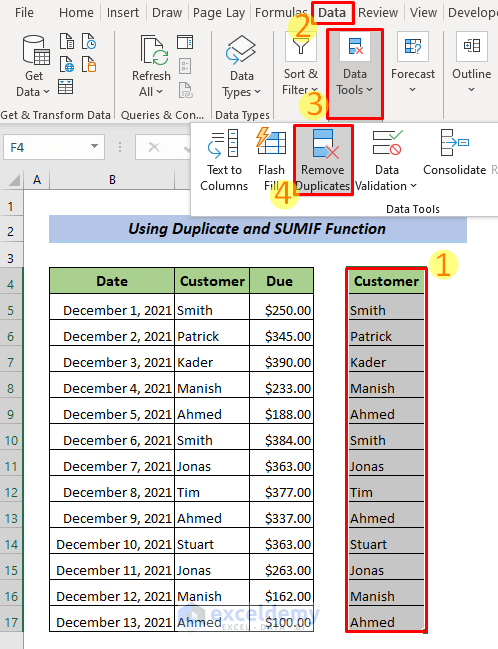
- Select the copied cells.
- Go to the Data Tab >> Data Tools >> Remove Duplicates.
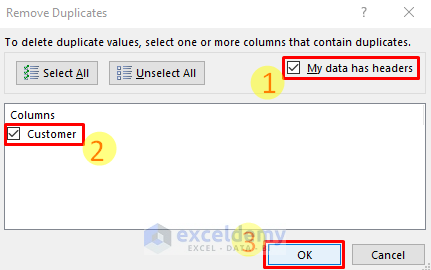
- Check My Data has headers.
- Select the column.
- Click OK.
You will see the customer names without duplicates.
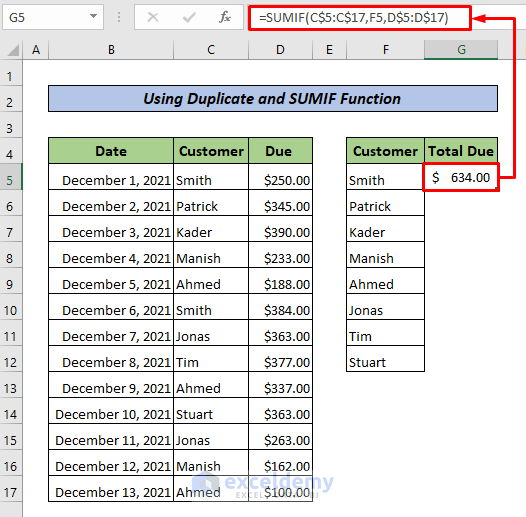
- Add a new header next to Customer: Total Due.
- Select G5 and enter the following formula.
- Press ENTER.
=SUMIF(C$5:C$17,F5,D$5:D$17)The summation value in F5 is calculated based on data in D$5:D$17, corresponding to the names in C$5:C$17.
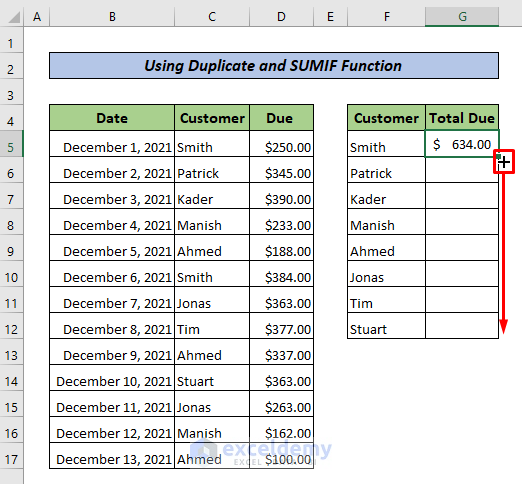
- Drag down the Fill Handle to see the result in the rest of the cells.
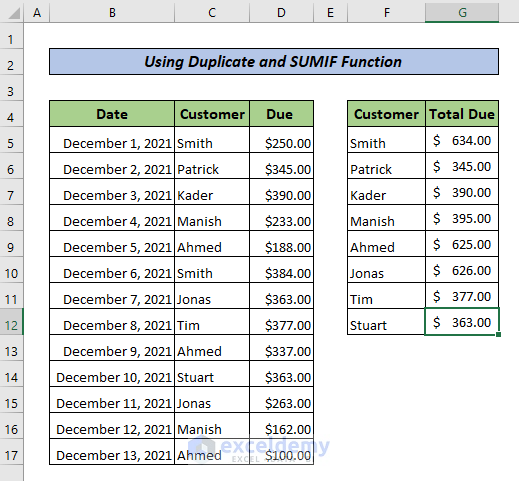
This is the output.
Method 3 – Use an Excel Pivot Table to Consolidate Rows and Sum Data
Steps:
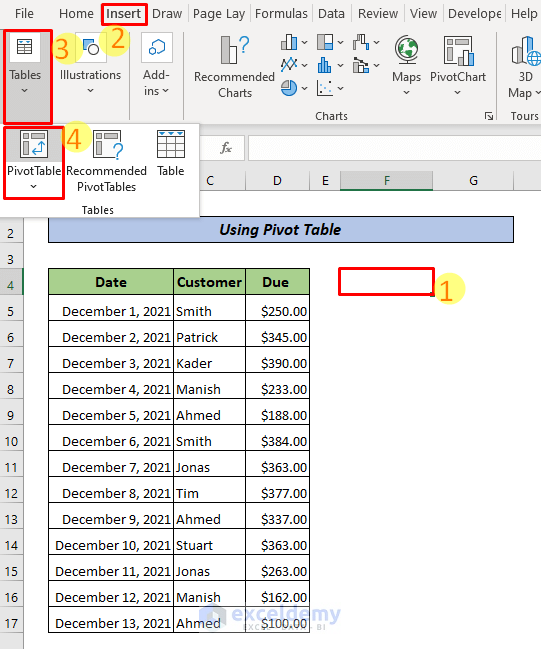
- Choose an empty cell to create the pivot table.
- Go to the Insert tab >> Tables >> Pivot Table.
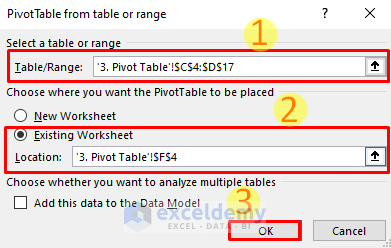
- In Select a table or range, enter the range (here, C4:D17).
A new sheet name is automatically displayed: ‘3. Pivot Table’!$C$4:$D$17
- Select Existing Worksheet.
- In Location, select a cell or enter ‘Worksheet Name’!Cell Id (here, 3. Pivot Table’!$F$4).
- Click OK.
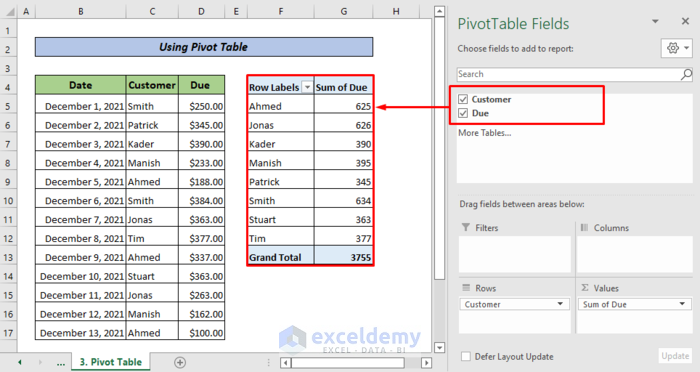
The Pivot Table is created.
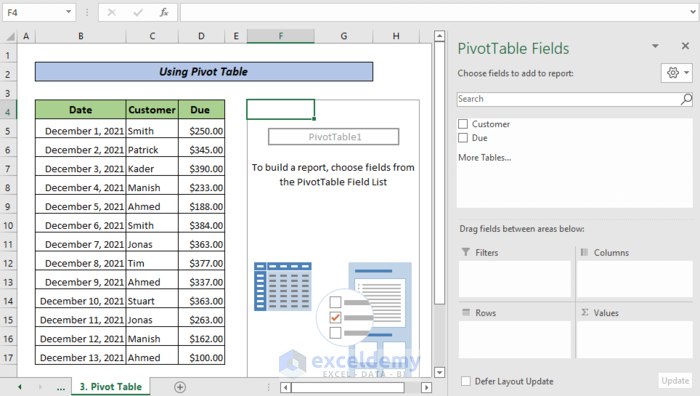
- In PivotTable Fields, check Customer and Due.
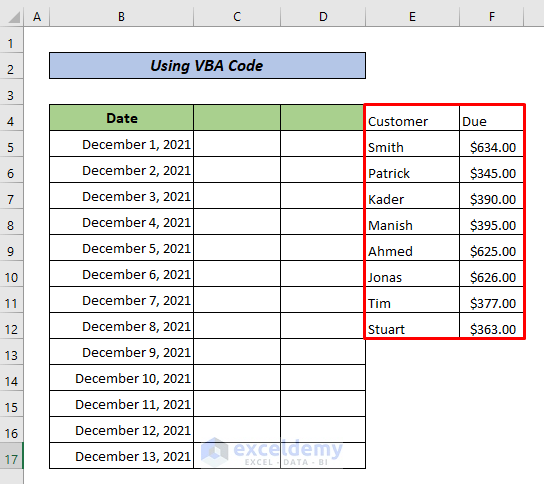
Method 4 – Use a VBA Code to Consolidate Rows and Sum Data
Steps:
- Select C4:D17.
- Go to Developer >> Visual Basic. You can also press ALT+F11 to open the Microsoft Visual Basic for Applications window.
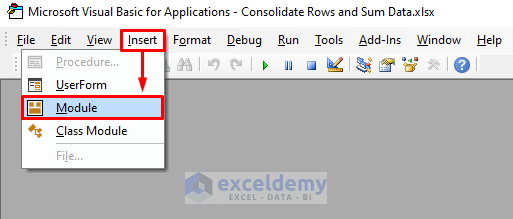
- Click Insert >> Module.
- Enter the following VBA code and click Run or press F5 to run the code.
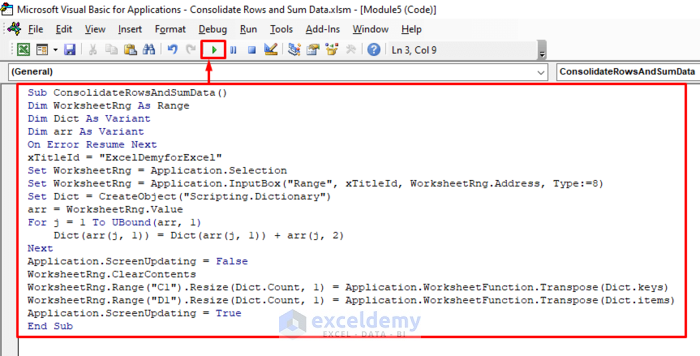
Sub ConsolidateRowsAndSumData()
Dim WorksheetRng As Range
Dim Dict As Variant
Dim arr As Variant
On Error Resume Next
xTitleId = "ExcelDemyforExcel"
Set WorksheetRng = Application.Selection
Set WorksheetRng = Application.InputBox("Range", xTitleId, WorksheetRng.Address, Type:=8)
Set Dict = CreateObject("Scripting.Dictionary")
arr = WorksheetRng.Value
For j = 1 To UBound(arr, 1)
Dict(arr(j, 1)) = Dict(arr(j, 1)) + arr(j, 2)
Next
Application.ScreenUpdating = False
WorksheetRng.ClearContents
WorksheetRng.Range("C1").Resize(Dict.Count, 1) = Application.WorksheetFunction.Transpose(Dict.keys)
WorksheetRng.Range("D1").Resize(Dict.Count, 1) = Application.WorksheetFunction.Transpose(Dict.items)
Application.ScreenUpdating = True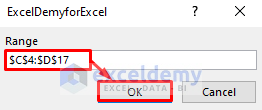
End Sub- Enter the range in which you want to consolidate rows and sum data.
- Click OK.
This is the output.
Download Practice Workbook
Download the practice workbook.
<< Go Back To Consolidation in Excel | Merge Sheets in Excel | Merge in Excel | Learn Excel
Get FREE Advanced Excel Exercises with Solutions!
