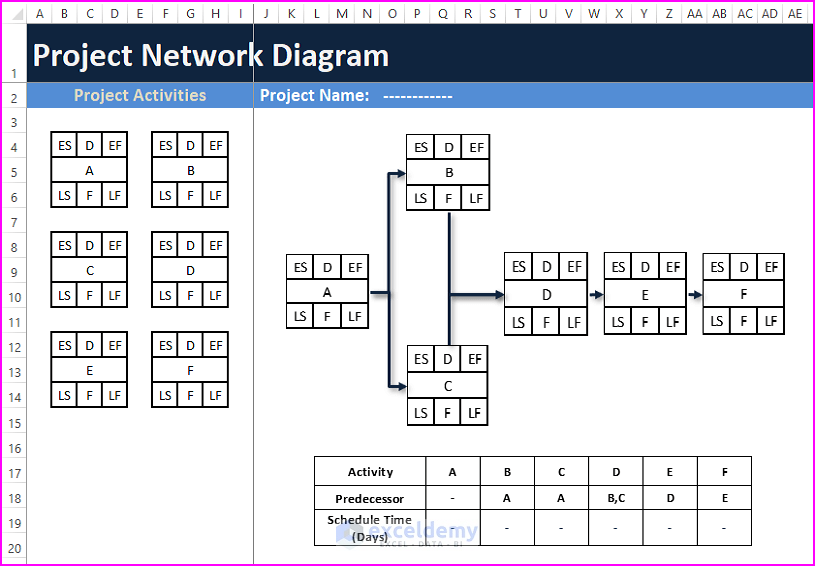
A project network diagram contains segments referring to different activities. Each segment indicates Start, Finish and Float time.
Step 1 – Entering Activities and Scheduling Time
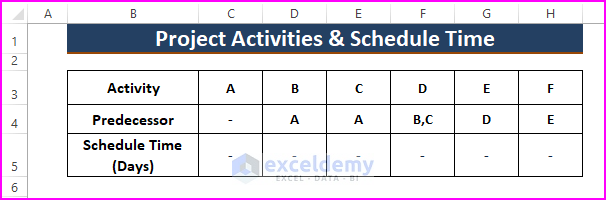
- Divide the entire project into multiple activities (A, B, C, etc).
- Determine the activities that need precursor activities.
- Enter all the activities and schedule time.
Step 2 – Maintaining a Fixed Cell Measurements for Segments
- Go to the Home tab > Format.
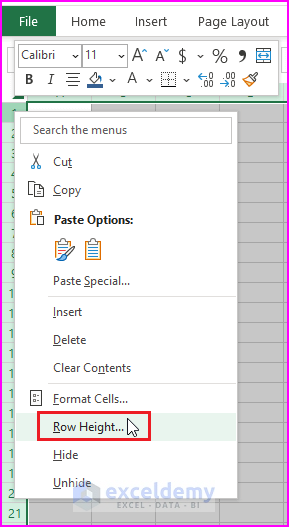
- Select the entire worksheet and right-click a column.
- Choose Column Width in the Context Menu.
- Enter a Column Width (e.g., 3).

- Enter a Row Height (e.g., 19).
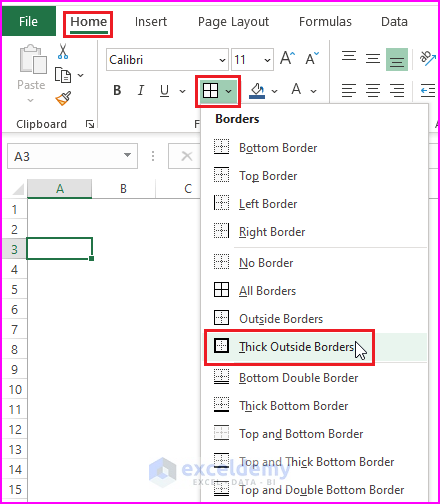
Step 3 – Craeting Segments with Custom Borders and Labels
- Create Box Segments with Labels. The segment labels are:
- Early Starting (ES)
- Duration (D)
- Early Finishing (EF)
- Late Starting (LS)
- Float Time (F)
- Late Finishing (LF)

Each box segment must be the same size and format.
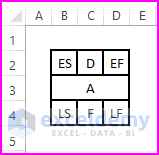
- Customize borders: Home > All Borders (in Font).
Step 4 – Project Network Diagram Layout in Excel
- Select a diagram layout.
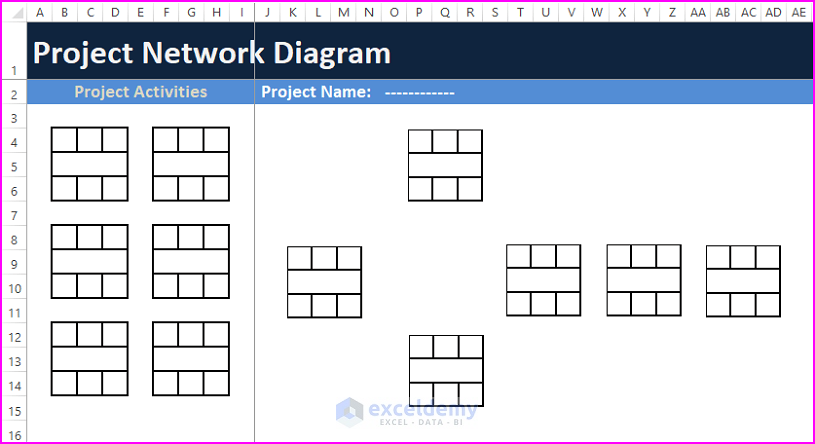
Step 5 – Creating the Project Network Diagram
- The project network diagram has 2 parts; Project Activities and Network Diagram: replicate them using box segments.
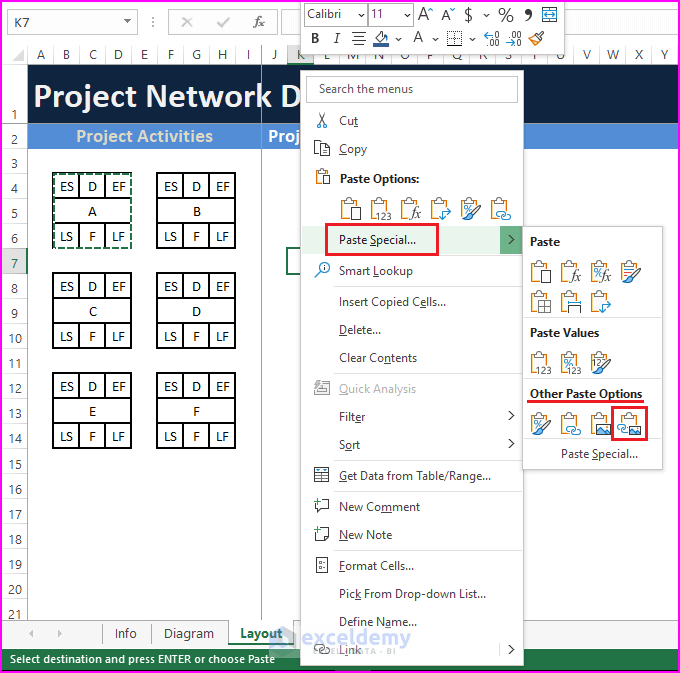
- Compile all box segments for an assigned activity.

- Copy each box segment using CTRL+C or Right Click > Copy.
- Right-click outside the Project Activities section > Choose Paste Special > Select Paste as Image (in Other Paste Options).
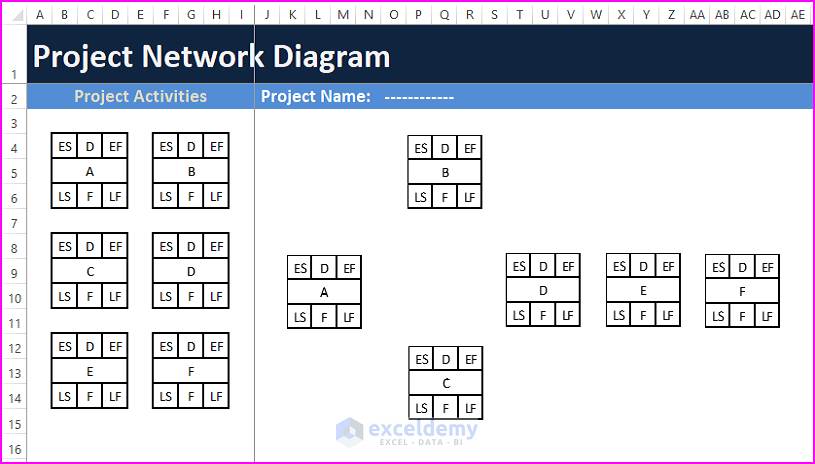
- Repeat the previous step to replicate all box segments as shown below.
- Enter Shapes to indicate the network flow: go to Insert > Illustrations > Shapes.
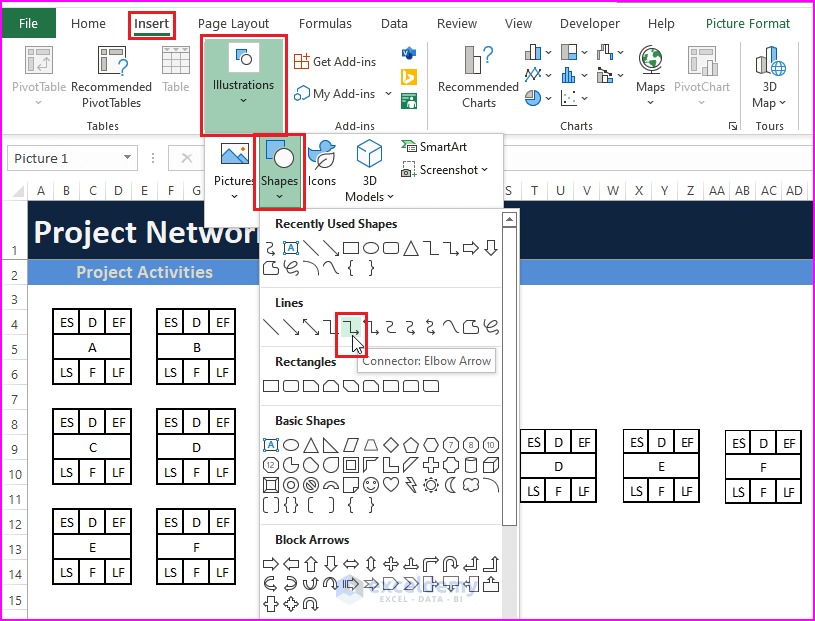
- Select a shape. In the Shape Format tab you can modify the inserted shapes.
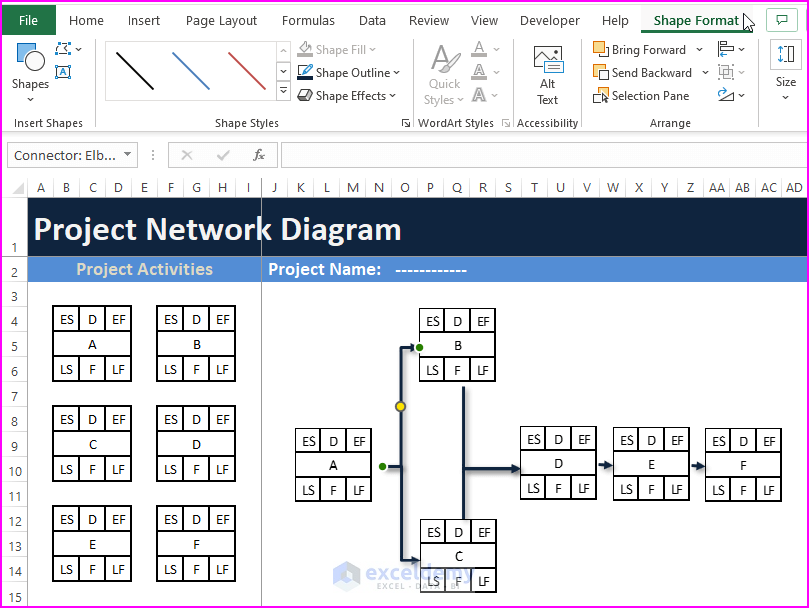
This is the output.

⧭ Notes: Time frames or days may be inserted in the box segment labels.
Read More: How to Create a Network Diagram in Excel
Download the Excel file.
Related Articles
- How to Draw AOA Network Diagram in Excel
- How to Draw AON Network Diagram on Excel
- How to Draw CPM Network Diagram in Excel
<< Go Back to Network Diagram in Excel | Learn Excel
Get FREE Advanced Excel Exercises with Solutions!
