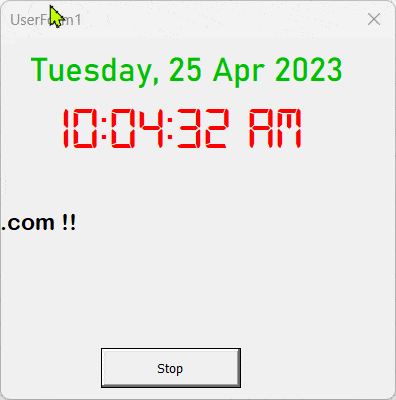
Example 1 – Creating an Animated Clock in UserForm
We’ll create an Animated Clock that will look like this.
Steps:
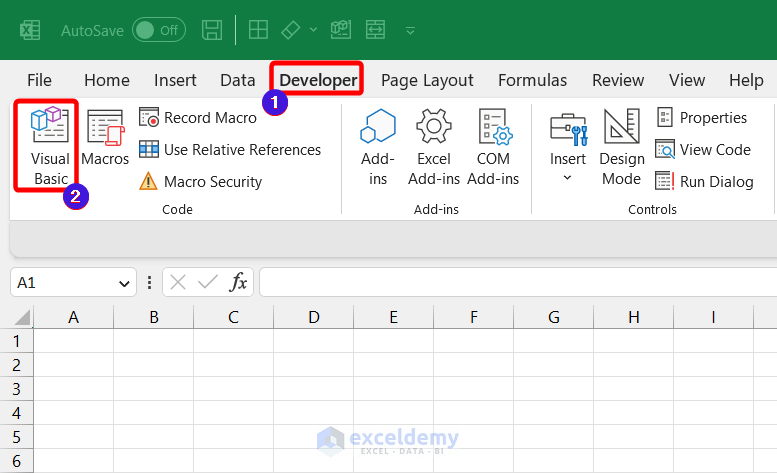
- Go to the Developer tab and open the Microsoft Visual Basic for Application window by clicking the Visual Basic command. Shortcut key is Alt+F11.
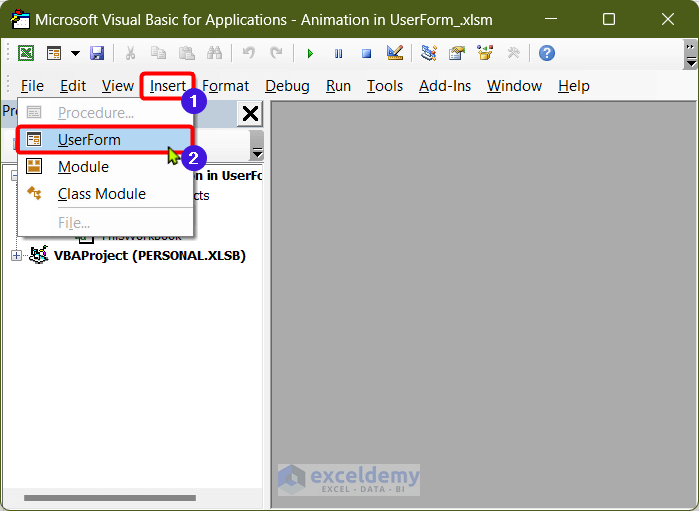
- In the Microsoft Visual Basic for Application window, select Insert >> UserForm.
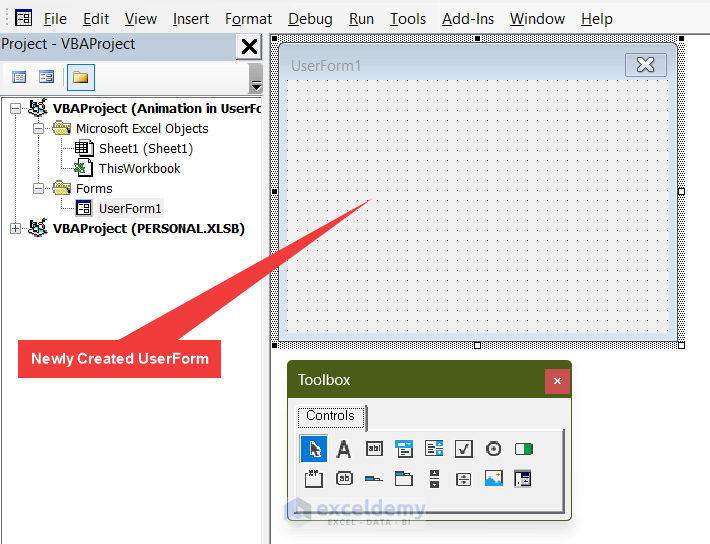
- A new userform will be created.
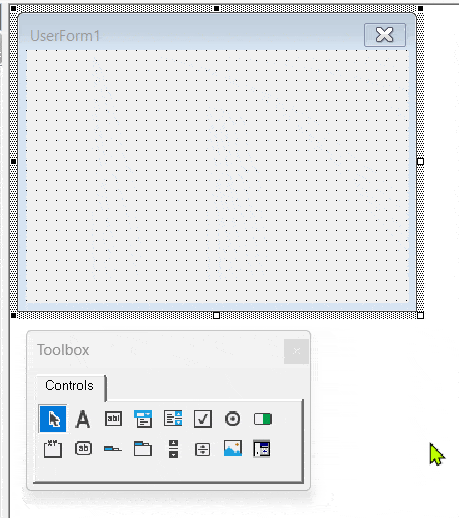
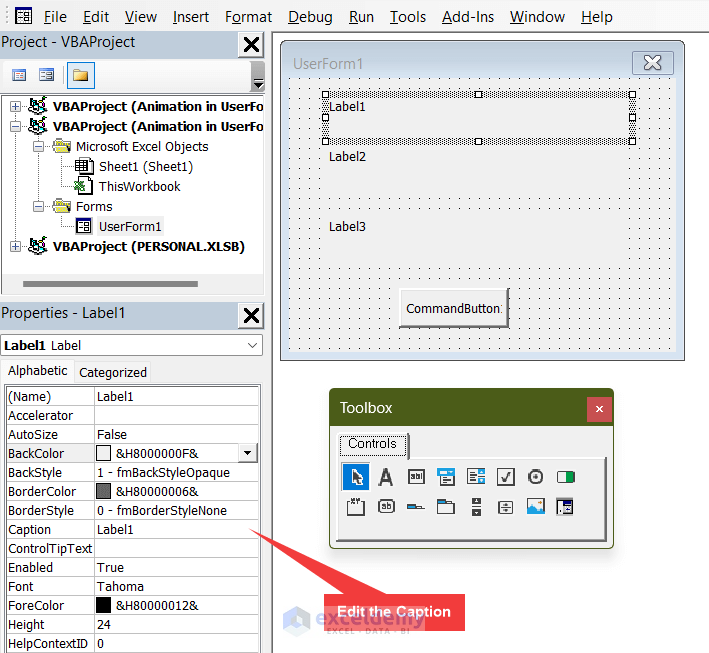
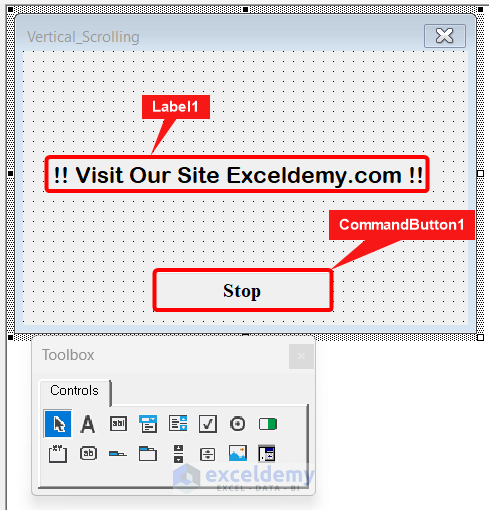
- We will insert different tools from the Toolbox. We need 3 Labels and 1 to insert a Label. Click on the Label icon on the Toolbox and drag it to your desired position on the UserForm.
- Drag the other two Labels and place them below the first Label.
- We will Insert a CommandButton.
- We need to modify the Properties of each inserted elements. Click on the Label1 and open the property tab by going to View >> Properties Window (if the Properties Window is not available).
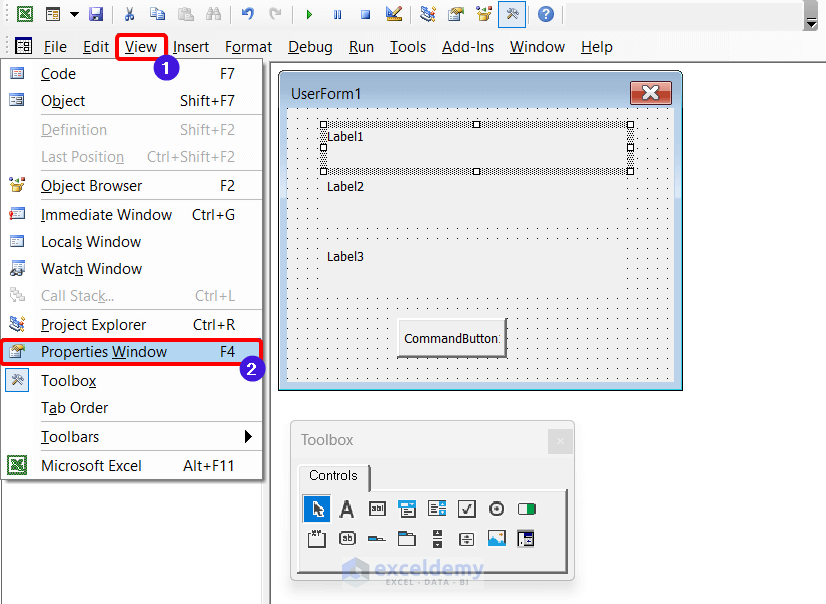
- The Properties tab should be visible in the left corner. We will edit the Caption of Label1.
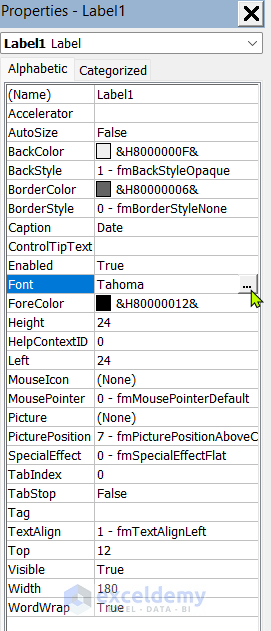
- We will change the Font Style and Font Size of Label1. Click on the 3 dots on the Font option and choose font style and size from the pop-up window.
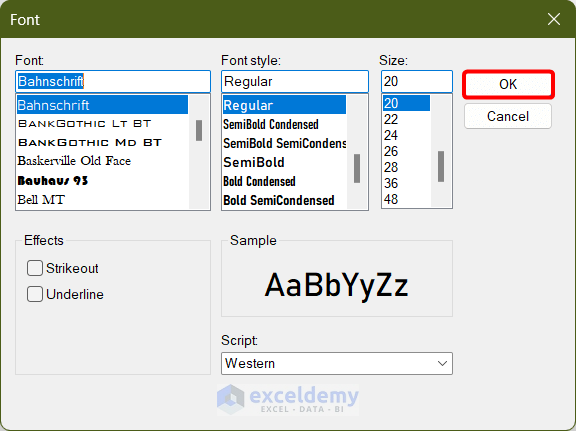
- From the popup window, we have chosen the following Font style and size.
- To make the UserForm more attractive, change the ForeColor. We have chosen Green from the color palette.

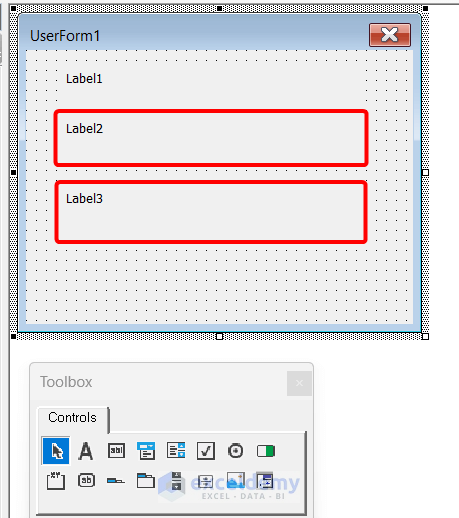
- Change the Properties for the rest of the components as per your requirements. We have formatted all the components as shown in the following image.
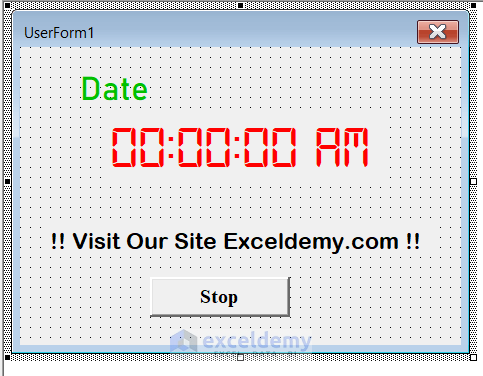
- Label3 will scroll when we run the UserForm.
- Double-click on any part of the UserForm to open the code window.
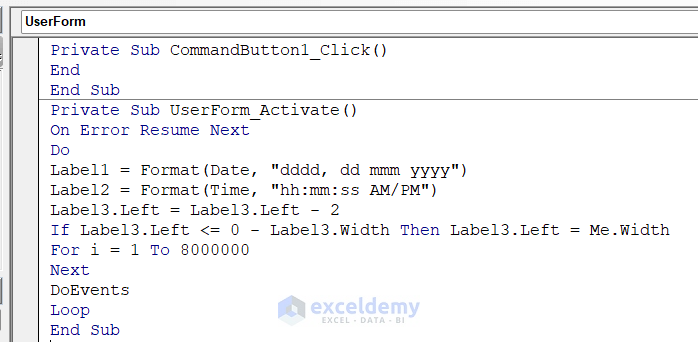
VBA Code:
Private Sub CommandButton1_Click()
End
End Sub
Private Sub UserForm_Activate()
On Error Resume Next
Do
Label1 = Format(Date, "dddd, dd mmm yyyy")
Label2 = Format(Time, "hh:mm:ss AM/PM")
Label3.Left = Label3.Left - 2
If Label3.Left <= 0 - Label3.Width Then Label3.Left = Me.Width
For i = 1 To 8000000
Next
DoEvents
Loop
End Sub
How Does the Code Work?
Private Sub CommandButton1_Click()
End
End Sub
This code is activated when CommandButton1 is clicked. It ends all the running Subroutine.
Private Sub UserForm_Activate()The subroutine will run whenever the UserForm will be activated.
On Error Resume NextThe code will neglect any error and resume the next line.
Label1 = Format(Date, "dddd, dd mmm yyyy")In Label1 the Current Date will be shown and its format wil be “dddd, dd mmm yyyy”. You can modify the format to display according to your choice of format.
Label2 = Format(Time, "hh:mm:ss AM/PM")In Label2 the current time will be shown and its format will be “hh:mm:ss AM/PM”. Like ythe Label1, you can also modify the format.
Left = Label3.Left - 2
If Label3.Left <= 0 - Label3.Width Then Label3.Left = Me.Width
The position of Label3 is continuously shifted to the left of the UserForm until it reaches at the left end. When its position is on the Left edge of the UserForm, the position of Label3 is shifted towards the right end of the UserForm. When the code will run under a For loop, it will look like a scrolling text.
For i = 1 To 8000000
Next
DoEvents
The above code is executed within a For loop. Hence, it becomes dynamic. You can decrease the upper limit of the iteration variable (i) to make the scrolling fast.
- If you run the UserForm, you will see the Dynamic UserForm with Date, Time and Scrolling Text.
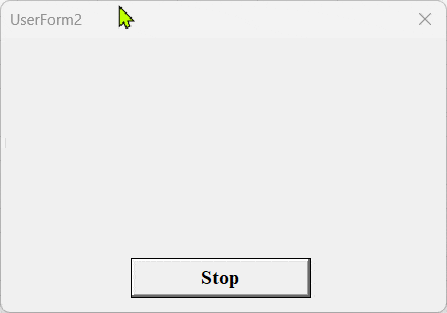
Example 2 – Create Vertical Scrolling Text in VBA UserForm
Let’s learn how to display a vertical scrolling text in UserForm. The Vertical Text will be as shown below.
Steps:
- Insert a new UserForm and inside the UserForm, insert a Label and a CommandButton following the first method. Edit the caption according to your needs. In Label1, we will enter the text that we want to scroll in the caption.
- After rewriting the caption of those components, open the code window by double-clicking any part of the UserForm. Enter the following code in the code window.
VBA Code Syntax:
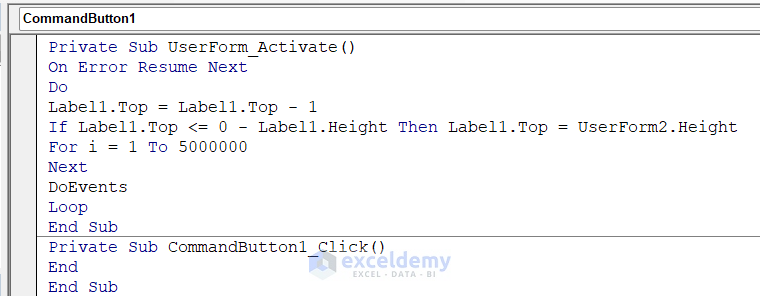
Private Sub UserForm_Activate()
On Error Resume Next
Do
Label1.Top = Label1.Top - 1
If Label1.Top <= 0 - Label1.Height Then Label1.Top = UserForm2.Height
For i = 1 To 5000000
Next
DoEvents
Loop
End Sub
Private Sub CommandButton1_Click()
End
End Sub
How Does the Code Work?
Do
Label1.Top = Label1.Top - 1
If Label1.Top <= 0 - Label1.Height Then Label1.Top = UserForm2.Height
For i = 1 To 5000000
Next
DoEvents
Loop
The code uses a Do loop. Inside the Do loop, the vertical position of Label1 is decreased until it reaches the Top edge of the UserForm. The Vertical position of Label1 is set to the height of the UserForm. This loop continues which makes the label a scrolling text. If you want to increase the speed of the scrolling text, we need to decrease the upper value of iteration variable i.
Private Sub CommandButton1_Click()
End
End Sub
This subroutine will run when we click the CommandButton1. When we click the button, it will end all the running subroutines.
- When we run the code, we will see the following output.
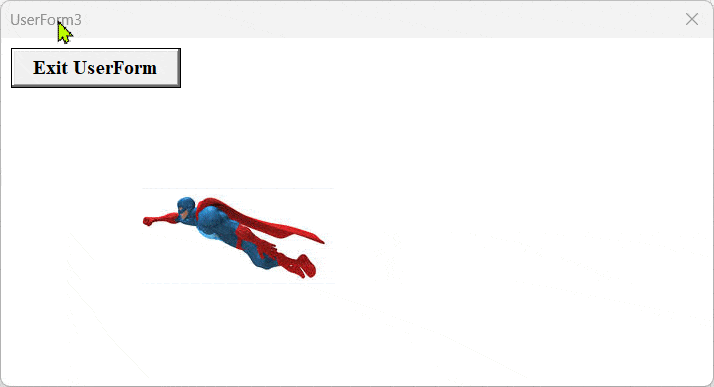
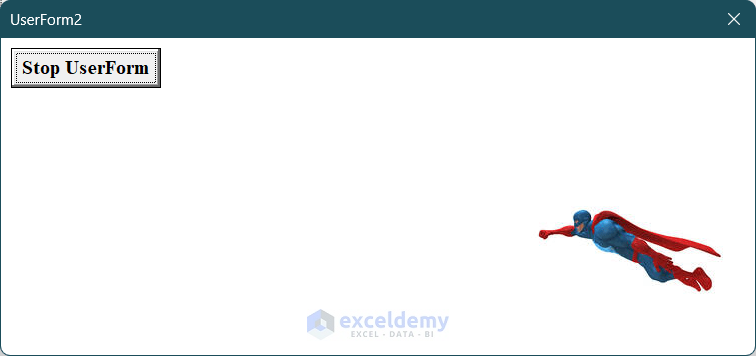
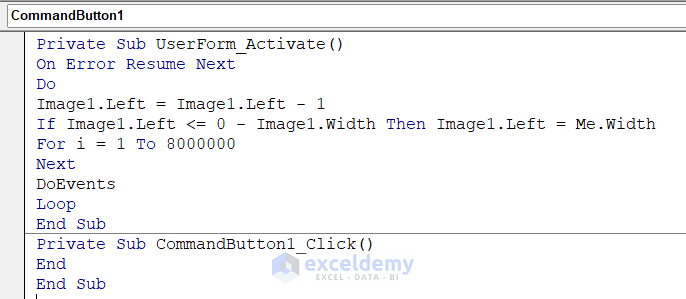
Example 3 – Creating Animation Image in UserForm
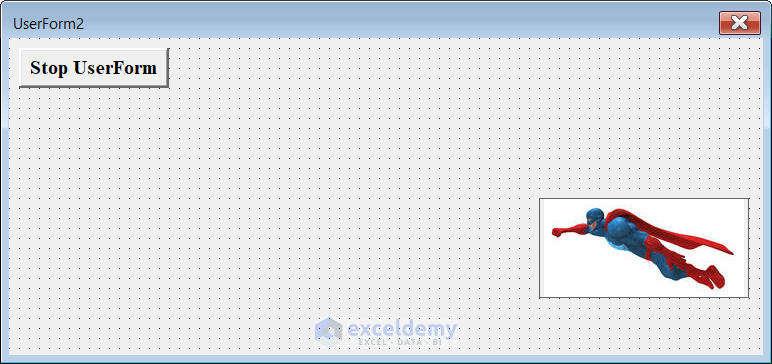
We will create an animation image in UserForm as shown below.
Steps:
- Insert a new UserForm. In the UserForm, insert an Image and a CommandButton from the Toolbox. Edit the caption of the CommandButton according to your needs.
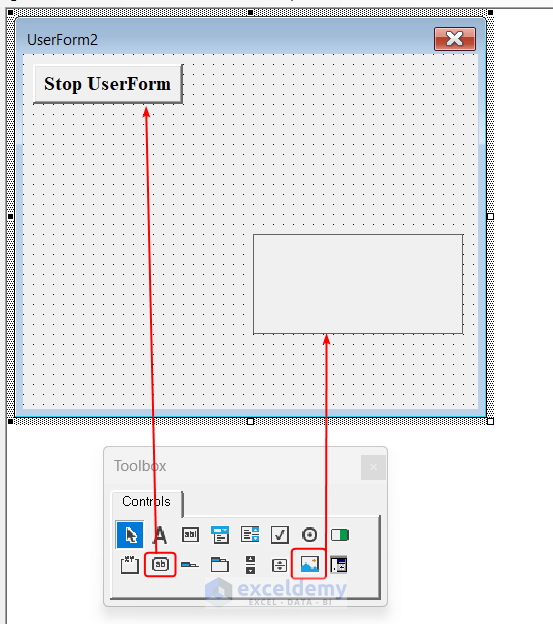
- Insert your desired image.
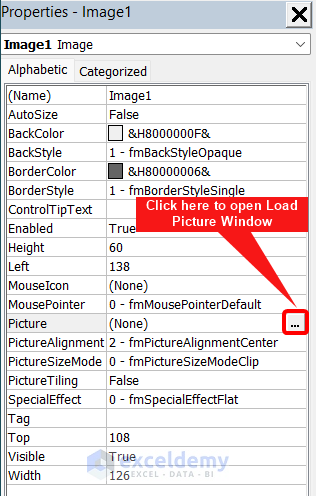
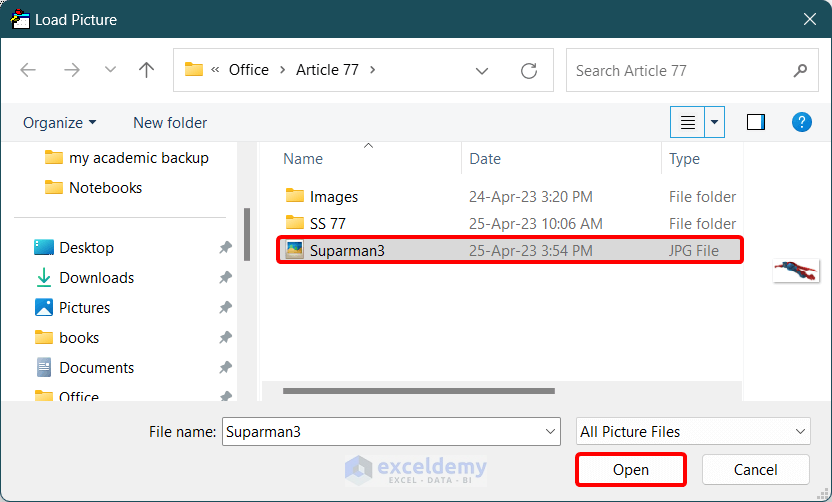
- Select the picture from the pop-up window, Load Picture.
- You will be able to see the selected picture on the UserForm. To accommodate the picture inside the Image tool, resize it inside the tool.
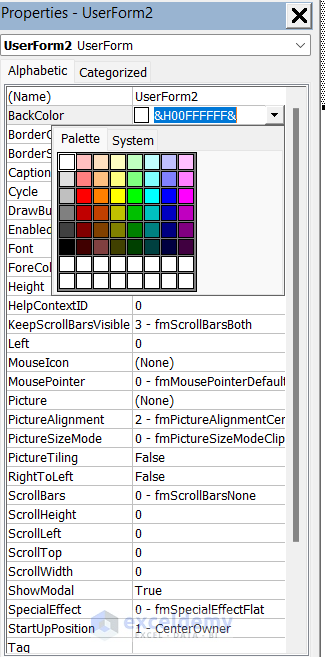
- Change the Background color of the UserForm based on the background of the image. So that when the image is scrolling, it will appear as an integral part of the UserForm. As the background color of our selected image is white, we have change the color of the UserForm to white.
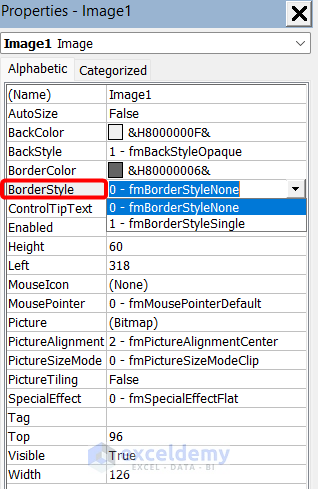
- If the image has any border, we can remove it by changing the BorderStyle to 0-fmBorderStyleNone.
- Our image is be ready for animation.
- Double-click anywhere on the UserForm to open the Code Window.
- Clear all the existing code.
- Enter the following code in the window.
Code Syntax:
Private Sub UserForm_Activate()
On Error Resume Next
Do
Image1.Left = Image1.Left - 1
If Image1.Left <= 0 - Image1.Width Then Image1.Left = Me.Width
For i = 1 To 8000000
Next
DoEvents
Loop
End Sub
Private Sub CommandButton1_Click()
End
End Sub
How Does the Code Work?
Do
Image1.Left = Image1.Left - 1
If Image1.Left <= 0 - Image1.Width Then Image1.Left = Me.Width
For i = 1 To 8000000
Next
DoEvents
Loop
This code will shift the image toward the left direction as long as its right corner reaches the UserForm’s left edge. When it reaches the Left edge of the UserForm, the code then brings the left corner of Image1 to the right edge of the UserForm. This loop continues.
Private Sub CommandButton1_Click()
End
End Sub
When we click the CommandButton1, it will end all the running subroutines.
- If we run the UserForm, we will see the scrolling image on the UserForm which is our VBA animation output in UserForm.
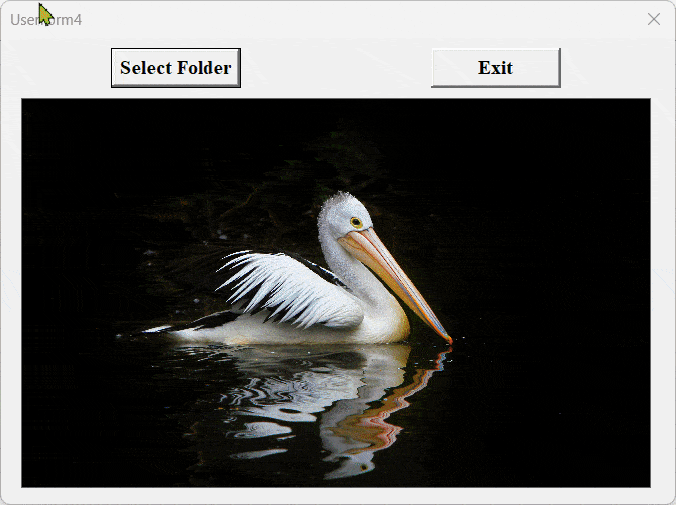
Example 4 – Slideshow Using VBA UserForm
We will make a slideshow of images as shown below.
Steps:
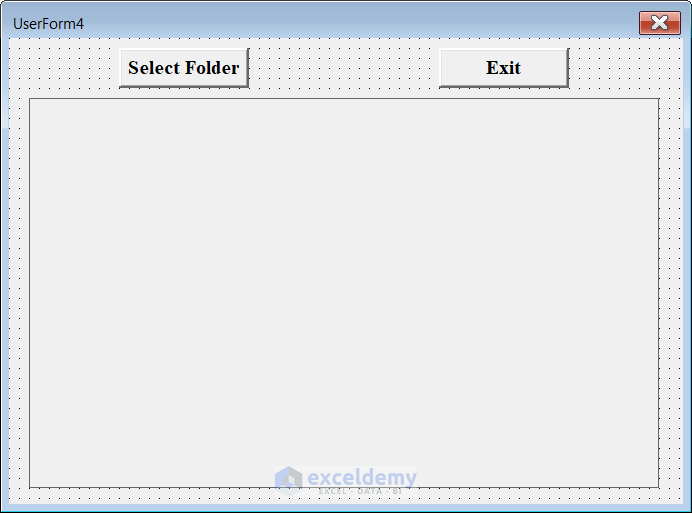
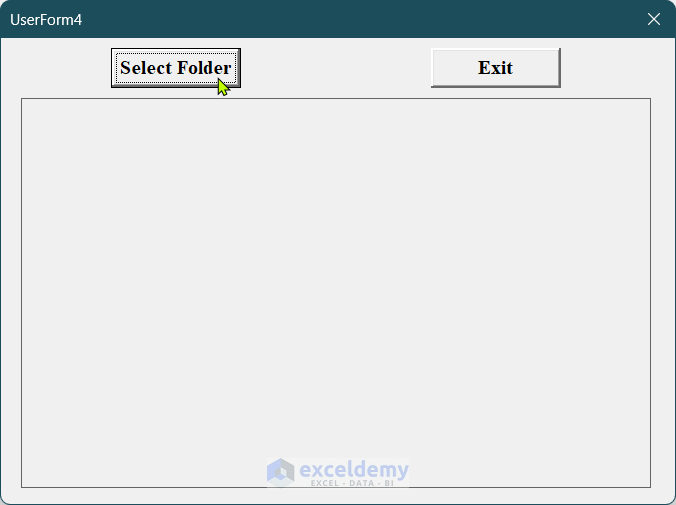
- Insert a new UserForm. In this UserForm, insert 2 CommandButtons and 1 Image from the ToolBox.
- Label the After labeling it, the Layout of the UserForm will look like the following image.
- Open the code window by double-clicking any part of the UserForm. Enter the following code in the code window.
Code Syntax:
Private Sub CommandButton1_Click()
Set Pic_File = Application.FileDialog(msoFileDialogFolderPicker)
With Pic_File
    .Title = "Select a Folder where pictures are"
    If .Show <> -1 Then GoTo Exit_Sub
    My_Path = .SelectedItems(1)
End With
Set Img_Obj = CreateObject("Scripting.FilesystemObject")
Set Img_Folder = Img_Obj.GetFolder(My_Path)
Do Until a = 1
 For Each Obj_File In Img_Folder.Files
 DoEvents
 If Obj_File.Type = "JPG File" Then
 Photo_Var = Photo_Var + 1
 Me.Image1.Picture = LoadPicture(Obj_File.Path)
 Me.Image1.PictureSizeMode = fmPictureSizeModeStretch
 Application.Wait Now + 0.00001
 End If
 Next
 Loop
Exit_Sub:
End Sub
Private Sub CommandButton2_Click()
End
End Sub
How Does the Code Work?
Private Sub CommandButton1_Click()This subroutine will run when the ComamndButton1 is clicked.
Set Pic_File = Application.FileDialog(msoFileDialogFolderPicker)
With Pic_File
    .Title = "Select a Folder where pictures are"
    If .Show <> -1 Then GoTo Exit_Sub
    My_Path = .SelectedItems(1)
End With
A FileDialoge box will ask the User to select a Folder where the pictures are. If nothing is selected then the subroutine will exit.
Set Img_Obj = CreateObject("Scripting.FilesystemObject")
Set Img_Folder = Img_Obj.GetFolder(My_Path)
The Scripting.FileSystemObject is an object in VBA that provides access to the computer’s file system. Img_Folder stores the Folder Path of the selected folder.
Do Until a = 1
.
.
Loop
A Do Until loop is introduced. A new random variable a is taken which was never initialized before. The Do Until loop is essentially an infinite loop as the value of a will never reach 1 in the future.
For Each Obj_File In Img_Folder.Files
 DoEvents
.
.
Next
For Each loop is used to loop through each file in the selected folder. DoEvents will allow the user to interact with the interface while the macro is running.
If Obj_File.Type = "JPG File" Then
.
.
End If
An If statement is used to determine whether the file is a JPG file. We will only take the JPG file as the UserForms in Excel can only load JPG type images.
Me.Image1.Picture = LoadPicture(Obj_File.Path)If the condition is True then the image file is load to Image1 in UserForm.
Me.Image1.PictureSizeMode = fmPictureSizeModeStretchThe JPG file is stretched across the whole area of image1 in the UserForm.
Application.Wait Now + 0.00001The next step is delayed by 1 second.
Private Sub CommandButton2_Click()
End
End Sub
This code will run when the CommandButton2 is clicked. It will end all the running subroutines.
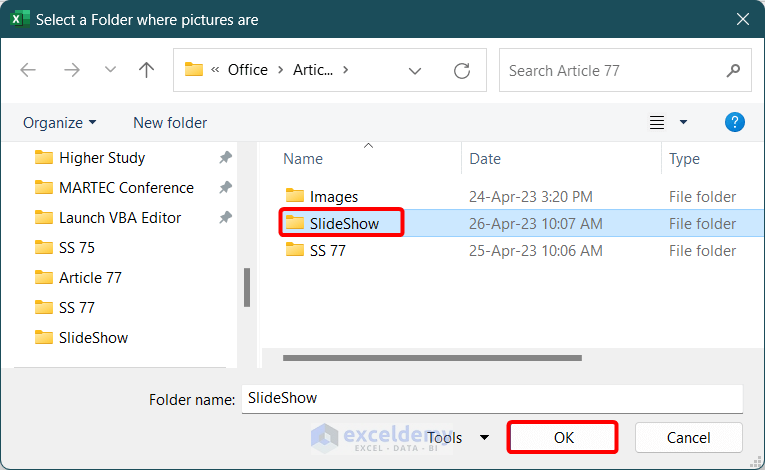
- After running the UserForm, click on the Select Folder (CommandButton1).
- A dialog box will open and promptly ask the user to select a folder. Select the folder where the images in JPG formats are stored. Click OK.
- A slideshow will be created consisting of all the JPG files in that folder. This is the final VBA animation output in UserForm.
Things to Remember
- Be aware of the Name of the Components (Labels, CommandButtons, Images). If the names are not the same as shown in the examples above, the provided code may not work.
- Always resize the UserForms and components as required.
Download Practice Workbook
Related Articles
- How to Create Animated Bar Chart Race in Excel
- How to Create Animated Charts in Excel
- How to Animate Text in Excel

