Step 1 – Select Sample Items for Animation in Excel
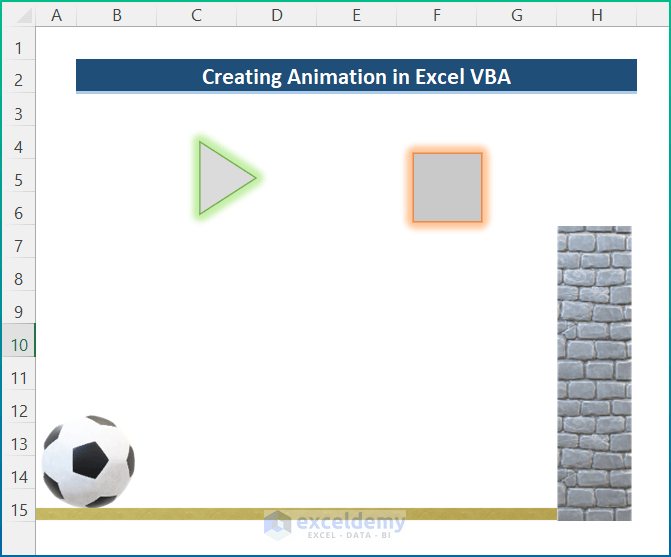
- In this tutorial, we’ll use a football as our main sample item. When you press the “Start” button, the football will move, and it will stop when you hit the “Stop” button.
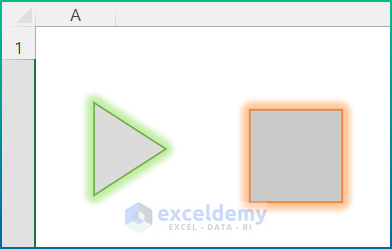
- For demonstration purposes, let’s choose the following sample items:
- Football
- 3D Wall
- Grass Ground

Read More: How to Create Animated Bar Chart Race in Excel (with Easy Steps)
Step 2 – Add Icons in Excel VBA to Create Animation
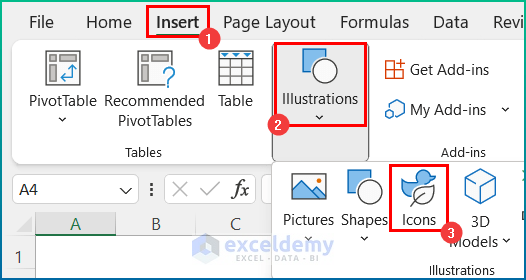
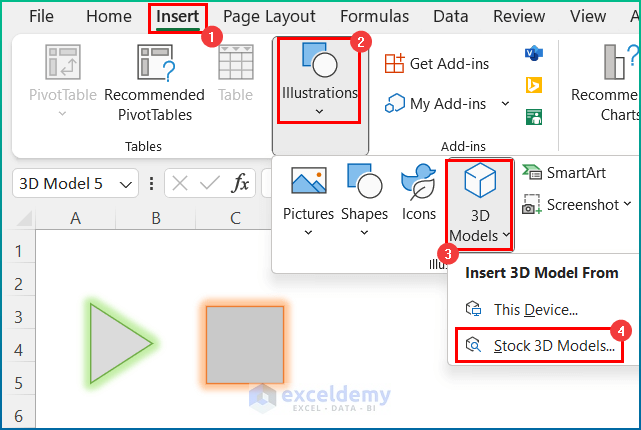
- Go to the Insert tab.
- Select Icons from the Illustrations group.
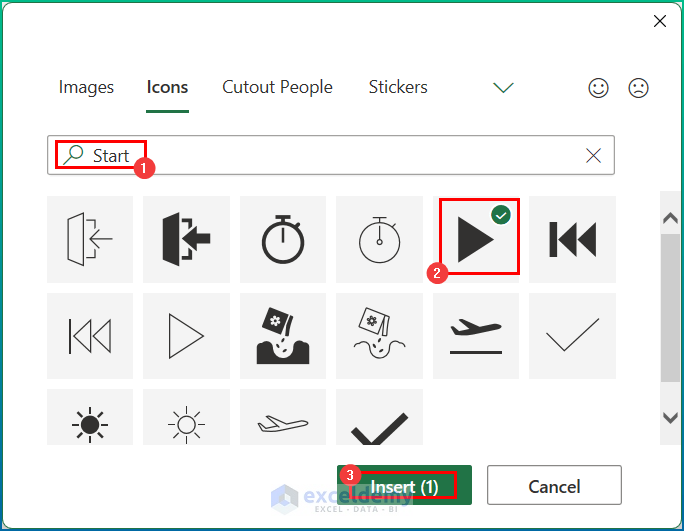
- Search for Start in the search box and select the icon.
- Press Insert.
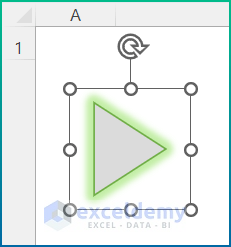
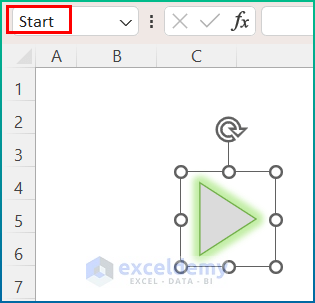
- Modify the button appearance and change its name to Start.
- Similarly, add a Stop button and change its name.
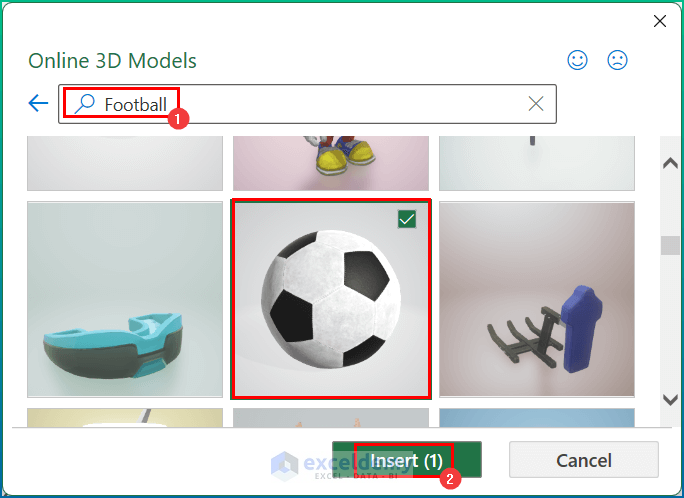
- Click on Stock 3D Models and select a football.
- Insert it and rename it to Football.
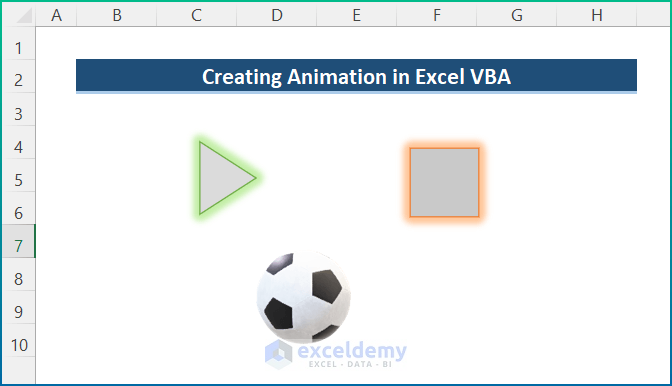
- Add a 3D wall and grass ground, renaming them accordingly.
Read More: How to Create 3D Animation in Excel
Step 3 – Insert VBA Code
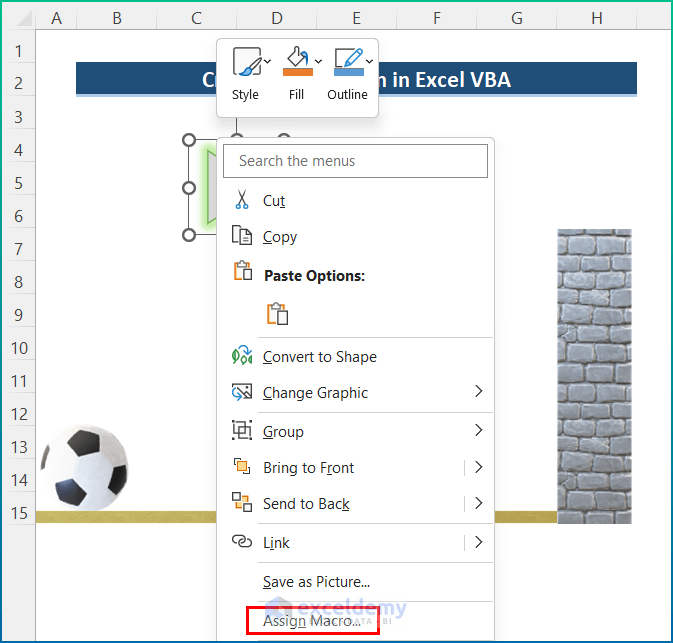
- Right-click the Start button and select Assign Macro.
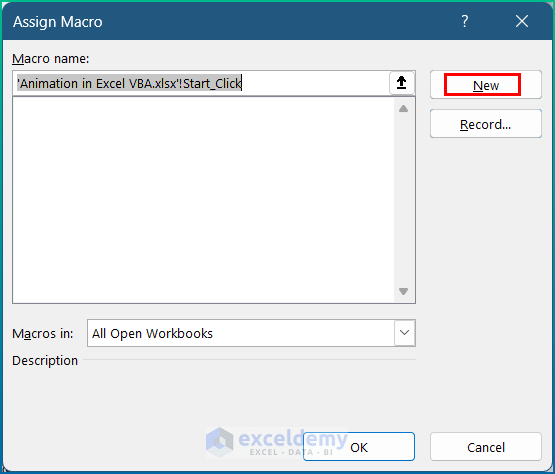
- Choose New from the dialog box.
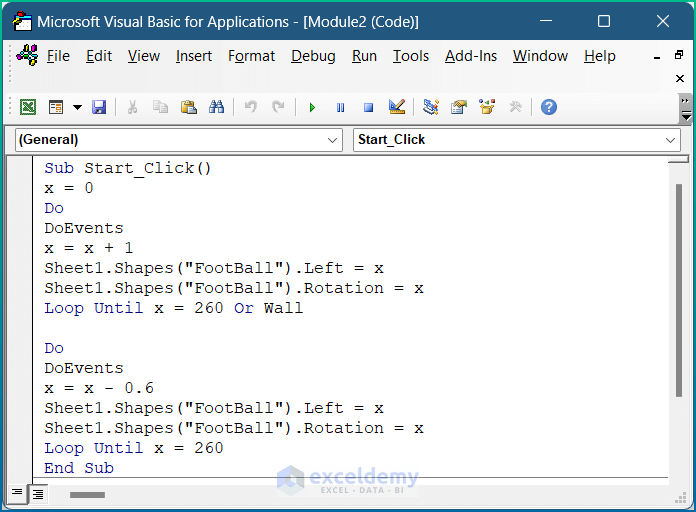
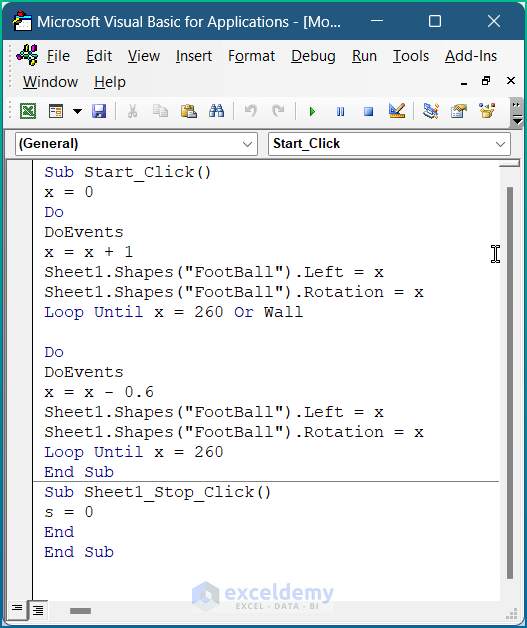
- Enter the following VBA macro in the module:
Sub Start_Click()
x = 0
Do
DoEvents
x = x + 1
Sheet1.Shapes("FootBall").Left = x
Sheet1.Shapes("FootBall").Rotation = x
Loop Until x = 260 Or s
Do
DoEvents
x = x - 0.6
Sheet1.Shapes("FootBall").Left = x
Sheet1.Shapes("FootBall").Rotation = x
Loop Until x = 260
End Sub
- Similarly, assign a macro to the Stop button.
Sub Sheet1_Stop_Click()
s = 0
End
End Sub
Final Output
- Press the Start button, and the Football will start moving.
- It will hit the Wall and return to its initial position.
- The rotation will continue, and you can stop the ball by hitting the Stop button at any position.
Download Practice Workbook
You can download the practice workbook from here:
Related Articles
- How to Animate Text in Excel (2 Efficient Methods)
- Create Animated Charts in Excel (with Easy Steps)

