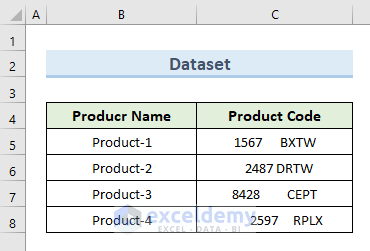
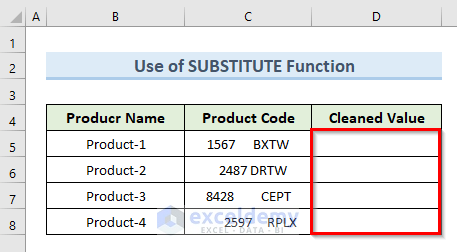
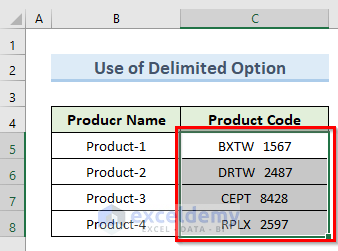
The below dataset contains the names of 4 products and their codes. The product codes contain extra spaces after numbers.
Method 1 – Using the TRIM Function
Steps:
- Insert an additional column: ‘Cleaned Value’.
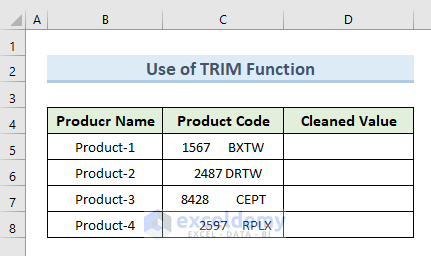
- Select cell D5.
- Enter the following formula:
=TRIM(C5)- Press Enter.
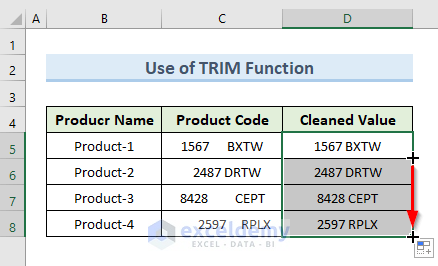
- The value of cell C5 is now in D5 without spaces.

- Drag the Fill Handle tool from cell D5 to D8. We get results like the following image.
Read More: How to Remove Space in Excel after Text
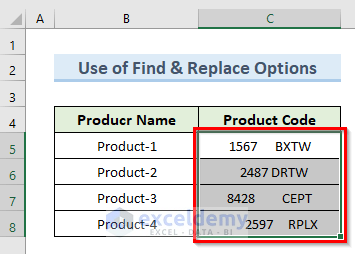
Method 2 – Using the Find and Replace Tool
Steps:
- Select cells C5 to C8.
- Go to the Home tab.
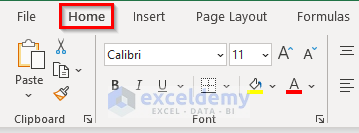
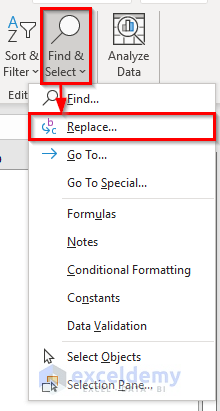
- Select ‘Find & Select’.
- From the drop-down menu select Replace.
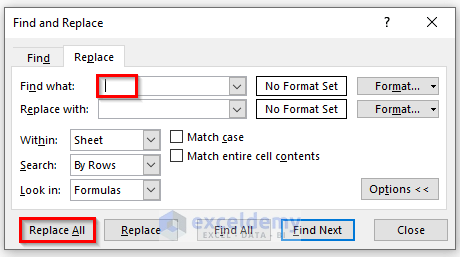
- A new pop-up window named ‘Find and Replace’ will open. (You can also press Ctrl + H to open that window.)
- Click ‘Find what’ and press the Spacebar. (You can also click ‘Replace with’ and press the Spacebar.)
- Click the ‘Replace All’ button.
- We get results like the following image.
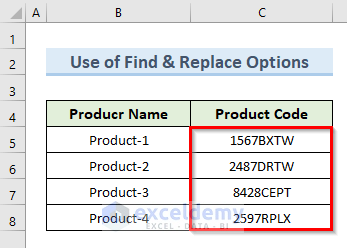
NOTE: The Find & Replace options modify the source data. They remove all spaces from the original values.
Read More: How to Remove Space between Rows in Excel
Method 3 – Using the SUBSTITUTE Function
Steps:
- Enter an additional column: ‘Cleaned Value’.
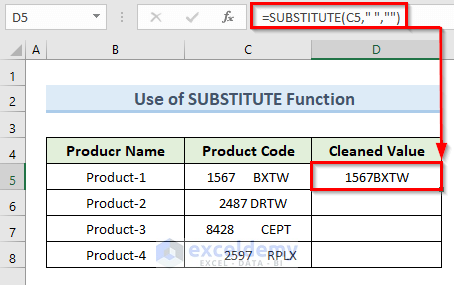
- Select cell D5.
- Enter the following formula:
=SUBSTITUTE(C5," ","")- Press Enter.
- The value of cell C5 is now in cell D5 without spaces.
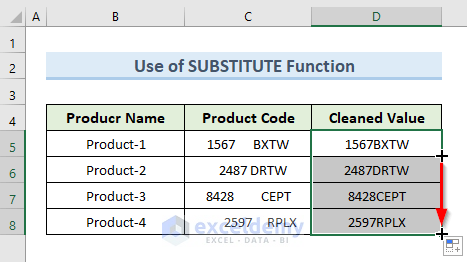
- Drag the Fill Handle tool from cell D5 to D8.
- This returns all the values of product codes without space in cells (D5:D8).
Read More: How to Remove Blank Spaces in Excel
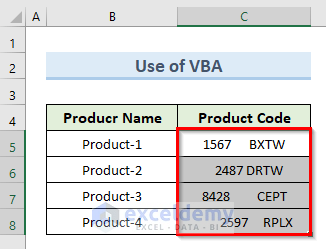
Method 4 – Using VBA Macro
Steps:
- Select cells (C5:C8).
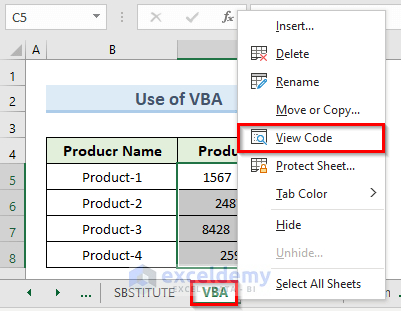
- Right-click on the active sheet named VBA. Select the option ‘View Code’.
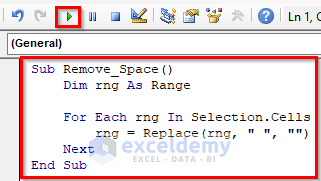
- A new blank VBA code window will appear. Enter the following code:
Sub Remove_Space()
Dim rng As Range
For Each rng In Selection.Cells
rng = Replace(rng, " ", "")
Next
End Sub- Click the Run button or press the F5 key to run the code.
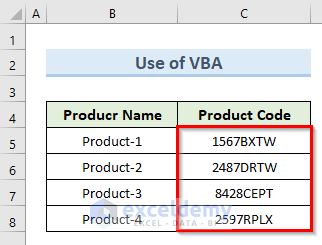
- We get a result like the following image.
Method 5 – Using the Power Query Tool
Steps:
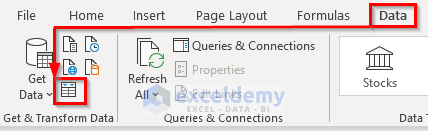
- Go to the Data tab.
- Select the option ‘From Table/Range’.
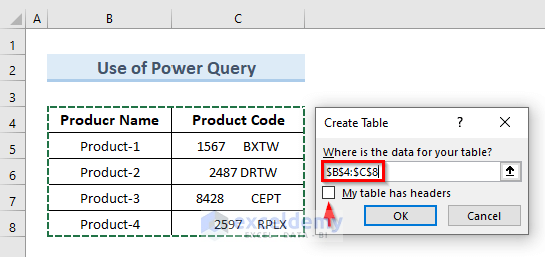
- A new pop-up window named ‘Create Table’ opens.
- Enter the table range $B$4:$C$8 in the text field named ‘Where is the data for your table?’.
- Keep the field ‘My table has headers’ unchecked.
- Click OK.
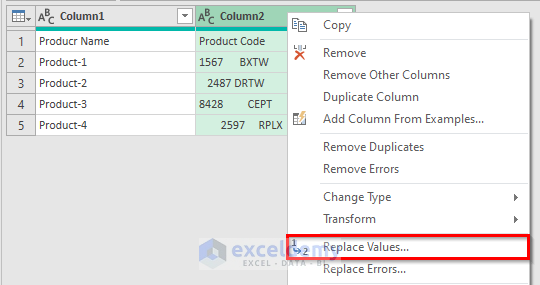
- The above command opens the power query editor.
- Right-click on the heading Column2. Select ‘Replace Values’.
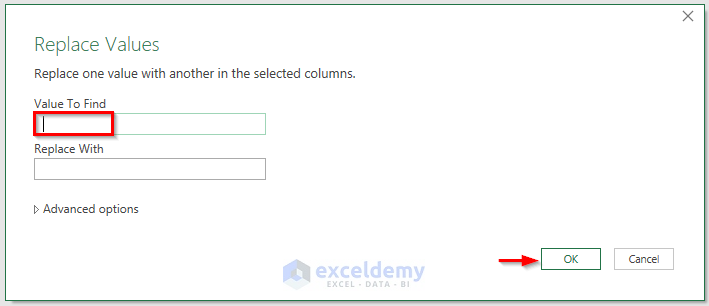
- A new pop-up window named ‘Replace Values’ opens.
- Add two spaces in the ‘Value To Find’ field and a single space in the ‘Replace With’ field.
- Click OK.
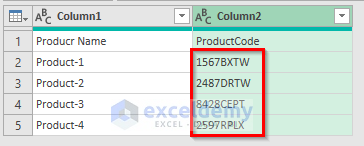
- The values of the product codes are now without spaces, just like in the image below.
Read More: How to Remove Tab Space from Excel
Method 6 – Using Excel Delimited Option
Steps:
- Select cells (C5:C8).
- Go to the Data tab. Select ‘Text to Columns’.
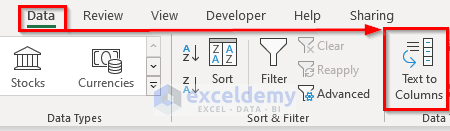
- A new pop-up window named ‘Convert Text to Columns Wizard’ opens.
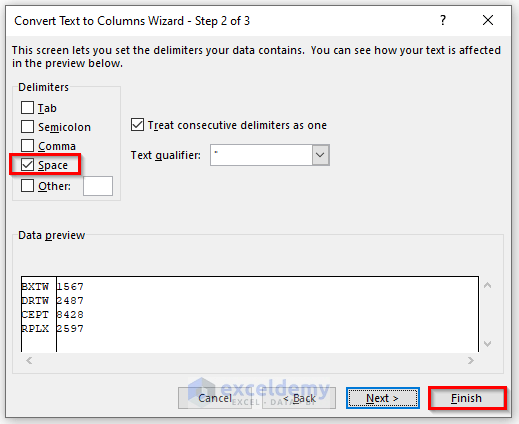
- Select the option Delimited in the ‘Choose the file type that best describes your data’ section. Click Next.

- Check Space as Delimiters. Click Finish.
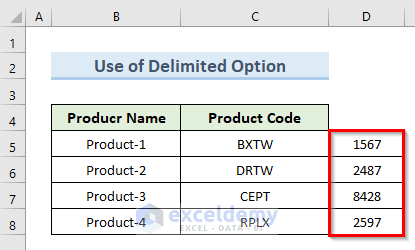
- The results are like the following image.
Download the Practice Workbook
You can download the workbook to practice.
Related Articles
- How to Remove Leading Spaces in Excel
- Remove Extra Spaces in Excel
- How to Remove Space Before Text in Excel
- How to Find and Replace Space in Excel
- How to Remove White Space in Excel
- Remove the Trailing Spaces in Excel
- How to Remove Space in Excel before Numbers
<< Go Back To Remove Space in Excel | Data Cleaning in Excel | Learn Excel
Get FREE Advanced Excel Exercises with Solutions!
