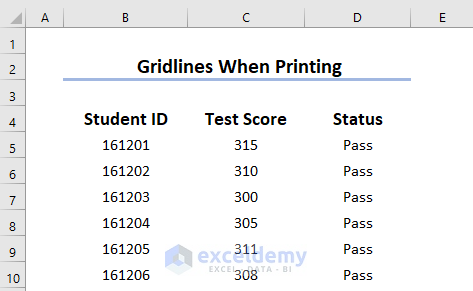
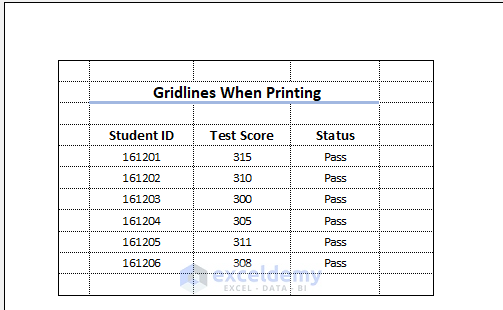
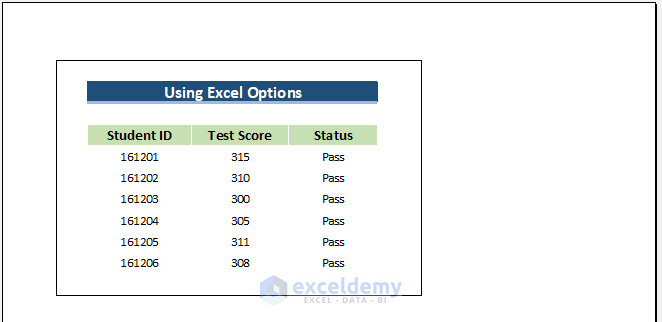
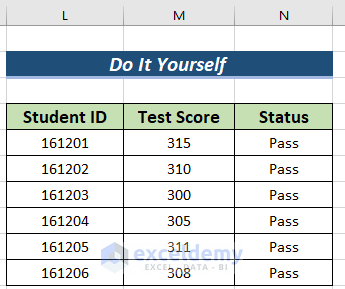
The sample dataset showcases Student ID, Test Score, and Status.

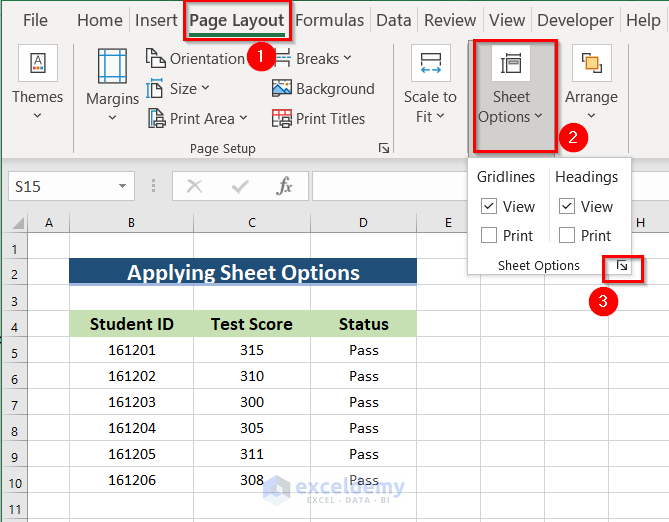
Method 1 – Using the Page Layout Tab to Remove Gridlines in Excel When Printing
If your Gridlines are selected in Sheet Options, they will be visible when printing.
Solution:
- Open your worksheet in Excel.

- Press ALT+P to go to Page Layout.
- In Sheet Options >> uncheck Print in Gridlines.
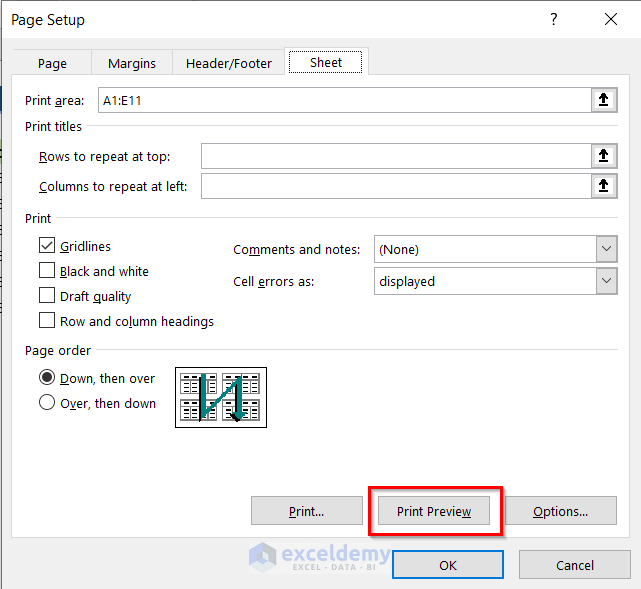
- Click the Drop-Down Arrow to see the print preview.
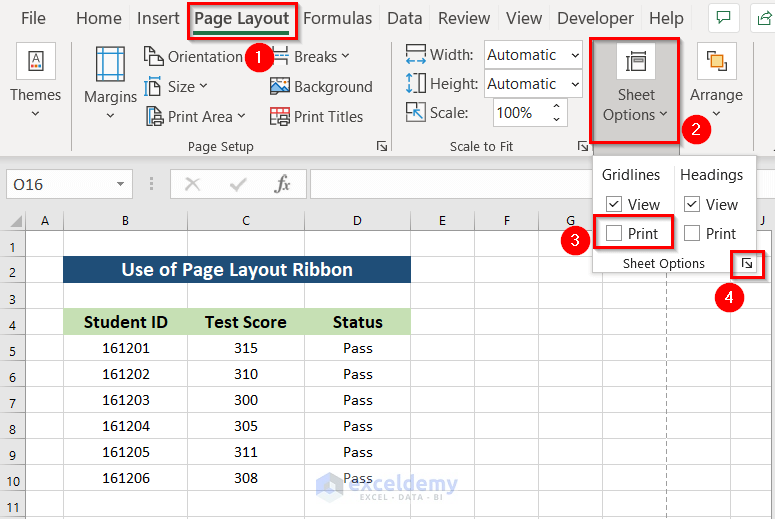
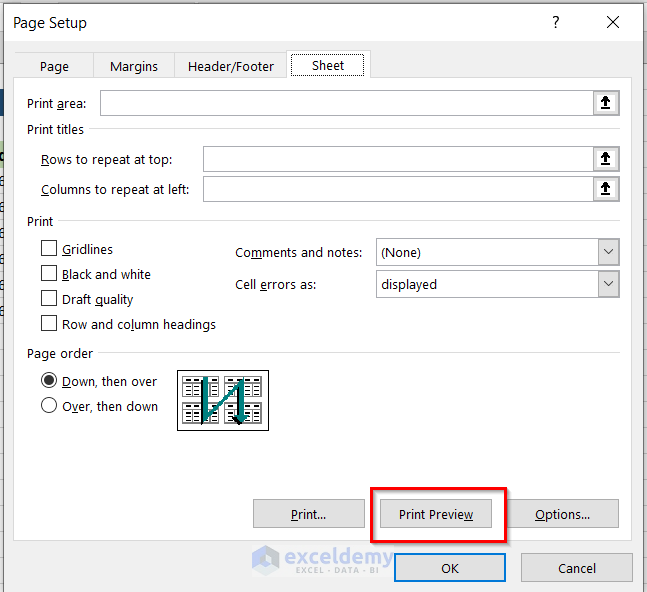
- In Page Setup, select Print Preview.
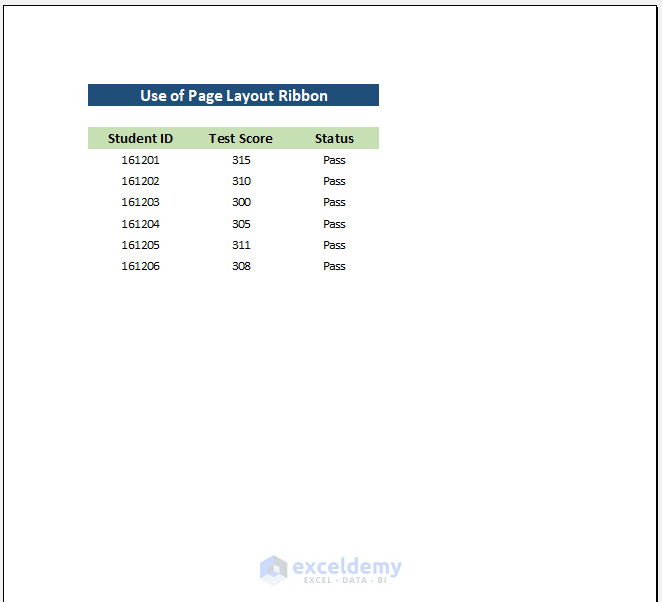
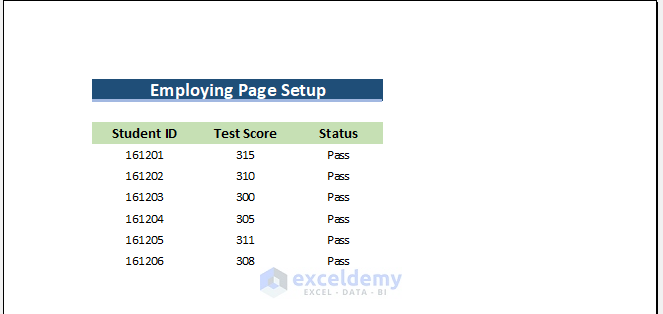
This is the output.
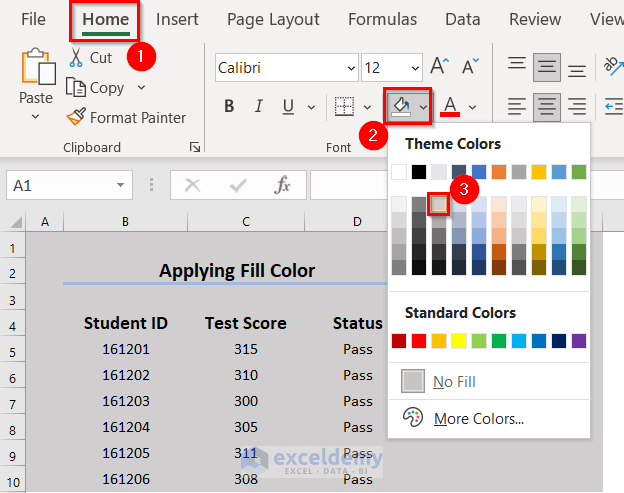
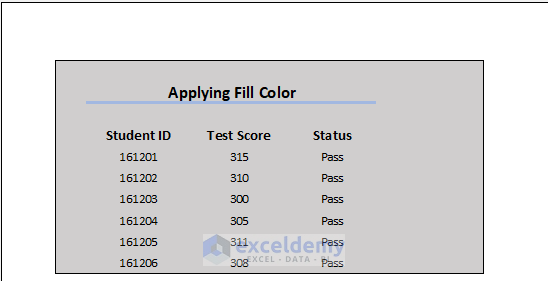
Method 2 – Applying the Fill Color Option to Remove Gridlines When Printing
No Fill was selected.
If you print the Excel spreadsheet, the Gridlines will be visible.
Solution:
- Select the data range you want to print. Here, A1:F10.
- Go to the Home tab.
- In Fill Color >> choose a background color.
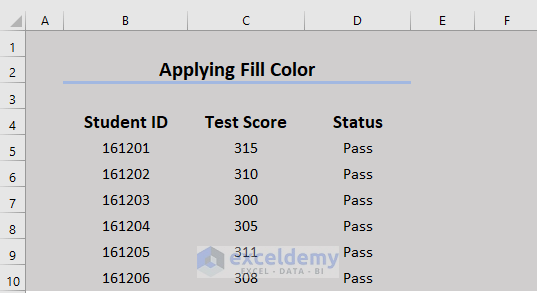
A Grayish background is displayed.
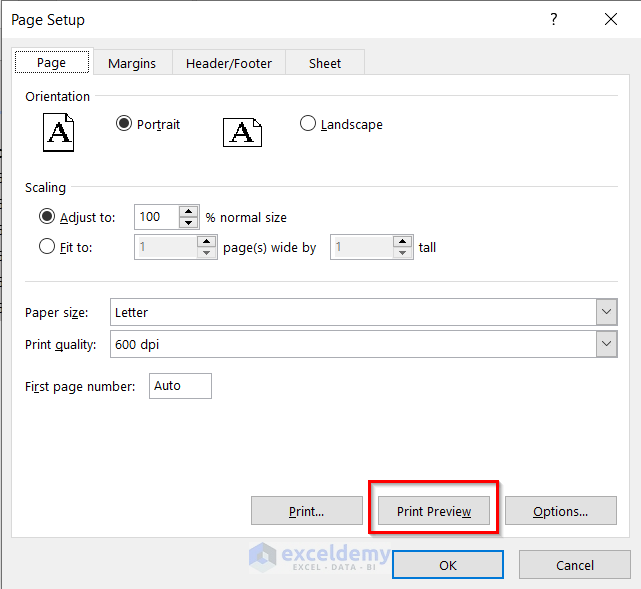
- Go to Page Layout.
- Click the Drop-Down Arrow as show below.
(Assume that in Sheet Options >> Gridlines are checked.)

- In Page Setup, select Print Preview.
No Gridlines are displayed.
Method 3 – Using the Excel Options
Sometimes you remove the Gridlines, but they are printed.
Solution:
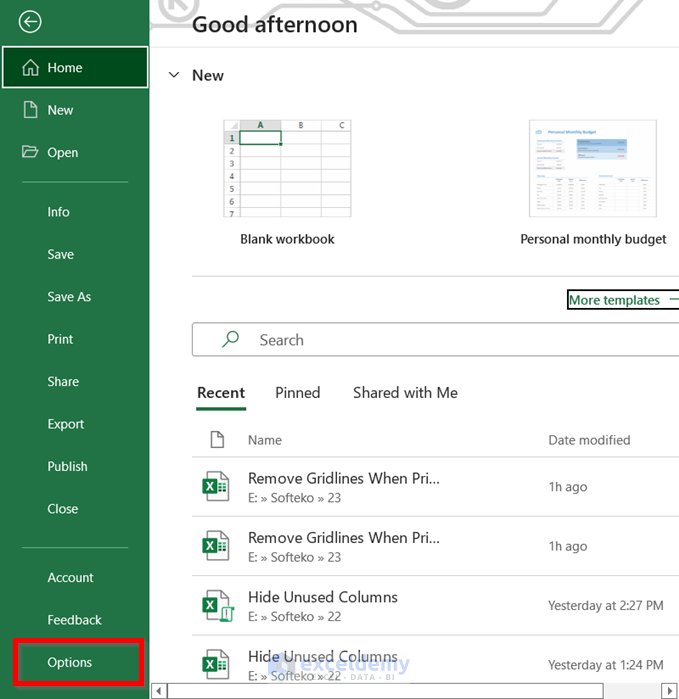
- Go to File.

- Select Options.
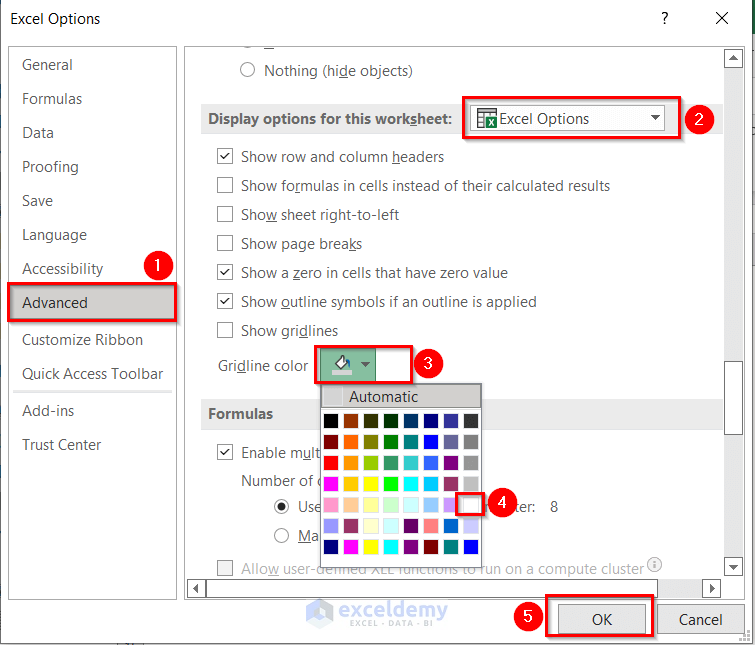
In Excel Options:
- Select Advanced.
- In Gridline color >> choose White.
- Click OK.
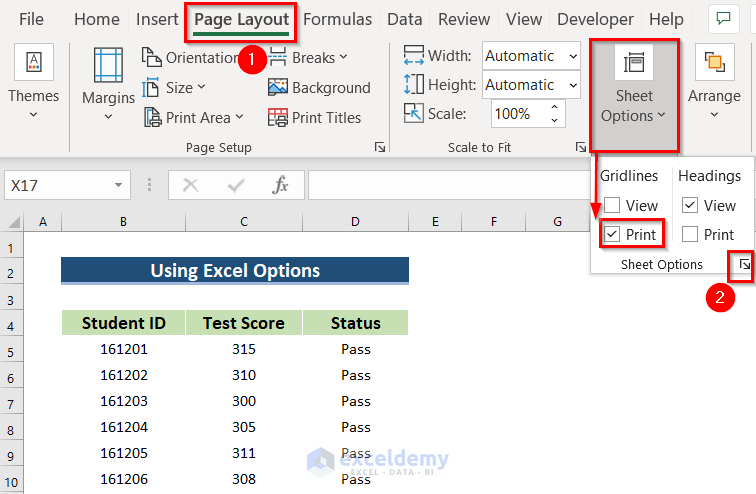
- Go to Page Layout.
(In Sheet Options, Gridlines are checked).
- Click the Drop-Down Arrow as shown below.
- Go to Print Preview.
You will see no Gridlines.
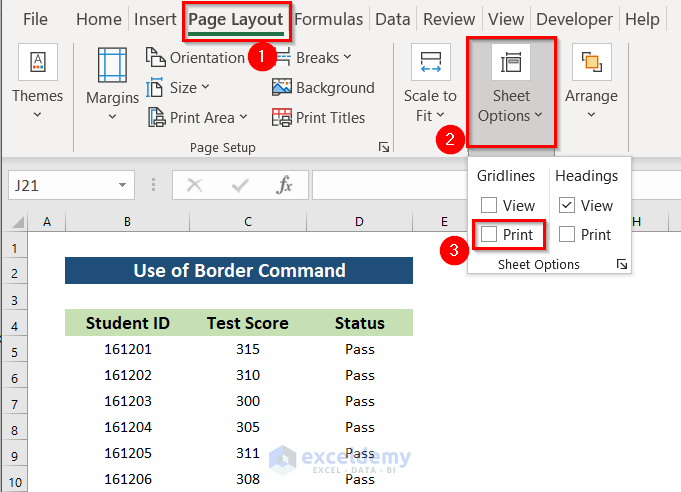
Method 4 – Using the Border Command to Remove Gridlines in Excel When Printing
If Inside or Outside Borders are printed:
Solution:
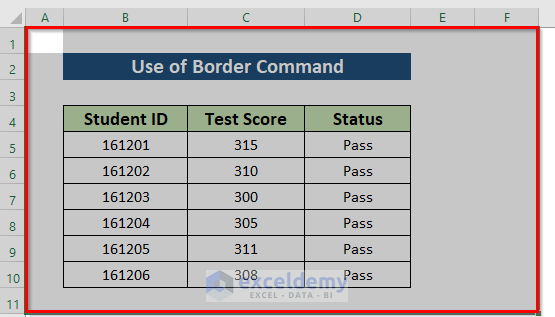
- Select the dataset.
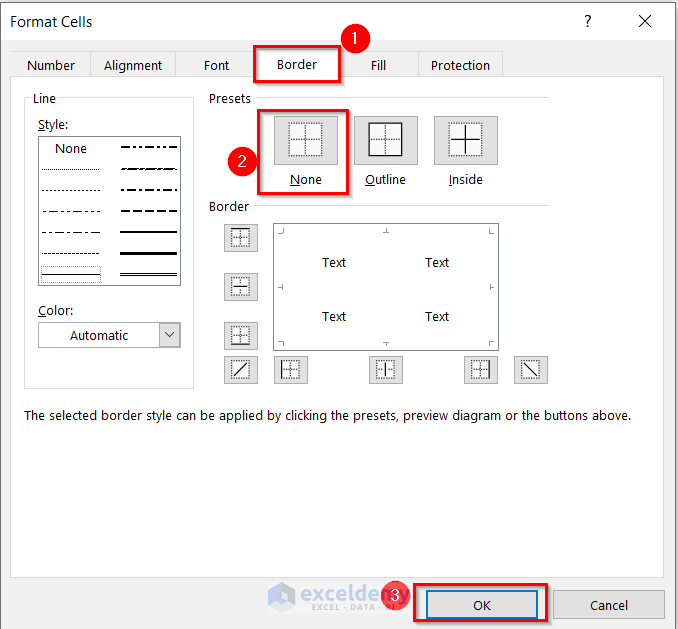
- Press CTRL+1 to go to Format Cells.
(You can also right-click and select Format Cells or choose Format Cells in the Format tab.)
- Select Border.
- Choose None.
- Click OK.
- Go to Page Layout.
- In Sheet Options >> uncheck Gridlines.
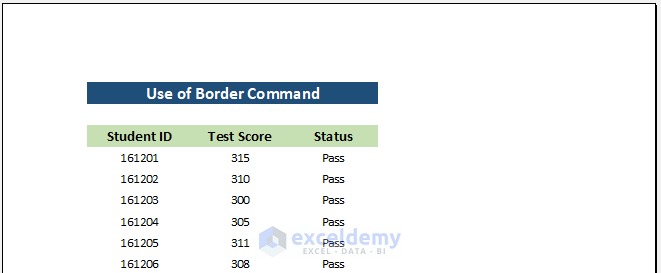
No Gridlines are visible.
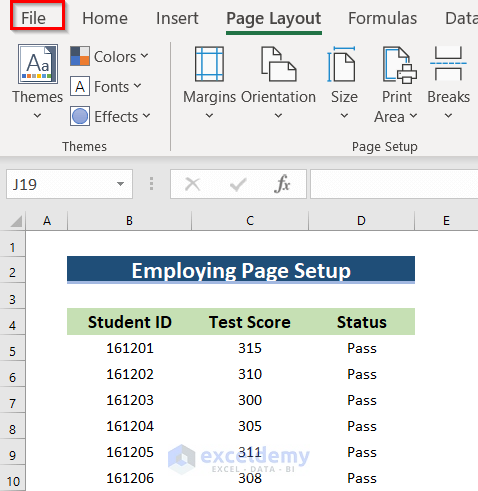
Method 5 – Using the Page Setup Group
If Gridlines are checked in Sheet Options, they will be visible when printing.
Solution:
- Go to File.
- In Print, go to Page Setup.
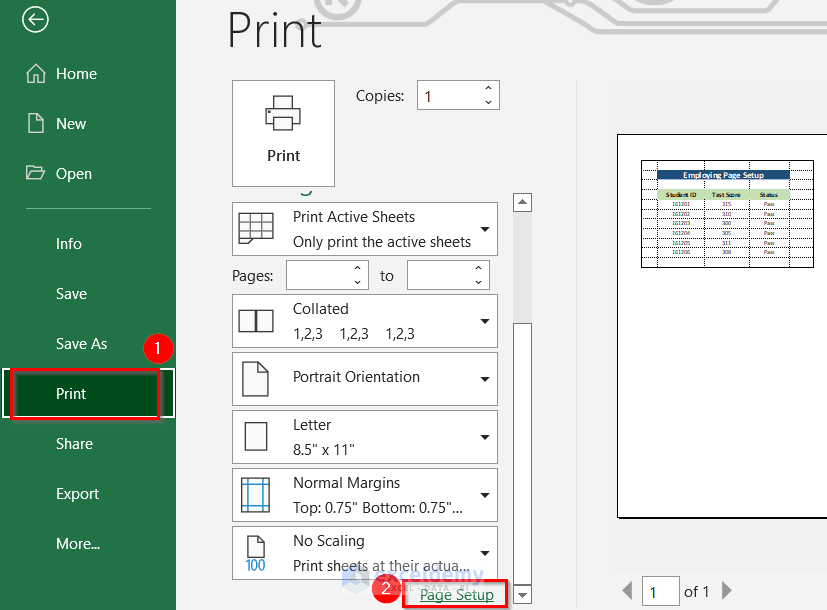
- Uncheck Gridlines.
- Click OK.
This is the output.
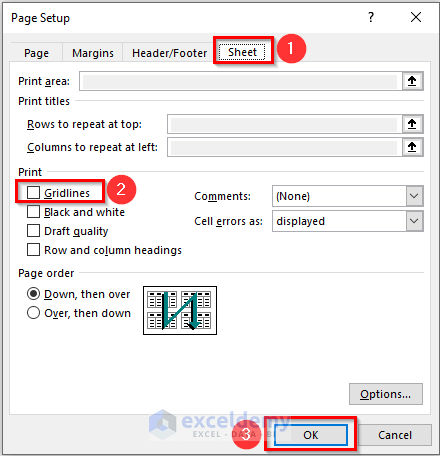
Method 6 – Using the Sheet Options to Remove Gridlines
If Gridlines are selected in Sheet Options, they will be visible when printing.
Solution:
- Open your worksheet.
- Go to Page Layout.
- In Sheet Options >> click the Drop-Down Arrow.
- In Page Setup, go to Sheet.
- Uncheck Gridlines
- Click OK.

You will see no Gridlines.
Things to Remember
- By default, Gridlines are unchecked.
Practice Section
Practice here.
Download Practice Workbook
Download the practice workbook.
Related Articles
- How to Remove Vertical Line in Excel
- How to Remove Gridlines in Excel Using VBA
- How to Remove Gridlines in Excel for Specific Cells
<< Go Back to Remove Gridlines | Gridlines | Learn Excel
Get FREE Advanced Excel Exercises with Solutions!
