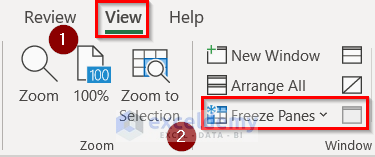
Method 1 – Removal of Excel Frozen Pane Vertical Line
Steps:
- Go to the View tab.
- Select the Freeze Panes option.
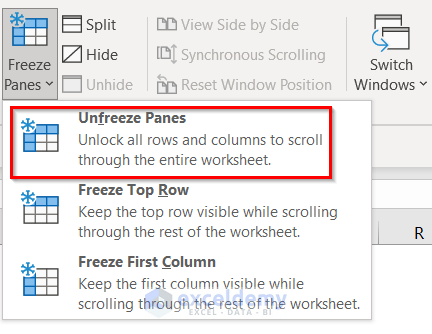
- Click on Unfreeze Panes from the drop-down.
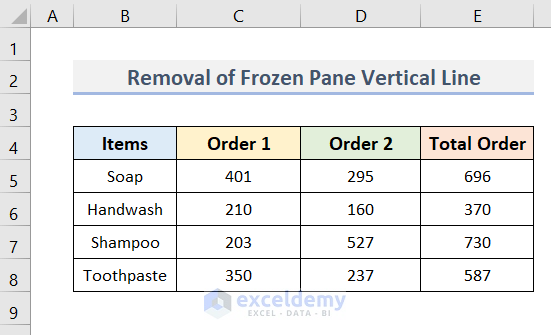
- We removed the frozen pane vertical line in the picture below.
Method 2 – Elimination of Vertical Line Character Within Excel Dataset
Steps:
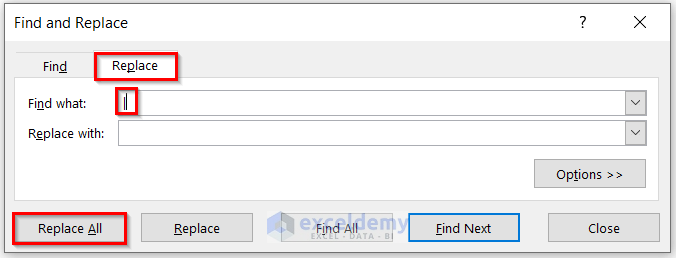
- Press Ctrl + F.
- A Find and Replace window will pop up.
- Select Replace.
- Keep the Replace with box empty to remove the vertical line character.
- Click Replace All.
- A window named Microsoft Excel will appear.
- Click OK.
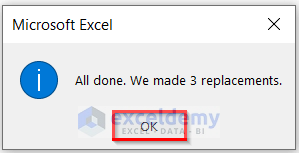
- You removed the vertical line character perfectly.

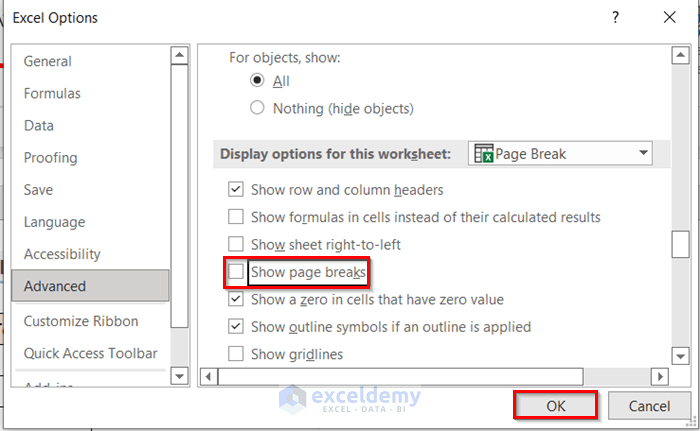
Method 3 – Erase Page Break Vertical Line in Excel
Steps:
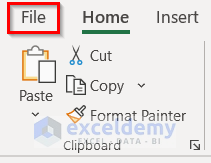
- Click the File tab.
- Click Options.

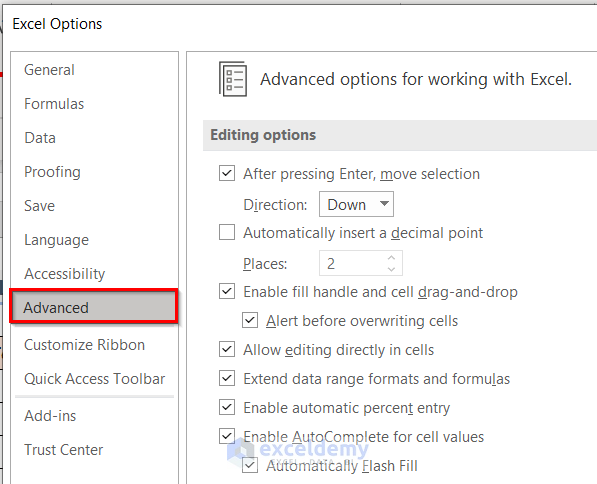
- In the Excel Options dialog box in the left pane, select the Advanced option.
- Scroll down to the Display Options section for this worksheet.
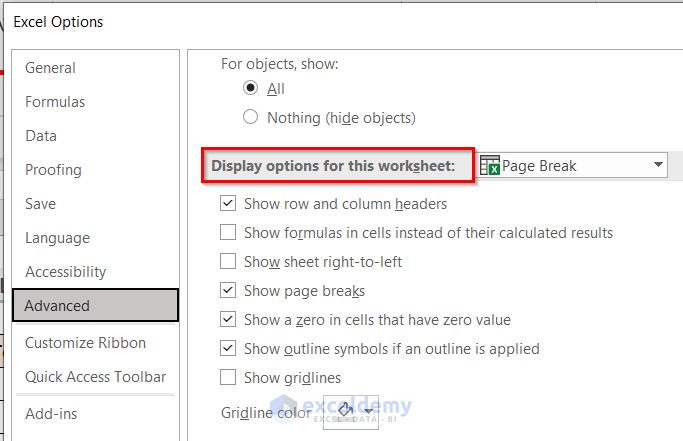
- Uncheck the box next to Show page breaks.
- Click OK.
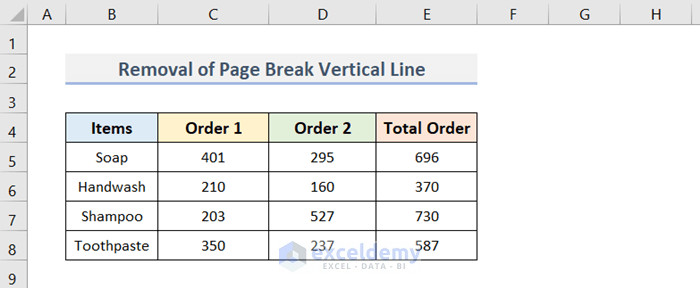
- You removed the page break vertical line. See the result in the picture below.
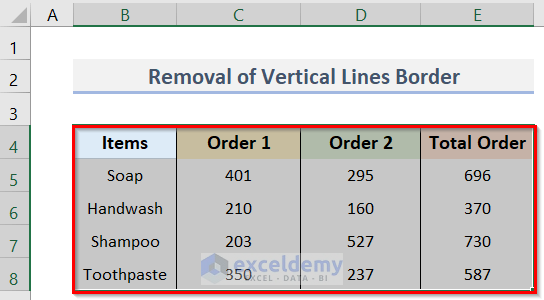
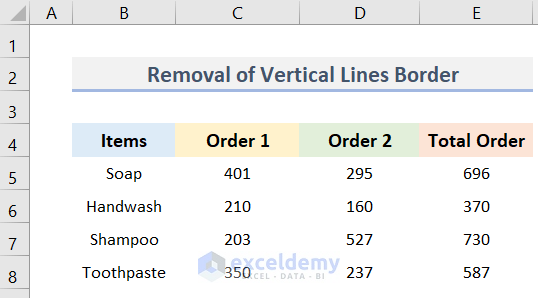
Method 4 – Discard Excel Vertical Line Border
Steps:
- Select the entire dataset (B4:E8) which needs to remove the vertical line border.
- Go to the Home tab.
- Click the Border drop-down menu in the Font group.
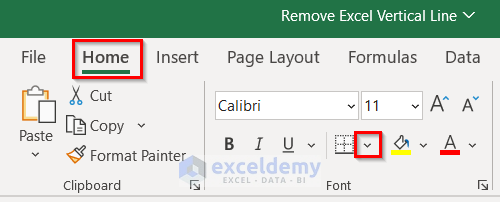
- Select No Border from the border options that appear.
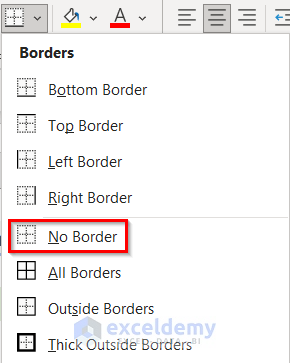
- The above steps would remove the vertical border line from the selected cells.
Method 5 – Remove Vertical Gridlines in Excel
Steps:
- Select the View tab.
- Uncheck the Gridlines option in the Show group.
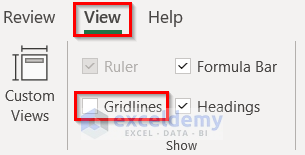
- Following the above steps will remove the gridlines.
Download Practice Workbook
Download the practice workbook from here.
Related Articles
- How to Remove Gridlines in Excel Using VBA
- How to Remove Gridlines in Excel When Printing
- How to Remove Gridlines in Excel for Specific Cells
<< Go Back to Remove Gridlines | Gridlines | Learn Excel
Get FREE Advanced Excel Exercises with Solutions!
