Excel slicer is a vital tool that gives users easy access to data filtering and interaction. Slicers are often shown vertically, however, a horizontal arrangement is preferable for better data visualization.
Download Practice Workbook
What Is Excel Slicer?
Users can filter and alter data in a pivot table, pivot chart, or Excel table using an interactive visual interface called an Excel slicer. It offers a simple and easy method for choosing particular values from a dataset and immediately filtering the related data according to those choices. Slicers are mostly used to condense the data displayed, making it simpler to examine and evaluate particular subsets of data.
When you add a slicer to an Excel spreadsheet, it creates a box or a group of tabs with unique values from one or more chosen data columns. Each value functions as a button or checkbox that you may use to filter the data in the appropriate way.
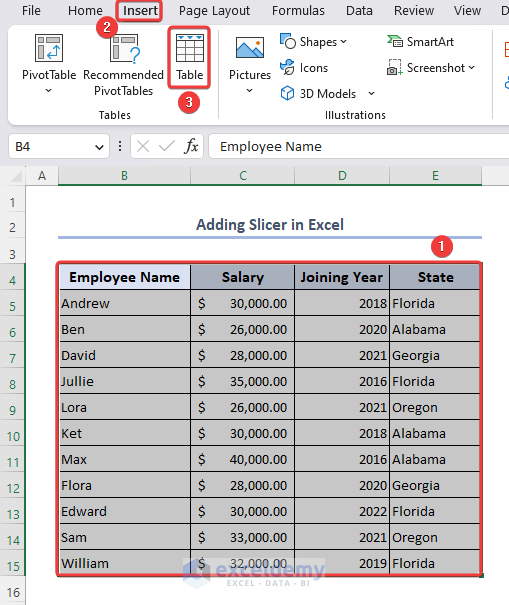
How to Add Slicer in Excel?
- Select the entire dataset of range B4:E15 and go to the Insert tab.
- Choose the Table option.
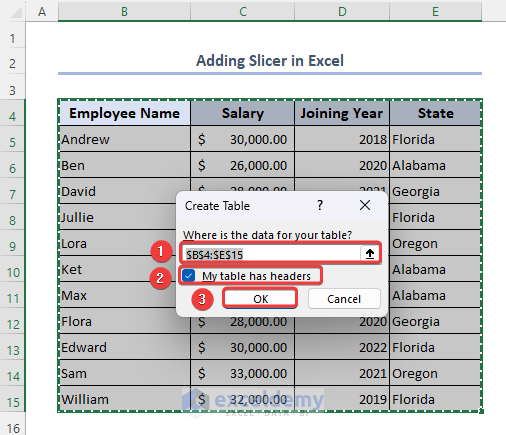
- After clicking on the Table option, you will find the following dialog box where you can customize the range.
- Our selected range $B$4:$E$15 shows the dialog box. $ is used as the range is static.
- Check “My table has headers” and click on OK.
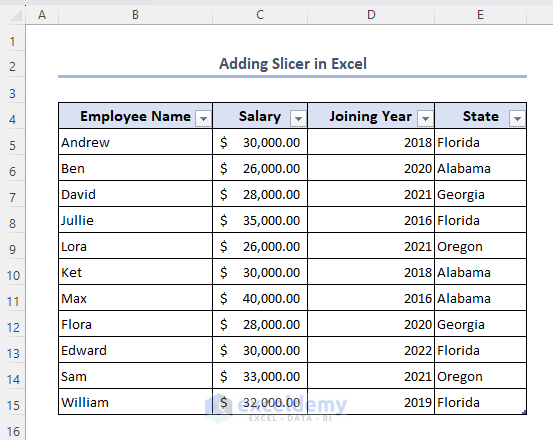
- The Excel table has been developed.
- Click on any cell of the table and go to Insert >> Filters >> Slicer.

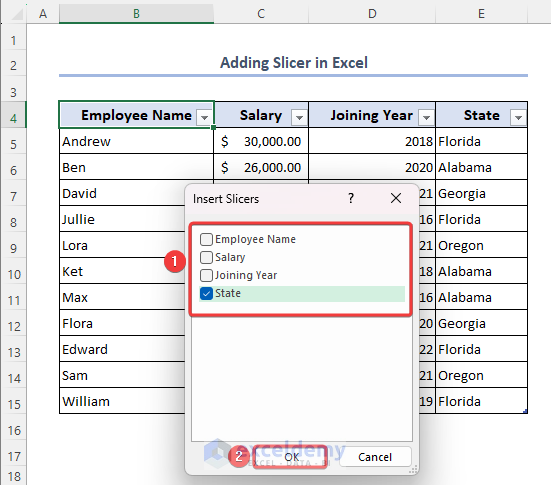
- You will find the Insert Slicers window with all the header names.
- Check on the headers that you want to add to the slicer and click on OK.
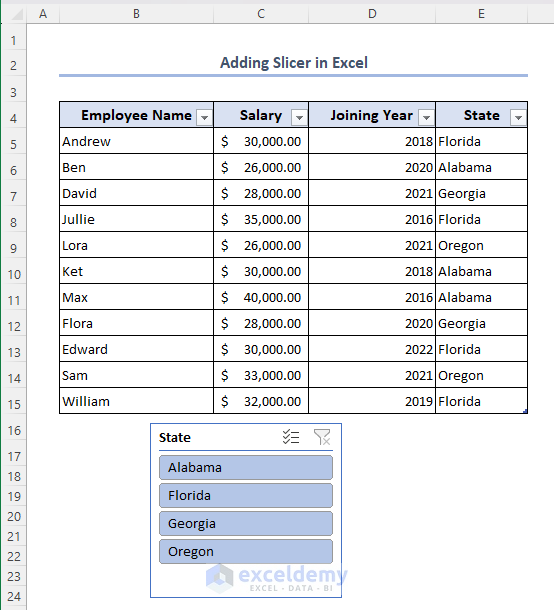
- The slicer will be added to your worksheet.
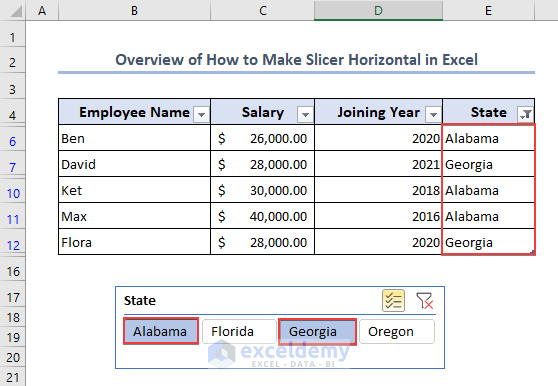
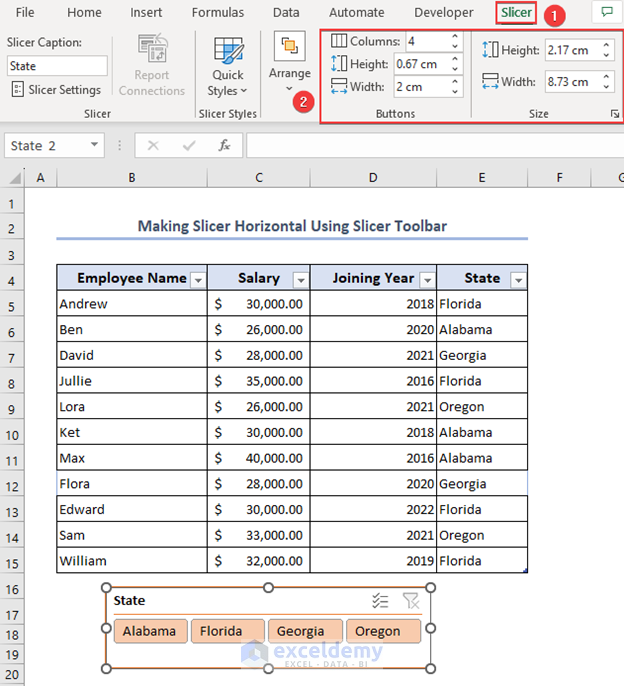
How to Make Slicer Horizontal in Excel: Step by Step Procedures
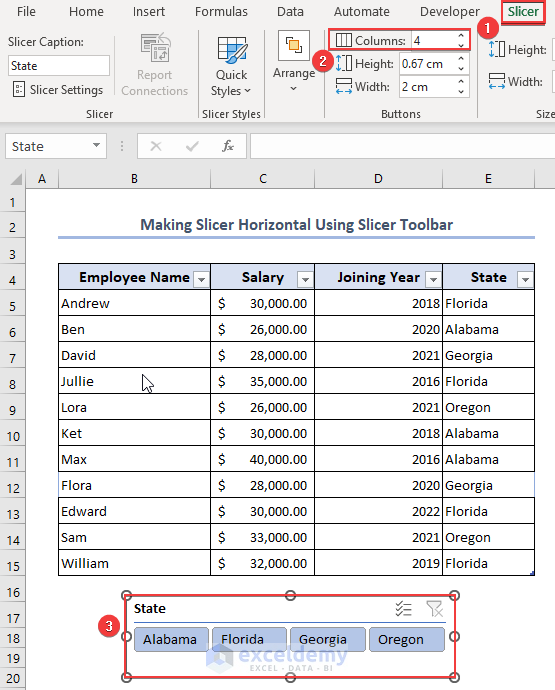
- Go to the Slicer toolbar and increase the column number from 1 to 4 from the Columns bar.
- You will find the change in the slicer.
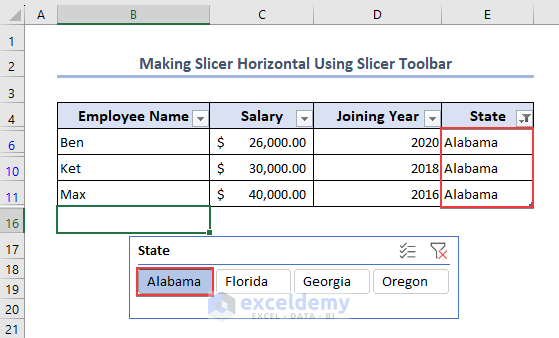
- You can select any items from the slicer and you will see the result in the table.
- We have selected Alabama from the State slicer and get all employee information from Alabama state.
How to Format Slicer in Excel
- Change the style of the slicer, select the specific slicer and go to the Slicer toolbar >> Quick Style.
- Select any style from the list and you will find the change in your slicer.

- You can also change the Height and Width of the slicer button and slicer from the Buttons and Size group respectively.
Get FREE Advanced Excel Exercises with Solutions!


make it simple
Hello Michael George Eichbaum,
Can you please specify which portion of the article seems complex or hard to you? We will update this part for you.
But this is the easiest way to insert horizontal slicer in Excel.
Regards
ExcelDemy