Method 1 – Hide Rows and Columns to Limit Sheet Size in Excel
STEPS:
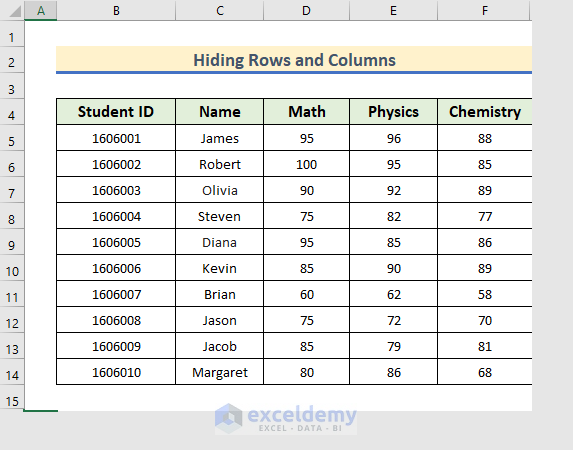
- Insert the data in an Excel sheet.
- We have used the range B4:F14 to insert our sample dataset.
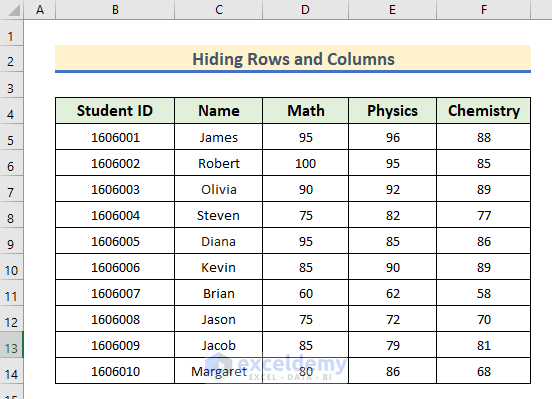
- We have data in Column A to Column F.
- Select any cell of Column G and press the Ctrl + Shift + Right Arrow (→) keys simultaneously to select all right columns.

- We have selected Columns G to XFD.

- Go to the Home tab and select the Format option.
- A drop-down menu will appear.
- Select Hide & Unhide to open another drop-down menu.
- Click on the Hide Columns option.
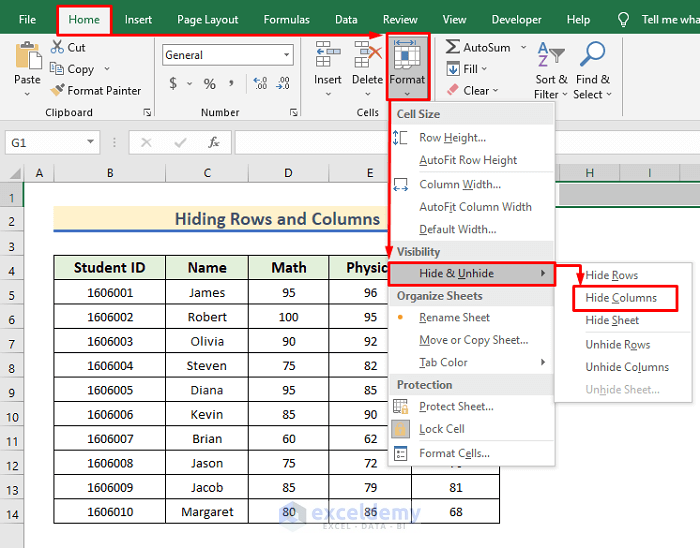
- Excel will hide the columns from G to XFD.
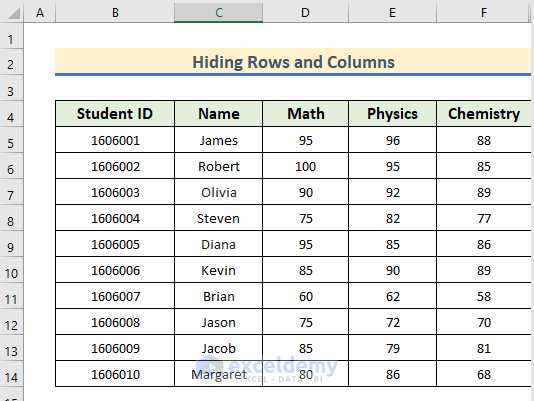
- As our dataset ends in the 15th row, we need to hide the other rows in the Excel sheet.
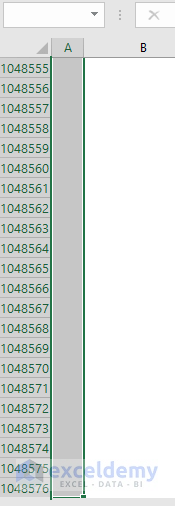
- Select any cell of the 16th row, and press the Ctrl + Shift + Down Arrow (↓) keys simultaneously to select all down rows.
- We have selected rows 16 to 1048556.
- Go to the Home tab and select Format.
- Select Hide & Unhide >> Hide Rows.
- The selected rows will be hidden.
Method 2 – Apply Excel VBA to Restrict Sheet Size
STEPS:
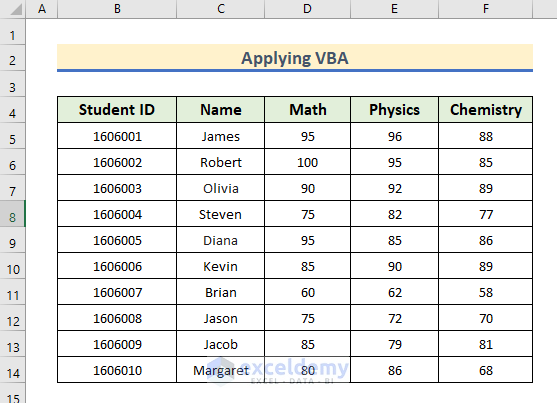
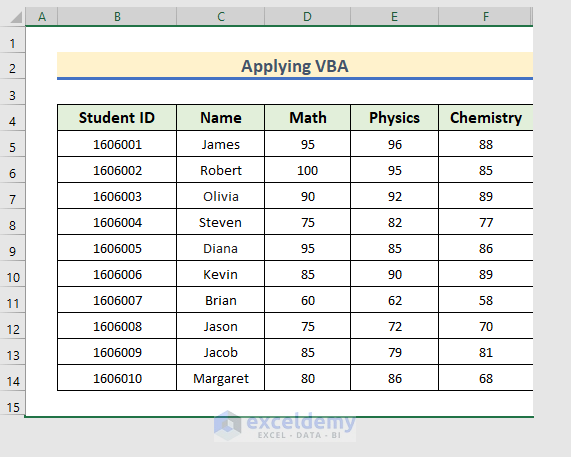
- Insert the data in an Excel sheet.
- We have inserted the student information in range B4:F14.
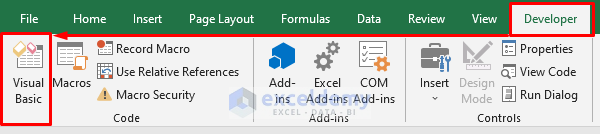
- From the Developer tab, select Visual Basic.
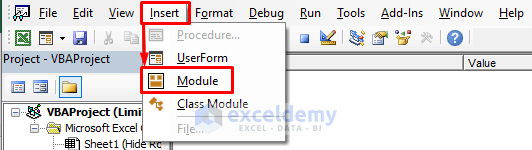
- In the new window, select Module from the Insert tab.
- In the Module window, add the code below:
Sub Limit_Sheet_Size()
Range("G:XFD").EntireColumn.Hidden = True
Range("16:1048576").EntireRow.Hidden = True
End Sub
We are selecting the range of rows and columns we want to hide. As in the datasheet, we have 1048576 rows and XFD columns; we will hide columns from G to XFD and hide rows from 16 to 1048576. In the code, “Entire.Hidden=True” is used to hide the range and “Entire.Hidden = False” is used to unhide the cells.
We need to save the code first and then, run it.
- To save the code, press Ctrl + S on the keyboard.
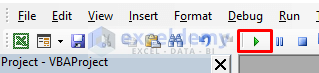
- Press the F5 key or click the “run” button to run the code.
- It will hide the selected columns and rows.
Method 3 – Utilize Properties Window to Limit Sheet Size in Excel
STEPS:
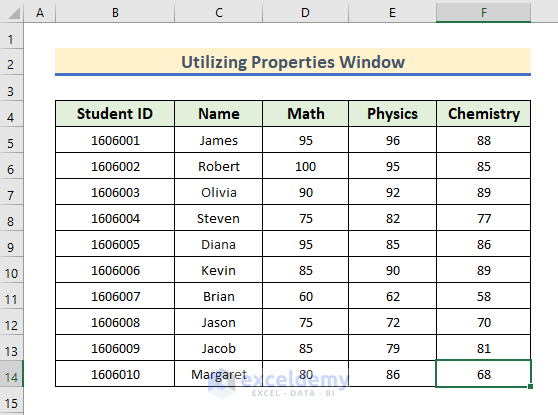
- Insert the data in an Excel sheet. Our data is in range B4:F14.

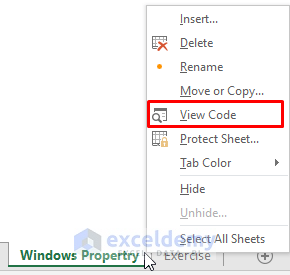
- Go to the Sheet Tab and right-click on the Sheet Name to open the menu.
- Select View Code.
- A window named Microsoft Visual Basic will open up.
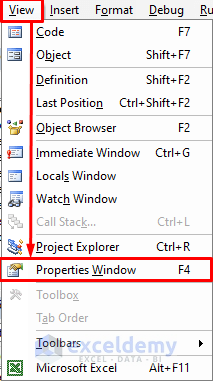
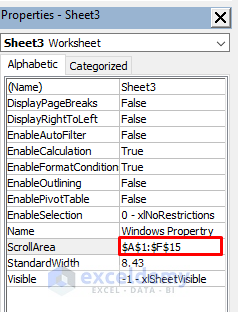
- In the Visual Basic window, go to the View tab and select Properties Window.
- You can also press the F4 key on the keyboard to open the properties menu.
- In the properties menu, go to ScrollArea and enter the range you want to keep.
- As our dataset is in the range A1:F15, we will type $A$1:$F$15.
- Press Enter.
- The rows outside of the 15th row and the columns outside F are still visible.
- But you cannot put the cursor here or have access over that range.
Download Practice Workbook
Related Articles
<< Go Back to Worksheets | Learn Excel
Get FREE Advanced Excel Exercises with Solutions!
