
Image by Editor
Microsoft Word is one of the most popular platforms to present documents. It offers various built-in templates and features to create a professional cover page. A professional cover page in Microsoft Word can elevate the presentation of your documents. In this tutorial, you will learn how to create a professional cover page from scratch in Word.
Method 1: Use Built-in Cover Pages
Step 1: Open Microsoft Word
- Open Microsoft Word on your computer.
- Click on Blank Document to start a new document.

Step 2: Insert a Cover Page
Word provides pre-designed cover pages that you can easily customize.
- Go to the Insert tab >> select Cover Page from the Pages group.
- A drop-down menu will appear with several built-in cover page templates.
- Click on any design that suits your document style.
- We selected the Whisp cover page.

Step 3: Customize the Cover Page
Once you’ve inserted a cover page, you can modify the text and layout to match your needs.
Editing the Text:
- Click on the placeholder text, such as Title, Subtitle, or Author Name.
- Replace the text with your own information.
- Go to the Home tab >> adjust the font, size, and color.

To edit the cover page;
- Click on the Title Placeholder and type:
- Title: Annual Financial Report 2025.
- Subtitle: Prepared for the Board of Directors.
- Go to the Company Name Section and replace it with your company’s name.
- Company Name: ABC Corp
- Update the Date and Author information.
- Date: 3/13/2024
- Author: Shamima Sultana

Adding an Image or Logo:
- Click on the placeholder image (if the template includes one).
- Select Picture Format from the ribbon.
- Click Change Picture >> select This Device to insert your image or logo.
- Resize and position the image as needed.
Step 4: Save & Export
- Click on File tab >> select Save As >> select PDF as the file type for a professional look.
- Click Save.

Pros: Quick, professional, and pre-designed.
Cons: Limited customization.
PDF:

Method 2: Create a Custom Cover Page
Step 1. Set Up Your Page
- Open a new Word document.
- Set margins and orientation:
- Click on Layout tab >> select Margins and choose appropriate settings.
- For orientation, select Portrait or Landscape.

Step 2. Add Visual Elements
Insert a background color/image:
- Go to the Design tab >> select Page Color.
- Choose a solid color or select Fill Effects for gradients.
- For images >> select Picture and browse for your image.

Add a Company Logo:
- Click Insert >> select Pictures>> select This Device.

- Select your Company Logo and place it at the top left or center.
- Resize it as needed.

Step 3. Add Text Elements
Create a Title:
- Go to the Insert tab >> select Text Box >> select Facet Quote or you can Draw Text Box.
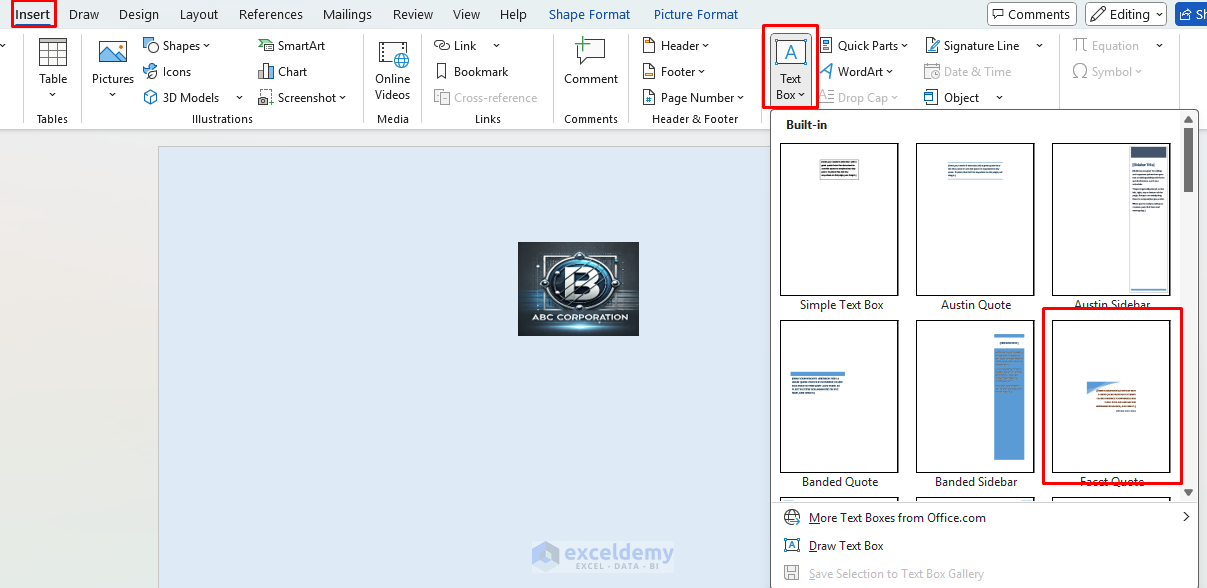
- Type your Title: Annual Financial Report 2025
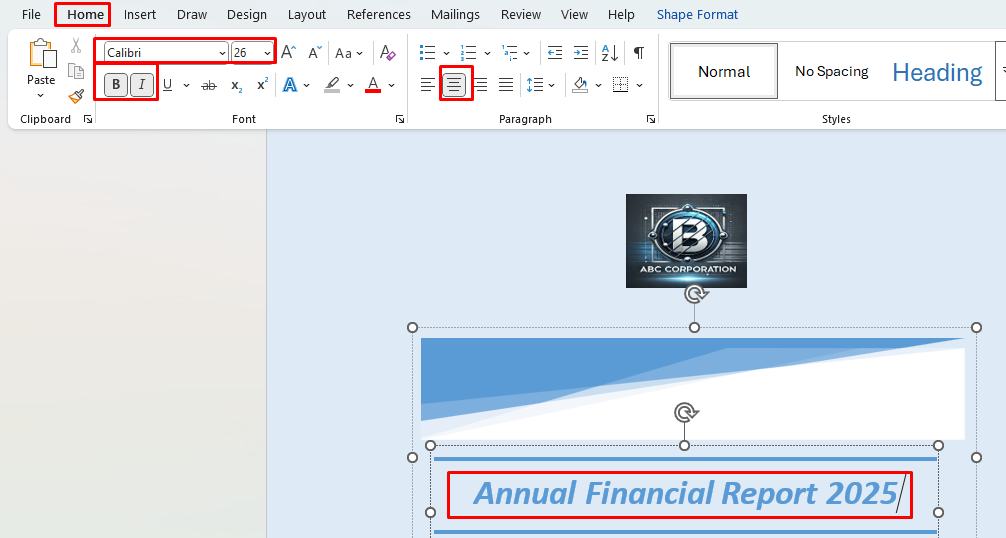
- Format using the Home tab (font, size, color).
- Font: Bold, 26pt, Calibri, Italic.
- Alignment: Centered.
- Spacing: Leave some white space below for a clean look.
Add supporting text:
- Create additional text boxes for subtitles if required.
- Subtitle: Prepared for the Board of Directors
- Format each element consistently from the Home tab.
- Font: 18pt, Calibri.
- Alignment: Right.

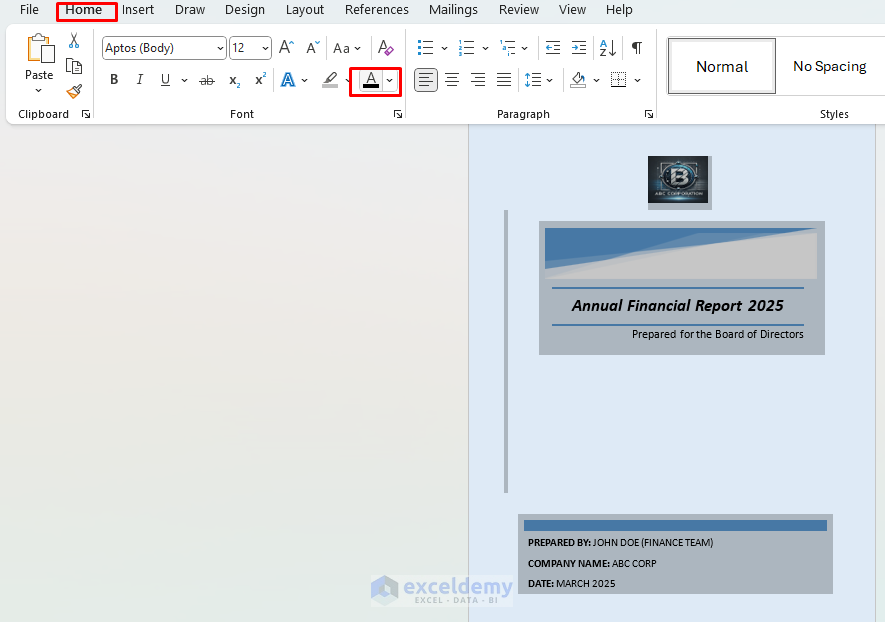
Step 4: Insert Author & Date Information
- Go to the Insert tab >> select Text Box and position it below the title.
- Type:
- Prepared by: John Doe (Finance Team)
- Company Name: ABC Corp
- Date: March 2025
- Format:
- Font: 16pt, Calibri.
- Alignment: Left or Center.

- Now, select all (press Ctrl + A).
- Adjust the font color.
- Go to the Home tab >> select Black as Font color.
Step 4: Add a Background or Design Elements
- Click Insert >> from Shapes >> select Rectangle.
- Place it at the bottom for a footer design.
- Right-click >> from Format Shape >> Choose a dark blue gradient for a professional look.
- Add a thin line separator between the title and details.
- You can also use Watermark to add a light background logo.

Create a footer:
To insert contact information:
- Double-click in the footer area.
- Add your information.
- Close the header and footer when done.
Output:
Align and adjust all the inserted Text Boxes, Elements, and Shapes.

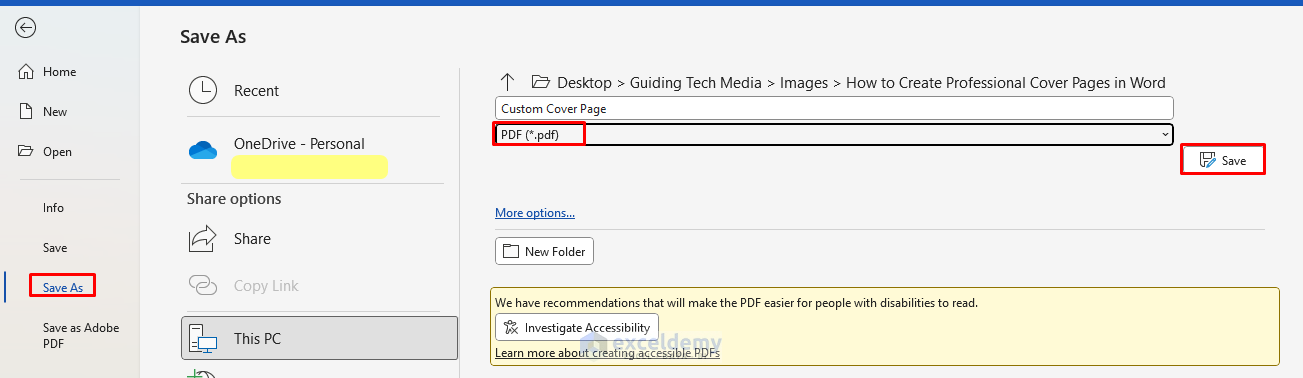
Step 5: Save & Export
- Click File >> select Save as.
- Select PDF (*.pdf) as the file type for the final presentation.
- Click Save.
PDF:

Pros: Fully customizable, looks professional.
Cons: Takes more time to design.
Method 3: Save Your Cover Page as a Template
- Create your custom cover page.
- Go to File >> select Save As.
- Select Word Template (.dotx) as the file type.
- Name your template >> click Save.

- Access it in future documents via File >> from New >> select Personal.
- Now, you can use your custom cover page in other Word documents easily.
Tips for Professional Cover Pages
- Maintain consistent typography (limit to 2-3 fonts).
- Use your organization’s brand colors.
- Ensure adequate white space.
- Keep design elements aligned and balanced.
- Use high-quality images and logos.
- Ensure text is readable against the background.
- Remember less is more.
Conclusion
You can create a professional cover page in Word by following the above methods. A professional cover page makes a strong first impression on any document. Remember that simplicity and consistency are key to professional design. Based on your document type you can either choose any built-in templates or create your own cover page. You can save your cover page to use as a template.
Get FREE Advanced Excel Exercises with Solutions!
