Method 1 – Enable Vertical Side-by-Side View of 2 Worksheets in the Same Excel Workbook
This is the first sample dataset.

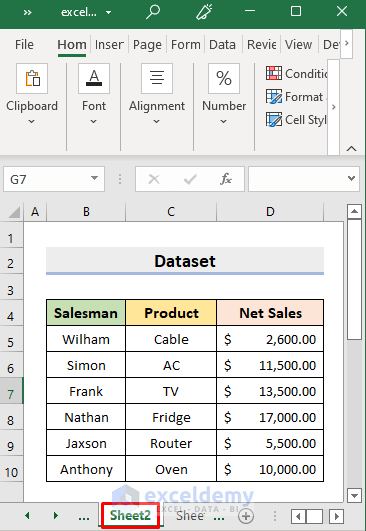
This is the dataset you want to view side-by-side with the first one.

STEPS:
- Open the Excel file.
- Select the View tab.
- Choose New Window in Window.

- Select the View tab.
- In Window, select Arrange All.
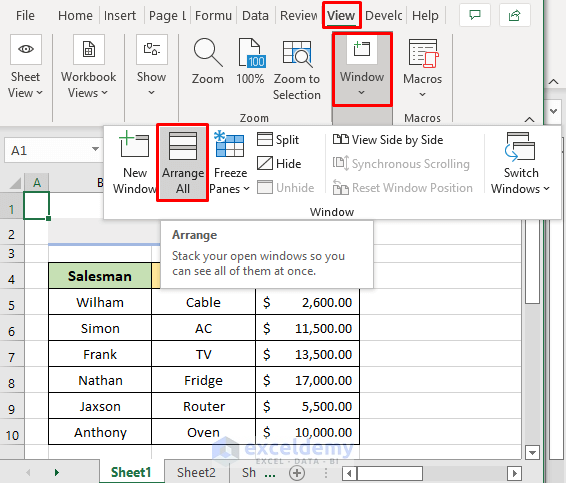
- In Arrange Windows, select Vertical.
- Click OK.
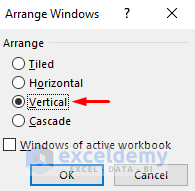
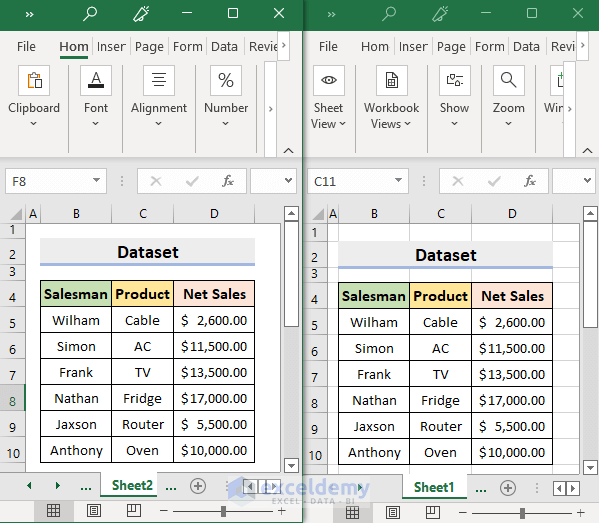
You’ll see the sheets side-by-side vertically.
Method 2 – Selecting Vertical Arrangement to view 2 Worksheets of Different Workbooks Side-by-Side
The following dataset is the first worksheet in the first workbook.
This worksheet is in a different workbook.
STEPS:
- Open the two workbooks.
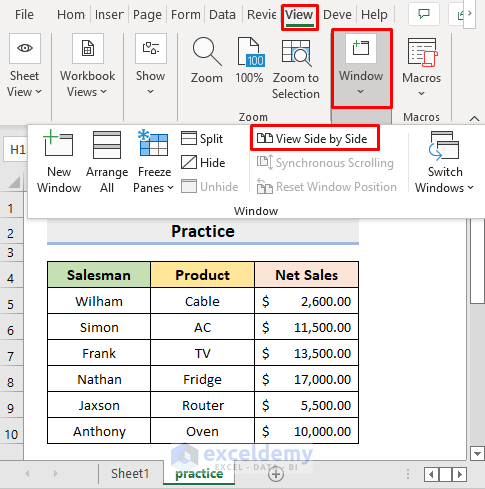
- Select View ➤ Window ➤ View Side by Side.
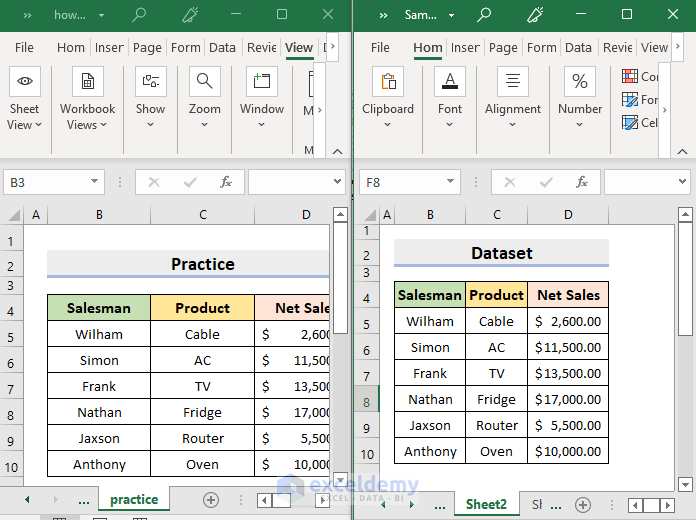
You’ll see the sheets side-by-side in vertical position.
Method 3 – Displaying Multiple Worksheets in the Same Workbook Side-by-Side in Excel
STEPS:
- Open the workbook and select the sheet.
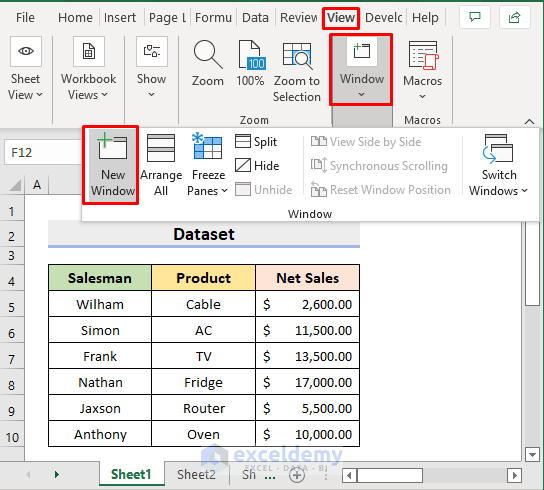
- Select New Window in the View tab (Window).
- Repeat the above step for each worksheet.
- Select View ➤ Window ➤ Arrange All.
- In the Arrange Windows dialog box, select Vertical.
- Click OK.

This is the output.

Method 4 – Viewing Multiple Excel Worksheets of Different Workbooks Side-by-Side
STEPS:
- Open the workbooks.
- Click View ➤ Window ➤ Arrange All.
- Select Vertical.
- Click OK.

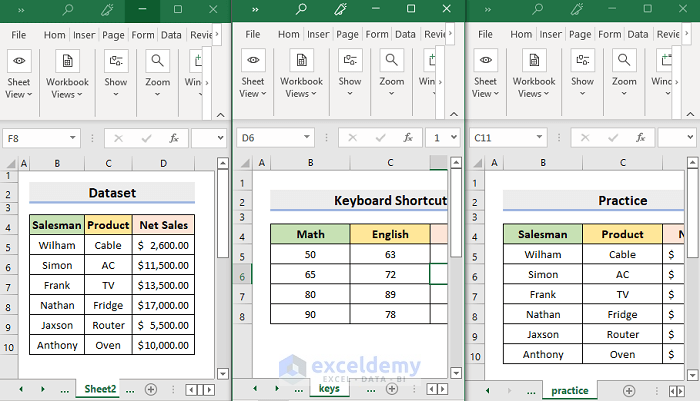
Multiple sheets of different workbooks are displayed side-by-side.
What to Do If ‘View Side by Side’ Is Not Functioning in Excel?
- If only one worksheet is open, the View Side by Side button will be gray (Not Activated). Open another worksheet to activate it.
- Select View ➤ Window ➤ Reset Window Position if the above solution doesn’t work.
Note:
If resetting The window position doesn’t work:
- Open the first Excel worksheet.
- Press Ctrl + N to open a new Excel window.
- Select File ➤ Open and select the Excel file.
- Click View ➤ Window ➤ View Side by Side.

Important Tips
- Click Maximize to restore a workbook window to its full size.
- Select View ➤ Window ➤ Reset Window Position to go back to the default view.
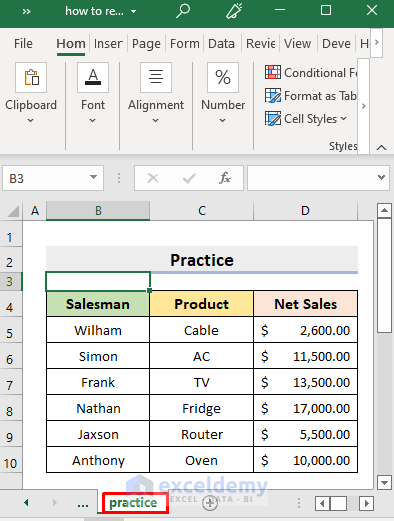
Download Practice Workbook
Download the following workbook.
Related Articles
- How to Split Excel Sheet into Multiple Worksheets
- How to Split Sheet into Multiple Sheets Based on Rows in Excel
- How to Split Excel Sheet into Multiple Sheets Based on Column Value
- How to Split Excel Sheet into Multiple Files
- Excel VBA: Split Sheet into Multiple Sheets Based on Rows
- How to Split a Workbook to Separate Excel Files with VBA Code
<< Go Back to Split Excel Cell | Excel Worksheets | Learn Excel
Get FREE Advanced Excel Exercises with Solutions!
