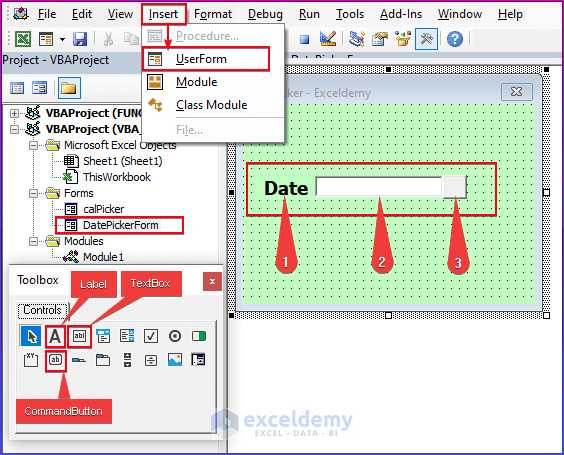
Step 1 – Creating Two UserForms
- Go to Insert.
- Click UserForm.
- In the Userform, add Labels (Date: position 1), command buttons (position 3), and text boxes (position 2).
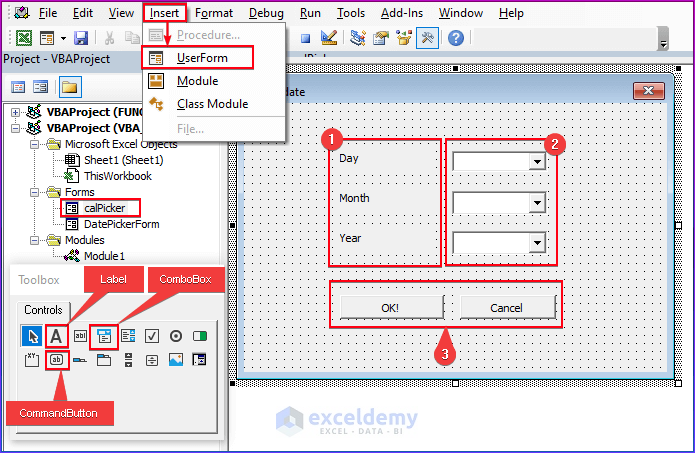
- Create another UserForm in Insert.
- Create three labels: Day, Month, and Year (position 1) and three combo boxes for each label on the right side.
- Insert two command buttons: OK and Cancel.
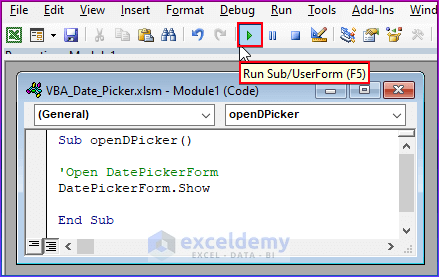
Step 2 – Opening the Datepicker Dialog Box
- Open VBA.
- Enter the following code into Module1.
Sub openDPicker()
DatePickerForm.Show
End Sub
- Save it and press F5.
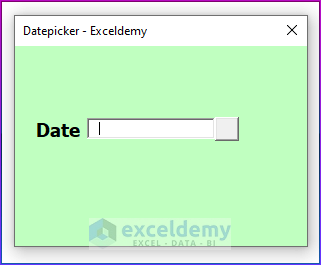
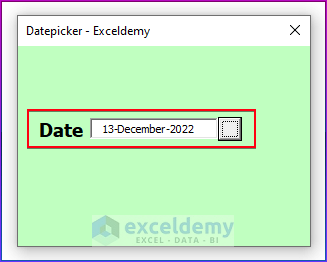
The date picker dialog box will be displayed.
Step 3 – Creating a Datepicker Calendar
- Right-click the calpicker UserForm to view the code.
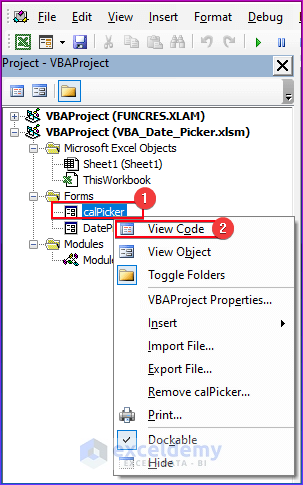
- Enter the following VBA code and press F5 .
Private Sub UserForm_Initialize()
Dim p As Integer
With Me.bcmDay
For p = 1 To 31
.AddItem p
Next p
.Value = VBA.Format(VBA.Date, "D")
End With
With Me.bcmMonth
For p = 1 To 20
.AddItem VBA.Format(VBA.DateSerial(2022, p, 1), "MMMM")
Next p
.Value = VBA.Format(VBA.Date, "MMMM")
End With
With Me.bcmYear
For p = VBA.Year(Date) - 30 To VBA.Year(Date) + 30
.AddItem p
Next p
.Value = VBA.Format(VBA.Date, "YYYY")
End With
End Sub
Private Sub CommandButton1_Click()
DatePickerForm.pDate.Value = bcmDay & "-" & bcmMonth & "-" & bcmYear
calPicker.Hide
End Sub
Private Sub CommandButton2_Click()
calPicker.Hide
End Sub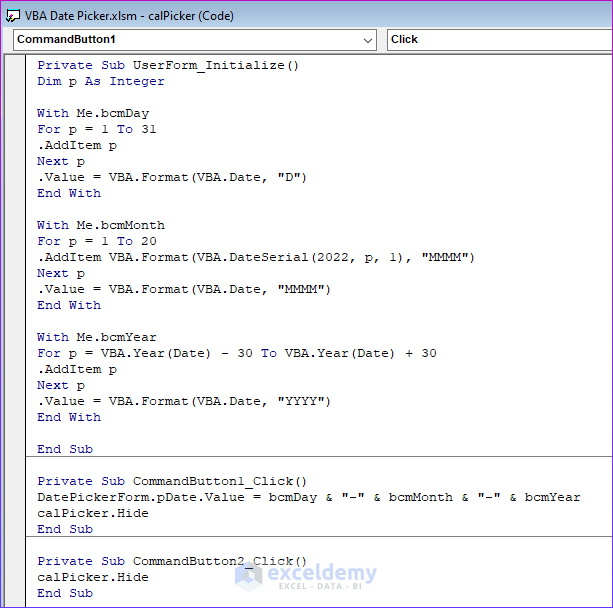
VBA BREAKDOWN
- Call the subroutine,
Private Sub UserForm_Initialize()- Declare a variable,
Dim p As Integer- Apply the For Loop to list days: 1 to 31,
With Me.bcmDay
For p = 1 To 31
.AddItem p
Next p
.Value = VBA.Format(VBA.Date, "D")
End With- Apply the For loop to listi months,
With Me.bcmMonth
For p = 1 To 20
.AddItem VBA.Format(VBA.DateSerial(2022, p, 1), "MMMM")
Next p
.Value = VBA.Format(VBA.Date, "MMMM")
End With- Apply the For loop to list years,
With Me.bcmYear
For p = VBA.Year(Date) - 30 To VBA.Year(Date) + 30
.AddItem p
Next p
.Value = VBA.Format(VBA.Date, "YYYY")
End With
End Sub- Assign the execution formula to the two Command Buttons,
Private Sub CommandButton1_Click()
DatePickerForm.pDate.Value = bcmDay & "-" & bcmMonth & "-" & bcmYear
calPicker.Hide
End Sub
Private Sub CommandButton2_Click()
calPicker.Hide
End Sub
You will see the calendar button in position 1.
- Click the calendar button to see the calendar dialog box.

Step 4 – Picking a Date from the Calendar
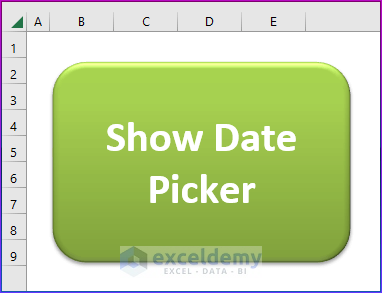
- Click Show Date Picker.
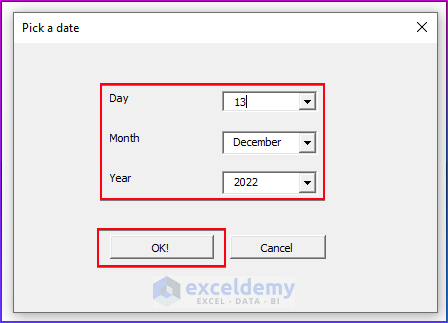
- In the dialog box, choose a date. Here, 13 December 2022.
Read More: How to Use VBA Textbox Properties in Excel
Step 5 – Showing the Final Result with the Textbox Datepicker
- The selected date works as a datepicker.
Read More: How to Use Excel VBA Textbox Events
Download Practice Workbook
Download the Excel workbook.
Related Articles
- How to Convert TextBox Value to Cell with VBA in Excel
- How to Add Text to Textbox Using Excel VBA
- How to Use VBA to Change Textbox Text in Excel
- How to Hide Textbox Using Excel VBA
- Excel VBA to Convert Textbox Value to Number
- How to Format TextBox for Phone Number in Excel VBA

