Introduction to the Excel VBA Option Button
The option button refers to a type of icon that allows the user to choose just one option. You can add option buttons in Excel using the Form Controls or ActiveX Controls.
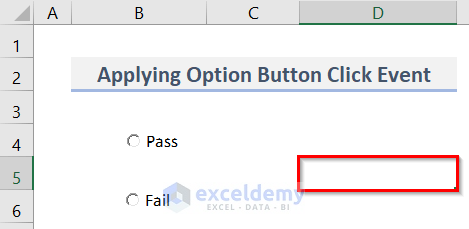
Create the option button to decide if a candidate is Selected or Rejected:
Step 1- Inserting an Option Button in Excel
- Open the Excel worksheet.
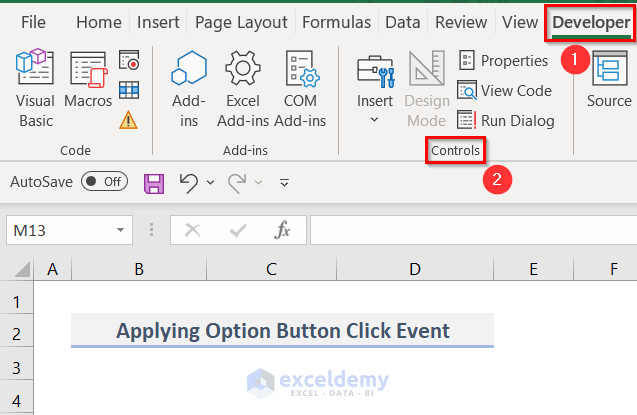
- Go to the Developer tab.
- Select Controls.
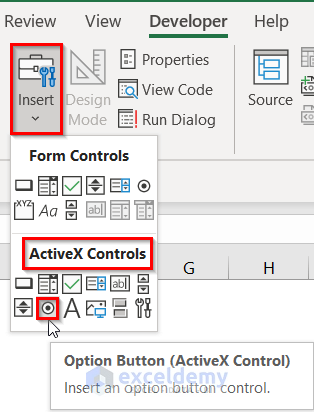
- Click Insert.
- Click Option Button in ActiveX Controls.
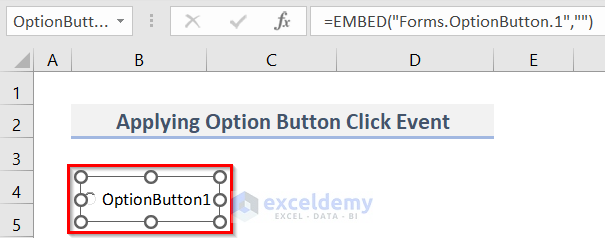
- Drag the first option button (OptionButton1) to the worksheet (see screenshot).
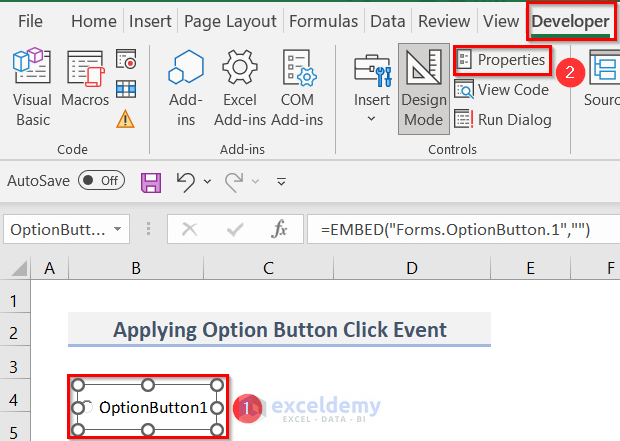
- Select the option button and go to the Developer tab again.
- Click Properties.
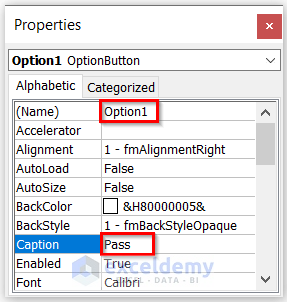
- In the Properties window: select Alphabetic.
- In Name, enter Option1.
- In Caption, enter Pass.
- Close the window.
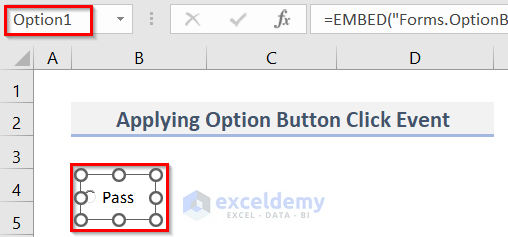
You can see the Caption ‘Pass’ on the option button.
In the Name Box, you can see Option1.
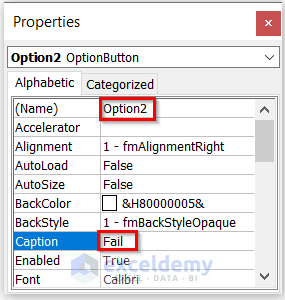
- Insert the second option button in the same worksheet.
- Enter Option2 in Name.
- In Caption, enter Fail.
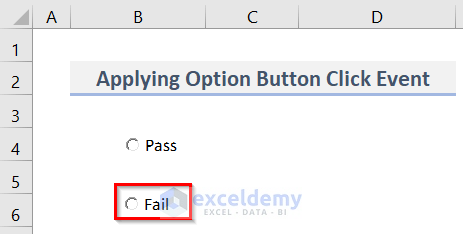
The second option button is displayed.
Step 2 -Assigning the Selected Option to Excel VBA
- Click the first option button (Pass).
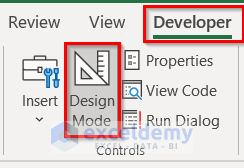
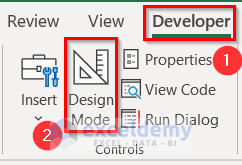
- Go to the Developer tab.
- Confirm that the Design Mode is active.
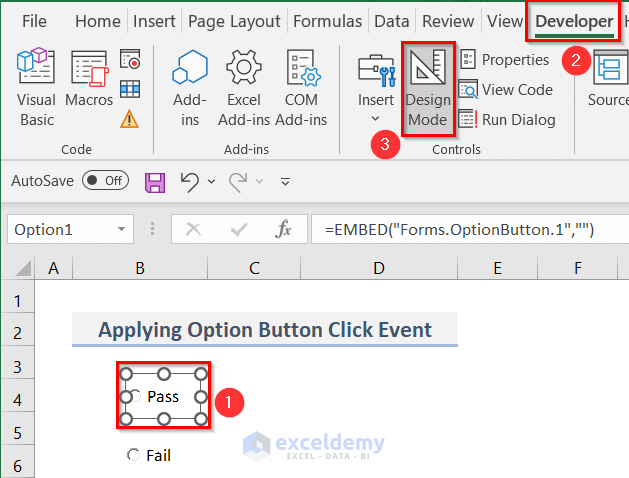
- Right-click option button (Pass).
- Select View Code.
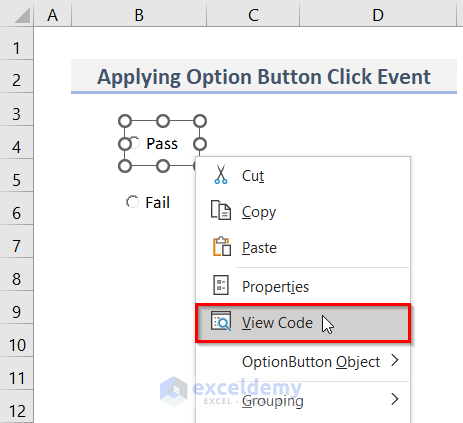
- The VBA code window will open.
- Enter the following VBA code in the code window:
Private Sub Option1_Click()
If Option1.Value = True Then Range("D5").Value = "Selected"
End Sub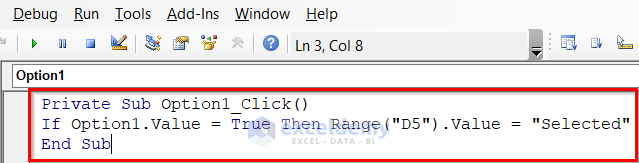
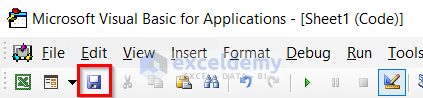
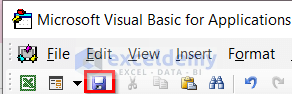
- Click Save.
- Go to the Developer tab to deactivate the Design Mode.

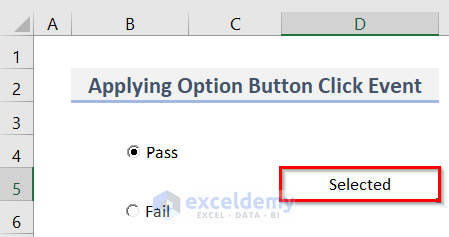
- Click the Pass option button.
You will see the output (Selected) in D5.
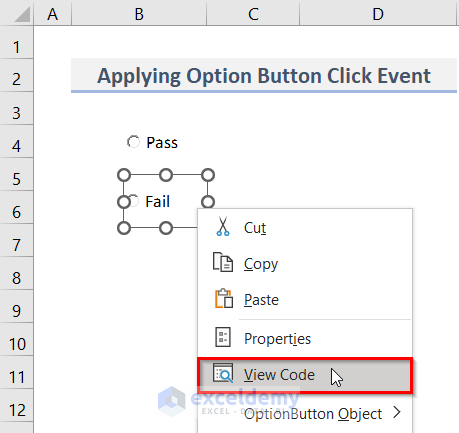
- For the second option button, select the option button (Fail) > go to the Developer tab > enable the Design mode.
- Click View Code by right-clicking the option button (Fail).
- Enter the VBA code below in the code window:
Private Sub Option2_Click()
If Option2.Value = True Then Range("D5").Value = "Rejected"
End Sub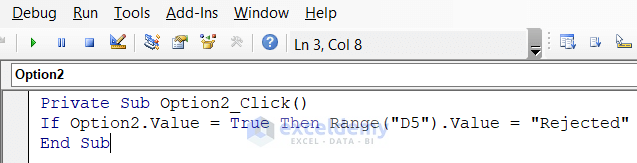
- Click Save.
- Turn off the Design Mode option in the Developer tab.
- If you click the Fail option button, D5 will show ‘Rejected’.

Read More: How to Set Option Button Value in Excel VBA
Download Practice Workbook
Download the practice workbook.
Related Articles
- How to Insert Excel VBA Radio Button Input Box
- Radio Button in Excel Without Macro
- How to Group Radio Buttons in Excel

