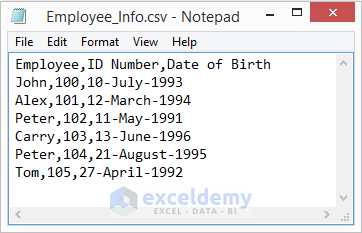
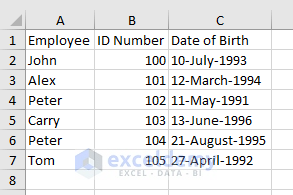
We will use a CSV file that contains information about the Name, ID, and Date of Birth of some employees. We will convert this CSV file to an XLSX file.
Method 1 – Use the Command Button to Convert a CSV File to an XLSX File with Excel VBA
Steps:
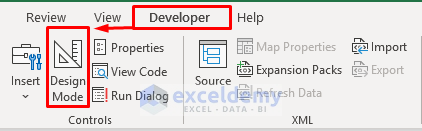
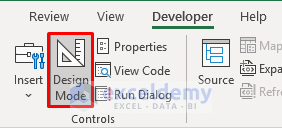
- Go to the Developer tab and select Design Mode.
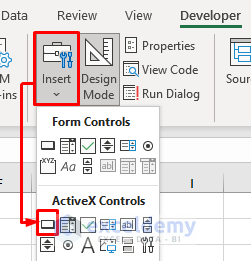
- Select Insert and pick the Command Button icon from the ActiveX Controls.
- Draw the command button on the active sheet.
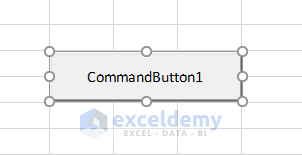
- Double-click on the command button to open the Code window.
- Insert this code in the Code window:
Private Sub CommandButton1_Click()
Dim x As FileDialog
Dim xPath As String
Dim CSVfile As String
Dim Wks As String
Application.DisplayAlerts = False
Application.StatusBar = True
Wks = ActiveWorkbook.Name
Set x = Application.FileDialog(msoFileDialogFolderPicker)
x.Title = "Select a folder:"
If x.Show = -1 Then
xPath = x.SelectedItems(1)
Else
Exit Sub
End If
If Right(xPath, 1) <> "\" Then xPath = xPath + "\"
CSVfile = Dir(xPath & "*.csv")
Do While CSVfile <> ""
Application.StatusBar = "Converting: " & CSVfile
Workbooks.Open Filename:=xPath & CSVfile
ActiveWorkbook.SaveAs Replace(xPath & CSVfile, ".csv", ".xlsx", vbTextCompare), _
xlWorkbookDefault
ActiveWorkbook.Close
Windows(Wks).Activate
CSVfile = Dir
Loop
Application.StatusBar = False
Application.DisplayAlerts = True
End Sub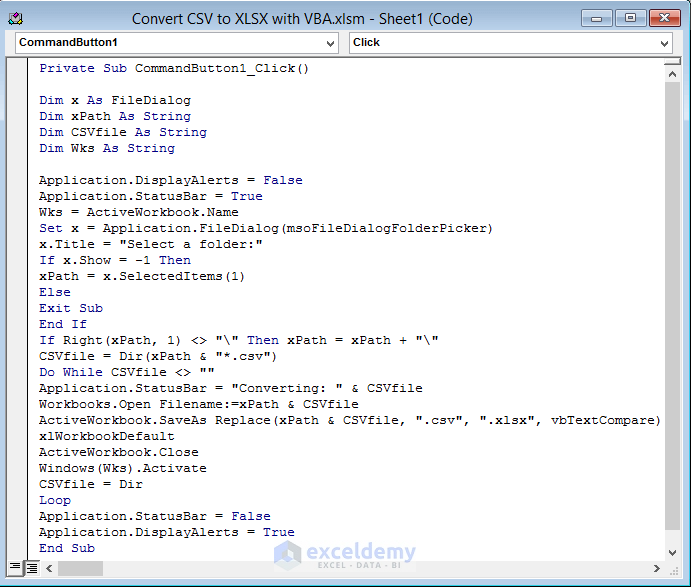
- Press Ctrl + S to save the code and close the Code window.
- Deselect the Design Mode in the Developer tab.
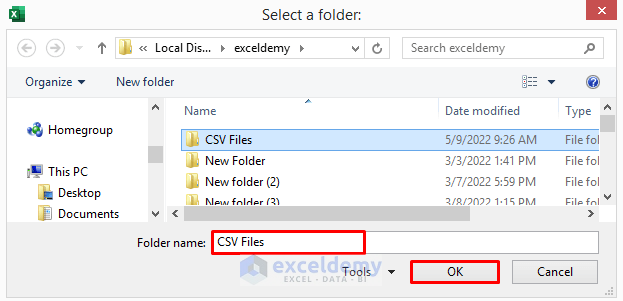
- Click on the command button. It will open a dialog box.
- Select the folder that contains the CSV file and press OK.
- The CSV file will open in Excel.
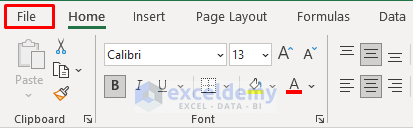
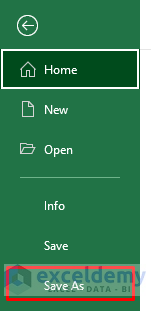
- Go to the File tab and select Save As.
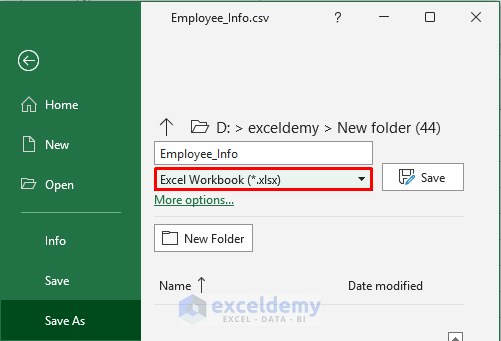
- Change the file type to Excel Workbook (*.xlsx) and save it.
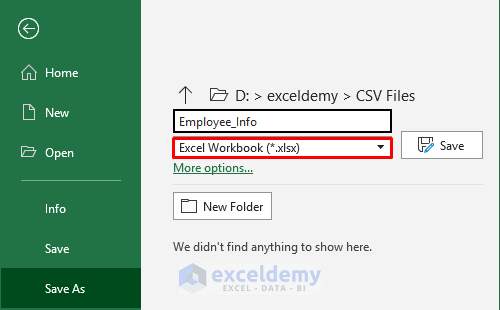
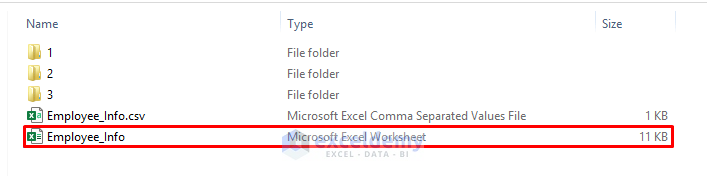
- You will see the converted XLSX file in the same folder.

Method 2 – Apply VBA to Transform a CSV File to an XLSX File in Excel
Steps:
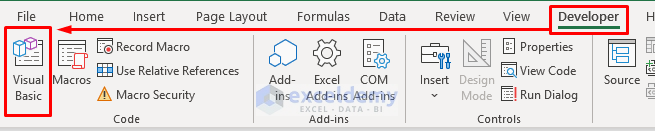
- Go to the Developer tab and select Visual Basic. It will open the Visual Basic window.
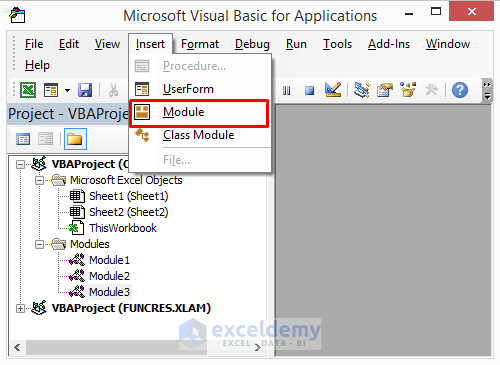
- Select Insert and choose Module. The Module window will appear.
- Insert this code in the Module window:
Sub Convert_CSV_to_XLSX_File()
Dim w As Workbook
Set w = Workbooks.Open("D:\exceldemy\New folder (45)\Employee_info.csv")
w.SaveAs Filename:="D:\exceldemy\New folder (45)\Employee_info.xlsx", _
FileFormat:=xlWorkbookDefault, _
ReadOnlyRecommended:=False, CreateBackup:=False
End Sub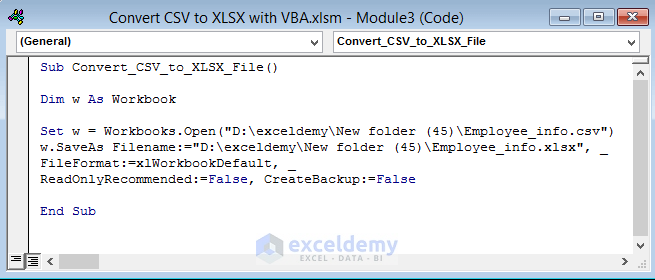
- Replace the directories (“D:\exceldemy\New folder (45)\Employee_info.csv”) and (“D:\exceldemy\New folder (45)\Employee_info.xlsx”) with your desired one. Write the name of the file you want to convert carefully.
- Press Ctrl + S to save the code.
- Press the F5 key to run the code.

- You will see the converted XLSX file in the desired location.

Read More: Excel VBA to Read CSV File into Array
Alternative – Convert a CSV File to an XLSX File without Excel VBA
Steps:
- Open the CSV file in Excel.
- Go to the File tab.
- Select Save As.
- Change the Save As type to Excel Workbook (*.xlsx) and save it.
- You will see the XLSX file in the desired location.
Things to Remember
- You must write the directory and file name correctly in the VBA code.
- Also, be extra careful while writing the extensions.
- Use Method-2 to convert a single CSV file.
- You can convert multiple CSV files using Method-1.
Download the Practice Book=
Related Articles
- Excel VBA to Import CSV File without Opening
- Excel VBA to Read CSV File Line by Line
- Excel VBA: Merge Multiple CSV Files into One Workbook

