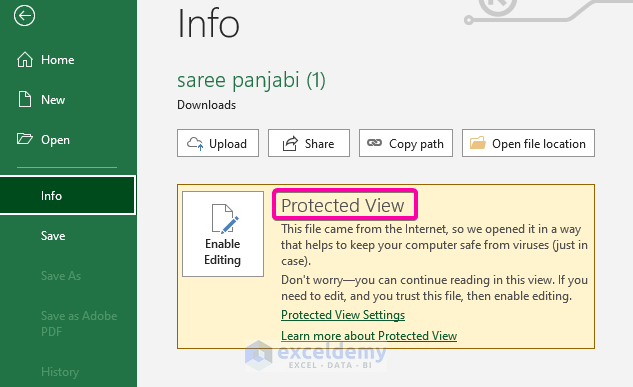
In the image below, Excel is showing the protected view message “Office has detected a problem with this file.”
There can be several reasons for Excel showing this alert:
- Obtaining flies from untrustworthy sources.
- The file is password-protected or has the Protected View option enabled.
- It was opened from a different OneDrive storage location.
- The file contains potential viruses.
- A file blocker is preventing you from accessing the file.
- Excel flags the file as invalid and prompts you to validate it.
Solution 1 – Alter Excel Protected View Settings
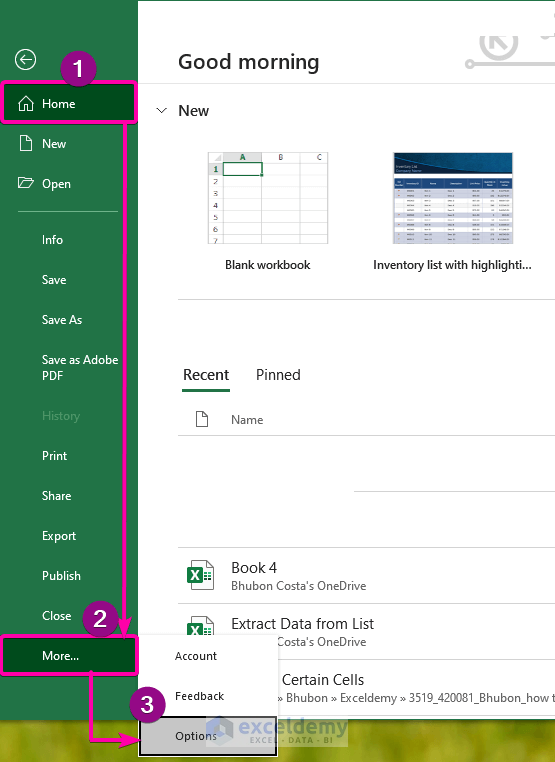
Step 1: Go to Options
- Click the File tab and go to Home.
- Select More and click Options.
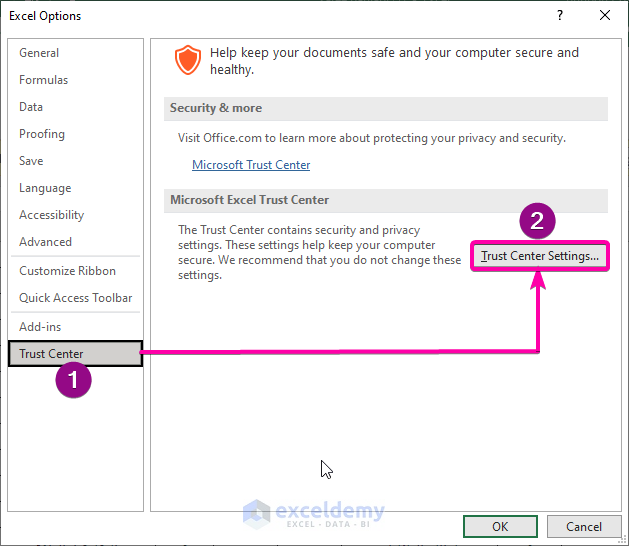
Step 2: Use the Excel Options
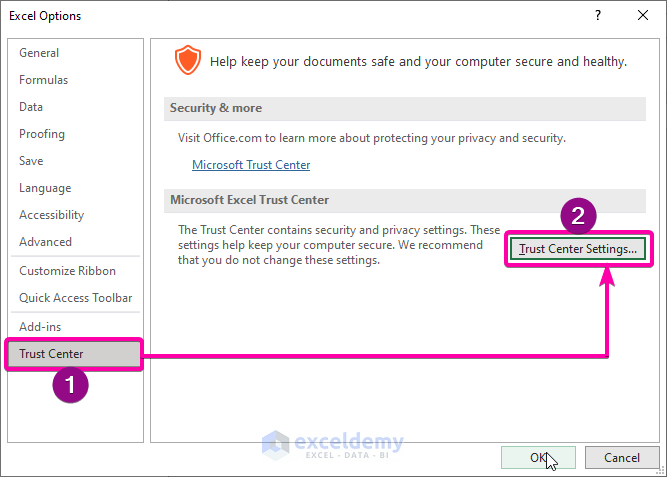
- Select Trust Center.
- Click Trust Center Settings.
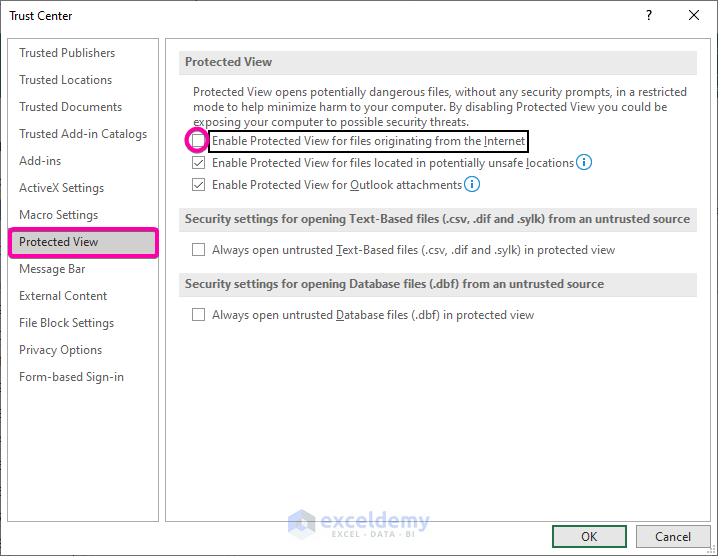
Step 3: Disable Protected View
- Click Protected View.
- Uncheck “Enable protected view for files originating from the internet”.
- Click OK.
Read More: [Fixed] Excel Protected View Editing This File Type Is Not Allowed
Solution 2 – Check the Latest Version of Microsoft Excel to Update Features
Steps:
- Go to the File tab.
- Click Account.
- In Update Options, click Update Now.

Read More: [Fixed] Excel Cannot Open in Protected View
Solution 3 – Use the Control Panel to Repair Microsoft Excel
Step 1: Find the Programs
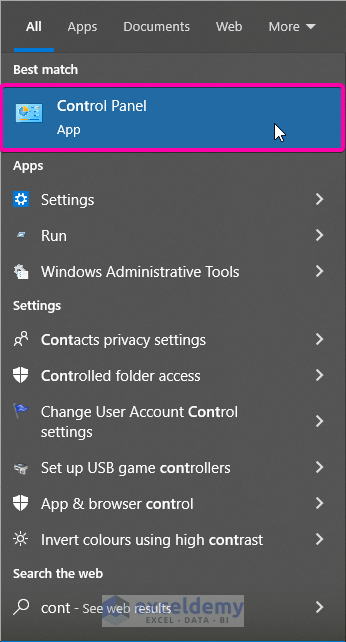
- In Windows Start Menu, choose Control Panel.
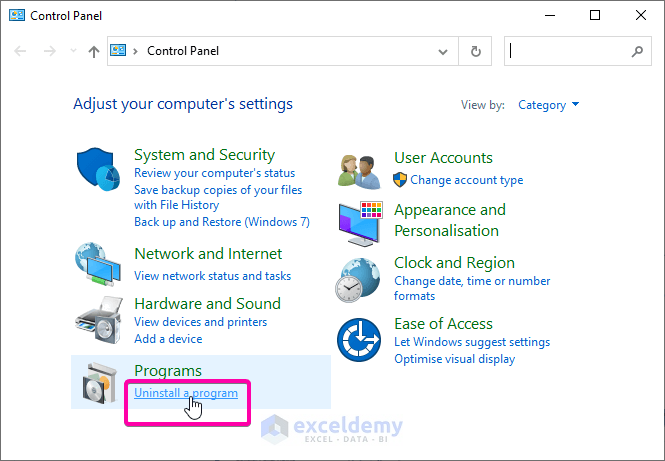
- In Programs, click Uninstall a program.
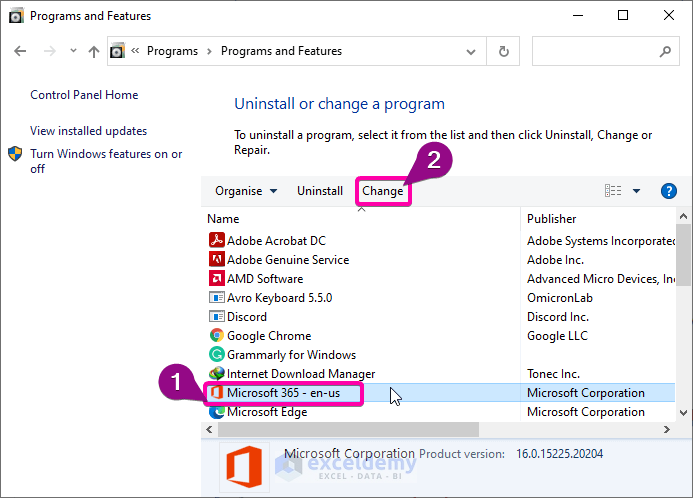
Step 2: Select the Application
- Double-click Microsoft 365-en-us.
- Click Change and select Repair.
Read More: How to Remove Protected View in Excel
Solution 4 – Add a New Location to Place the File
Step 1: Go to Excel Options
- Go to Home in File
- Click Options.

Step 2: Use the Excel Options
- Select Trust Center.
- Click Trust Center Settings.
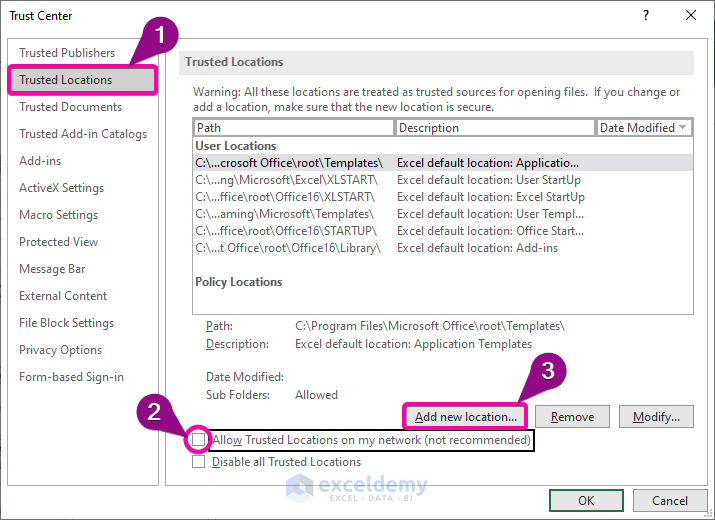
Step 3: Enable the Trust Location
- Choose Trust Locations.
- Select “Allow Trusted Locations on my network (not recommended) option.”
- Click Add new location.
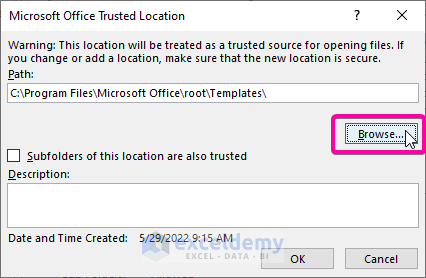
Step 4: Browse a Location
- Click Browse to select a folder.
Read More: [Solved]: Excel Opening in Protected View Stuck
Download Practice Workbook
Download the practice workbook to exercise.
Related Articles
<< Go Back to Excel Files | Learn Excel
Get FREE Advanced Excel Exercises with Solutions!
