Method 1 – Clicking on ‘Enable Editing’ to Edit in Protected View
When opening an unsafe file (saved in previous versions of Excel or received from external sources), Excel usually displays it in Protected View. It shows a warning message that says-
Next to the warning message is an Enable Editing option. Click on it to enable editing of the Excel file. This will remove the protected view, allowing you to edit the file.

Read More:[Solved]: Excel Opening in Protected View Stuck
Method 2 – Enabling Editing Using Info Feature
Excel files opened in Protected View normally have the Enable Editing option along with the warning. Users can also find the Enable Editing option from Ribbon’s File > Info > Enable Editing. Click on Enable Editing to enable editing of the opened file.

Read More:[Fixed] Excel Cannot Open in Protected View
Method 3 – Allow Editing Insecure Files by Changing Protected View Settings
Excel Trust Center Setting contains several settings that allow users to edit any Excel files without getting the Protected View mode. There are three Protected View options, disabling them will allow automatic editing mode of any Excel files after opening. The options are:
(i) Enable Protected View for files originating from the internet.
(ii) Enable Protected View for files located in potentially unsafe locations.
(iii) Enable Protected View for Outlook attachments.
Excel opens files in Protected View Mode.
Go to Excel Ribbon File > Options.
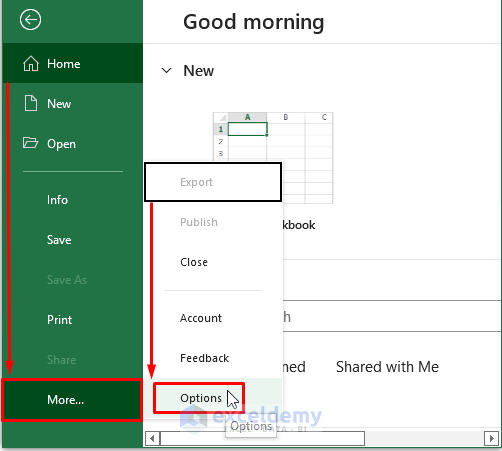
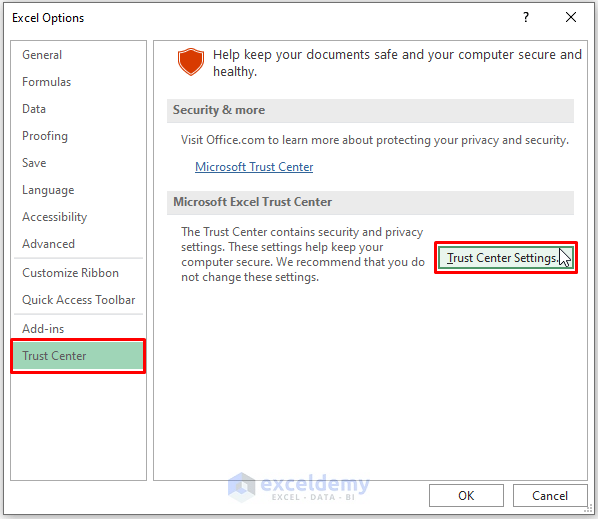
The Excel Options window will open. Select Trust Center from the options and click on Trust Center Settings.
The Trust Center window will open. In the window, choose Protected View (from the left-side options). Uncheck all 3 options under Protected View and click on OK.
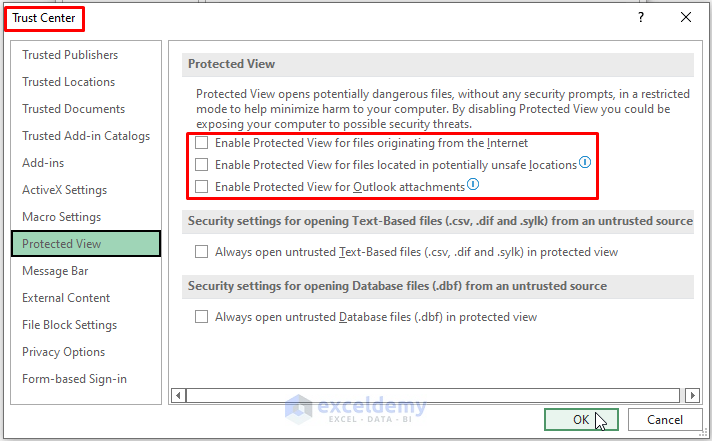
Disabling these three options allows Excel to directly display the Editing Mode while opening an Excel file.
Read More: Cannot Edit Excel File in Protected View
Method 4 – Changing File Block Setting to Enable Editing
Open the Trust Center window by following the steps in Method 3.
Click on File Block Settings. Under File Block Settings > File Type, uncheck the Open options of all the previous Excel version variants and click OK.
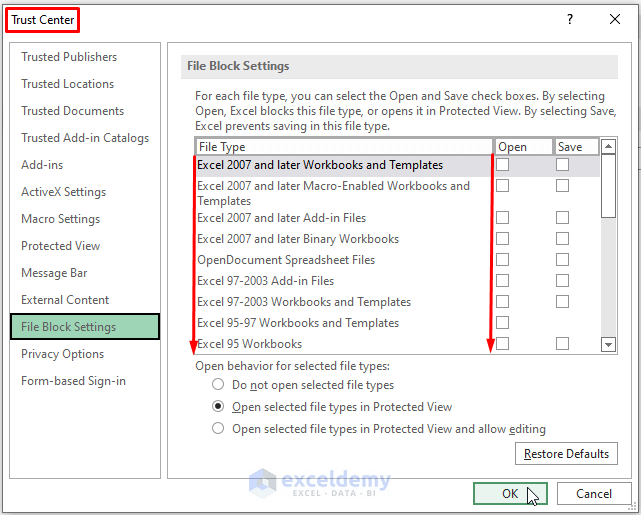
Make sure you mark the option – Open selected file types in Protected View or Open selected file types in Protected View and allow editing. Unchecking those options allows Excel users to open any Excel version files in direct Editing Mode.
Method 5 – Adding File Location As Trusted Location to Avoid Protected View
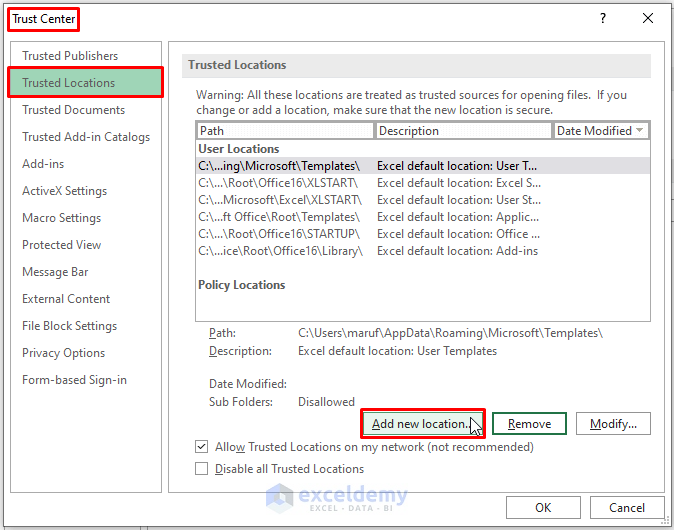
Navigate to the Trust Center window. In the window, select Trusted Locations and click on Add new location.
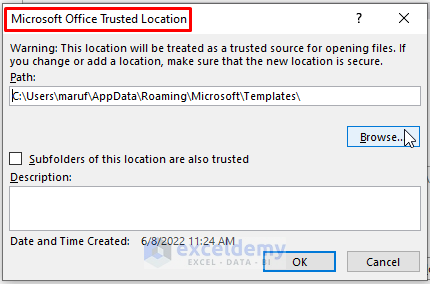
Excel will open the Microsoft Office Trusted Location dialog box. Click on Browse to select the desired location.
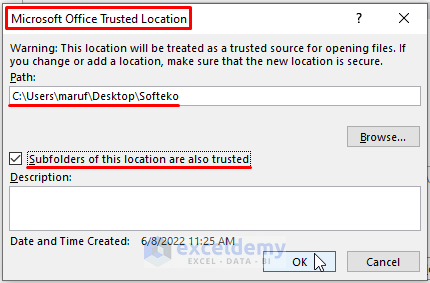
Check the option saying- Subfolders of this location are also trusted. Click OK.
It will take you back to the Trust Center window. Click on OK.
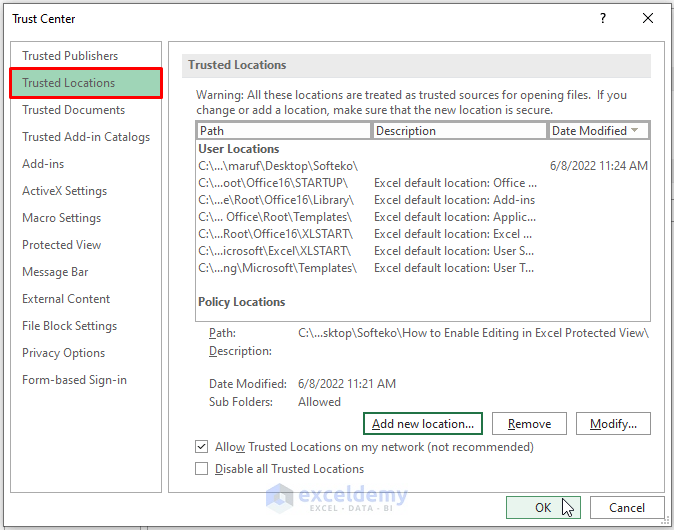
Adding a location as Trusted Location where users store their files enables Excel to open them in Editing Mode directly.
Related Articles
- [Solved]: Excel Protected View Office Has Detected a Problem with This File
- [Fixed] Excel Protected View Editing This File Type Is Not Allowed
<< Go Back to Excel Files | Learn Excel
Get FREE Advanced Excel Exercises with Solutions!
