Method 1 – Using the Drag feature to Add 1 to Each Cell in a Column
Steps:
- Create a dataset.

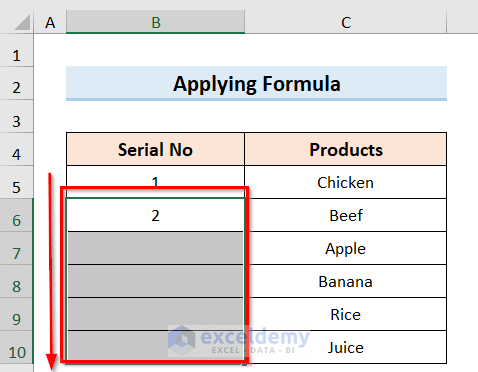
- In the two first cells (B5 and B6) of the column enter 1 and 2.
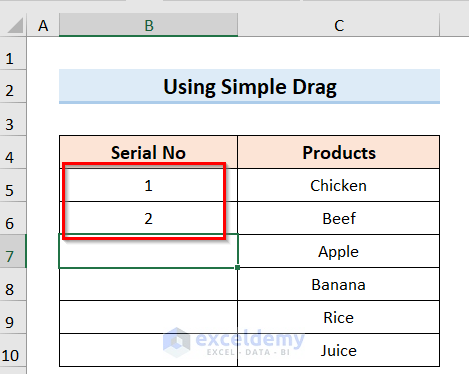
- Select the two cells and drag them down.
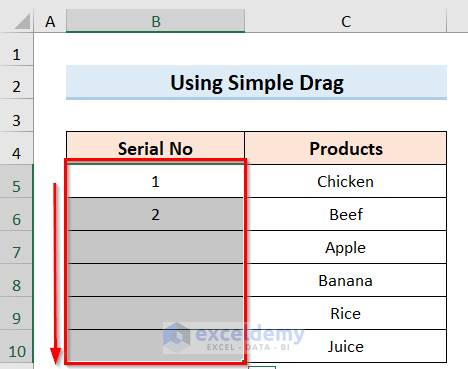
This is the output.

Read More: How to Add Number to Existing Cell Value in Excel
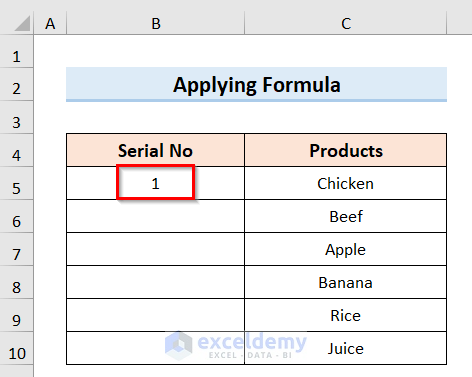
Method 2 – Applying an Excel Formula to Auto-Increment Each Cell in a Column by 1
Steps:
- Select the first cell of the column (here, B5) and enter 1.
- Enter the following formula in the next cell (here, B6):
=B5+1
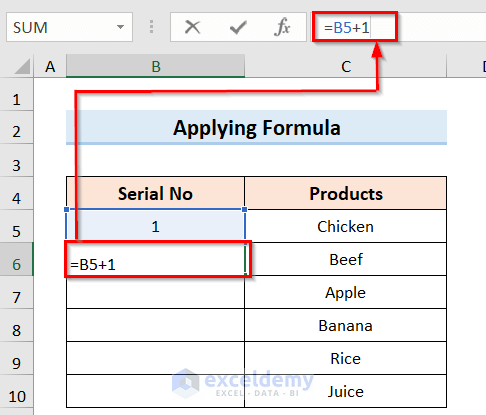
- Select the cell and drag the Fill Handle.
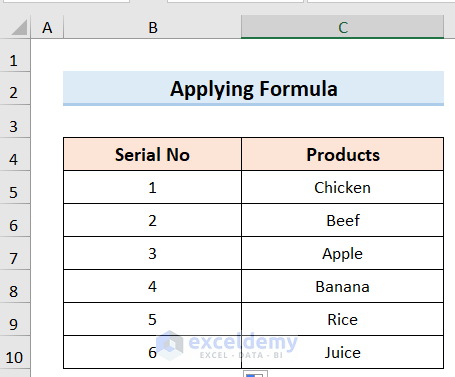
This is the output.
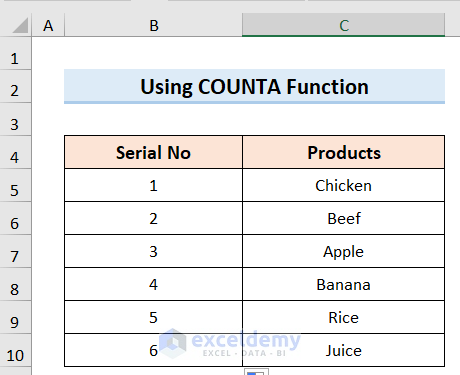
Method 3 – Use the COUNTA Function to Auto-increment
Steps:
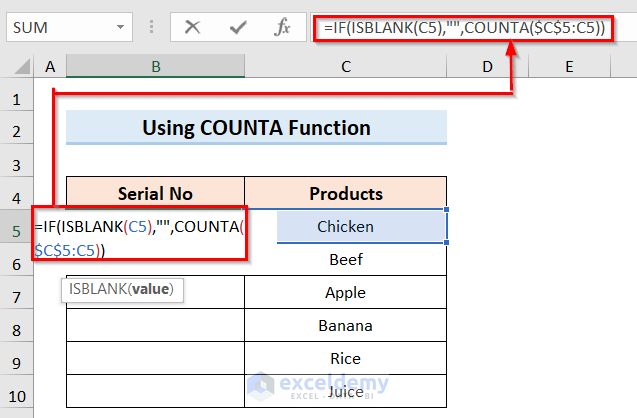
- Select the first cell of the column (here, B5).
- Enter the following formula:
=IF(ISBLANK(C5),””,COUNTA($C$5:C5))
- Drag the Fill Handle.
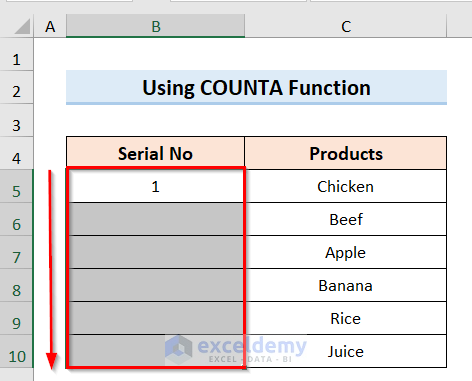
This is the output.
Formula Breakdown
- ISBLANK(C5): is a logical argument test. It checks if the cell is blank, and if it finds blank, it returns True
- COUNTA($C$5:C5): checks if the cell is False and checks all non-blank cells in the selected range.
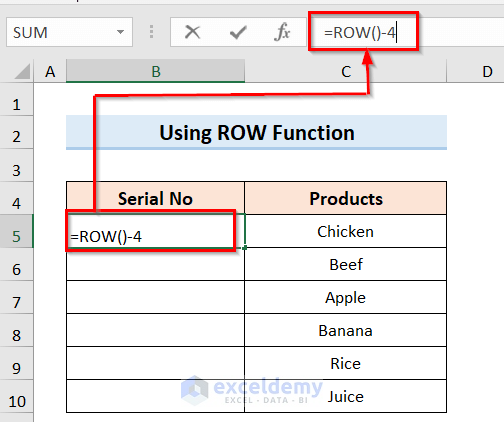
Method 4 – Utilizing the ROW Function
Steps:
- Select the first cell of the column (here, B5).
- Enter the following formula.
=ROW()-4
- Drag the Fill Handle.
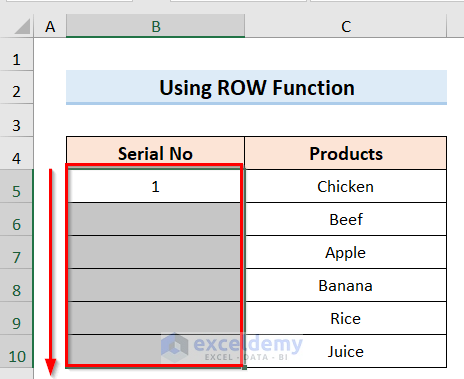
This is the output.

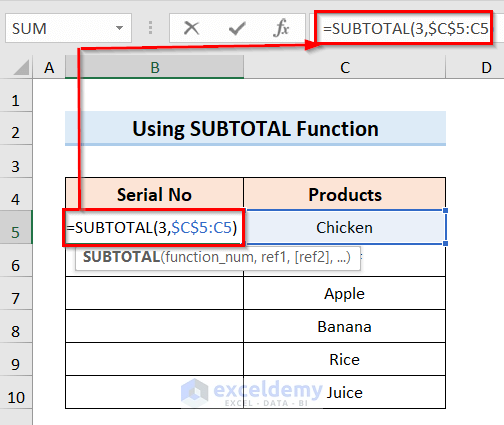
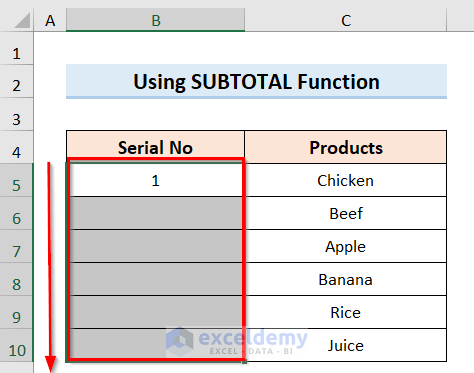
Method 5 – Using the SUBTOTAL Function
Steps:
- Select the first cell of the column (here, B5).
- Enter the following formula.
=SUBTOTAL(3,$C$5:C5)
- Drag down the Fill Handle.
This is the output.

Download Practice Workbook
Download the practice workbook here.
Related Articles
- How to Add Digits to a Number in Excel
- Adding a Number in Front of a Number in Excel
- How to Add 2 Digits to a Number in Excel
<< Go Back to Add to Cell Value | Sum in Excel | Calculate in Excel | Learn Excel
Get FREE Advanced Excel Exercises with Solutions!
