Step 1 – Record Income and Expense Data
- Create a new worksheet named Dataset and make three columns named Date, Income, and Expense.
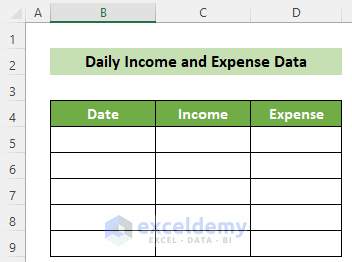
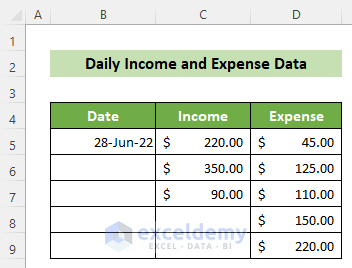
- Put the date of your particular day and record all the income and expenses of the particular day.
Read More: How to Create Daily Expense Sheet Format in Excel
Step 2 – List All Categories and Subcategories of Income and Expense
- Create a new worksheet named Income and Expense Categories.
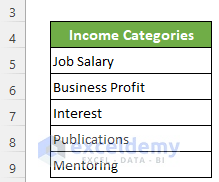
- On the left side, list all categories or sources of your income.
- List all the categories and subcategories of your expenses on the right side of the sheet.
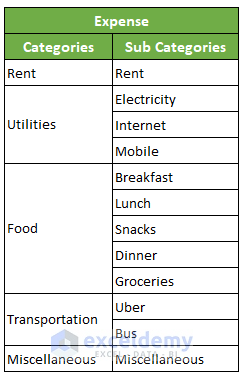
- You will get all the categories and subcategories of your income and expense in a single worksheet. Here’s a sample table.

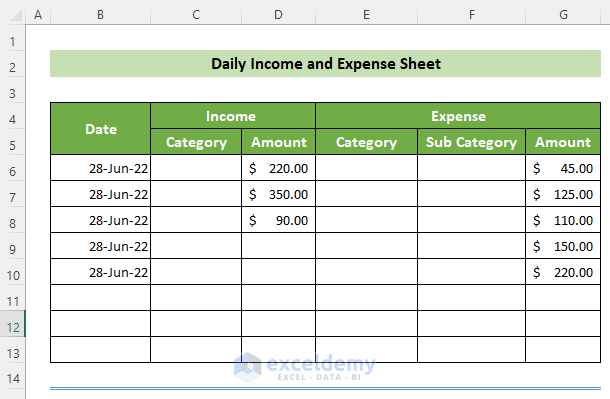
Step 3 – Summarize the Daily Income and Expenses
- Record the dates, incomes, and expenses from the Dataset worksheet.
- Make columns named Category and Subcategory under the Income and Expense column.
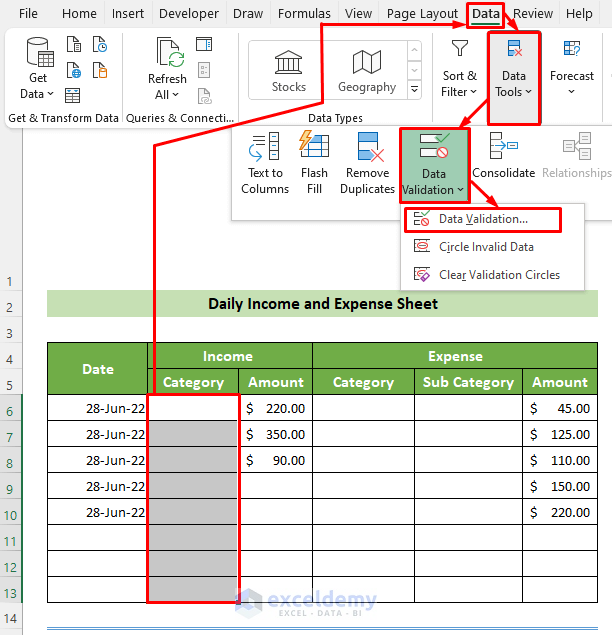
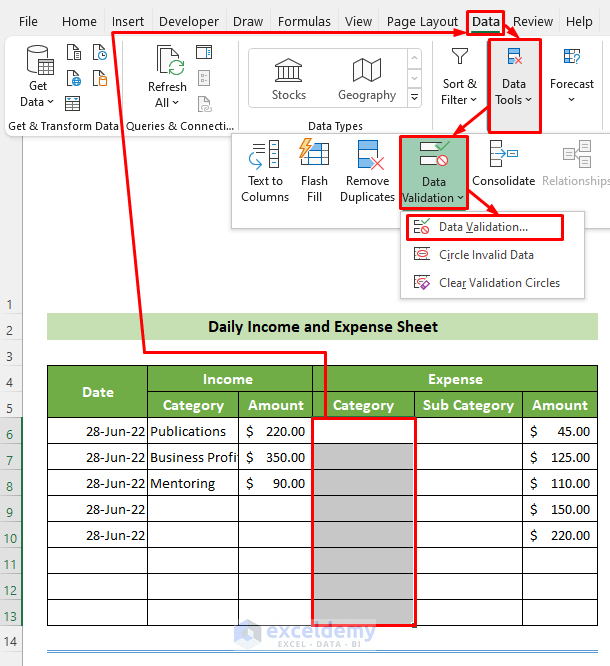
- Select the C6:C13 cells and go to the Data tab.
- Choose the Data Tools group and select Data Validation, then choose the Data Validation… option.
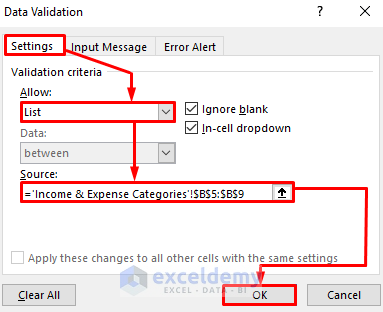
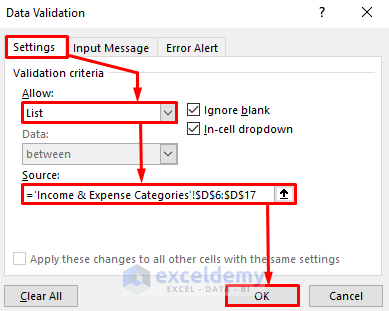
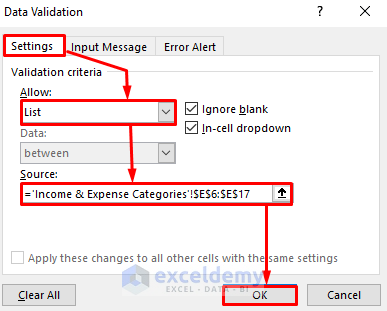
- The Data Validation window will appear. At the Settings tab, choose the List option from the Allow: dropdown.
- At the Source: text box, refer to the B5:B9 cells from the Income and Expense Categories worksheet.
- Click on the OK button.
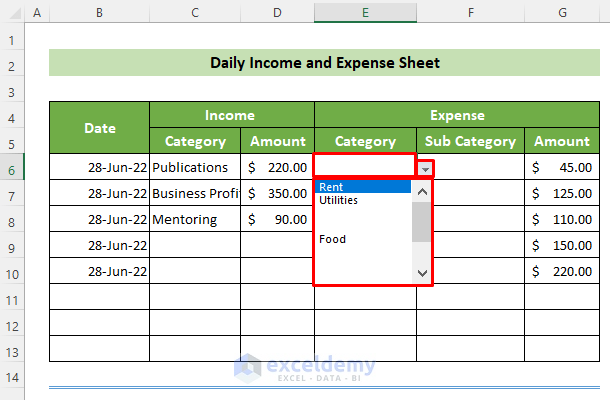
- You will get a dropdown list at C6:C13 cells where the income categories are listed. You can select your income category from there.
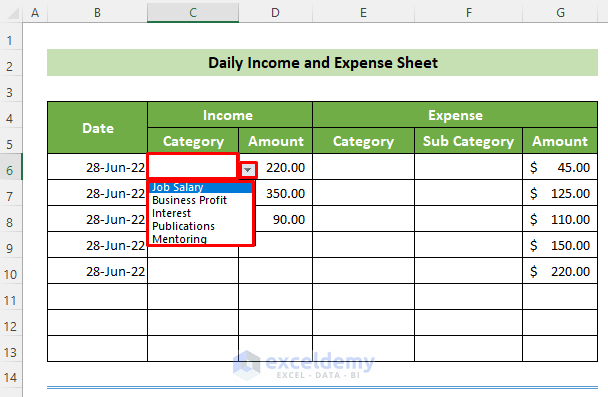
- AutoFill the column C from C6.
- Select the E6:E13 cell and go to the Data tab.
- Ope, Data Validation.
- Go to the Settings tab and choose List option from the Allow: options.
- At the Source: text box, refer to the D6:D17 cells from the Income and Expense Categories worksheet.
- Click on the OK button.
- You will see all the categories of your expenses are in a dropdown list in the cells E6:E13.
- AutoFill the column.
- Select the cells F6:F13.
- Open Data Validation.
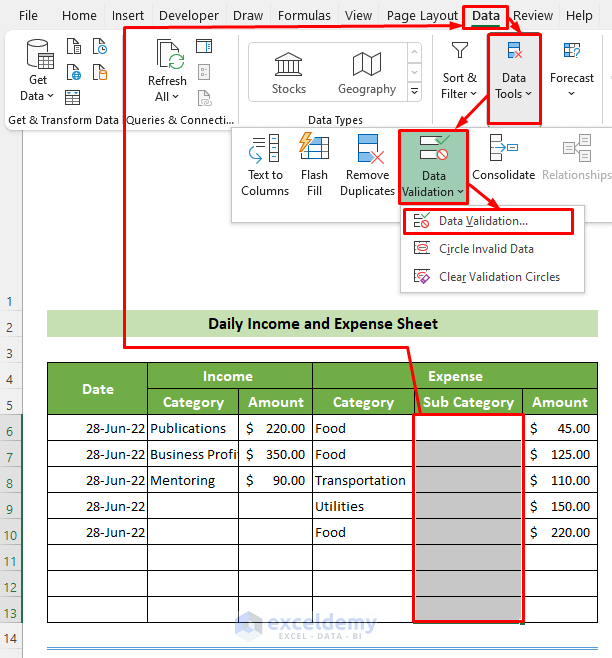
- Click on the Settings tab.
- From the Allow: dropdown, choose the List option.
- Refer to the cells E6:E17 from the Income and Expense Categories worksheet at the Source.
- Click on the OK button.
- You can see all the subcategories are created as a dropdown list at every cell of F6:F13 cells.
- AutoFill the column.
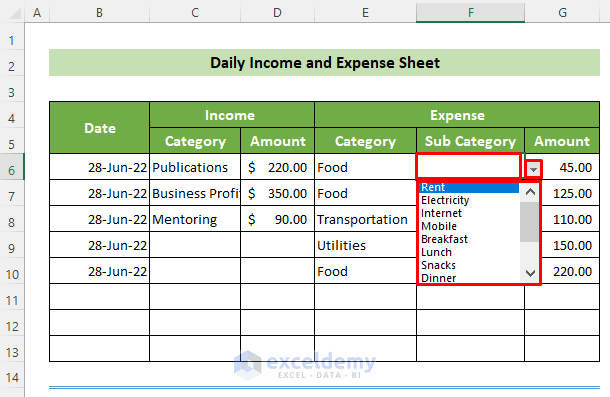
- Fill the information as needed.
- Click on the D14 cell and use the following formula:
=SUM(D6:D13)
- Click on the G14 cell and insert the following formula to calculate all expenses for today.
=SUM(G6:G13)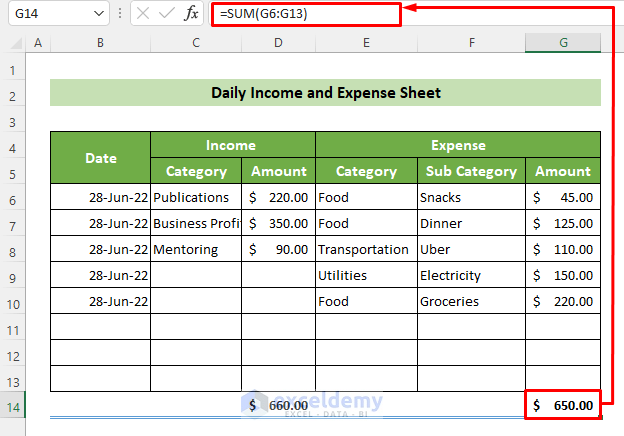
- Here are some extra cells after the G10 cell in case of new entries.
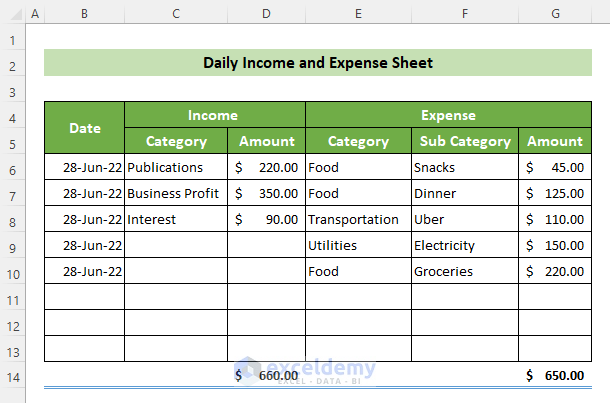
- You can create sheets daily as per your income and expenses.
- For example, the overall daily income and expense sheet should look like this.
Download the Free Sample Workbook
Related Articles
- How to Calculate Business Income and Expense in Excel Worksheet
- How to Keep Track of Small Business Expenses in Excel
<< Go Back to Tracker in Excel | Excel Templates
Get FREE Advanced Excel Exercises with Solutions!
