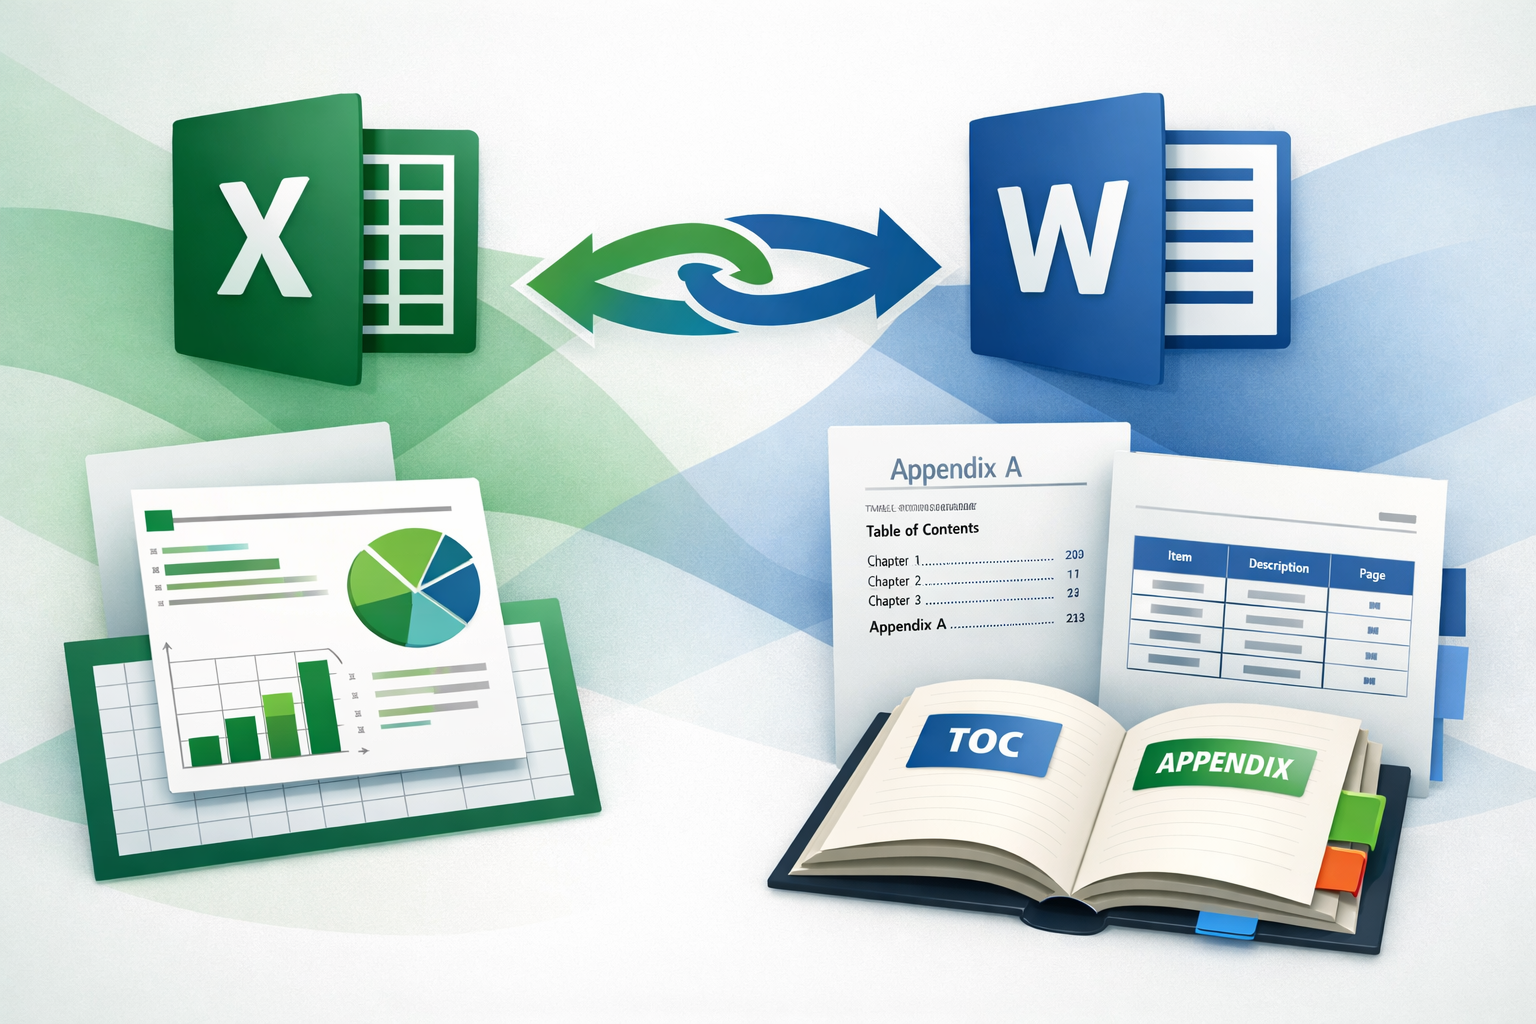
When reports become long, the appendices often become the hardest part to manage. Appendix titles change, tables move, numbering breaks, and the table of contents goes out of sync. A practical way to avoid this is to use Excel as the control sheet for appendix content and Word as the final formatted document.
In this tutorial, we will show you how to create cross-referenced appendices and tables of contents in Word via Excel. We will use Excel to organize appendix data, generate structured appendix entries, and then build a Word document with cross-references and an automatically updating table of contents.
Why Use Excel for Structured Appendices
Appendices usually follow a predictable structure. Each one may have a code, a title, a description, and a specific position in the document. Excel is ideal for managing this type of structured information because it allows you to organize everything in rows and columns before moving it into Word.
Instead of typing appendix headings one by one in Word, you can prepare them in Excel first. This makes naming more consistent and reduces the chance of formatting errors later. Once the headings are placed in Word and assigned the correct heading styles, Word can automatically include them in a table of contents and allow you to cross-reference them from other parts of the document.
Step 1: Planning the Appendix Structure in Excel
Start by creating a clean worksheet in Excel to hold your appendix metadata. A simple structure might look like this:

This table acts as your master list. It gives you one place to manage all appendix details before they are added to Word.
Best Practices for the Excel Sheet:
Use one row per appendix and keep the fields consistent. It helps to:
- Store the appendix code separately from the appendix title
- Use a numeric order column for sorting
- Keep descriptions concise
- Add a Yes/No field to indicate whether an item should appear in the final document
You can also add columns for related table names, source files, hyperlinks, or owner names if needed.
Step 2: Creating a Word Heading Column in Excel
Now build the exact heading text you want Word to use. You can name this column something like Word Heading. Suppose you have the appendix code and title in two different columns; you can join them to create a proper Word heading automatically.
- In a new column, enter the following formula
="Appendix " & A2 & ": " & B2
- Drag the formula down to create the remaining headings
This produces entries such as:

This step is useful because it standardizes the appendix format and ensures every heading follows the same style.
Sorting and Filtering the Appendix List:
Before moving content into Word, sort the list by the Order column so appendices appear in the correct sequence.
- You can also filter the sheet to include only rows where Include in TOC = Yes
This is a simple but important step. It ensures your Word appendix section follows a reliable structure every time.
Step 3: Exporting Appendix Headings from Excel
Once the structure is ready:
- Select the Word Heading column
- Copy the cells
- Paste them into Word where the appendices should appear

This approach is especially helpful when the appendix list changes because you can update the structure in Excel first and then reflect those changes in Word.
Step 4: Applying Heading Styles in Word
This is the most important part for both cross-references and the table of contents. In Word, each appendix heading should use a heading style, such as:
- Heading 1 for main appendix titles
- Heading 2 for appendix subsections
- Heading 3 for lower-level appendix items
- You can customize the heading font, color, and other formatting
- Go to the Home tab >> click the small arrow >> select Create a Style
- Name it Appendix Heading
- Click Modify
- Style based on: Heading 1
- Outline Level: Level 1
- Go to Format → Paragraph, then set the desired font, size, spacing, and alignment
For example:
- Appendix A: Monthly Sales Detail → Heading 1
- A.1 Monthly Sales Detail by Region → Heading 2
- A.1.1 Notes → Heading 3

Once these styles are applied, Word can treat the appendices as navigable document structure rather than plain text.

Word relies on these heading styles to recognize document structure. Without them, the appendices will not appear properly in the table of contents, and cross-referencing them will be more difficult.
Step 5: Inserting Appendix Cross-References in Word
Now that the appendix headings exist as real headings, you can reference them elsewhere in the document. For example, in the main report body, you might write:
“For a detailed monthly breakdown by region, see Appendix A.”
To insert this dynamically in Word:
- Place the cursor where the reference should appear
- Go to References >> click Cross-reference
- Choose Heading
- Select the appendix heading you want, such as Appendix A: Monthly Sales Detail
- Choose the reference type, such as:
- Heading text
- Page number
- Heading number
- Entire caption or paragraph number, depending on the structure
- Click Insert

This creates a live cross-reference. If the appendix title changes later, the reference can be updated automatically.
- Press Ctrl, then click the appendix reference to jump to the full section in the document

Now Word will automatically take you to the detailed section.

Step 6: Building a Table of Contents That Includes Appendices
If your appendix headings use Heading 1, Heading 2, and similar built-in heading styles, Word can include them in the table of contents automatically.
To insert the table of contents:
- Place the cursor where the table of contents should go
- Go to References >> click Table of Contents
- Choose an automatic table style
- Automatic Table 2

Word will pull in all text that uses heading styles, including your appendices.

If you later change appendix titles, add sections, or move content, the table of contents can be refreshed.

Step 7: Updating Everything Automatically
After editing the appendices, always update the Word fields.
- Press Ctrl + A to select the whole document
- Press F9 to update fields
This updates:
- Cross-references
- Table of contents
- Page numbers in references
- Other linked fields
This single step saves a huge amount of manual correction.
Common Mistakes to Avoid
- Typing appendix headings manually without styles, which breaks table of contents and cross-reference automation
- Embedding numbering directly in plain text only; if numbering changes later, references may become inconsistent
- Forgetting to update fields; your table of contents and cross-references may show old page numbers
- Mixing inconsistent naming conventions; use one pattern such as:
- Appendix A: Title
- Appendix B: Title
- Alternating between “Appendix A,” “Annex A,” and “Appendix – A” unless required
- Using Excel data without a clean order column instead of controlling the sequence explicitly
Conclusion
Now you can follow the steps above to create cross-referenced appendices and tables of contents in Word via Excel. Using Excel to generate structured appendices for Word is a practical way to reduce formatting errors and save time. Excel handles the logic and structure, while Word handles presentation, navigation, cross-references, and table of contents generation.
The biggest advantage here is consistency. Once your appendix list is controlled in Excel and your headings are styled properly in Word, the entire document becomes easier to update and maintain. For recurring reports, this approach can turn a fragile manual process into a reliable system.
Get FREE Advanced Excel Exercises with Solutions!
