Step 1 – Choosing an XML File
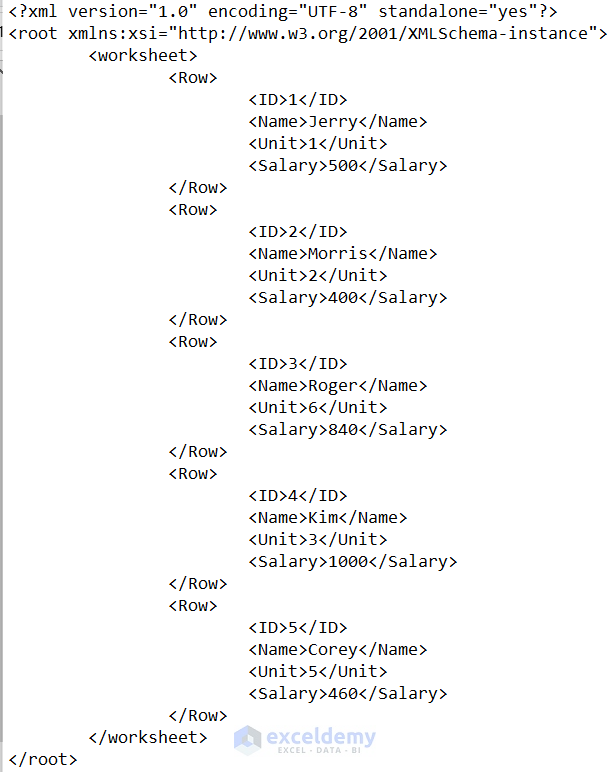
The XML file code attached in the below image will be used.
The structure is needed to create an XML mapping.
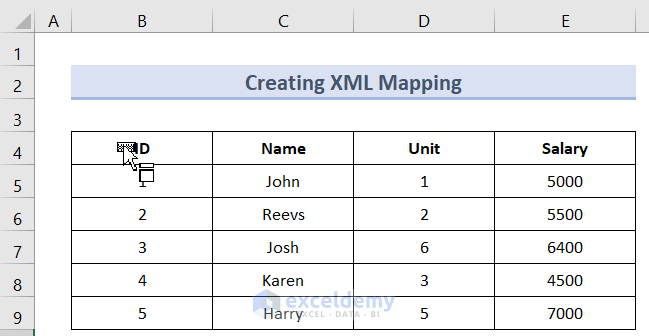
Step 2 – Mapping the XML into an Excel File
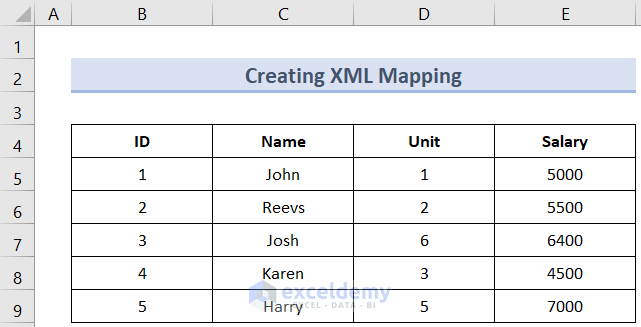
Create an XML mapping for the following data table.
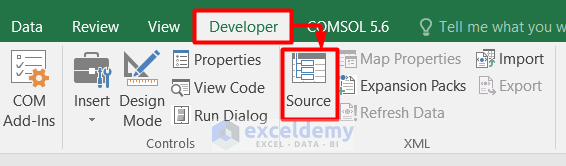
- Go to the Developer tab, and in the XML area, select Source.
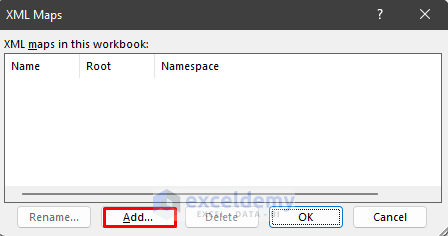
- In the panel, select XML Maps.
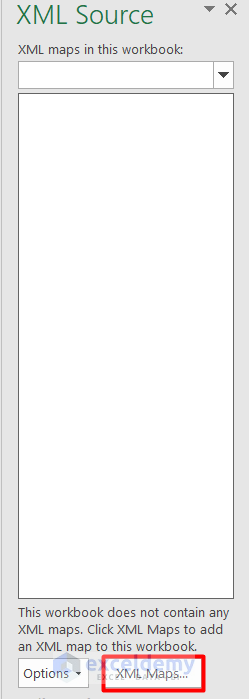
- Select Add in the dialog box.
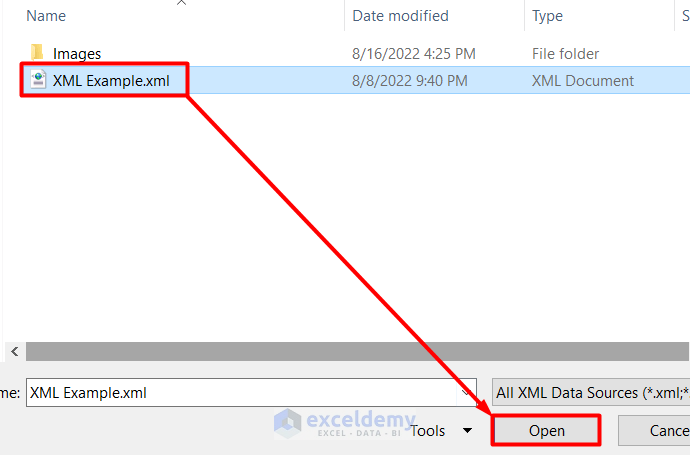
- Select the file.
- Enter the code mentioned earlier and save it as an XML file. Here, XML Example.xml.
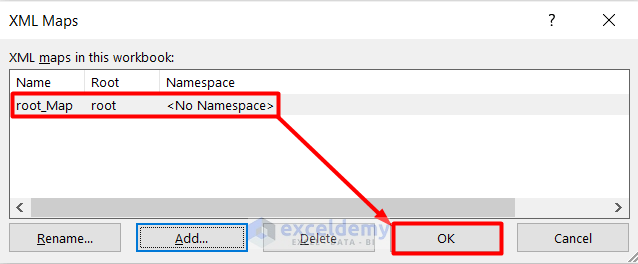
- In the message, click OK.

- Click OK in the XML Maps box.
- The structure of the XML Example file will be displayed in the XML source panel.
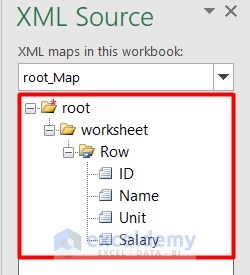
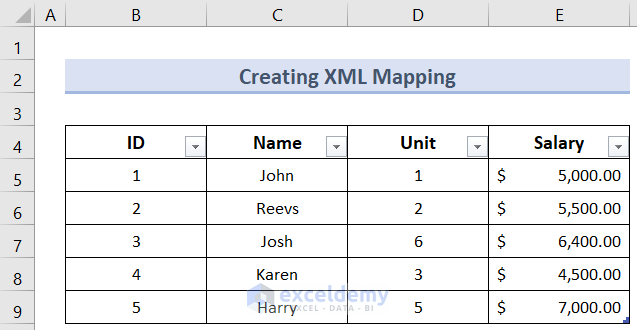
- Drag and drop the field names from the XML Source panel to the table’s columns.
- The XML is mapped in the Excel file.
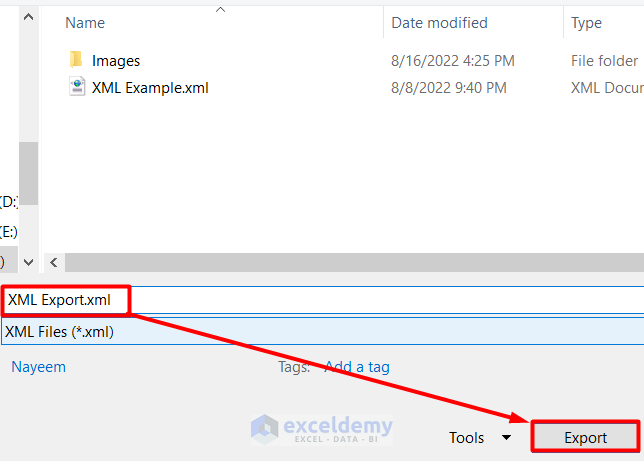
Step 3 – Exporting the Excel File as an XML File
- Select Export in the XML section in the Developer tab.

- Name the new file and save it.
Things to Remember
- The data type must be the same while mapping a column.
- It is not necessary to have the same number of fields as in the XML file, but all the fields/columns in the workbook must be mapped to export the file as XML.
Download the practice workbook here.
Related Articles
<< Go Back to XML Mapping in Excel | Export Excel to XML | Export Data from Excel | Learn Excel
Get FREE Advanced Excel Exercises with Solutions!
