Method 1 – Align Shapes in Same Plane in Excel
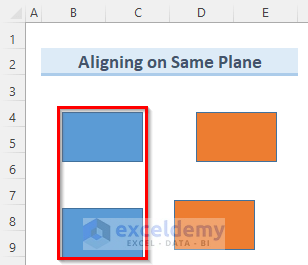
We have four shapes that are on the same plane but are not arranged in a particular way.
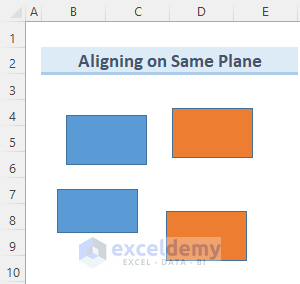
Steps:
- Click and select the top two shapes. You can use Ctrl to select multiple shapes.
- Go to the Shape Format tab.
- Go to Arrange > Align and select Align Top.
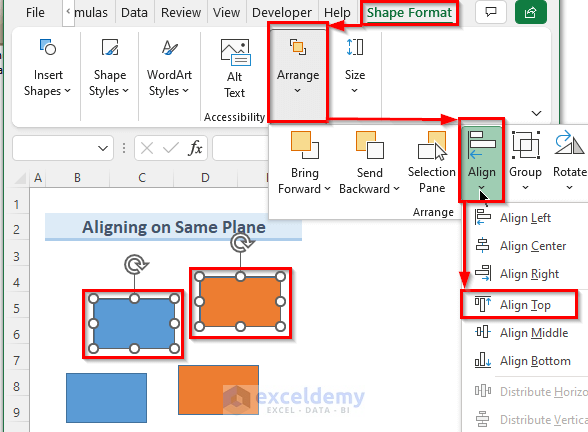
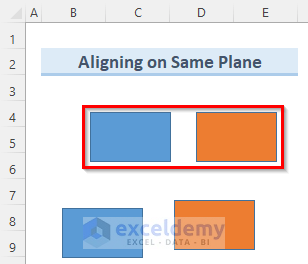
- The two shapes will align to the top.
- Select the two shapes on the left.
- Go to Shape Format > Arrange > Align and select Align Left.
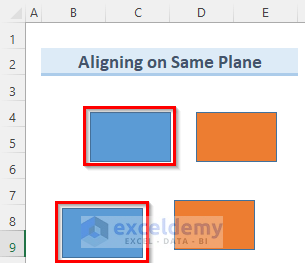
- The two shapes you selected will align to the left.
- Select the bottom two shapes and following the previous method apply Align Bottom.
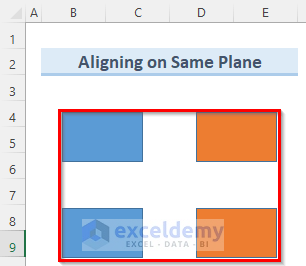
- Select the shapes on the right and apply the Align Right command.
- All the shapes are aligned.
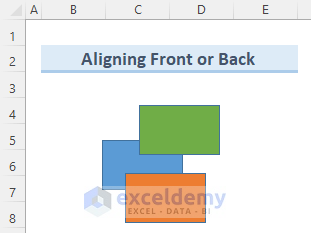
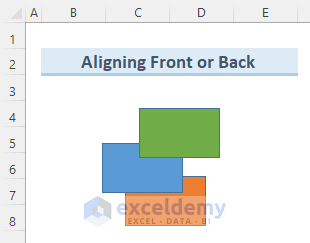
Method 2 – Switch Shapes Position in Excel between Front and Back
In the sample dataset below, the Blue shape is under the other two shapes. We can bring any shape to the front or send them to the back as we want.
Steps:
- Right-click on the Blue shape and select Bring to Front > Bring Forward.
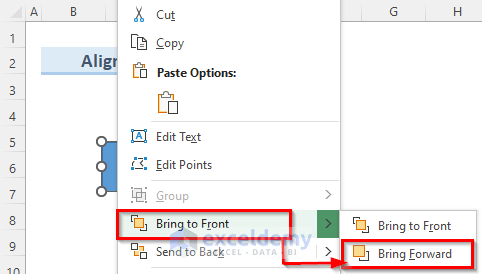
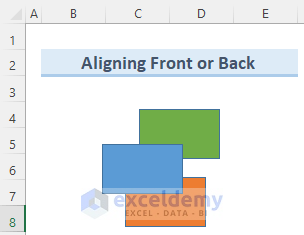
- It will bring the Blue shape above the Orange shape.
- Right-click on the Blue shape and click on the Bring to Front option.
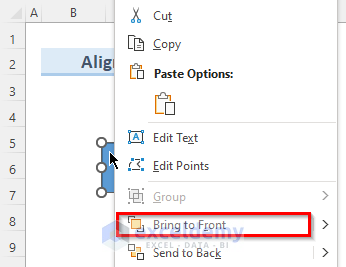
- The Blue shape will be on top of all the other shapes.
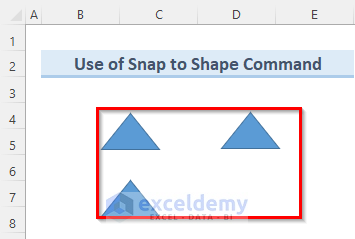
Method 3 – Align Shapes in Excel Using the Snap to Shape Option
Steps:
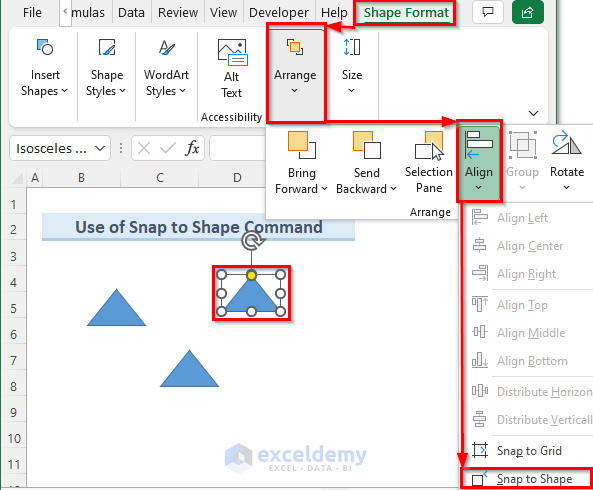
- Select any of the shapes and go to Shape Format > Arrange > Align.
- Select the Snap to Shape option.
- If you move any shape to reposition it, Excel will align it automatically with the shape near it.
- You can now move around the shapes and align them with respect to other shapes.
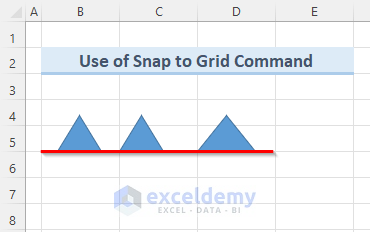
Method 4 – Using Excel Snap to Grid Option to Align Shapes
Steps:
- Select any shape and go to Shape Format > Arrange > Align.
- Select the Snap to Grid option.

- Turn on your Gridline.
- Select any shape and move it around. Excel will automatically try to snap the shape with the nearest grid line.
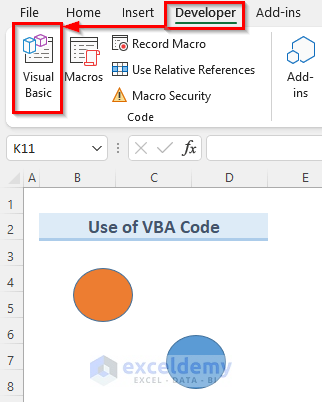
Method 5 – Applying VBA Code to Align Shapes in Excel
5.1 Align Vertically
Steps:
- Select the shapes you want to align and go to the Developer tab.
- Select the Visual Basic option.
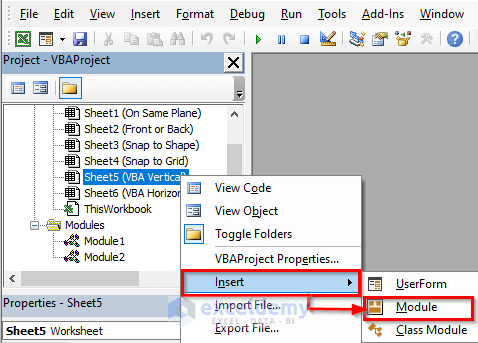
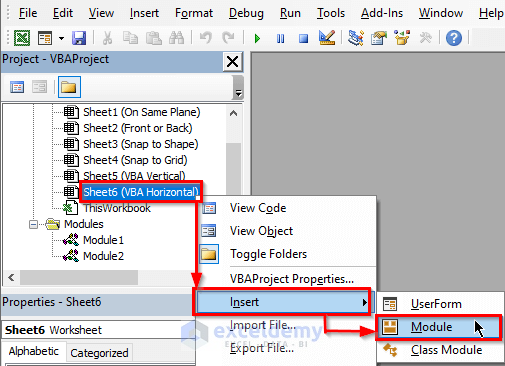
- In the new window, right-click on any of the sheets and go to Insert > Module.
- A new module named Module1 will open.
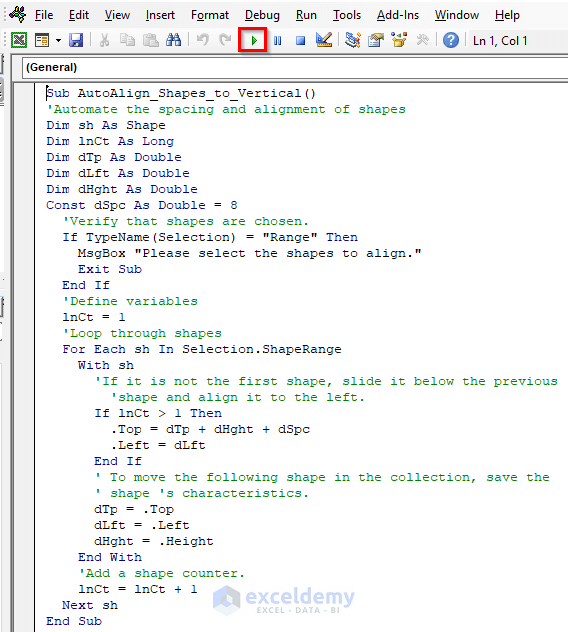
- Double-click on Module1 and enter the following code.
Sub AutoAlign_Shapes_to_Vertical()
'Automate the spacing and alignment of shapes
Dim sh As Shape
Dim lnCt As Long
Dim dTp As Double
Dim dLft As Double
Dim dHght As Double
Const dSpc As Double = 8
'Verify that shapes are chosen.
If TypeName(Selection) = "Range" Then
MsgBox "Please select the shapes to align."
Exit Sub
End If
'Define variables
lnCt = 1
'Loop through shapes
For Each sh In Selection.ShapeRange
With sh
'If it is not the first shape, slide it below the previous shape and align it to the left.
If lnCt > 1 Then
.Top = dTp + dHght + dSpc
.Left = dLft
End If
' To move the following shape in the collection, save the shape's characteristics.
dTp = .Top
dLft = .Left
dHght = .Height
End With
'Add a shape counter.
lnCt = lnCt + 1
Next sh
End Sub- Press Ctrl + S to save the module code.
- Select the two shapes and press the Run button.
- You can use the shortcut key F5 to run the code.
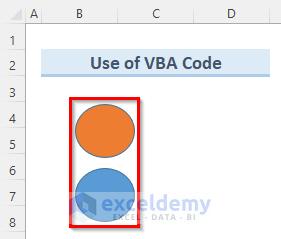
- The VBA code will align the two shapes vertically.
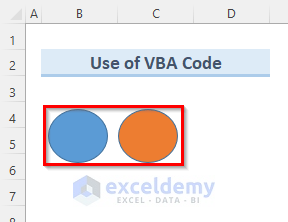
5.2 Align Horizontally
Steps:
- Select the two shapes you want to align.
- Go to the Developer tab and select Visual Basic.

- Insert another module in the new window.
- Note that, this module will have its name as Module2.
- Double-click on Module2 and enter the following code.
Sub AutoAlign_Shapes_Horizontally()
'Automate aligning shapes
Dim sh As Shape
Dim lCt As Long
Dim dTp As Double
Dim dLft As Double
Dim dWid As Double
Const dSpc As Double = 8 'Space between shapes (points)
'Check shapes selection
If TypeName(Selection) = "Range" Then
MsgBox "Please select shapes before starting."
Exit Sub
End If
'Variables value
lCt = 1
'Loop through selected shapes
For Each sh In Selection.ShapeRange
With sh
'If the selected is not first shape, move to right and align top.
If lCt > 1 Then
.Top = dTp
.Left = dLft + dWid + dSpc
End If
'Store properties of shape.
dTp = .Top
dLft = .Left
dWid = .Width
End With
'Increase shape counter.
lCt = lCt + 1
Next sh
End Sub- Press Ctrl + S to save the code to this module.
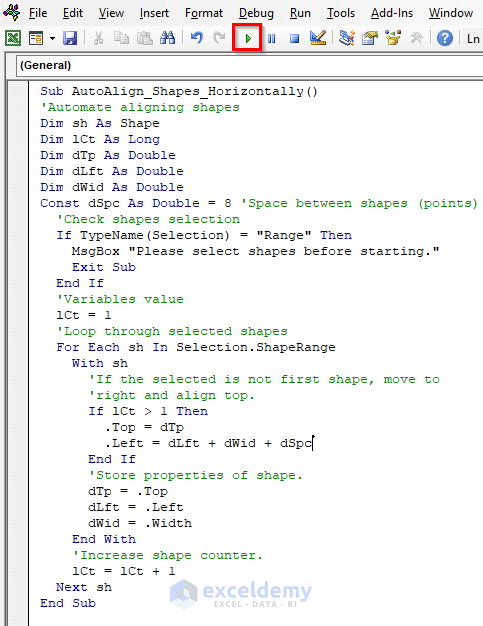
- Press the Run option and this will align the two shapes horizontally.
Download Practice Workbook
Related Articles
<< Go Back to Excel Shapes | Learn Excel
Get FREE Advanced Excel Exercises with Solutions!
