Date Picker is one of the interesting tools of Microsoft Excel. It relieves us from the monotonous work of inserting data for each cell manually. Using the Date Picker tool, we get the facility to insert a date from a pop-up calendar. In this tutorial, we will discuss how to insert the Excel Date Picker and apply this for an entire column.
What is Excel Date Picker?
Excel Date Picker is an interesting feature of Microsoft Excel. It offers us a calendar pop-up. So that, we can easily pick a date. This feature is available with 32-bit versions of Excel 365, Excel 2019, Excel 2016, Excel 2013, and Excel 2010. But it will not work on any 64-bit version of Excel.
How to Insert Excel Date Picker?
We will explain how to insert Date Picker in Excel step by step. Before inserting Excel Date Picker, we need to add the Developer feature in the Main tabs.
1. Add Developer Tab for Excel Date Picker
Before inserting Excel Date Picker, we need to add the Developer feature in the Main tabs.
Step 1:
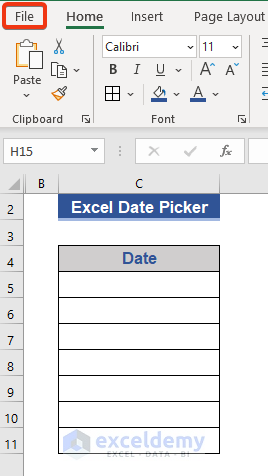
- First, press the File tab.
Step 2:
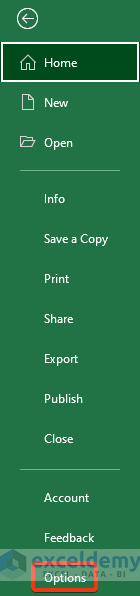
- Select Options from the list.
Step 3:
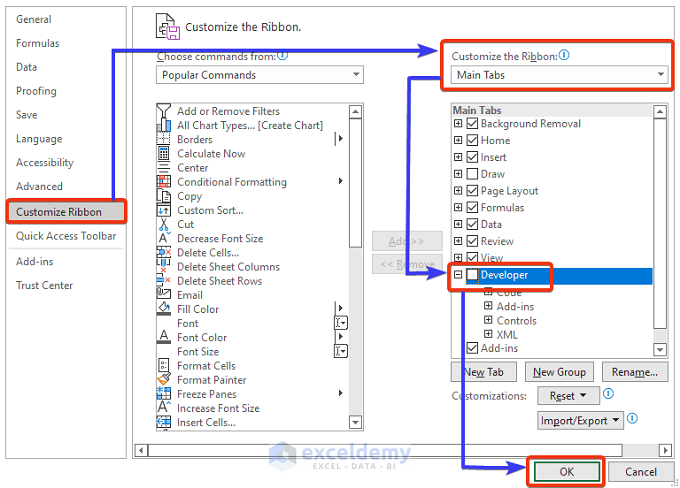
- Choose Customize Ribbon from the left side box.
- Now, select Main Tabs from the right side box.
- Put a tick mark on the Developer box.
- Finally, press OK.
Notice the Excel file now.
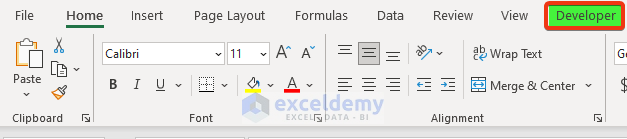
The Developer mood is showing in the main tab presently.
Read More: [Solved!] Datepicker Not Showing in Excel
2. Insert Excel Date Picker
Now, we will insert the Date Picker in Excel. Apply the following steps carefully.
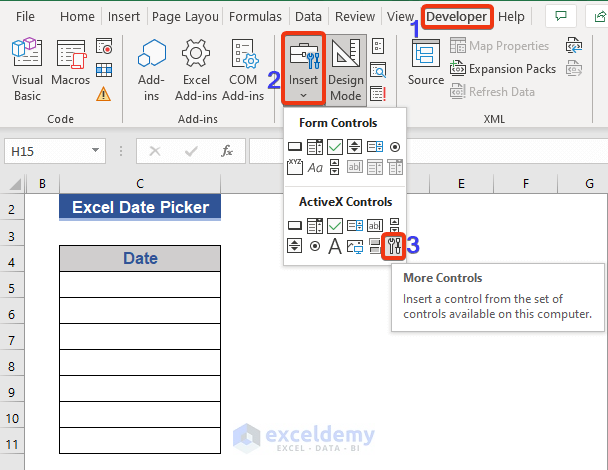
Step 1:
- Click on the Developer tab.
- Select Insert from the Controls group.
- Choose More Controls from the ActiveX Controls option.
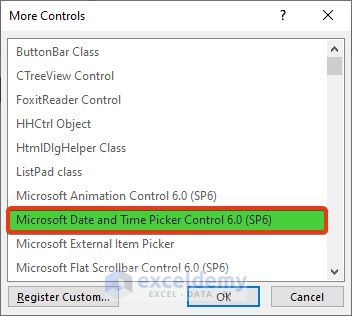
Step 2:
- Select Microsoft Date and Time Picker Control 6.0 (SP6) from the dialog box of More Controls.
- Then press OK.
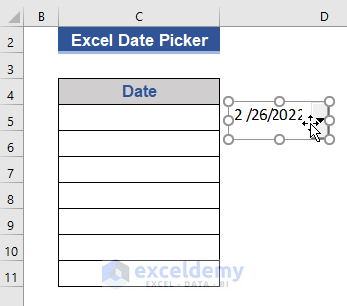
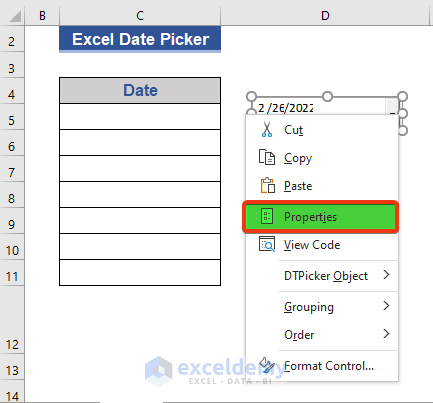
Notice the image below.
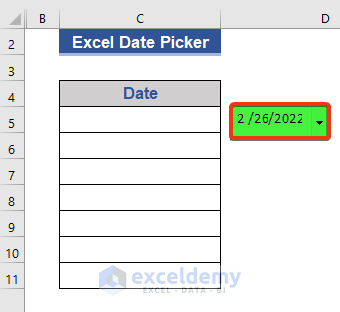
The Date Picker is marked. It extracts the date of the present day.
Step 3:
- Now, click on the Date Picker.
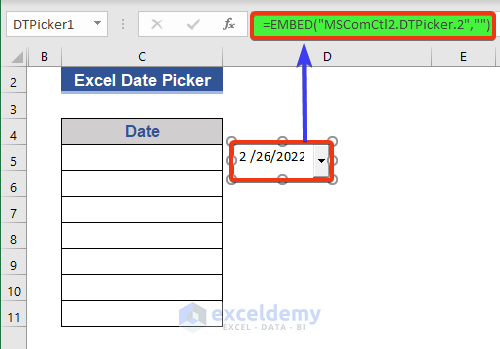
An EMBEDDED formula is shown on the formula bar. We can not change this formula.
Read More: Insert Drop Down Calendar in Excel Without Date Picker
3. Control the Date Picker
Here, we will show how to control and customize a Date Picker.
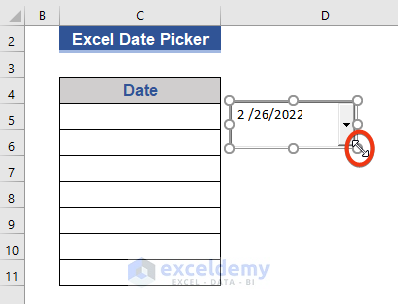
Step 1:
- Click on the Date Picker using the right button of the mouse. Keep pressing the button. As we displace the cursor, the date picker will move accordingly.
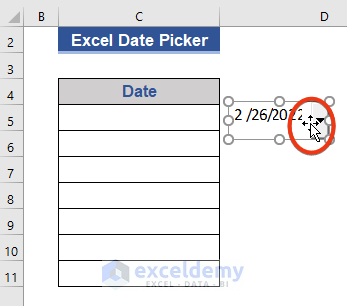
Step 2:
- We can resize a Date Picker. Place the cursor on the edge of the Date Picker. Keep pressing the mouse. Now, move the cursor and the size will change accordingly.
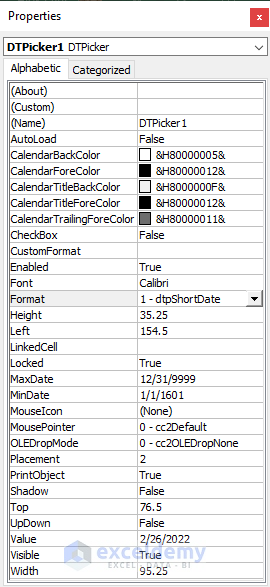
Step 3:
- We have the Property feature with the Date Picker. Press the right button of the mouse.
- Choose Properties from the list.
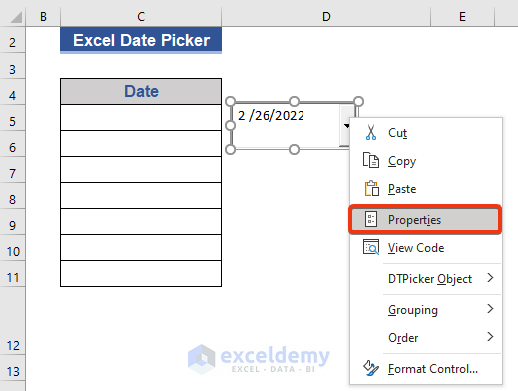
The Properties window offers the facility to modify the length, width, font type, etc.
Read More: Make an Alternative to Datepicker in Excel
4. Link Date Picker with Desired Cell
To properly implement a Date Picker, we need to link that with a cell. Here, we show how to link Date Picker with expected cells.
Step 1:
- Take the cursor on the Date Picker.
- Press the right button of the mouse.
- Choose Properties from the list.
Step 2:
- From the Properties window, go to the LinkedCell row.
- We put Cell C5 here.
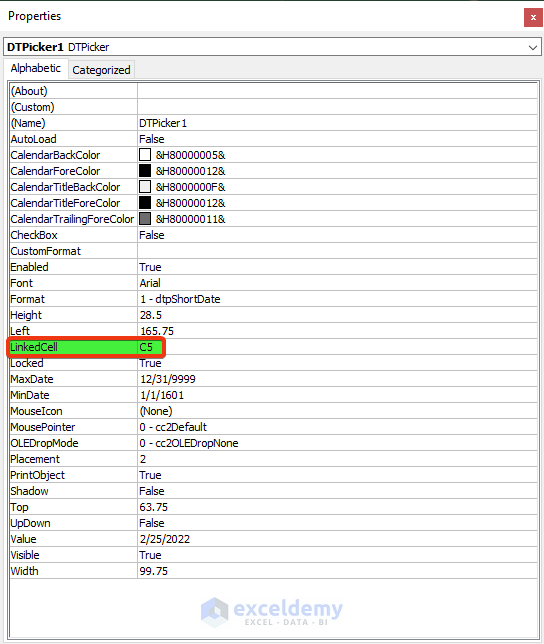
Step 3:
- Now, press the Enter button.

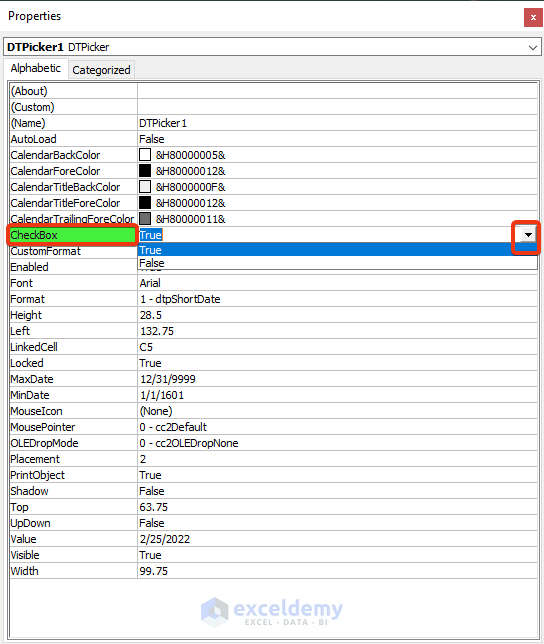
We need to turn the Checkbox property from False into True.
Step 4:
- Again, go to the Properties window.
- Choose True at CheckBox row.
- Press Enter now.
Step 5:
- Now, put the cursor on the Date Picker.
- Press the right button of the mouse. Choose DTPicker Object > Properties option.
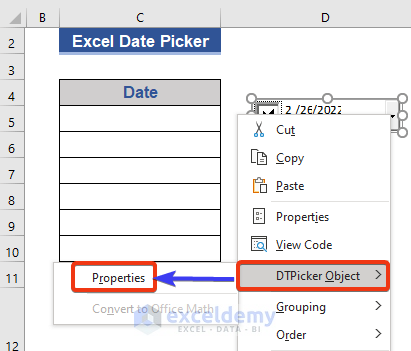
Step 6:
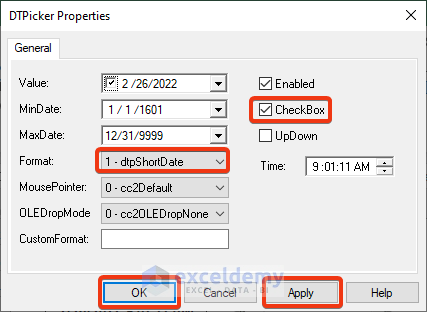
- Choose the Format, tick on the CheckBox on the DTPicker Properties window.
- Finally, press Apply, then click on OK.
Now, look at the Excel file.
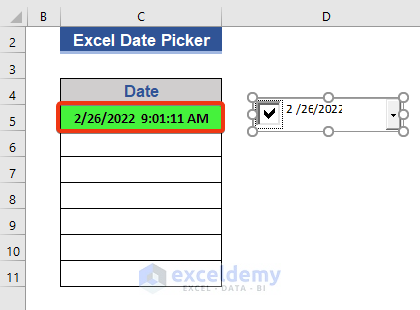
The date of the present day is shown on Cell C5.
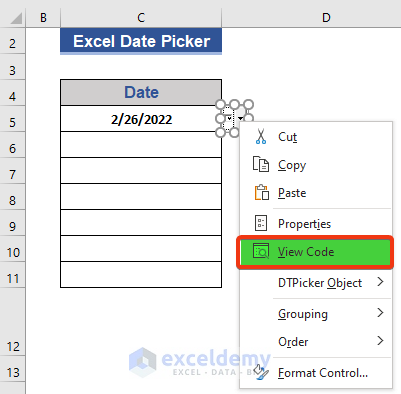
Step 7:
- Go to the View Code option of the Date Picker by pressing the right button of the mouse.
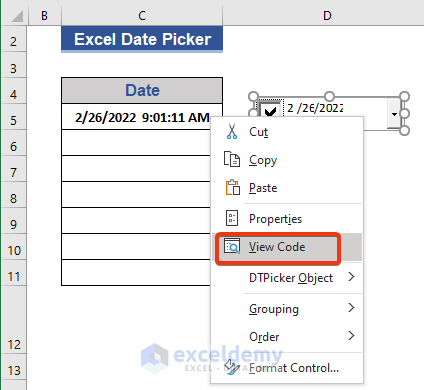
A VBA code is showing now.

This Date Picker is running based on this VBA Macro.
Read More: How to Use Date Picker in Excel 64-Bit
Insert a Date Picker for an Entire Column with VBA Macros
We can apply Date Picker for different situations according to our needs. Here, we will explain how to apply this Date Picker for an entire column in Excel.
Step 1:
- We will input only the dates, so delete the time value.
- Now, go to the View Code option.
Step 2:
- Write the code below on the command module.
Private Sub Worksheet_SelectionChange(ByVal Dest As Range)
With Sheet1.DTPicker1
.Height = 20
.Width = 20
If Not Intersect(Dest, Range("C:C")) Is Nothing Then
.Visible = True
.Top = Dest.Top
.Left = Dest.Offset(0, 1).Left
.LinkedCell = Dest.Address
Else
.Visible = False
End If
End With
End Sub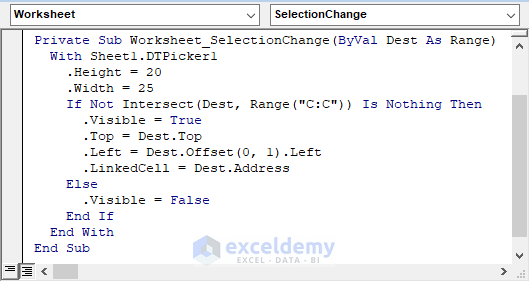
Now, save the VBA code. No need to run the code.
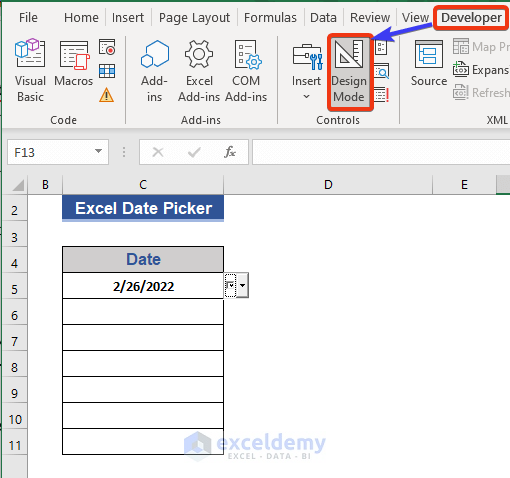
Step 3:
- Go to the main Excel file.
- From the Developer tab, disable the Design Mode.
Now, click any cell of Column C.
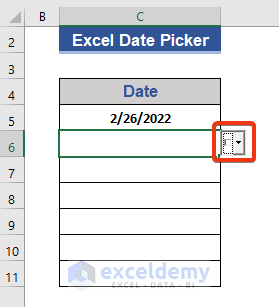
A box is shown at each cell of Column C.
Step 4:
- When we click on that box, a pop-up calendar is shown. We pick our desired dates from that calendar.
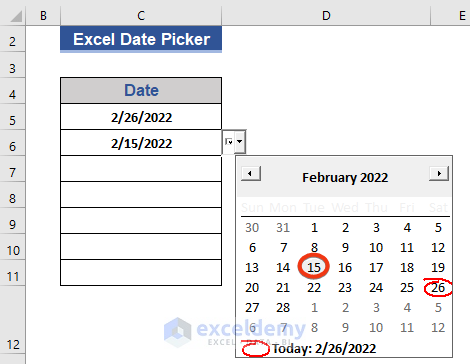
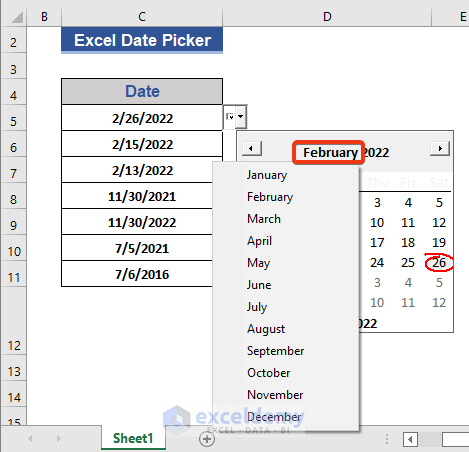
- Click on the month name if we need to change the month of the calendar.
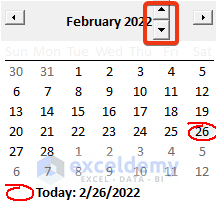
- We see an Up-down sign in the calendar. That is used to change the years of the calendar.
Now, fill all the desired date values in the file.
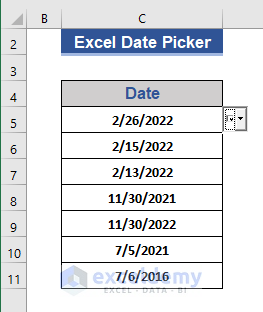
But we can set dates at any cell of Column C here.
Read More: How to Use Excel UserForm as Date Picker
💬 Things to Remember
- You will not find Date Picker in 64-bit versions of Excel.
- You can not insert any date in Design Mode.
- Must save the file as Micro-Enabled Workbook (.xlsm).
- You can change the dates using the arrow buttons of the calendar.
Download Practice Workbook
Download this practice workbook to exercise while you are reading this article.
Conclusion
In this article, we described how to insert a date picker in Excel. We also added an Excel date picker for an entire column. I hope this will satisfy your needs. Please give your suggestions in the comment box.
Related Article
<< Go Back to Excel Date Picker | Learn Excel
Get FREE Advanced Excel Exercises with Solutions!

This is very well written thank you very much. My problem is that when using the date picker it reverts back to the format showing time.
Hi STACY! Thank you very much for your comment and appreciation. You can follow this article regarding your issue.
https://www.exceldemy.com/insert-date-picker-in-excel/
If this doesn’t help, please let us know. You can also send your problem with your Excel file to this email address: [email protected]
Thanks again for being with us.
With regards
-ExcelDemy team