Method 1 – Zoom Out Using the Excel Status Bar
We have a dataset (B4:E9) in an Excel worksheet. The zooming of the window is 100%.
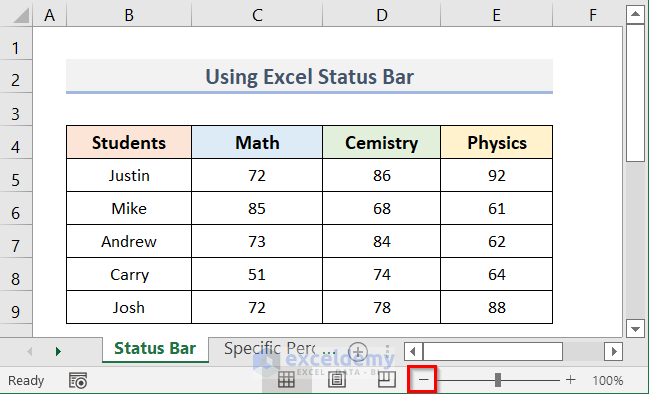
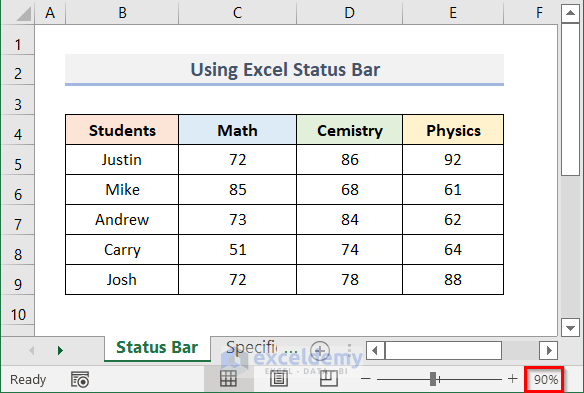
- Click the minus sign (–) once to zoom out the worksheet from 100 to 90%.
- Repeat to zoom out further.
Read More: How to Zoom in Excel Graph
Method 2 – Use the Excel Ribbon to Zoom Out
Steps:
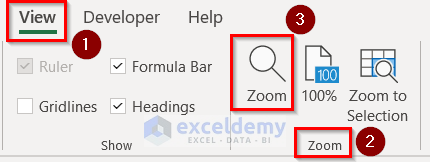
- Go to the View tab.
- Go to the Zoom group.
- Click on Zoom.
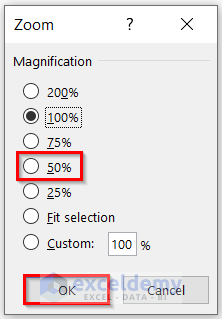
- A Zoom window will pop up.
- You can choose any default Magnification option or select Custom and type in any Magnification percentage. You must insert a number that is greater than or equal to 10 for zooming out.
- We selected 50% which is a built-in option.
- Click OK.

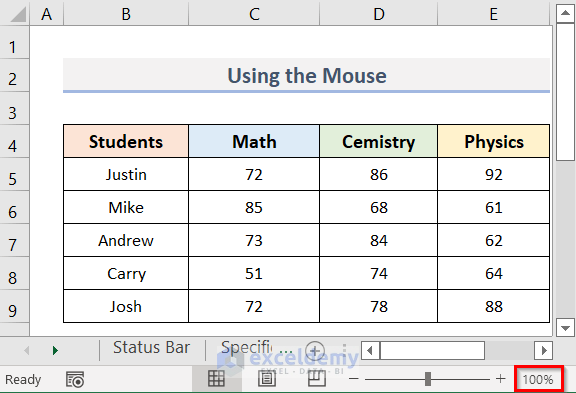
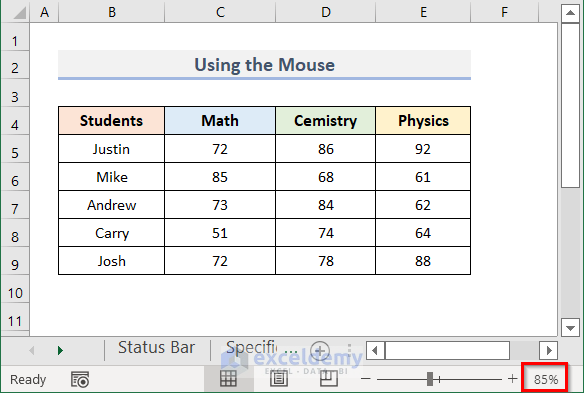
Method 3 – Zoom Out in Excel with the Mouse
We’ll use the same dataset. You can zoom out of your spreadsheet in steps of 15% if your mouse has a scroll wheel.
Steps:
- Scroll down while holding the Ctrl key on the keyboard.
- The zooming percentage changes from 100% to 85%.
- Repeat to zoom out more.
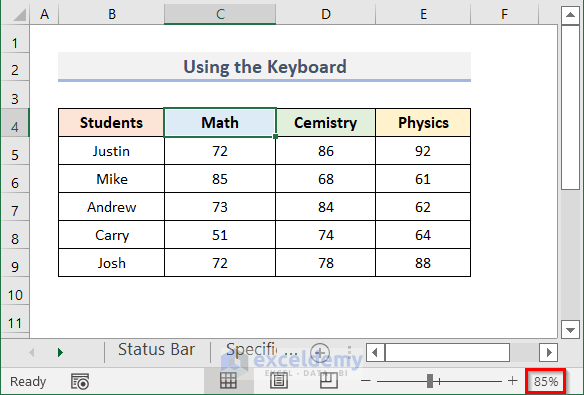
Method 4 – Apply a Keyboard Shortcut to Zoom Out
We’ll use the same dataset.
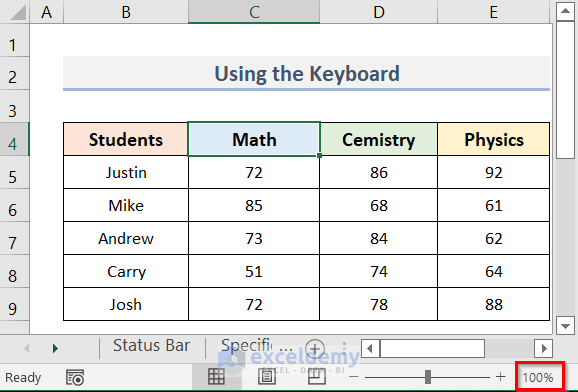
- For zooming out, use the keyboard shortcut:
Ctrl + Alt + Minus Sign (–)
Method 5 – Open the Zoom Dialog in Excel
Steps:
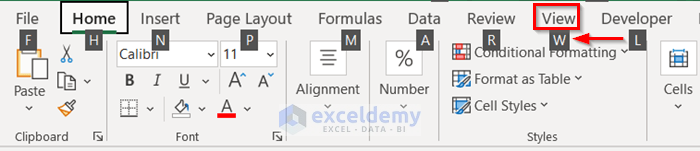
- Press Alt on the keyboard, and the Ribbon will display the key tip labels.
- To open the View tab, press the W key.
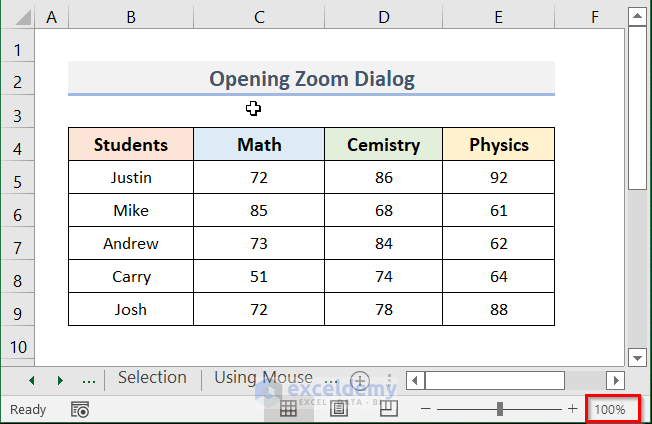
- Press the Q key, and the Zoom dialog box will appear.
- To choose a zoom level for zooming out, you can use the up and down arrow keys. If you choose Custom, you need to type in a zoom percentage.
- Click OK or hit Enter.
Method 6 – Insert the Zoom Out Command into the Quick Access Toolbar
Steps:
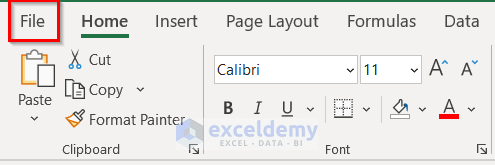
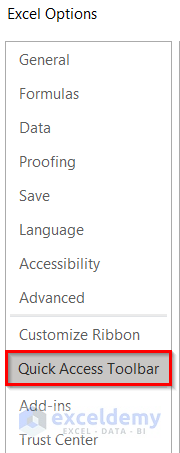
- Go to the File tab.
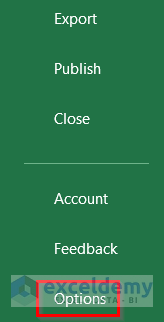
- Click on Options.
- A dialog box appears. Click the Quick Access Toolbar tab.
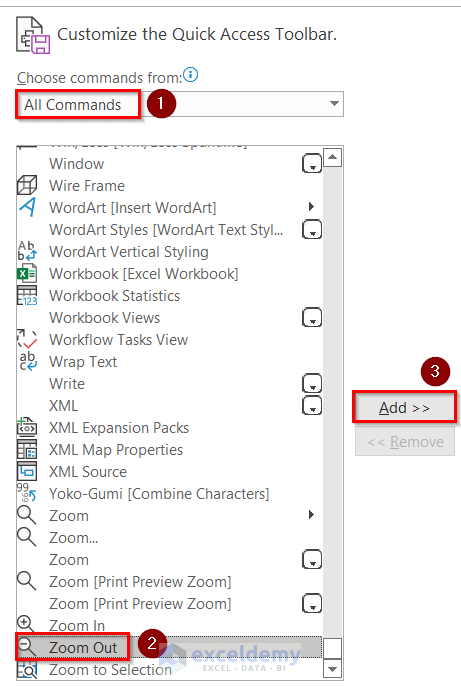
- Choose All Commands from the drop-down menu under ‘Choose commands from’.
- Select the Zoom Out option which has a magnifying glass on the left.
- Click on Add.
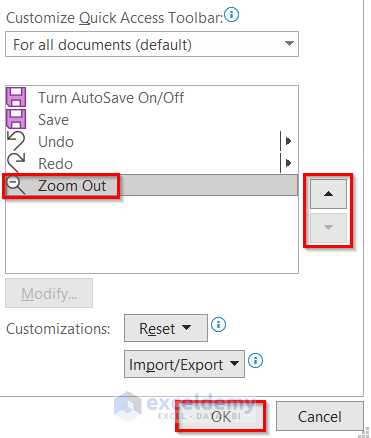
- Use the Move Up or Move Down arrows to rearrange the buttons in the Customize Quick Access Toolbar list on the right.
- Click OK.
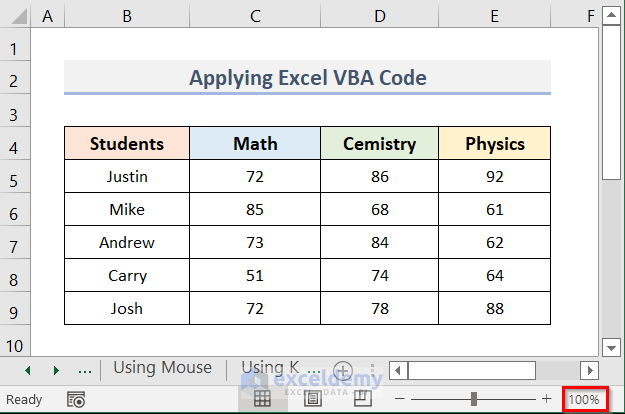
Method 7 – Apply Excel VBA Code to Zoom Out
We’ll use VBA to zoom out in smaller increments.
Steps:
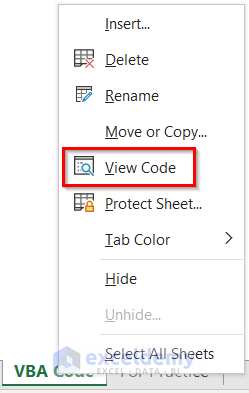
- Right-click on the name of the worksheet in the Sheet bar and click on View Code.
- A Microsoft Visual Basic for Applications window will appear.
- Insert the following VBA code in the Code window.
Sub ZoomingOut()
Dim Increment As Integer
  Increment = 4
  On Error GoTo MinimumZooming
  ActiveWindow.Zoom = ActiveWindow.Zoom - Increment
  On Error GoTo 0
Exit Sub
MinimumZooming:
  MsgBox "No more zooming out is possible", vbExclamation
End Sub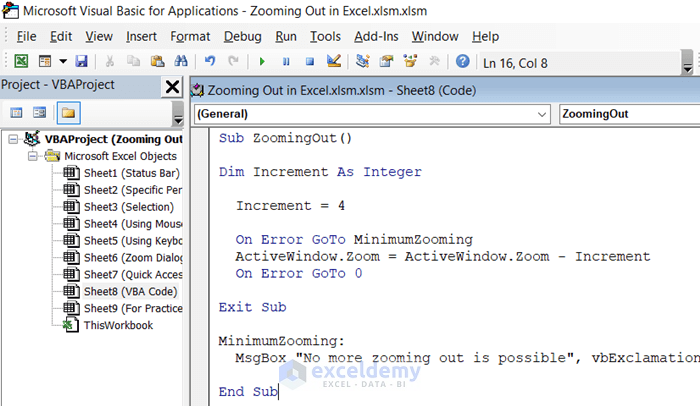
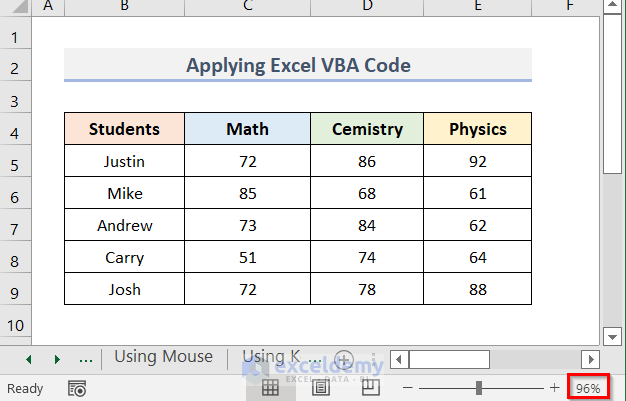
- Click on Run and Run Sub/UserForm or hit F5.

- This reduces the zoom of the worksheet from 100% to 96%. This is due to the Increment value in the code being 4.
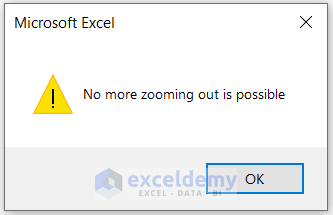
- If we run the VBA code several times, a message box like the below will appear when you try to zoom out less than 10%.
Download the Practice Workbook
Related Articles
- How to Lock Zoom in Excel
- How to Zoom in Excel Graph
- How to Zoom in on Map Chart in Excel
- How to Zoom in When Zoom Slider Is Not Working in Excel
<<Go Back to How to Zoom in Excel | Excel Worksheets | Learn Excel
Get FREE Advanced Excel Exercises with Solutions!
