Method 1 – Use Ctrl + Z to Undo a Sort in Excel
- Press Ctrl + Z immediately after sorting your data.
- The Undo shortcut will instantly undo a sort and revert the data to its original state.
- This only works if sorting was the last thing you previously did.
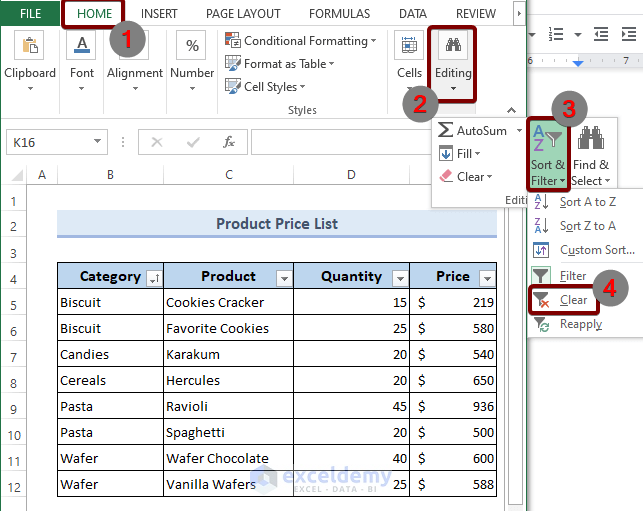
Method 2 – Use the Clear Command to Undo a Sort in Excel
This method works if you’ve used the following:
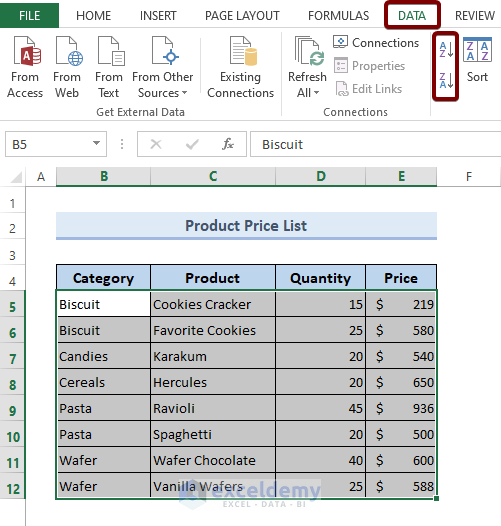
- The Filter option from the DATA tab under the Sort & Filter group.
- You’ve selected either Sort A to Z or Sort Z to A.
Steps:
- Go to the DATA tab.
- Under the Sort & Filter group, you will find the Clear command.
- Click on it.
You can also find the Clear command by following: HOME > Editing > Sort & Filter > Clear
Read More: How to Remove Sort by Color in Excel
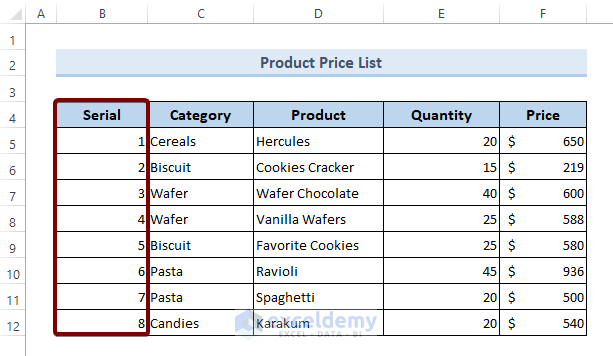
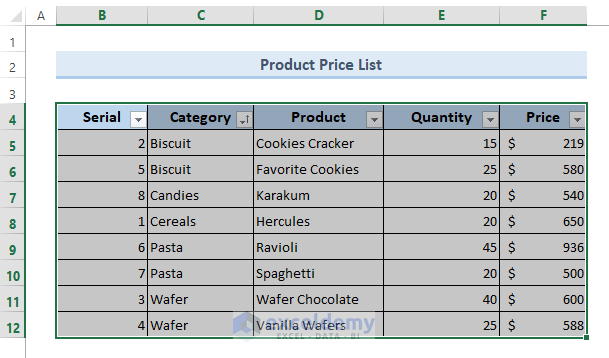
Method 3 – Undo a Sort and Revert Back Data to the Original State in Excel
- Add an additional column to the data table that stores the serial number of the rows in your data table.
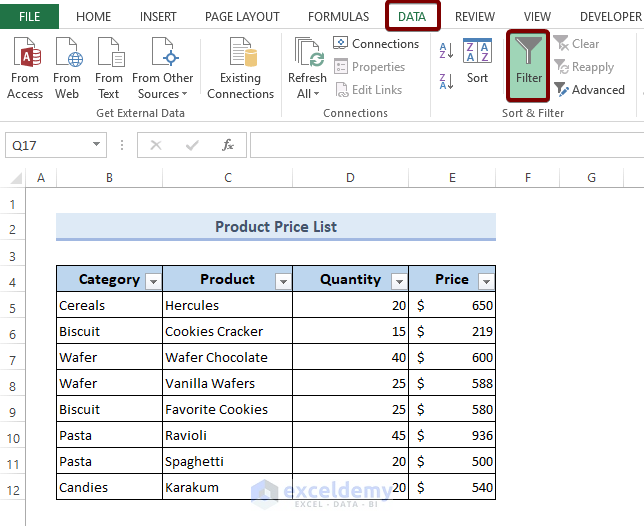
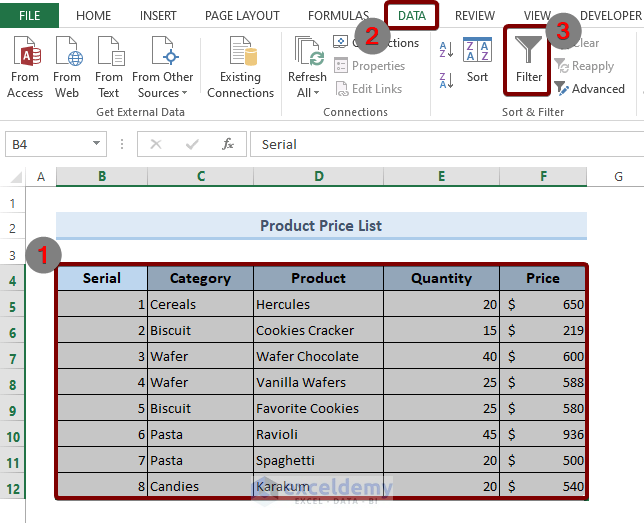
 Go to the DATA tab.
- Select FILTER from the Sort & Filter group.
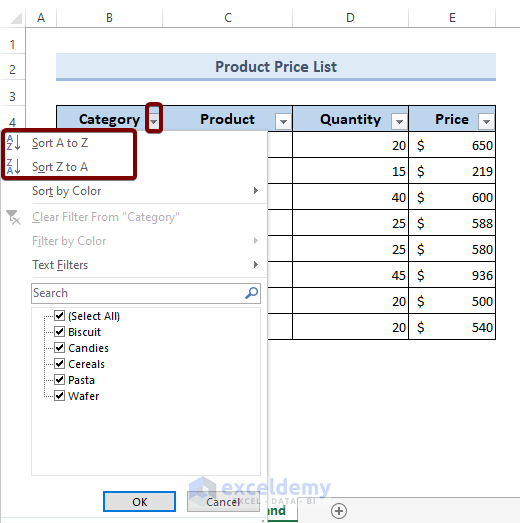
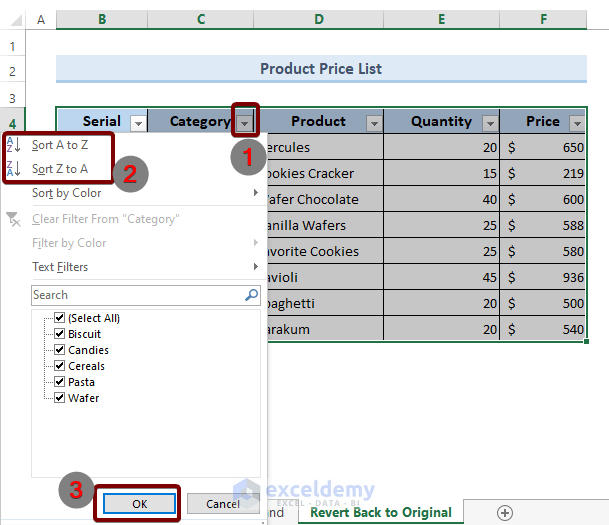
 Click on the drop-down icon of any of the table headers.
- Select Sort A to Z or Sort Z to A and hit the OK button to sort your data.
- The data have been sorted and the serial numbers of the rows have been jumbled up.
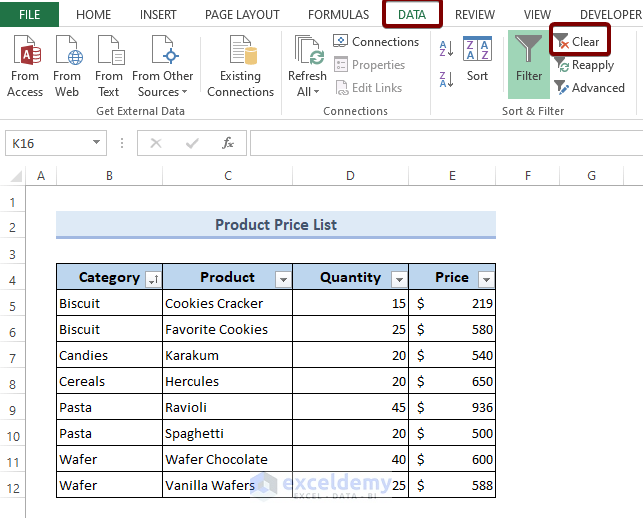
 Go to the DATA tab.
- From the Sort & Filter group, select Clear to undo sort.
 If you look at your data, you can see that it didn’t revert to the original state.

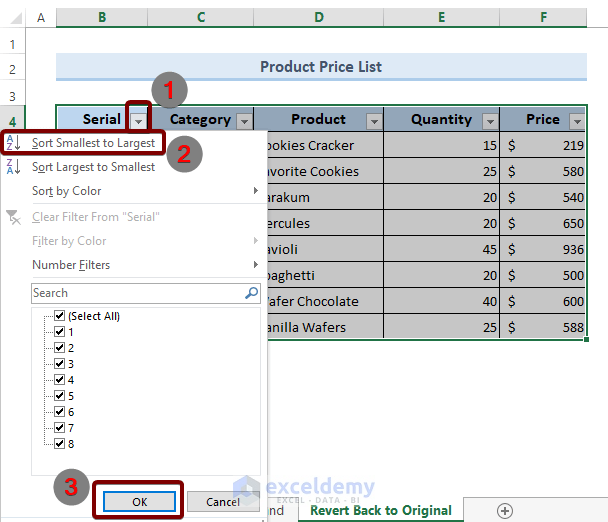
- Click on the drop-down icon of the tracker column and select Sort Smallest to Largest.
- Hit the OK button.
- This will rearrange the serial number of the tracker column, which reverts the data to its original state.
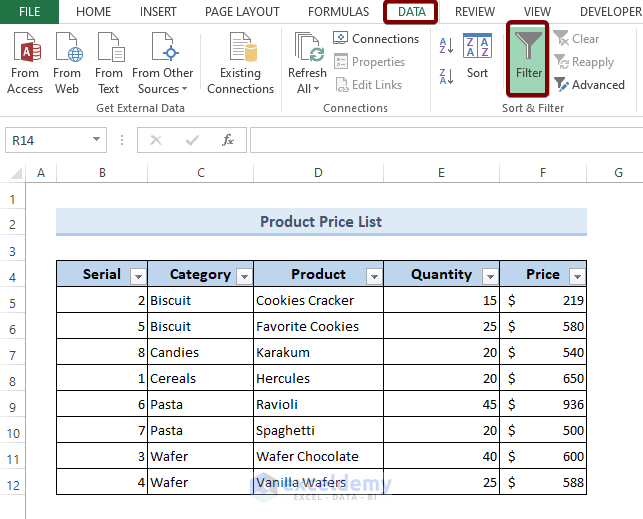
Remove the Filter and Revert the Data to the Original State
- Go to the DATA tab and click on Filter.
- This will remove the Filter from your data.
- Select your data and go back to the DATA tab.
- From the Sort & Filter group, click on the A to Z icon.
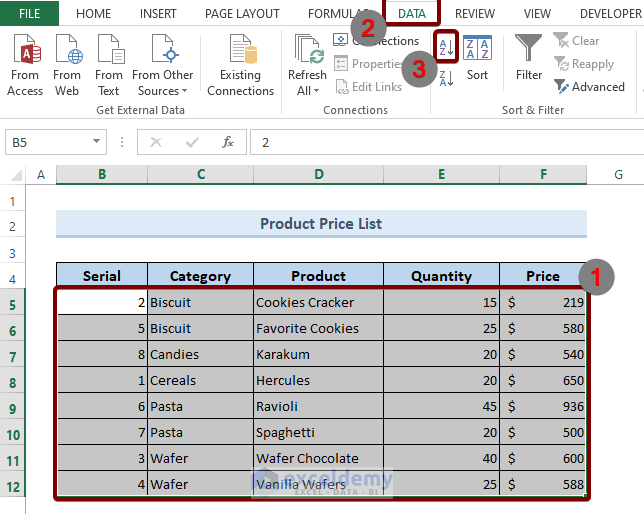
- Here’s the final result.
Things to Remember
- The second method doesn’t revert back the data to its original state.
- The first method only works immediately after applying the sort command.
- If you want to revert data to the original state, use the third method.
Download the Practice Workbook
<< Go Back to Remove Sort | Sort in Excel | Learn Excel
Get FREE Advanced Excel Exercises with Solutions!

Kindly help me, Yesterday I have worked in excel work sheet and not dine any kind of serial number and then i have applied filter on product names but by mistake I have not done filter on quantity and worksheet Ihave closed worksheet when again I have opened the sheet my product quantity and products does not tallying, kindly tell me any solution about how I can revert to my orgnal data table state Thanks
This should not happen with Filter. As soon as you clear the Filter, everything should be normal again. I suppose you SORTED the Products instead, excluding the Product Quantity. Then this becomes a complicated scenario.
I don’t know which Excel version you are using but you may try the following solutions. However, I can’t guarantee whether they will work for sure.
1. For Office365: Open the workbook. Go to File > Info > Version History. Check for any previous versions listed there. If not, then go to File > Info > Manage Workbook > Recovered Unsaved Workbooks. This will take you to the recovery folder for excel files. Look for a file with your workbook’s name.
2. For Excel 2019-2016: Open the Workbook. Go to File > History. Hopefully, you will find the previous versions listed there.
3. You can also check for any previous version using File Properties. Go to the file location. Right-click on the file name. Go to Properties > Previous Versions. Check for any previous versions listed there.
4. To manually check the recovery folder, go to File > Options > Save > Save Workbooks. Then copy the AutoRecover File Location and paste it on the File Explorer address bar.
You may visit this blog post from Microsoft for more >> https://support.microsoft.com/en-us/office/view-previous-versions-of-office-files-5c1e076f-a9c9-41b8-8ace-f77b9642e2c2
I hope you will be able to recover the file. Best of luck!
Thanks & Regards,
Md. Shamim Reza (ExcelDemy Team)
Thanks!!!!
Dear Gerry Conroy,
You are most welcome.
Regards
Shamima | Project Manager | ExcelDemy