The sample dataset showcases a House Rent Calculator. It has information on Monthly Rent, Community Bill and Council Tax.

- To get the Total Rent, enter the formula in C7.
=SUM(C4:C6)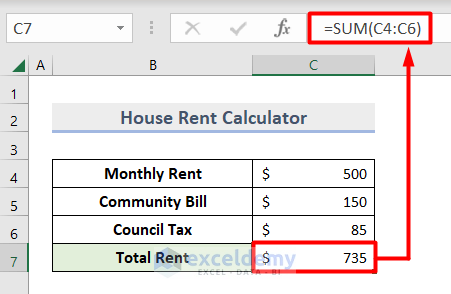
The SUM function calculates the total amount in C4:C6.
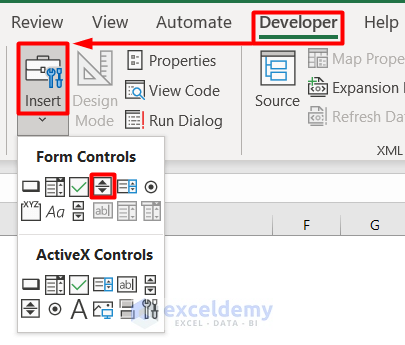
Method 1 – Creating a Spin Button using Form Controls in Excel
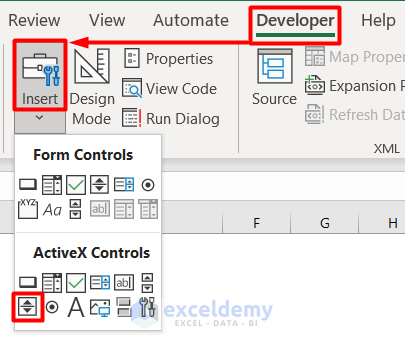
- Go to the Developer tab and select Insert.
- Choose Spin Button in Form Controls.
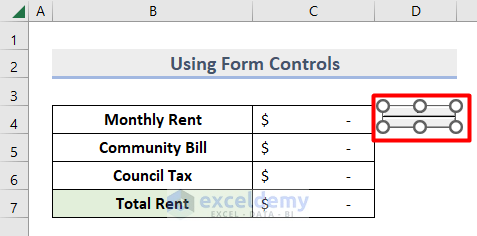
- Drag the cursor to insert a Spin Button.
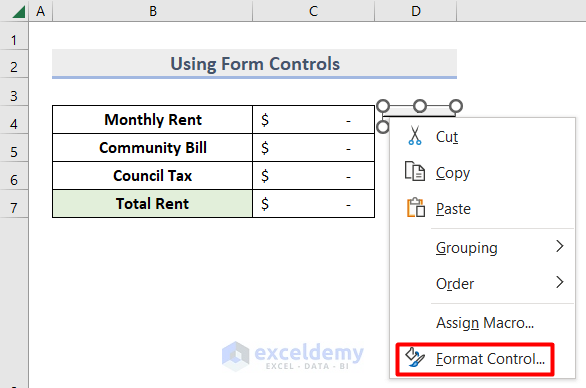
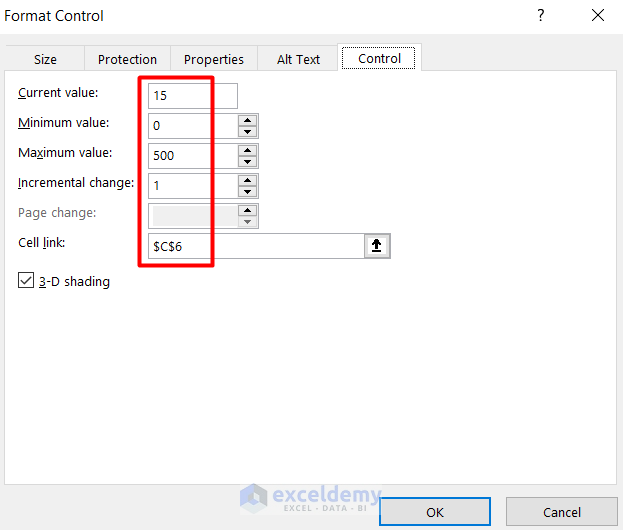
- Right-click it and choose Format Control.
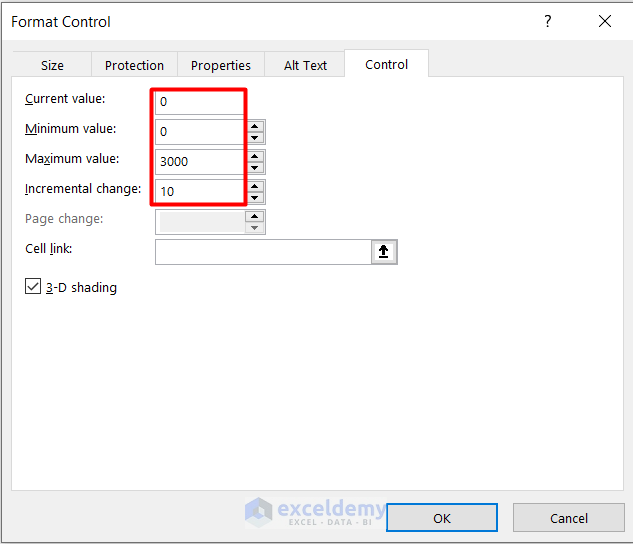
- Go to the Control tab and enter the values as shown below.
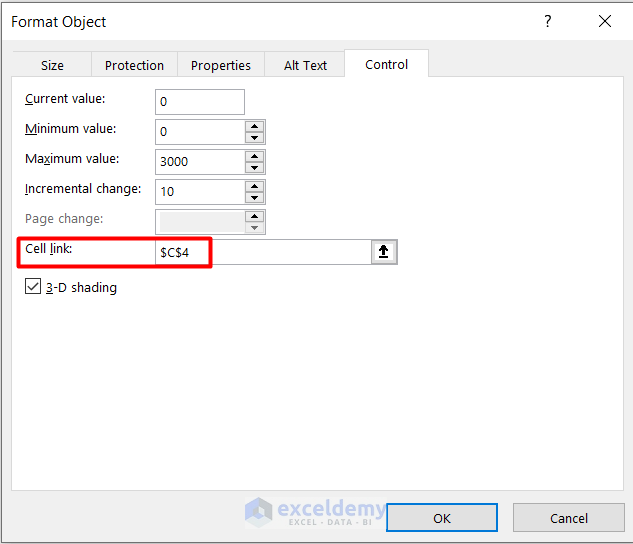
- Link C4 in Cell link and click OK.
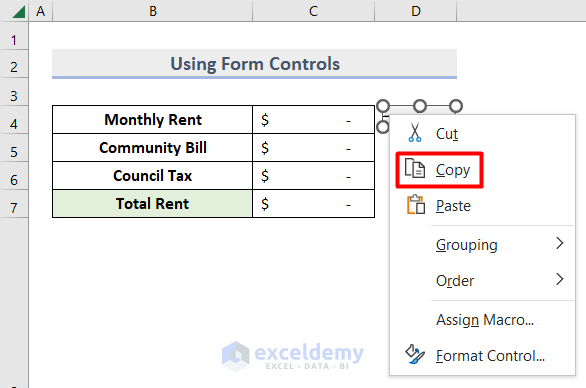
- Right–click the Spin Button again and select Copy.
- Paste it beside C5 and C6.
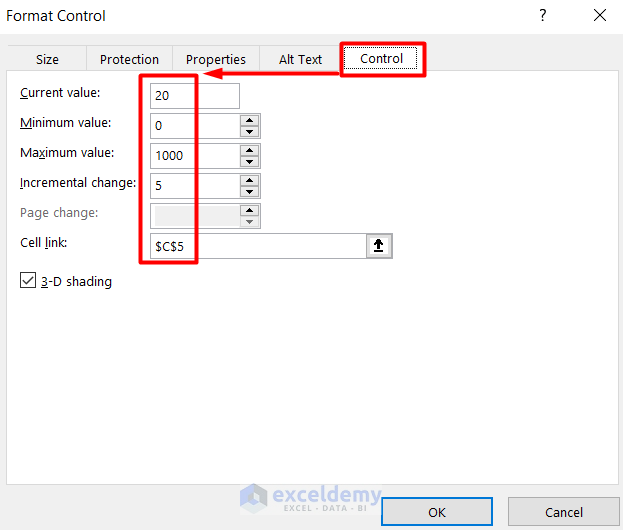
- Enter the following values in the Format Control window for C5 and click OK.
- Enter the following values in the Format Control window for C6 and click OK.
- Spin the numbers to calculate the Total Rent:

Read More: [Solved!] Excel Spin Button Not Working (2 Reasons with Solutions)
Method 2 – Using the ActiveX Controls to Insert a Spin Button
- Select Insert in the Developer tab.
- Choose Spin Button in ActiveX Controls.
- Drag Spin Button.

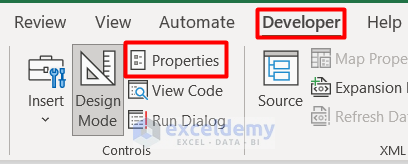
- Click Properties in Controls.
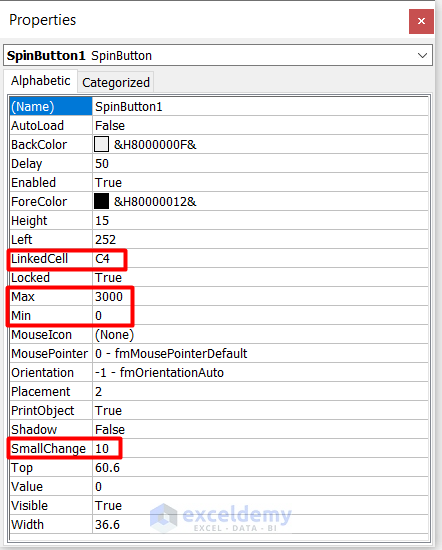
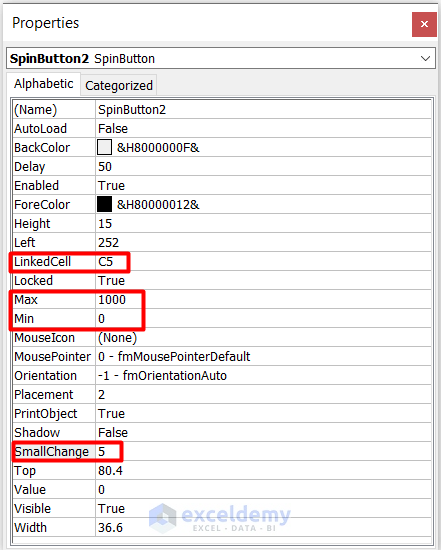
- In the Properties window, enter C4 in LinkedCell.
- Enter the Max and Min values to determine the range of changing values.
- Enter a value in SmallChange to determine the interval of each spin.
- Insert the 2nd Spin Button beside C5 and enter the following values in the Properties window.
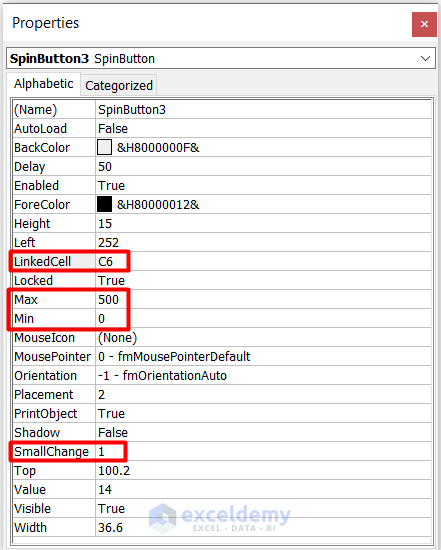
- Insert the 3rd Spin Button beside C6 and define the following parameters in the Properties window.
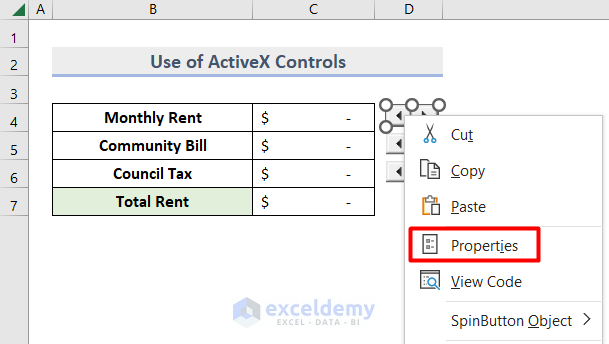
- You can also find the Properties command by right-clicking the Spin Button.
- Enable the Design Mode in the Developer tab.

- You can use the Spin Buttons:
- If C4, C5, and C6 have similar Max, Min, and SmallChange values, instead of creating individual Spin Buttons, you can create only one.
- Right–click it and select View Code.
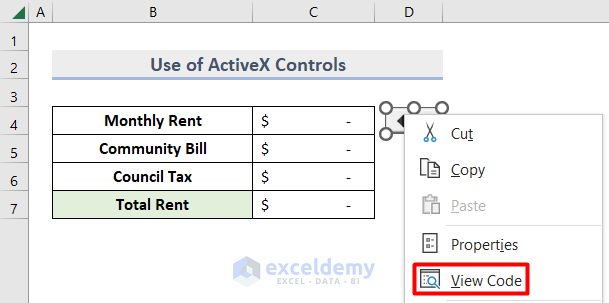
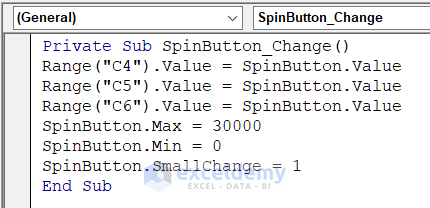
- Enter the code > save and close the VBA Editor > use the Spin Button to change values.
Private Sub SpinButton_Change()
Range("C4").Value = SpinButton.Value
Range("C5").Value = SpinButton.Value
Range("C6").Value = SpinButton.Value
SpinButton.Max = 30000
SpinButton.Min = 0
SpinButton.SmallChange = 1
End Sub
Read More: How to Control Multiple Cells with Spin Button in Excel
Method 3 – Using the UserForm to Create a Spin Button in Excel
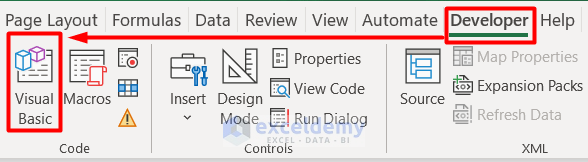
- Go to the Developer tab.
- Select Visual Basic in Code.
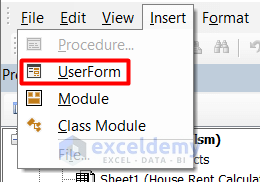
- Select UserForm in the Insert tab.
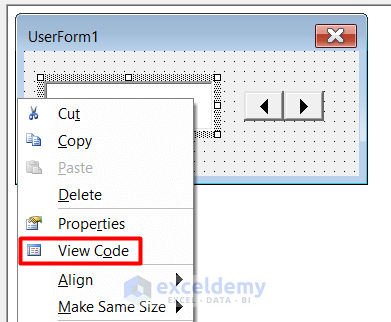
- Drag a TextBox and a SpinButton in Toolbox inside the UserForm window.

- Right–click the TextBox and select View Code.
- Enter this code in the Code window.
Private Sub SpinButton1_Change()
UserForm1.TextBox1.Text = SpinButton1.Value
End Sub
Private Sub TextBox1_Change()
Range("C4") = UserForm1.TextBox1.Text
End Sub
Private Sub UserForm_Click()
SpinButton1.Value = 0
End Sub
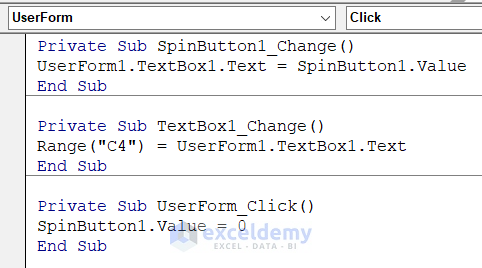
Range(“C4”) is the cell that is linked to the SpinButton1.
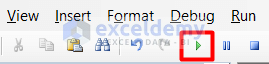
- Click RunSub or press F5.
- You will see the UserForm dialog box. Use the Spin Button to insert values in C4.
- Follow the same procedure for C5 and C6 and calculate the Total Rent.
Things to Remember
- In Method 3, if you change the name of the SpinButton and TextBox , you must use the same name in the code.
- If you create a Spin Button with Form Controls, right-click it and left-click to move or resize it.
- If you insert the Spin Button with ActiveX Controls, enable the Design Mode to move or resize it.
Download Practice Workbook
Download the practice workbook.
Related Articles
- How to Rotate Spin Button in Excel (With Easy Steps)
- Using Spin Button to Increment Decimal in Excel (2 Easy Ways)

