This is an overview:
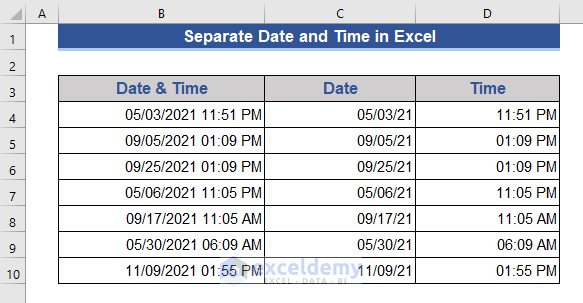
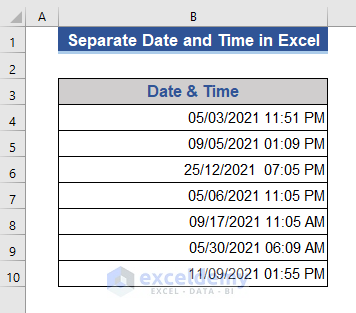
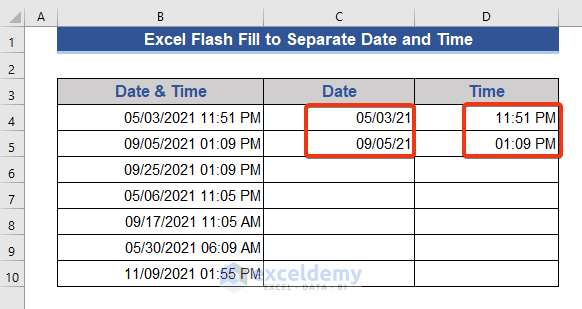
The sample dataset contains date and time in the same cell.
Method 1 – Using the Text to Columns Wizard to Separate Date and Time
Steps:
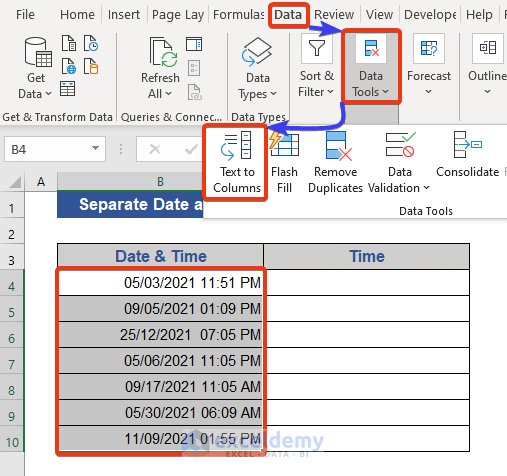
- Add a new column: Time.
- Select the Date & Time column.
- Choose Data Tools in Data.
- Select Text to Columns.
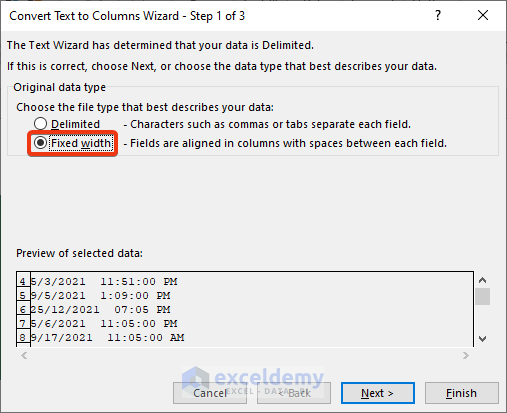
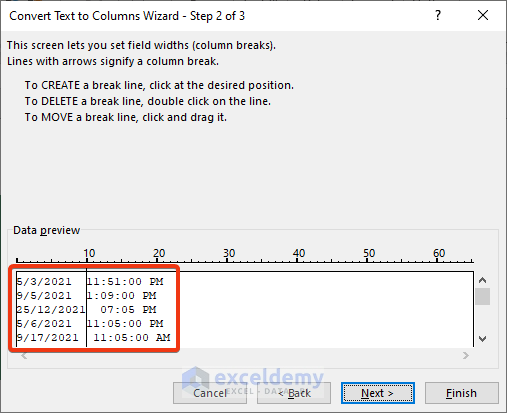
- In the Text to Columns Wizard, choose Fixed width.
- Click Next.
- In Data preview, choose a section.
- Click Next.
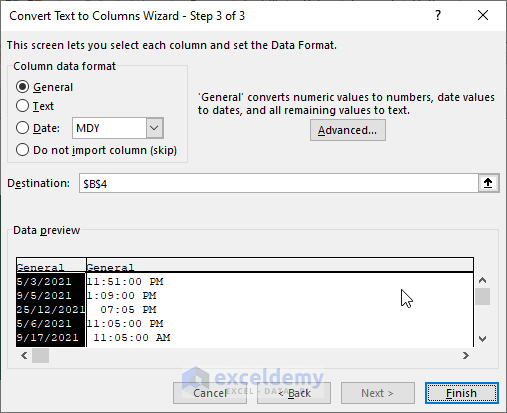
- Choose General.
- Click Finish.
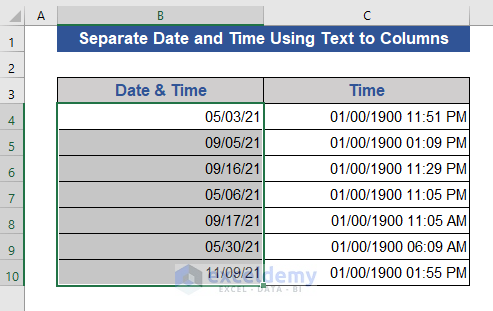
Time and Date are separated into two columns.
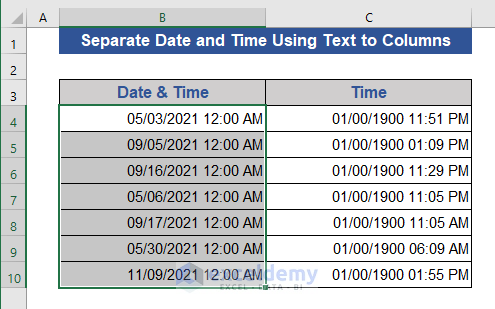
00:00 is displayed with the date value and 01/00/1900 is with the time value. 00:00 is the initial time and 01/00/1900 is the initial date considered by MS Excel. Change the format of both columns:
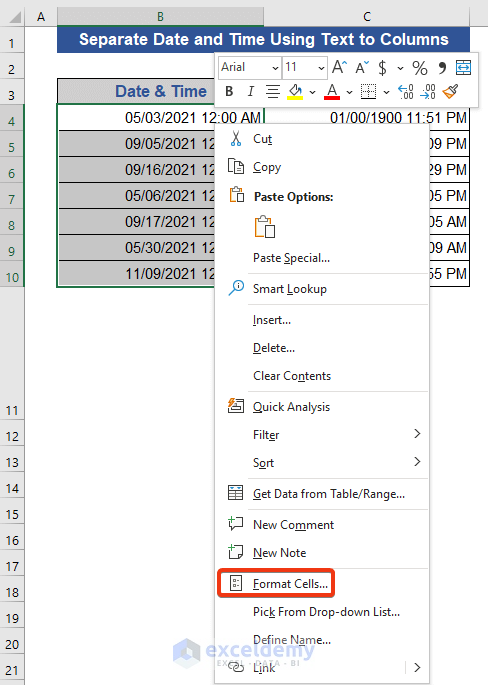
- Selec the Date & Time column.
- Right-click.
- Choose Format Cells.
- Choose a Date format.
- Click OK.
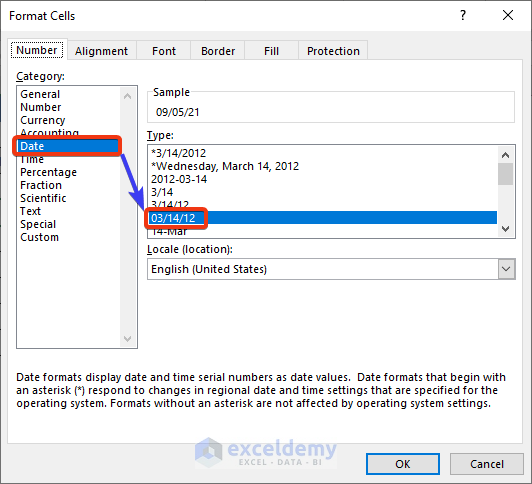
This is the output.
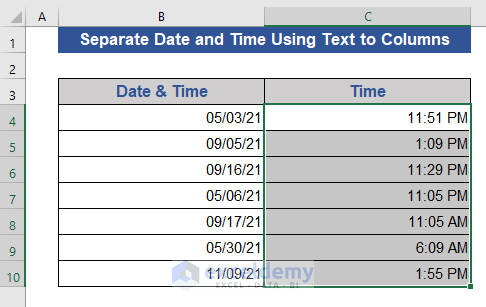
- Select the Time column and go to Format Cells.
- Choose a Time format.
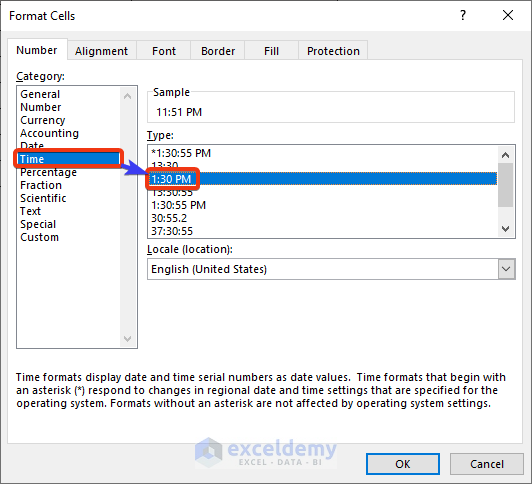
This is the output.
You can also open Format Cells by pressing Ctrl+1.
Method 2 – Using the Excel Flash Fill Feature
Steps:
- Add two columns: Date and Time.
- Enter values in the first two cells of the Date and Time columns:
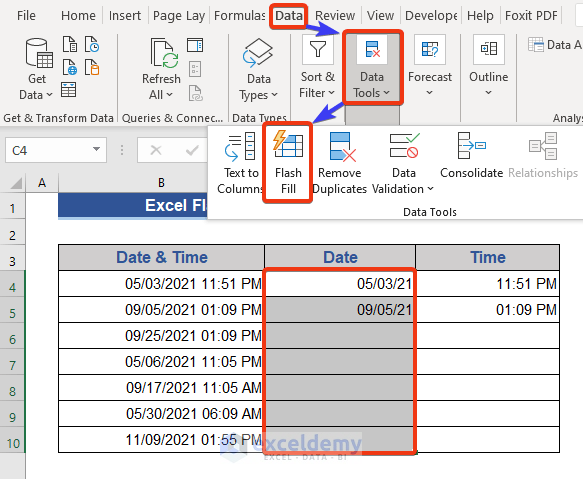
- Select all the cells in the Date column.
- Go to the Data tab.
- Choose Flash Fill in Data Tools.
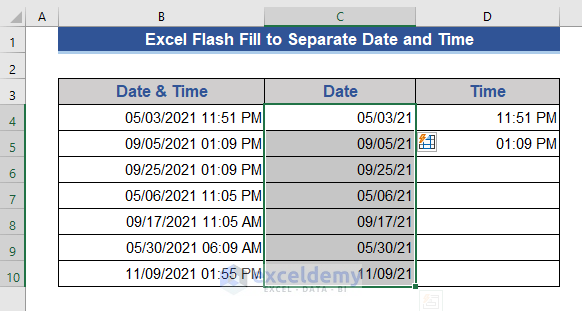
This is the output.
- Select the Time column and apply the Flash Fill.
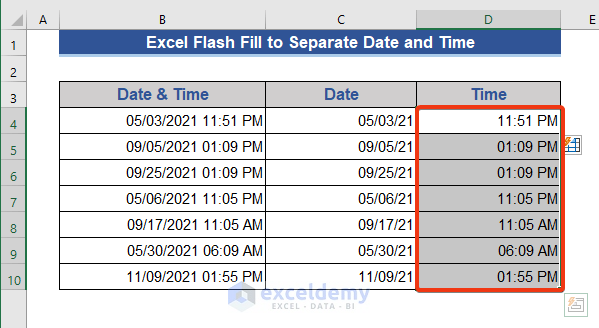
You can also press Ctrl+ E to use the Flash Fill.
Method 3 – Separate Date and Time Using the Power Query Tool
Steps:
- Select all the cells in the Data & Time column.
- Choose From Table/Range in the Data tab.

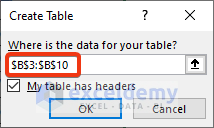
A window displays the range to create a table.
- Click OK.
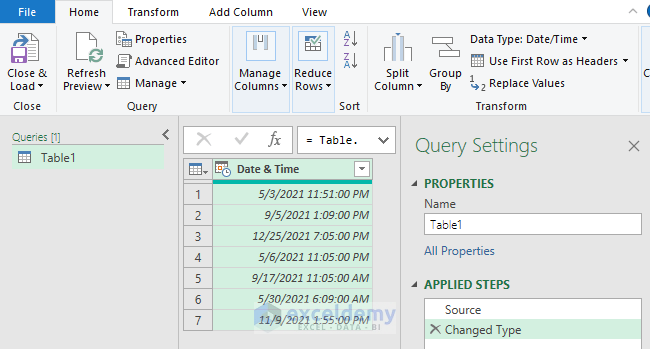
The Power Query window is displayed:
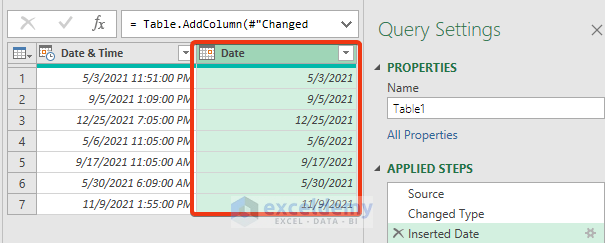
- Select the Date & Time column and go to Add Column.
- In Date, choose Date Only.

The Date column is added with dates only.
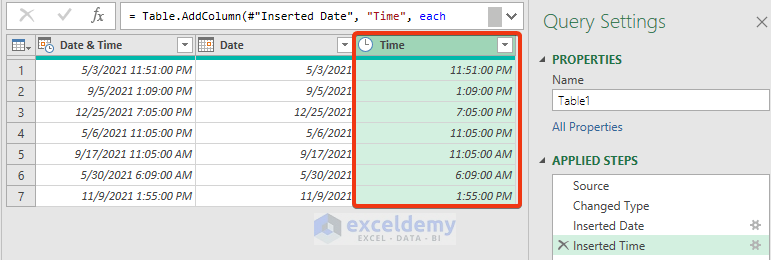
- Select the Date & Time column and choose Add Column.
- In Time, select Time Only.
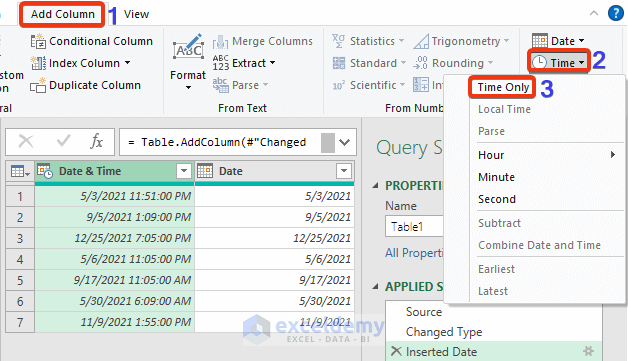
This is the output.
Download Practice Workbook
Download the practice workbook.
<< Go Back to Date and Time | Split | Learn Excel
Get FREE Advanced Excel Exercises with Solutions!
