Method 1 – Select Only Visible Cells
Steps:
⧭ Open VBA Window:
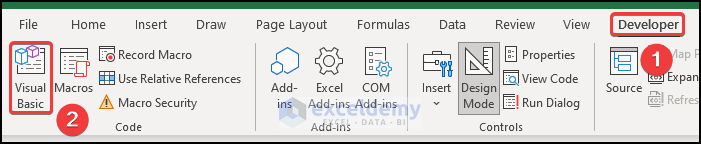
- VBA has its own separate window to work with. You have to insert the code in this window too. To open the VBA window, go to the Developer tab on your ribbon. Then select Visual Basic from the Code group.
⧭ Insert Module:
- VBA modules hold the code in the Visual Basic Editor. It has a .bcf file extension. Create or edit one easily through the VBA editor window. To insert a module for the code, go to the Insert tab on the VBA editor. Click on Module from the drop-down.
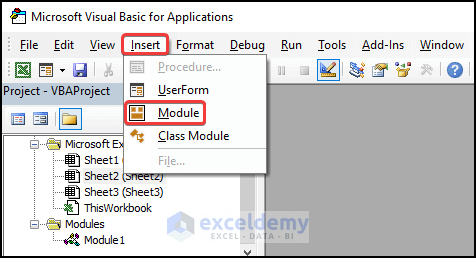
- A new module will be created.
⧭ Insert VBA Code:
- Select the module if it isn’t already selected. Write down the following code in it.
Sub select_visible_cells()
    Range("B4:C9").Select
    Range("B5").Activate
    Selection.SpecialCells(xlCellTypeVisible).Select
End Sub- Save the code.
⧭ Run VBA Code:
- Close the Visual Basic window. Press Alt+F8.
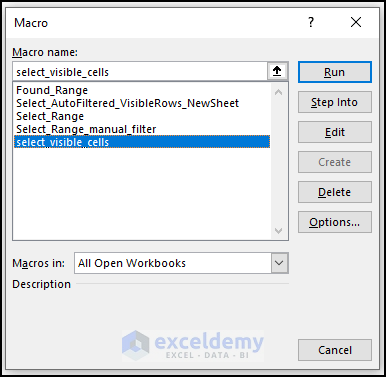
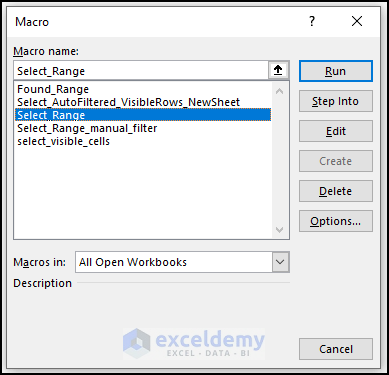
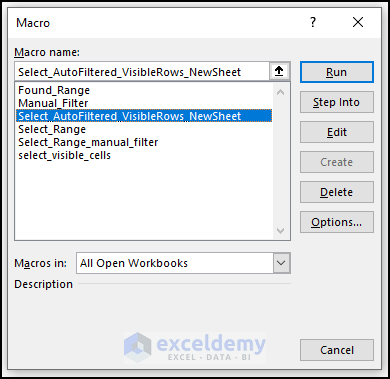
- When the Macro dialogue box opens, select the following macro in the Macro name. Click Run.
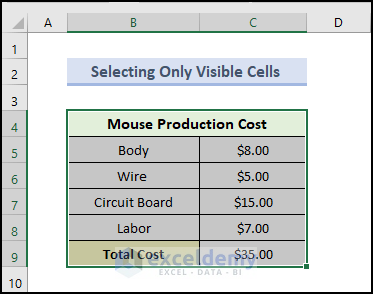
⧭ Output:
- This will select only the visible cells, as shown below.
VBA Code Explanation:
Sub select_visible_cells()Provide a name for the sub-procedure of the macro.
Range("B4:C9").Select
    Range("B5").Activate
    Selection.SpecialCells(xlCellTypeVisible).Select
This piece of code will select the specified range of visible cells.
End SubEnd the sub-procedure of the macro.
Method 2 – Select Visible Cells Using UsedRange Property
Steps:
⧭ Open VBA Window:
- VBA has its own separate window to work with. You must insert the code in this window, too. Open the VBA window and go to the Developer tab on your ribbon. Select Visual Basic from the Code group.
⧭ Insert Module:
- VBA modules hold the code in the Visual Basic Editor. It has a.bcf file extension. Create or edit one easily through the VBA editor window. Insert a module for the code, and go to the Insert tab on the VBA editor. Click on Module from the drop-down.
- A new module will be created.
⧭ Insert VBA Code:
- Select the module if it isn’t already selected. Write down the following code in it.
Sub Select_Range()
    Dim r1ng As Range
    Set r1ng = Sheets("Sheet1").UsedRange
    r1ng.Select
End Sub- Save the code.
⧭ Run VBA Code:
- Close the Visual Basic window. Press Alt+F8.
- When the Macro dialogue box opens, select the following macro in the Macro name. Click Run.
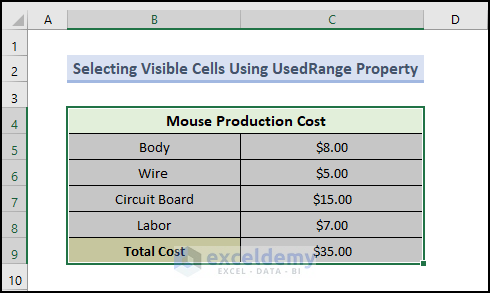
⧭ Output:
- This will select only the visible cells, as shown below.
VBA Code Explanation:
Sub Select_Range()Provide a name for the sub-procedure of the macro.
Dim r1ng As RangeDeclare the necessary variable for the macro.
Set r1ng = Sheets("Sheet1").UsedRange
  r1ng.Select
It returns the range used on the specified worksheet as a Range object.
End SubEnd the sub-procedure of the macro.
Method 3 – Utilizing the VBA Find Method
Steps:
⧭ Open VBA Window:
- Its own separate window to work with. You have to insert the code in this window too. To open the VBA window, go to the Developer tab on your ribbon. Select Visual Basic from the Code group.
⧭ Insert Module:
- VBA modules hold the code in the Visual Basic Editor. It has a .bcf file extension. Create or edit one easily through the VBA editor window. Insert a module for the code, and go to the Insert tab on the VBA editor. Click on Module from the drop-down.
- A new module will be created.
⧭ Insert VBA Code:
- Select the module if it isn’t already selected. Write down the following code in it.
Sub Found_Range()
    Dim r1ng As Range
    Set r1ng = Sheets("Sheet1").UsedRange.Find("Body")
      r1ng.CurrentRegion.Select
End Sub- Save the code.
⧭ Run VBA Code:
- Close the Visual Basic window. After that, press Alt+F8.
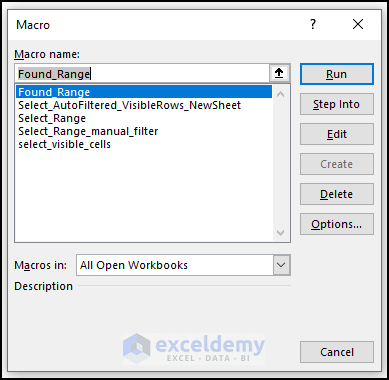
- When the Macro dialogue box opens, select the following macro in the Macro name. Click Run.
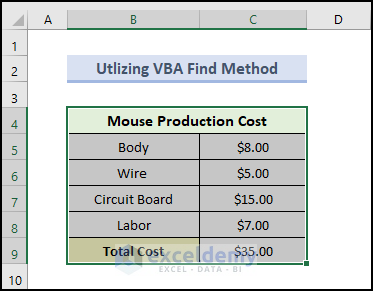
⧭ Output:
- This will select only the visible cells, as shown below.
VBA Code Explanation:
Sub Found_Range()Provide a name for the sub-procedure of the macro.
Dim r1ng As RangeDeclare the necessary variable for the macro.
  Set r1ng = Sheets("Sheet1").UsedRange.Find("Body")
r1ng.CurrentRegion.Select
It returns the range used on the specified worksheet as a range object, we will get the specified range by using the find method.
End SubFinally, end the sub-procedure of the macro.
Method 4 – Select Visible Cells After Auto Filter
Steps:
⧭ Open VBA Window:
- Its own separate window to work with. You have to insert the code in this window too. Open the VBA window, go to the Developer tab on your ribbon. Select Visual Basic from the Code group.
⧭ Insert Module:
- VBA modules hold the code in the Visual Basic Editor. It has a.bcf file extension. Create or edit one easily through the VBA editor window. Insert a module for the code, and go to the Insert tab on the VBA editor. Click Module from the drop-down.
- A new module will be created.
⧭ Insert VBA Code:
- Select the module if it isn’t already selected. Write down the following code in it.
Sub Select_AutoFiltered_VisibleRows_NewSheet()
Dim FilterValues As String
FilterValues = "Texas"
ActiveSheet.Range("B4:E14").AutoFilter
ActiveSheet.Range("B4:E14").AutoFilter field:=2, Criteria1:=FilterValues
ActiveSheet.Range("B4:E14").SpecialCells(xlCellTypeVisible).Select
End Sub- Save the code.
⧭ Run VBA Code:
- Close the Visual Basic window. Press Alt+F8.
- When the Macro dialogue box opens, select the following macro in the Macro name. Click Run.
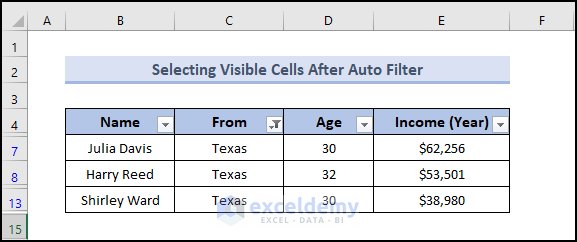
⧭ Output:
- VBA code automatically auto-filters and selects the visible cells in the Excel spreadsheet.
VBA Code Explanation:
Sub Select_AutoFiltered_VisibleRows_NewSheet()Provide a name for the sub-procedure of the macro.
Dim FilterValues As StringThis portion declares the variable. We have only one here- FilterValues.
FilterValues = "Texas"In this section, we are entering a string value for the FilterValues. This will be used as the filter value later on. If you need to filter with different values, put the value in here.
ActiveSheet.Range("B4:E14").AutoFilter
ActiveSheet.Range("B4:E14").AutoFilter field:=2, Criteria1:=FilterValues
We are now selecting the range B4:E14 and using the .autofilter method. By selecting the field and Criteria1 parameter, we are choosing to filter the FilterValues value from the second column. You can change the field value to the serial of the column you want to filter from. You can change your range if you have a different range.
ActiveSheet.Range("B4:E14").SpecialCells(xlCellTypeVisible).SelectAfter the filter is complete, this line of code simply selects them.
End SubEnd the sub-procedure of the macro.
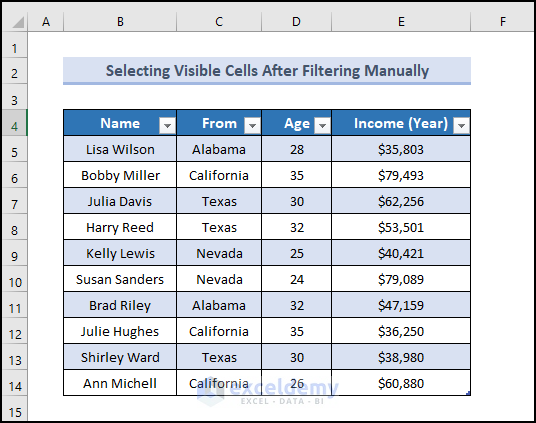
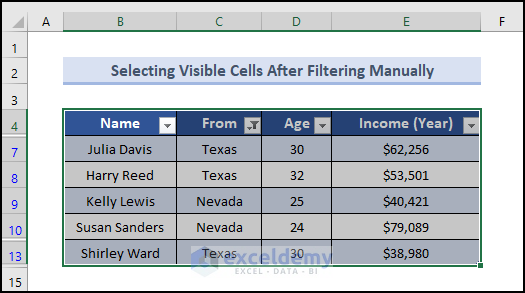
Method 5 – Select Visible Cells After Filtering Manually
Steps:
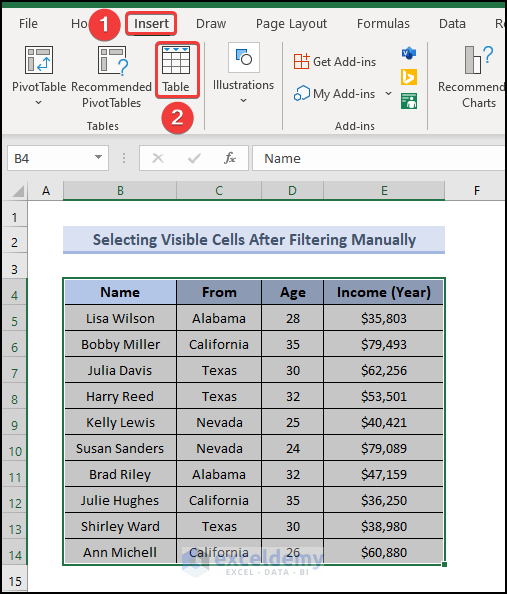
- Select the range of cells as shown below.
- Go to the Insert tab and select Table.
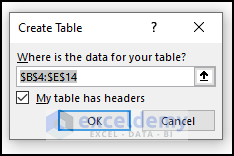
- The Create Table window will appear. Click OK.
- A table will be created, as shown below.
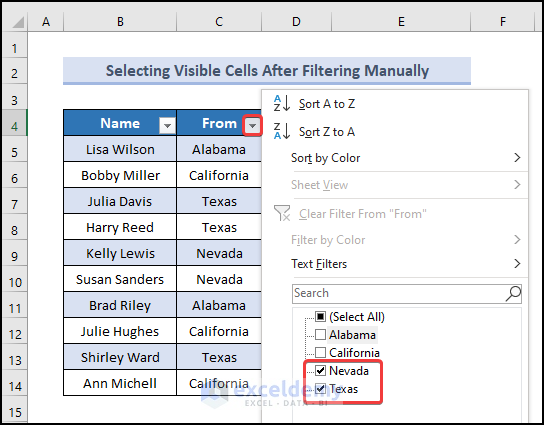
- Click on the dropdown menu, and select your desired option as shown below. Click OK.
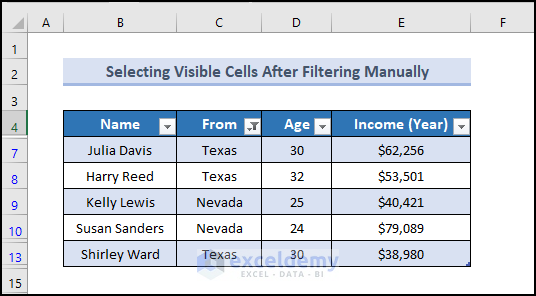
- The dataset will look like this.
- We are going to use the VBA code to select the visible cells.
Steps:
⧭ Open VBA Window:
- VBA has its own separate window to work with. Insert the code in this window too. Open the VBA window, go to the Developer tab on your ribbon. Select Visual Basic from the Code group.
⧭ Insert Module:
- VBA modules hold the code in the Visual Basic Editor. It has a.bcf file extension. Create or edit one easily through the VBA editor window. Insert a module for the code, go to the Insert tab on the VBA editor. Click on Module from the drop-down.
- A new module will be created.
⧭ Insert VBA Code:
- Select the module if it isn’t already selected. Write down the following code in it.
Sub Manual_Selection()
   With Sheets("Filter").ListObjects("Table1")
      Intersect(.DataBodyRange.SpecialCells(xlVisible), .Parent.Range("B:E")).Select
   End With
End Sub- Save the code.
⧭ Run VBA Code:
- Close the Visual Basic window. After that, press Alt+F8.
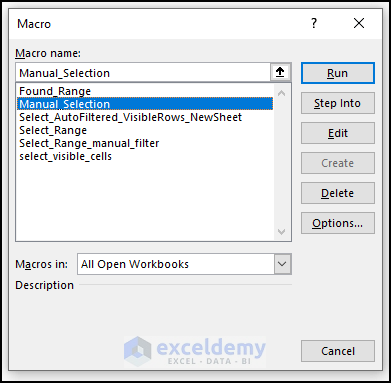
- When the Macro dialogue box opens, select the following macro in the Macro name. Click Run.
⧭ Output:
- This is how the spreadsheet will look now. The VBA code selects the visible cells in the Excel spreadsheet.
VBA Code Explanation:
Sub Manual_Selection()Provide a name for the sub-procedure of the macro.
With Sheets("Filter").ListObjects("Table1")It will return a ListObjects collection from the Worksheet object by using the ListObjects property.
   Intersect(.DataBodyRange.SpecialCells(xlVisible), .Parent.Range("B:E")).Select
   End With
This piece of code will select the specified range of visible cells.
End SubEnd the sub-procedure of the macro.
Download Practice Workbook
Download this practice workbook to exercise while you are reading this article.
Get FREE Advanced Excel Exercises with Solutions!
