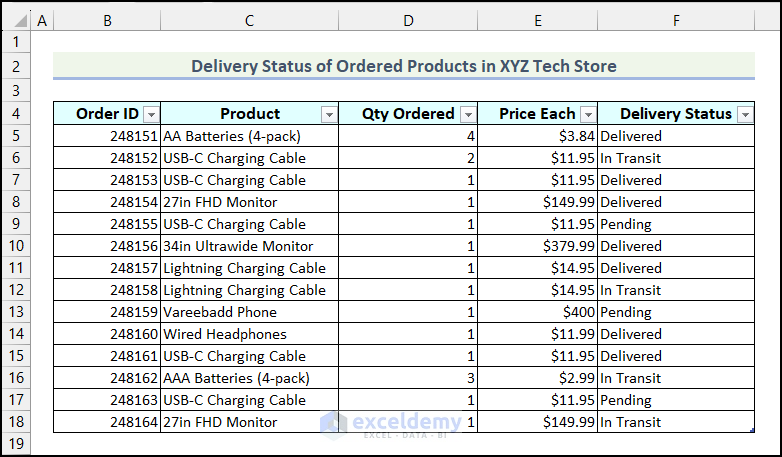
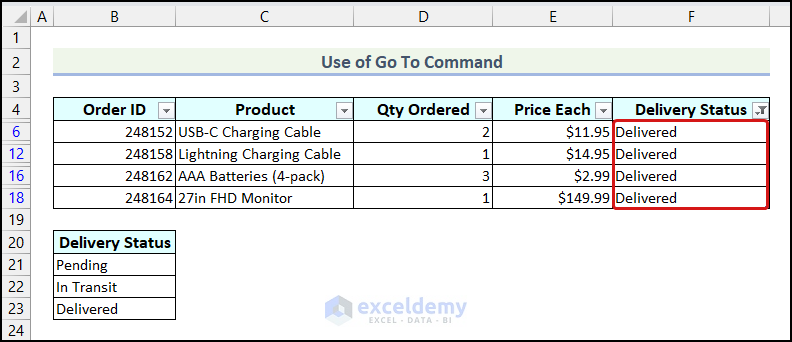
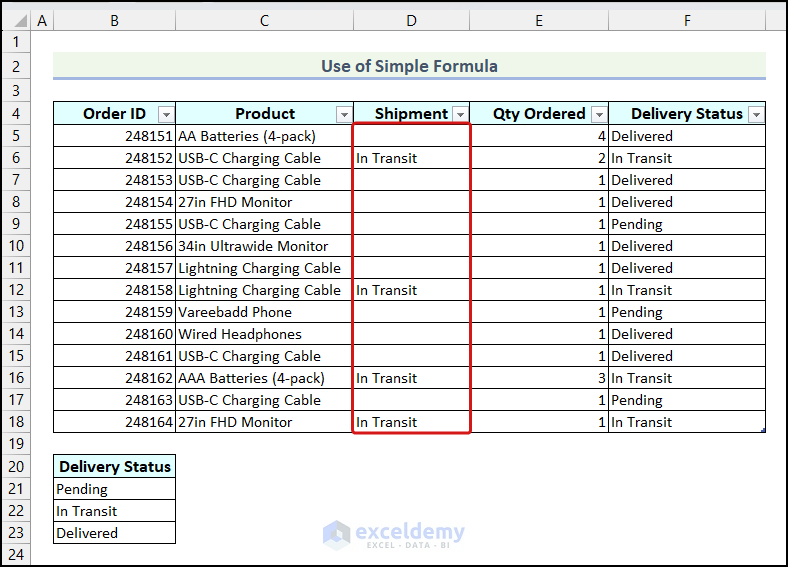
We have the Delivery Status of Ordered Products as a sample dataset. We will filter this dataset and then try to paste values into only the visible cells.
Method 1 – Pasting into Visible Cells Only Through the Go To Command in Excel
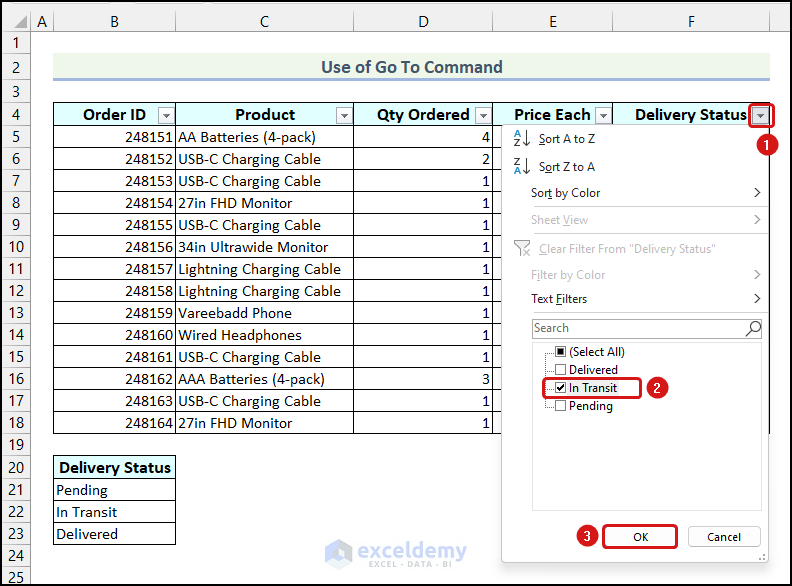
Step 1 – Filter the Dataset
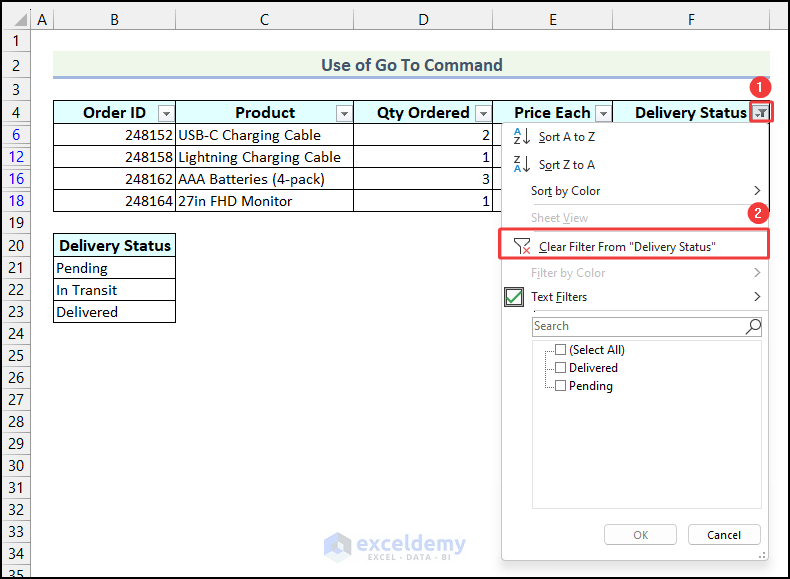
- Click on the drop-down icon for the Delivery Status column.
- Select the “In Transit” option and click OK.
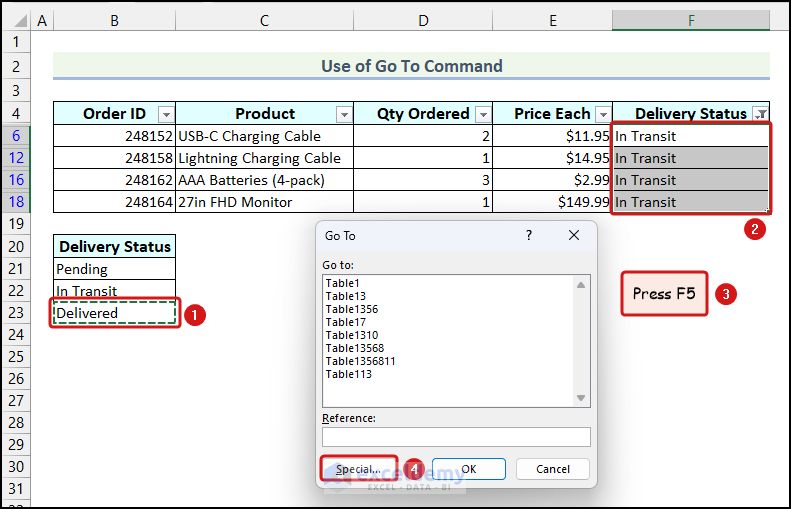
Step 2 – Paste Data into Visible Cells
Only the products that have an “In Transit” Delivery Status, will show in the dataset. We want to change these statuses to “Delivered”.
- Copy cell B23.
- Select the cells of the column Delivery Status .
- Press F5. You can also use the keyboard shortcut Ctrl + G.
- The Go To dialog box will open. Click on the Special option.
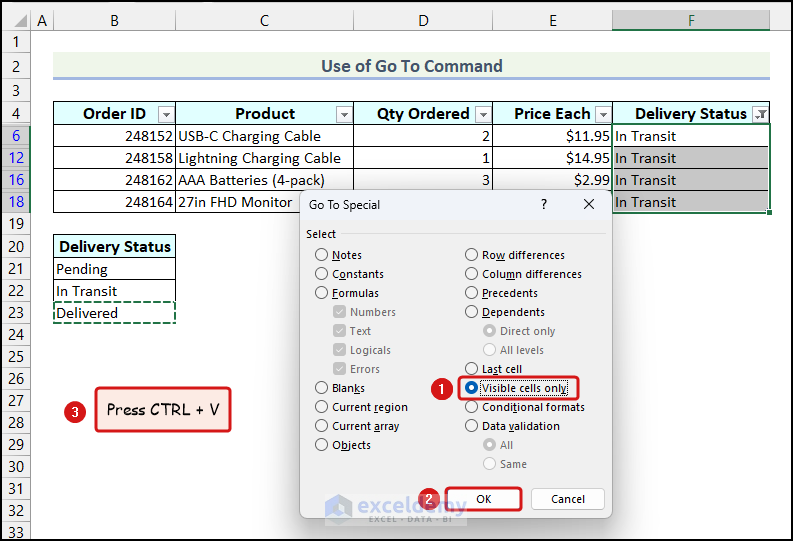
- Choose the Visible cells only option from the Go To Special dialog box and click OK. This will select only the visible cells of the worksheet.
- Use the keyboard shortcut Ctrl + V to paste the copied data into the visible cells.
The “In Transit” status will be replaced by the “Delivered” status as shown in the following image.
- Remove the filter (click on the drop-down and select Clear Filter From…).
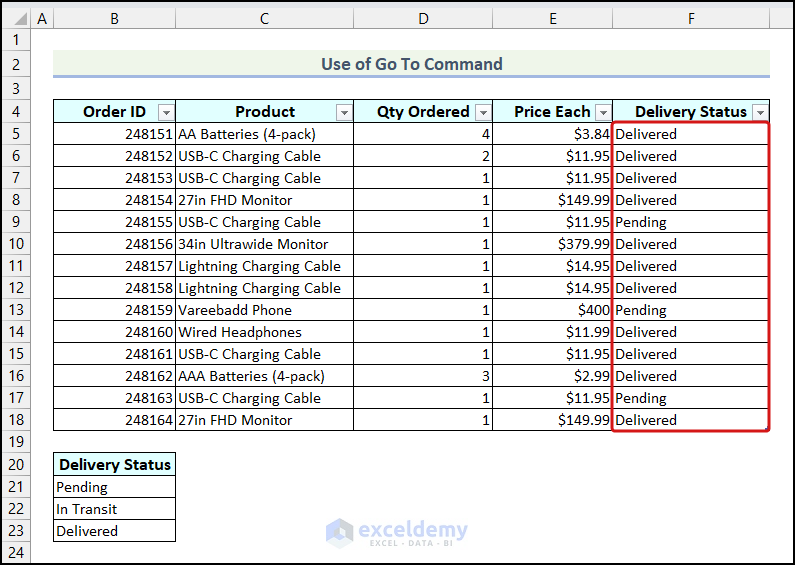
- Here’s the result.
Read More: [Fixed!] Paste Visible Cells Only Not Working
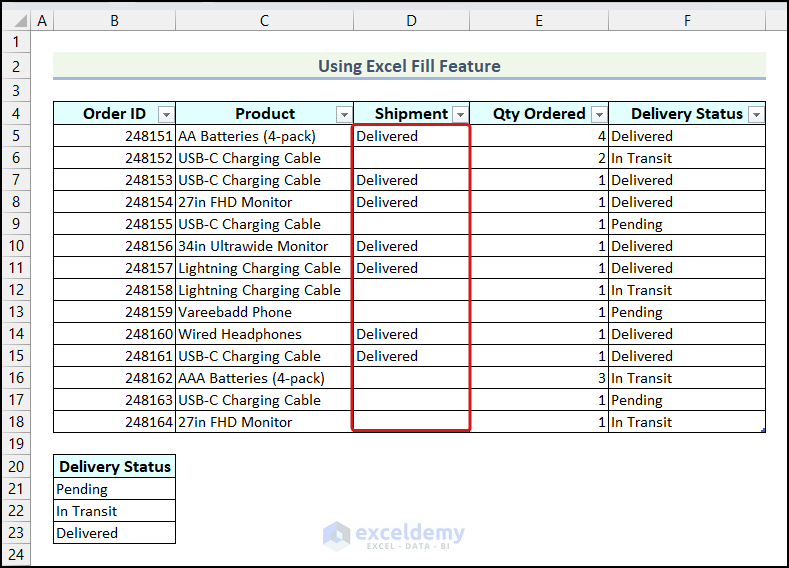
Method 2 – Use Excel Fill for Pasting into Visible Cells
- Filter the dataset based on the Delivery Status (“Delivered”).
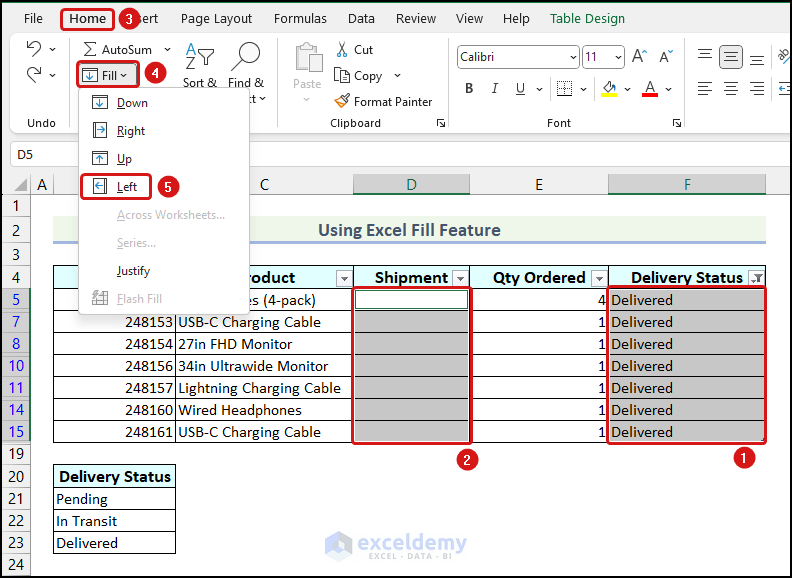
- Select the cells of the filtered Delivery Status column.
- Hold Ctrl and select the destination cells. We have selected the cells of the Shipment column as our destination cells.
- Go to the Home tab, choose the Fill option from the Editing group, and select the Left option as we are pasting data to the left of the Delivery Status column.
- Clear the filter.
- The copied Delivery Status values are pasted to the Shipment column. The rest of the cells remain blank.
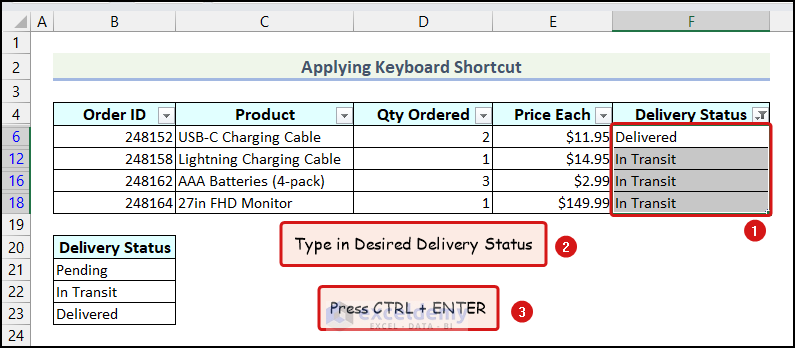
Method 3 – Pasting into Visible Cells with a Keyboard Shortcut
- Filter the dataset.
- Select the cells of the Delivery Status column.
- Type in the desired Delivery Status (“Delivered“).
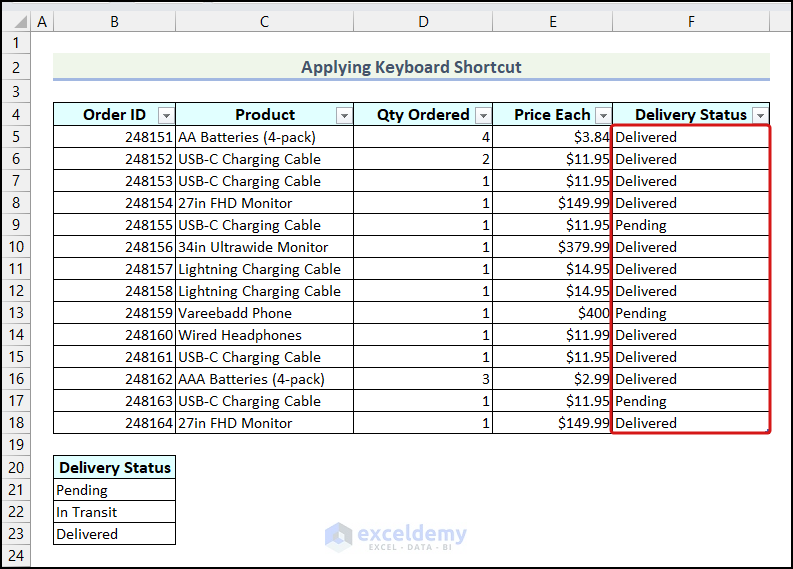
- Press Ctrl + Enter.
- Clear the filter in the Delivery Status column.
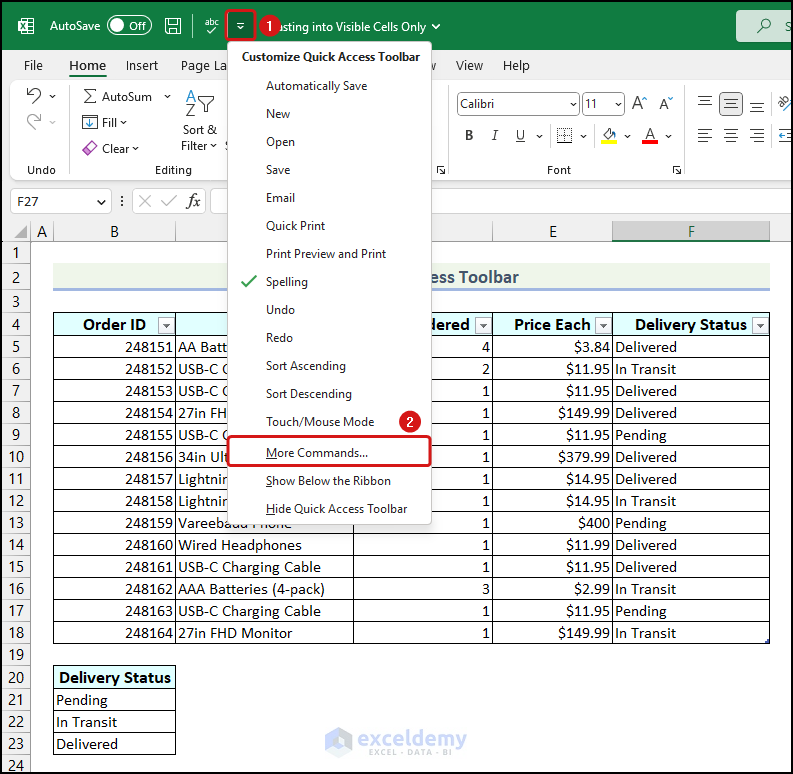
Method 4 – Using the Quick Access Toolbar to Paste into Visible Cells Only
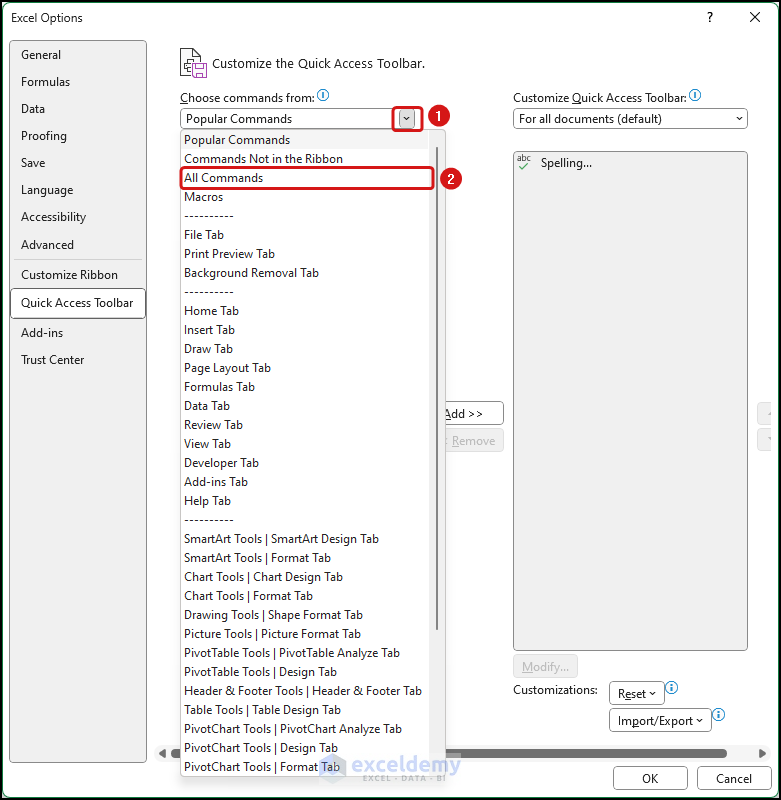
- Click on the Customize Quick Access Toolbar option.
- Select the More Commands option from the drop-down.
The Excel Options dialog box will open.
- Click on the drop-down icon and select the All Commands option.
- Scroll down and select the Select Visible Cells option.
- Click on Add and click OK.
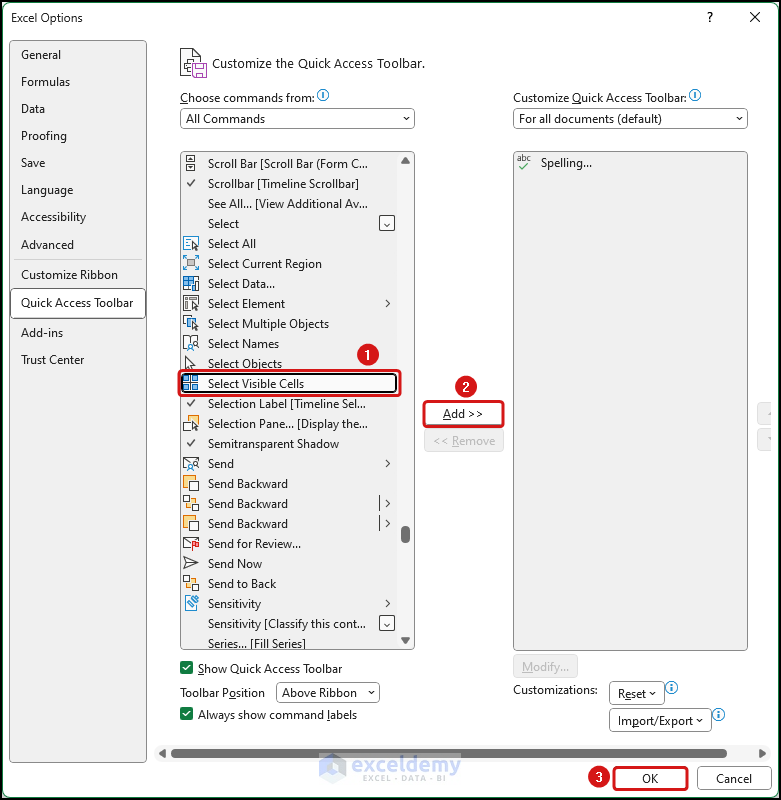
The Select Visible Cells option will be added to the Quick Access Toolbar.
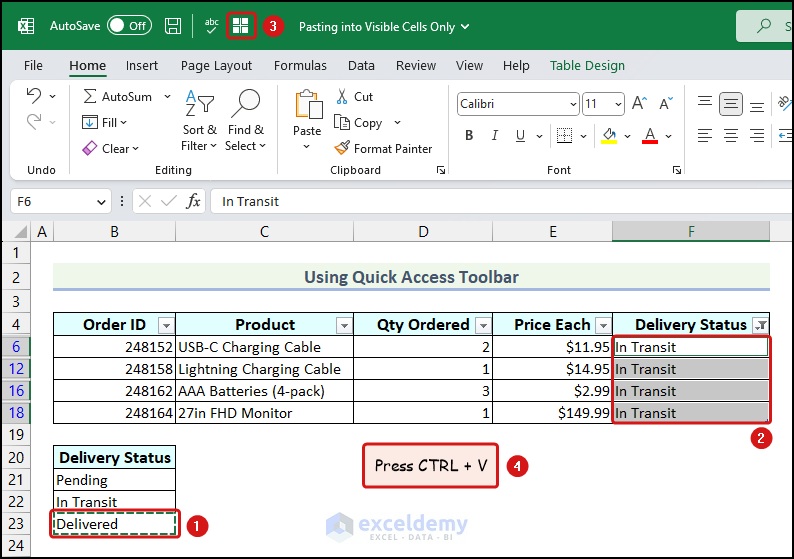
- Copy the data that you want to paste. We copied cell B23.
- Select the cells of the Delivery Status column.
- Click the new icon that was created in the Quick Access Toolbar.
- Use the keyboard shortcut Ctrl + V to paste the copied data.
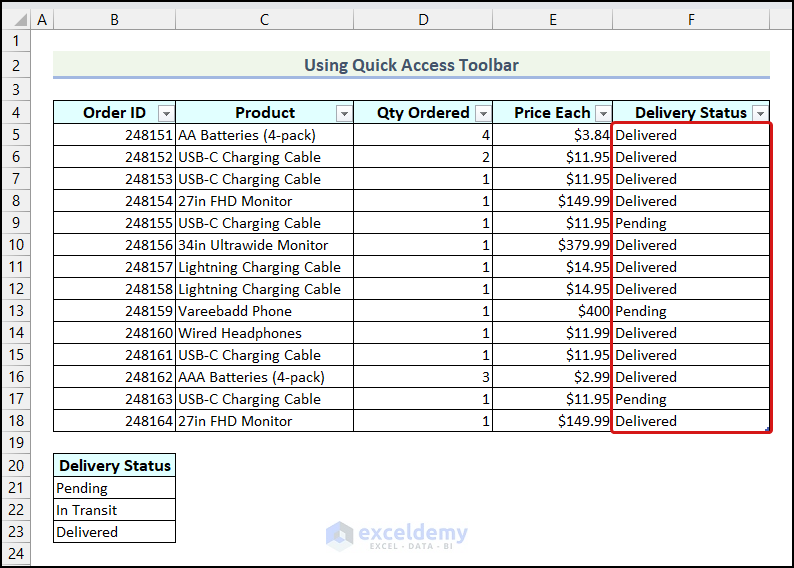
- Clear the filter to see the entire table.
Method 5 – Apply a Simple Formula in Excel to Paste Only into Visible Cells
- Filter the table.
- Use the following formula in cell D5 and press Enter.
=[@[Delivery Status]]Here, [Delivery Status] is the Named Range of the Delivery Status column.
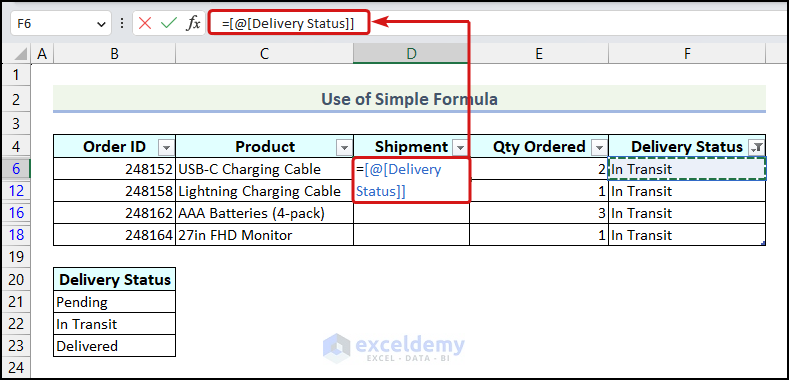
Excel will automatically copy the formula for the rest of the cells in the Shipment column.
Note: If you don’t use a table, then your formula will be like “=E6”. You also need to drag the Fill Handle to copy down the formula.
- Clear the filters.
Method 6 – Pasting into Visible Cells with Excel VBA
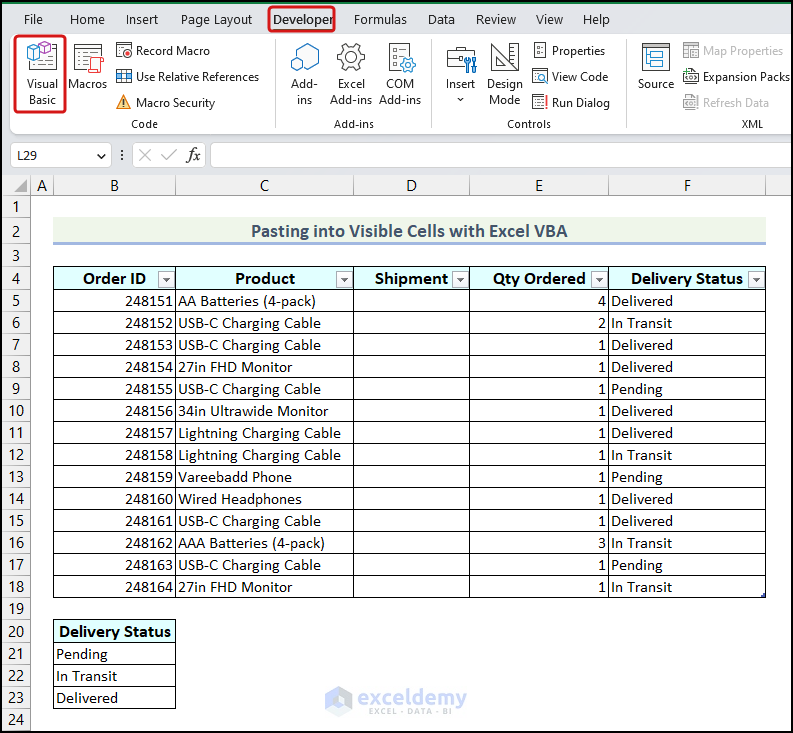
Step 1 – Launch the VBA Editor
- Go to the Developer tab and choose the Visual Basic option.
Note: The Developer tab is not available in Excel by default. You need to manually add the Developer tab.
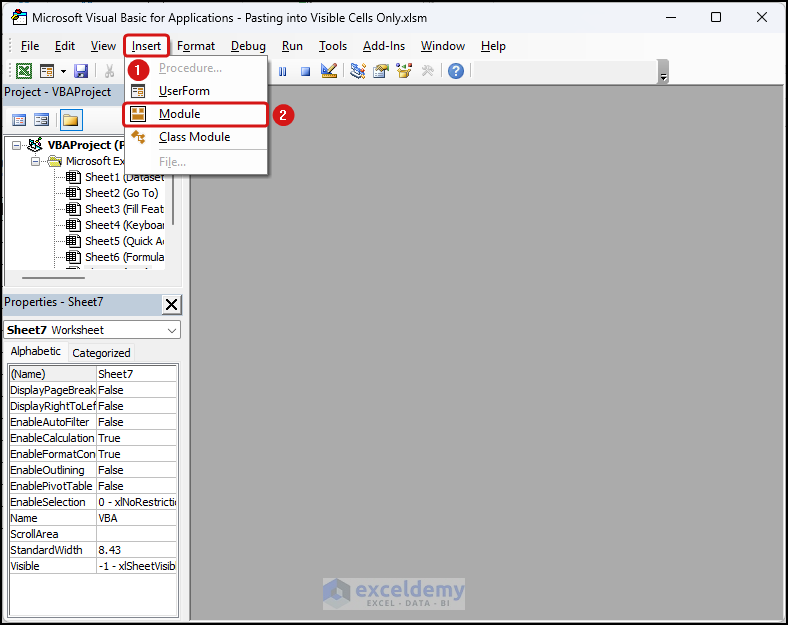
The Microsoft Visual Basic for Applications window will open.
- Go to the Insert tab and select the Module option.
Step 2 – Insert the VBA Code
- A blank Module will be created.
- Insert the following VBA code in it and click on the Save icon.

Sub PasteIntoVisible()
Dim rng As Range
Dim visinputRange As Range
Dim dest As Range
Dim inputRange As Range
Dim r As Range
Set rng = Application.Selection
rng.SpecialCells(xlCellTypeVisible).Select
Set visinputRange = Application.Selection
Set dest = Application.InputBox("Choose dest:", Type:=8)
For Each inputRange In visinputRange
inputRange.Copy
For Each r In dest
If r.EntireRow.RowHeight <> 0 Then
r.PasteSpecial
Set dest = r.Offset(1).Resize(dest.Rows.Count)
Exit For
End If
Next r
Next inputRange
End Sub
Code Breakdown
List of Variables Used
| Variable Name | Data Type |
|---|---|
| rng | Range |
| visinputRange | Range |
| dest | Range |
| inputRange | Range |
| r | Range |
- We created a sub-procedure named PasteIntoVisible and declared the necessary variables for the code.
- We used the Set statement to assign the selected cells to the rng variable. After that, we used the rng.SpecialCells(xlCellTypeVisible).Select method to select only the visible cells of the selected range.
- We also used an InputBox to take the destination range as input. Following that, we used the Set statement to assign the input obtained from InputBox to the variable named dest.
- We used two nested ForNext loops to copy data from the range visinputRange and paste the copied data to the range named dest.
Step 3 – Run the VBA Code
- Use the keyboard shortcut Alt + F11 to return to the worksheet from the VBA Editor window.
- Apply a filter.
- Select the cells that you want to copy.
- Go to the Developer tab.
- Select the Macros option.
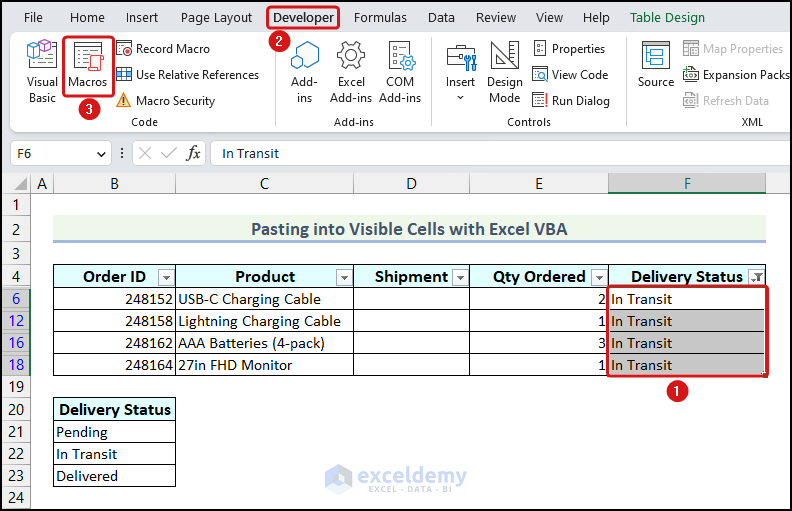
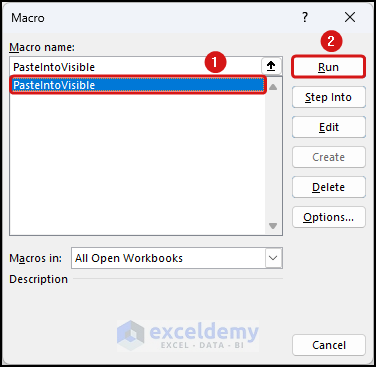
- The Macros dialog box will open. Choose the PasteIntoVisible macro and click on Run.
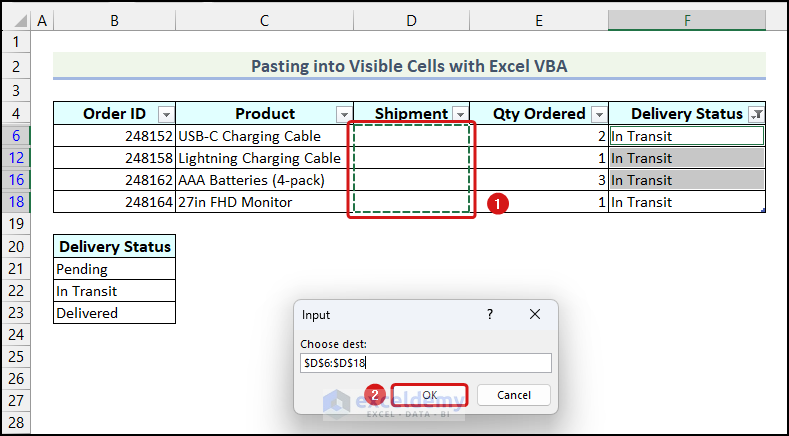
- Insert the destination range in the prompt and click OK.
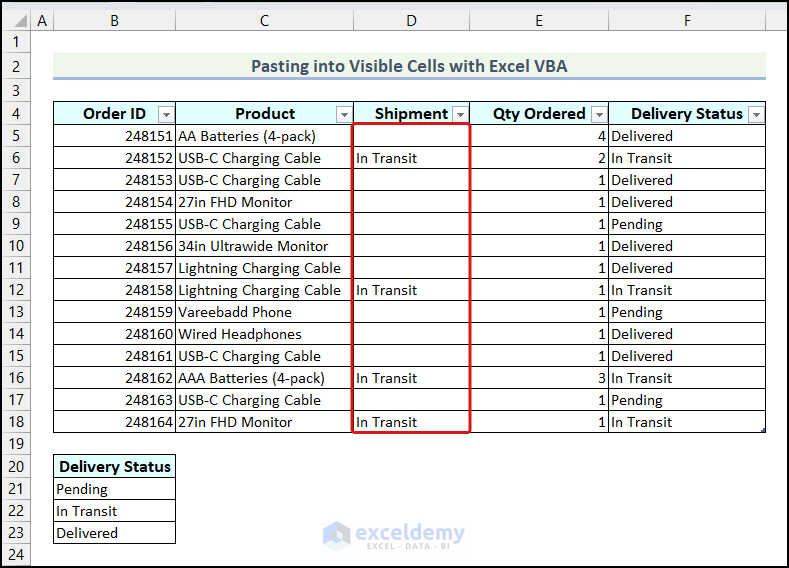
- Clear the filters.
How to Paste Formatting into Visible Cells Only in Excel
- Copy the cell from which you want to copy the formatting.
- Select the range where you want to paste the formatting.
- Use the keyboard shortcut “Alt +;” to select only visible cells.
- Go to the Home tab and choose the Paste option.
- Select the Formatting (R) option from the drop-down.
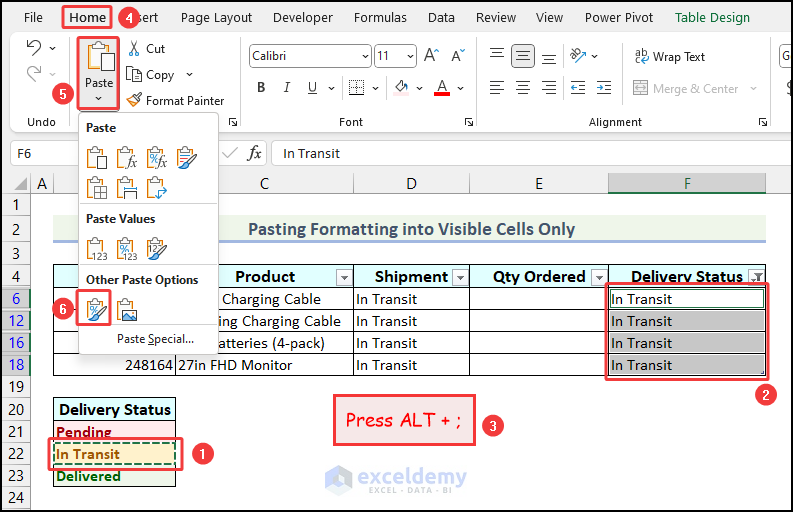
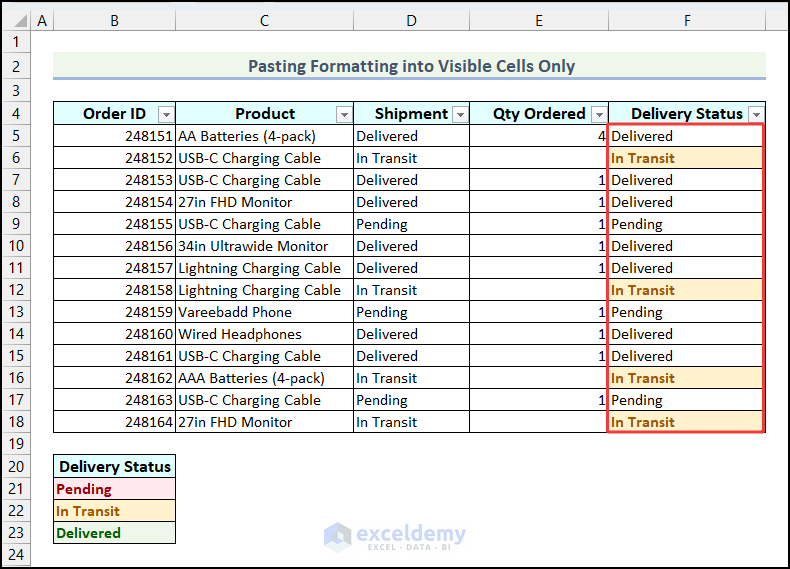
- Clear the filters and you will see that the formatting is pasted to the visible cells only.
Frequently Asked Question
How to Paste Data Validation into Visible Cells Only in Excel
Pasting data validation is exactly the same as pasting formatting. Just you need to copy a cell that has data validation instead of copying formatting. The rest of the steps are the same.
Is there a way to make “paste into visible cells only” the default paste option in Excel?
No, there is no built-in way to make the “paste into visible cells only” the default pasting option in Excel. But you can always create a custom macro or add-in that will automatically paste data into visible cells only. You can also use keyboard shortcuts to do this.
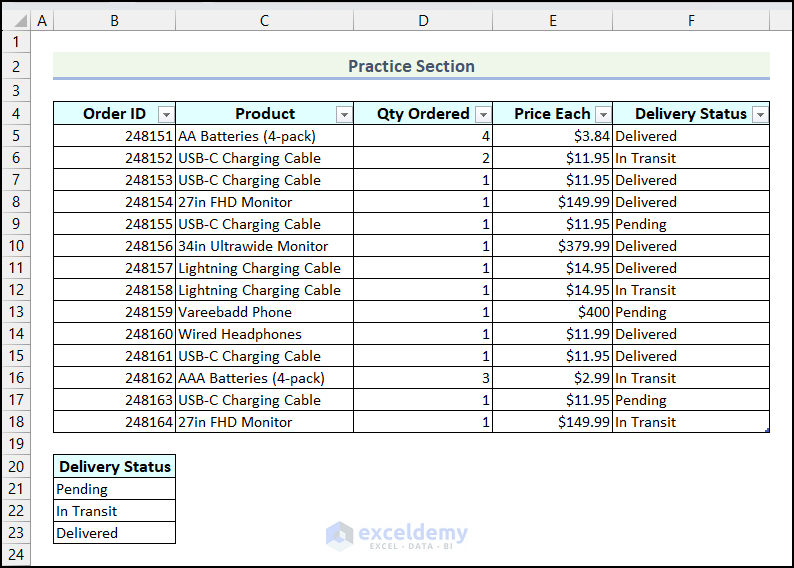
Practice Section
In the practice workbook, we have provided a Practice Section so you can test these methods.
Download the Practice Workbook
Related Articles
<< Go Back to Visible Cells Only | Learn Excel
Get FREE Advanced Excel Exercises with Solutions!
