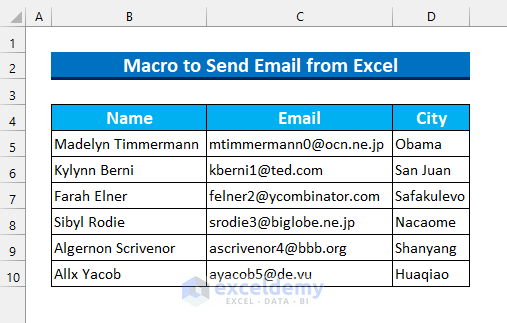
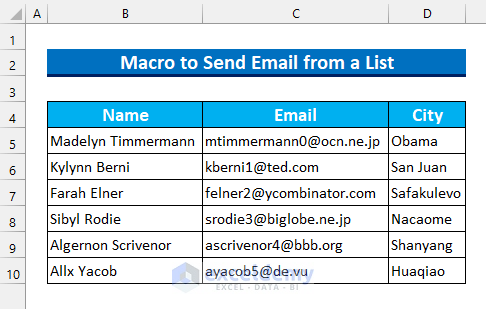
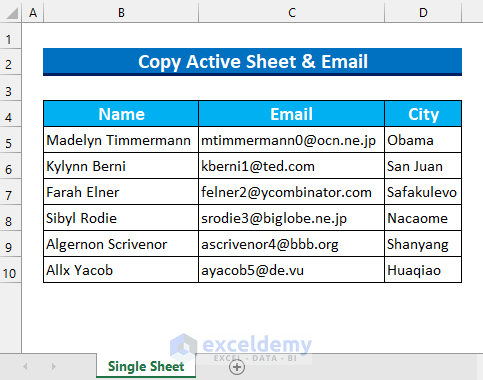
We’ll use a simple dataset with a list of people, their emails, and the city they’re from to send emails to them.
Use Macro to Send Email from Excel: 5 Ways
Method 1 – Use the Outlook Object Library to Send Email
Steps:
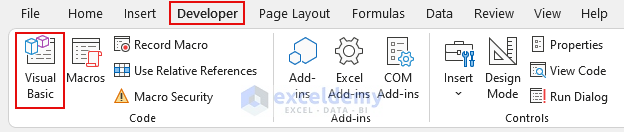
- From the Developer tab, select Visual Basic. Alternatively, you can press Alt + F11.
- From Tools, select “References…”.
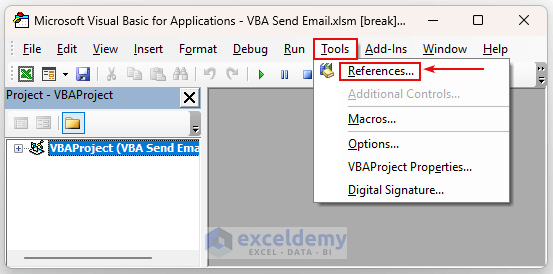
- A new dialog box will appear.
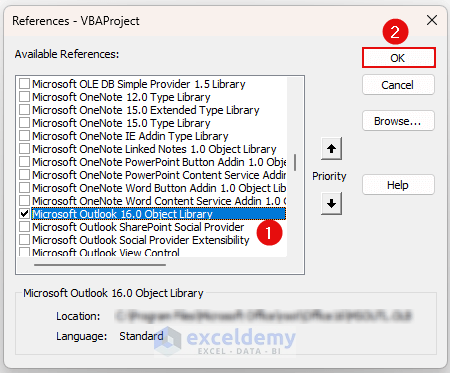
- Select Microsoft Outlook 16.0 Object Library and press OK.
- From Insert, select Module.

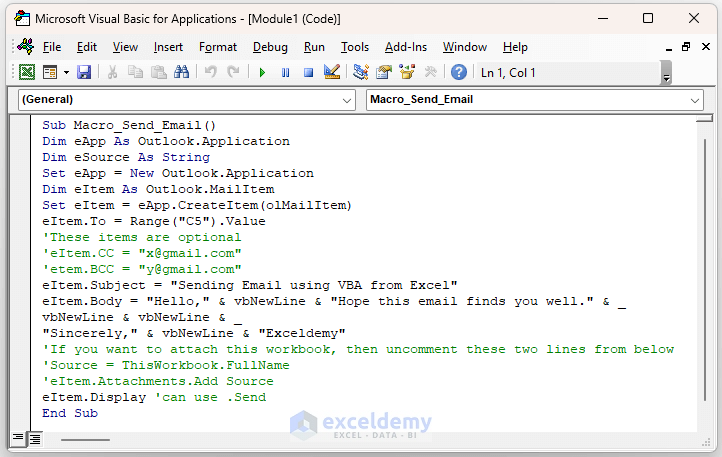
- Insert the following code into the new module.
Sub Macro_Send_Email()
Dim eApp As Outlook.Application
Dim eSource As String
Set eApp = New Outlook.Application
Dim eItem As Outlook.MailItem
Set eItem = eApp.CreateItem(olMailItem)
eItem.To = Range("C5").Value
'These items are optional
'eItem.CC = "[email protected]"
'etem.BCC = "[email protected]"
eItem.Subject = "Sending Email using VBA from Excel"
eItem.Body = "Hello," & vbNewLine & "Hope this email finds you well." & _
vbNewLine & vbNewLine & _
"Sincerely," & vbNewLine & "Exceldemy"
'If you want to attach this workbook, then uncomment these two lines from below
'Source = ThisWorkbook.FullName
'eItem.Attachments.Add Source
eItem.Display 'can use .Send
End Sub
VBA Code Breakdown
- We’re calling our Sub Procedure Macro_Send_Email.
- We’re selecting our email sending address from cell C5.
- The email content is set in our code.
- VBA Display Property is used to display our email. We’ll need to press Send manually to send the emails. You can use the Send Property to send emails automatically.
- Save and close the Module.
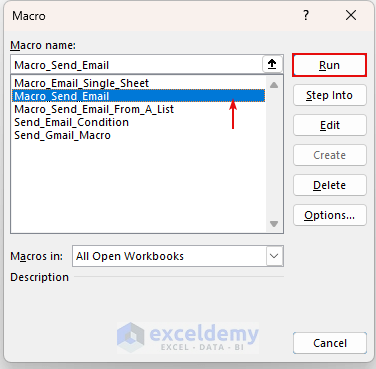
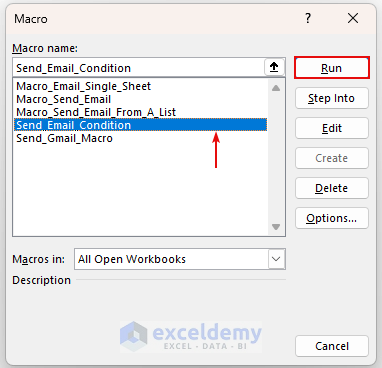
- From the Developer tab, select Macros.

The Macro dialog box will appear.
- Select the Sub Procedure “Macro_Send_Email”.
- Press Run.
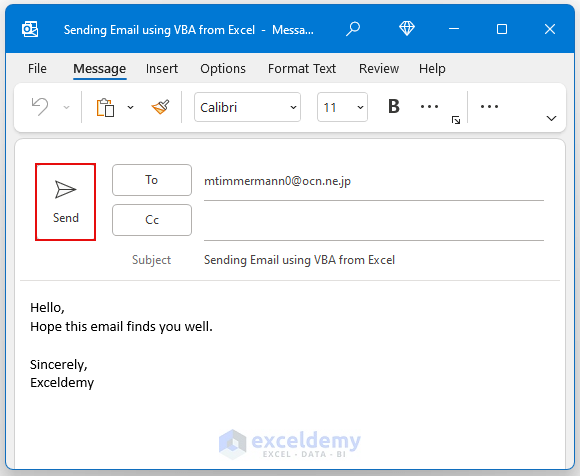
- You’ll get an Outlook window with the email draft. You can press Send to send the email.
Read More: Send Email from Excel VBA without Outlook
Method 2 – Macro for Sending Emails from a Gmail Account in Excel
Steps:
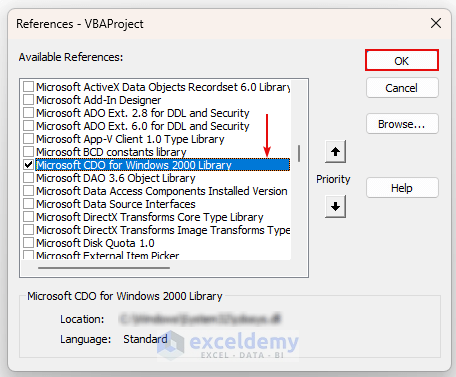
- Follow Method 1 to bring up the References dialog box.
- Select Microsoft CDO for Windows 2000 Library and press OK.
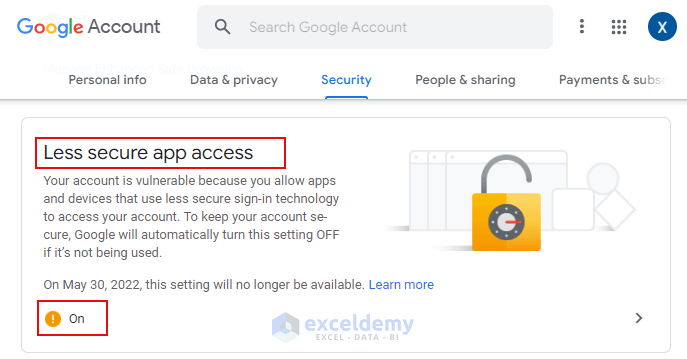
- Go to Security from your Google Account settings.
- Turn on Less secure app access.
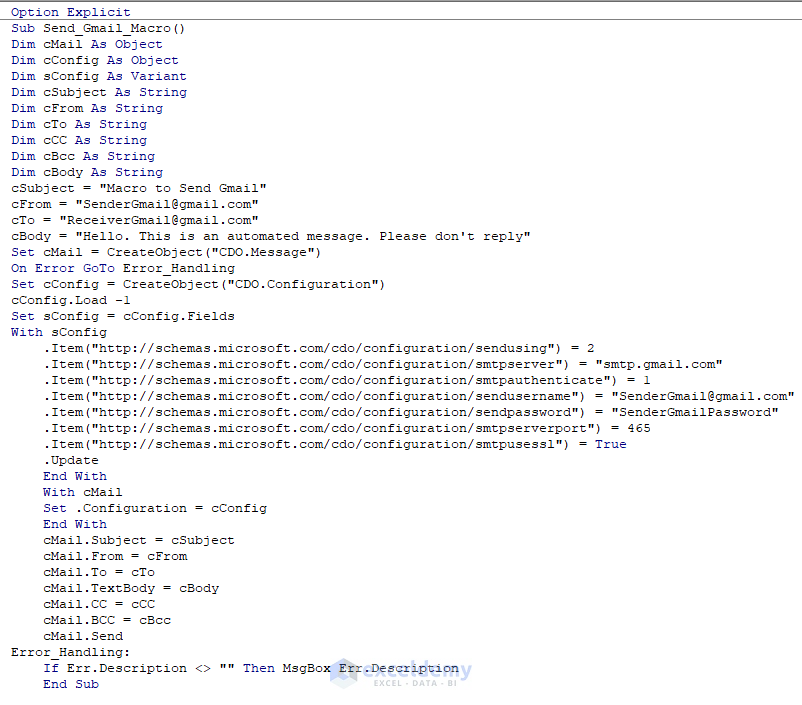
- As shown in method 1, bring up the Module window and insert this code.
Option Explicit
Sub Send_Gmail_Macro()
Dim cMail As Object
Dim cConfig As Object
Dim sConfig As Variant
Dim cSubject As String
Dim cFrom As String
Dim cTo As String
Dim cCC As String
Dim cBcc As String
Dim cBody As String
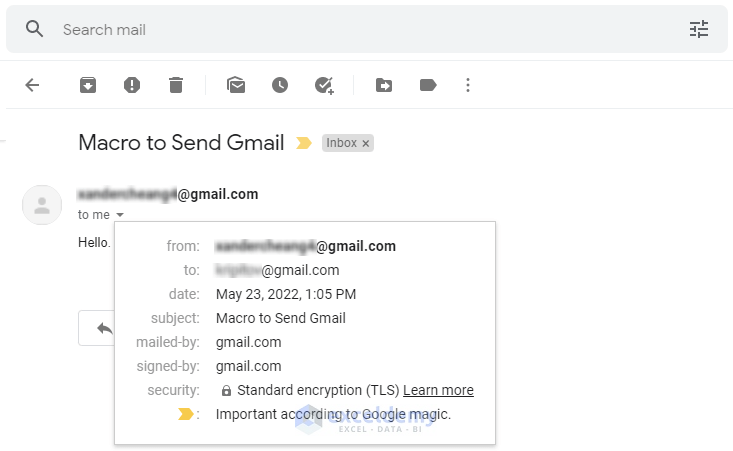
cSubject = "Macro to Send Gmail"
cFrom = "[email protected]"
cTo = "[email protected]"
cBody = "Hello. This is an automated message. Please don't reply"
Set cMail = CreateObject("CDO.Message")
On Error GoTo Error_Handling
Set cConfig = CreateObject("CDO.Configuration")
cConfig.Load -1
Set sConfig = cConfig.Fields
With sConfig
.Item("http://schemas.microsoft.com/cdo/configuration/sendusing") = 2
.Item("http://schemas.microsoft.com/cdo/configuration/smtpserver") = "smtp.gmail.com"
.Item("http://schemas.microsoft.com/cdo/configuration/smtpauthenticate") = 1
.Item("http://schemas.microsoft.com/cdo/configuration/sendusername") = "[email protected]"
.Item("http://schemas.microsoft.com/cdo/configuration/sendpassword") = "SenderGmailPassword"
.Item("http://schemas.microsoft.com/cdo/configuration/smtpserverport") = 465
.Item("http://schemas.microsoft.com/cdo/configuration/smtpusessl") = True
.Update
End With
With cMail
Set .Configuration = cConfig
End With
cMail.Subject = cSubject
cMail.From = cFrom
cMail.To = cTo
cMail.TextBody = cBody
cMail.CC = cCC
cMail.BCC = cBcc
cMail.Send
Error_Handling:
If Err.Description <> "" Then MsgBox Err.Description
End Sub
VBA Code Breakdown
- We’re calling our Sub Procedure Send_Gmail_Macro.
- For login credentials, you need to type your own ID and Password here.
- We’ve set out port to 465.
- The code automatically sends the email.
- Save and Run this code.
Read More: How to Send Email from Excel with Body Using a Macro
Method 3 – Send Email to a List of Recipients from a Column
We’ll send to the emails in the cell C5:C10 range.
Steps:
- As shown in method 1, bring up the Module window and insert this code.
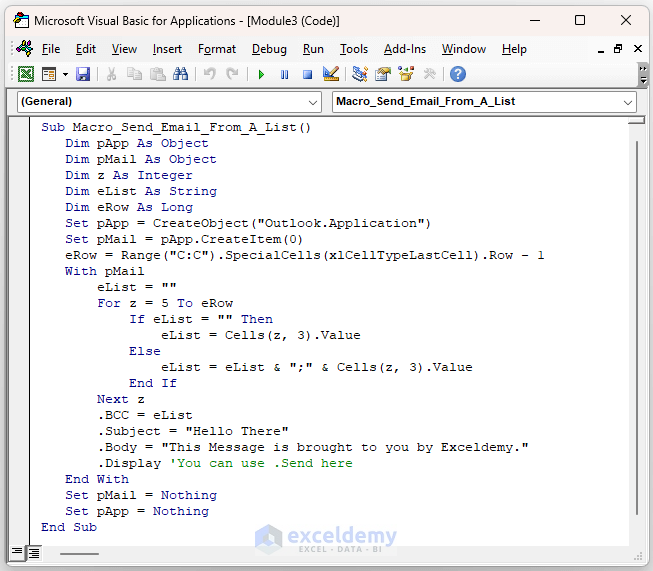
Sub Macro_Send_Email_From_A_List()
   Dim pApp As Object
   Dim pMail As Object
   Dim z As Integer
   Dim eList As String
   Dim eRow As Long
   Set pApp = CreateObject("Outlook.Application")
   Set pMail = pApp.CreateItem(0)
   eRow = Range("C:C").SpecialCells(xlCellTypeLastCell).Row - 1
   With pMail
       eList = ""
       For z = 5 To eRow
           If eList = "" Then
               eList = Cells(z, 3).Value
           Else
               eList = eList & ";" & Cells(z, 3).Value
           End If
       Next z
       .BCC = eList
       .Subject = "Hello There"
       .Body = "This Message is brought to you by Exceldemy."
       .Display 'You can use .Send here
   End With
   Set pMail = Nothing
   Set pApp = Nothing
End Sub
VBA Code Breakdown
- We’re calling our Sub Procedure Macro_Send_Email_From_A_List.
- We’re selecting Outlook as our Mail Application.
- We’re finding the last row, which is 10 for our dataset.
- As our emails starts from row 5 we’ve input 5 as the starting value for “variable z”. The emails are on the C column, so we’ve input 3 inside the Cells property.
- We’re setting the email content in our code.
- .Display is used here to display our email. You’ll need to press Send manually to send the emails. You can use .Send to send email without displaying.
- Save and Run the Module.
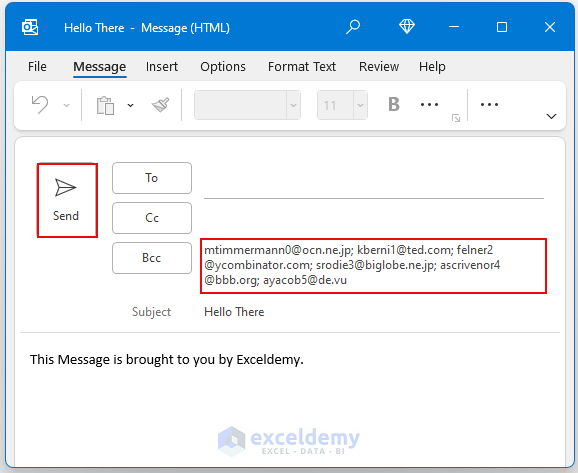
- All our emails addresses are displayed in BCC.
- Press Send to send the emails.
Read More: How to Apply Macro to Send Email from Excel with Attachment
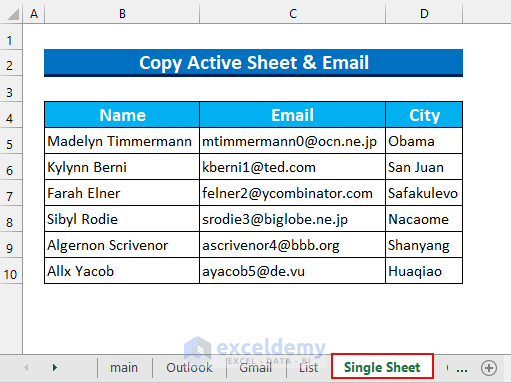
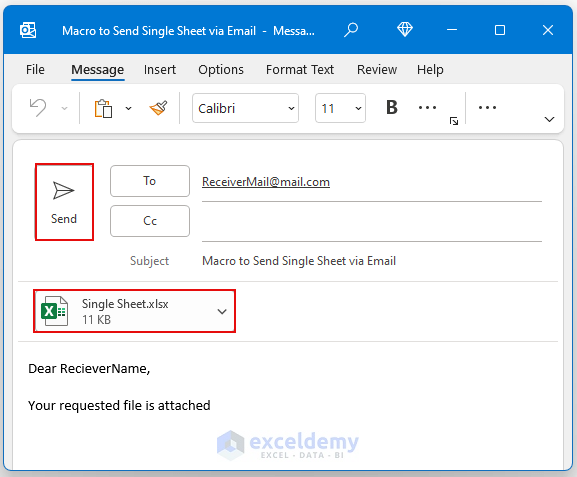
Method 4 – Macro to Send a Single Sheet Using Email
We’ll send the Active Worksheet to someone.
Steps:
- As shown in Method 1, bring up the Module window and insert this code.
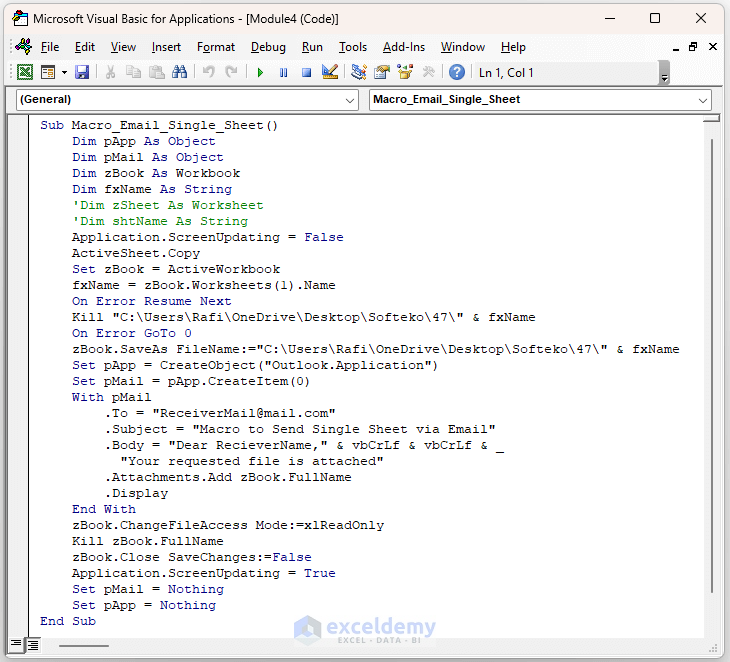
Sub Macro_Email_Single_Sheet()
    Dim pApp As Object
    Dim pMail As Object
    Dim zBook As Workbook
    Dim fxName As String
    'Dim zSheet As Worksheet
    'Dim shtName As String
    Application.ScreenUpdating = False
    ActiveSheet.Copy
    Set zBook = ActiveWorkbook
    fxName = zBook.Worksheets(1).Name
    On Error Resume Next
    Kill "C:\Users\Rafi\OneDrive\Desktop\Softeko\47\" & fxName
    On Error GoTo 0
    zBook.SaveAs FileName:="C:\Users\Rafi\OneDrive\Desktop\Softeko\47\" & fxName
    Set pApp = CreateObject("Outlook.Application")
    Set pMail = pApp.CreateItem(0)
    With pMail
        .To = "[email protected]"
        .Subject = "Macro to Send Single Sheet via Email"
        .Body = "Dear RecieverName," & vbCrLf & vbCrLf & _
          "Your requested file is attached"
        .Attachments.Add zBook.FullName
        .Display
    End With
    zBook.ChangeFileAccess Mode:=xlReadOnly
    Kill zBook.FullName
    zBook.Close SaveChanges:=False
    Application.ScreenUpdating = True
    Set pMail = Nothing
    Set pApp = Nothing
End Sub
VBA Code Breakdown
- We’re calling our Sub Procedure Macro_Email_Single_Sheet.
- We’re copying the Active Sheet and saving it as a separate Workbook.
- We’re selecting Outlook as our Mail Application.
- We’re setting the email content in our code.
- We’ve attached the Sheet to the email.
- Use “.Display” to display the email, or use “.Send” to send the email automatically.
- Save and Run the Module.
- We’ll see the Sheet name in the window. Press Send to complete the task.
- You can open the file and verify that the code is working.
Read More: Excel Macro to Send Email Automatically
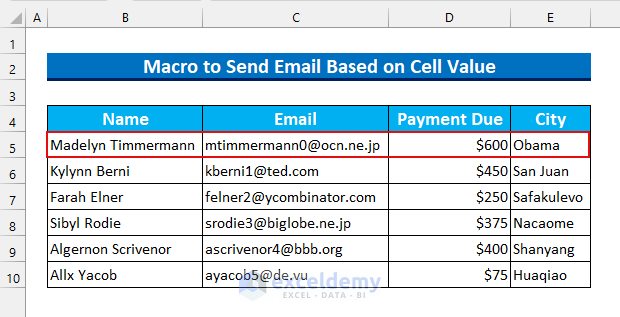
Method 5 – Macro to Send an Email Based on Cell Value
We’ve added the Payment Due column to the dataset. We’ll send an email to a person that lives in Obama.
Steps:
- As shown in Method 1, bring up the Module window and insert this code.
Option Explicit
Sub Send_Email_Condition()
    Dim xSheet As Worksheet
    Dim mAddress As String, mSubject As String, eName As String
    Dim eRow As Long, x As Long
    Set xSheet = ThisWorkbook.Sheets("Conditions")
    With xSheet
        eRow = .Cells(.Rows.Count, 5).End(xlUp).Row
        For x = 5 To eRow
            If .Cells(x, 4) >= 1 And .Cells(x, 5) = "Obama" Then
                mAddress = .Cells(x, 3)
                mSubject = "Request For Payment"
                eName = .Cells(x, 2)
                Call Send_Email_With_Multiple_Condition(mAddress, mSubject, eName)
            End If
        Next x
    End With
End Sub
Sub Send_Email_With_Multiple_Condition(mAddress As String, mSubject As String, eName As String)
    Dim pApp As Object
    Dim pMail As Object
    Set pApp = CreateObject("Outlook.Application")
    Set pMail = pApp.CreateItem(0)
    With pMail
        .To = mAddress
        .CC = ""
        .BCC = ""
        .Subject = mSubject
        .Body = "Mr./Mrs. " & eName & ", Please pay the due amount within the next week." _
        & vbNewLine & "The exact amount is attached with this email."
        .Attachments.Add ActiveWorkbook.FullName 'Send The File via Email
        .Display 'We can use .Send here too
    End With
    Set pMail = Nothing
    Set pApp = Nothing
End Sub
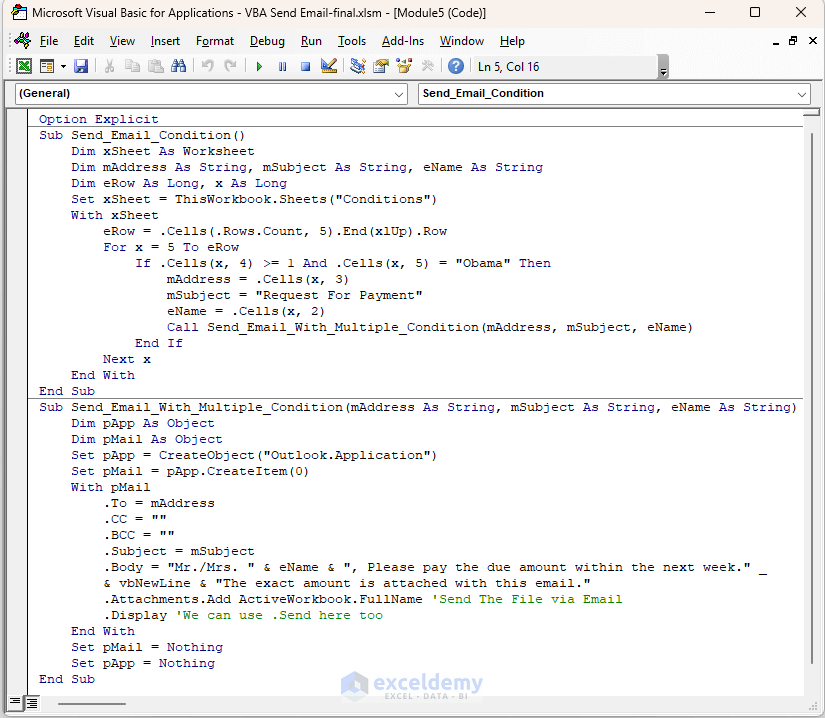
VBA Code Breakdown
- We’re calling our first Sub Procedure Send_Email_Condition.
- The function finds the last row of the dataset. Our value starts from row 5, so we’ve put row 5 to the last row in our code.
- We called our second Sub Procedure Send_Email_With_Multiple_Condition.
- We’re selecting Outlook as our Mail Application.
- The email content is set in our code.
- We’re attaching the Excel file with the email using the Attachment method.
- .Display is used to display our email. Use .Send to send the email without displaying.
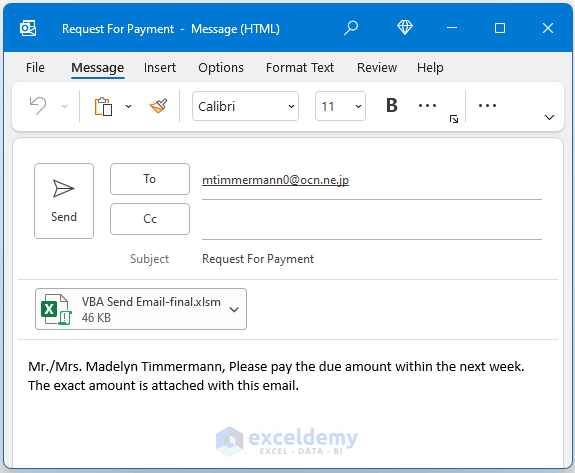
- Save and Run the Module.
- Here’s the result.
Read More: Send Reminder Email Automatically from an Excel Worksheet Using VBA
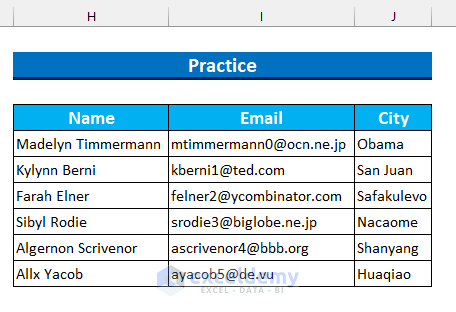
Practice Section
We’ve added practice datasets for each method in the Excel file.
Download the Practice Workbook
Related Articles
- VBA to Generate Multiple Lines in Email Body in Excel
- Excel Macro: Send Email to an Address in Cell
- Print to PDF and Email Using VBA in Excel
- How to Use Excel VBA to Paste Range into Email Body


All those solutions require the user to press “Send”
Hello Federico Cofederi,
To send Email without pressing “Send” you can use .Send property in your code instead of .Display.
Regards
ExcelDemy