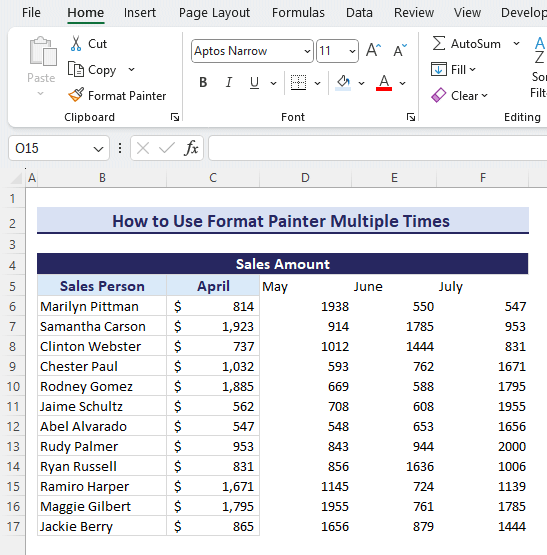
We use Format Painter daily in countless times. But the main issue with the Format Painter is that it gets deactivated after one cell formatting. In this article, we discuss how we can use Format Painter or use format painter multiple times in many cells in Excel with detailed explanations.
Below we double-clicked on the mouse to make the format painter icon permanent, and then we used it multiple times in the sheet.
Introduction to Format Painter in Excel
Format Painter is one of the most versatile tools of Excel. By using the Format Painter, we can format a countless number of cells just with one click. Imagine the pain of formatting each and every cell of a spreadsheet manually. This is not only a tiresome job, but it will also consume a huge amount of time. But no worries! The Format Painter is here to the rescue. It can copy the formatting of a cell to any number of cells while keeping the cell values of each cell unchanged.
How to Use Format Painter Multiple Times in Excel: 2 Easy Ways
We are going to use the below dataset to demonstrate how we can use Format Painter multiple times in Excel, the sample dataset contains a couple of salesmen with their sales figures. Based on their sale, the commission rate will be satisfactory or not satisfactory. We will try to use the format painter to format the cells that fall under those conditions. In order to avoid any compatibility issues, try to use the Excel 365 edition.
1. Double Click on Format Painter
You can double-click on the format painter to freeze the format painting. In this way, the format painter won’t go away after formatting one cell.
Steps
- We can easily make the Format Painter frozen just by double-clicking over it.
- In the beginning, we will try to copy the format of cell C6 to other cells.
- While selecting cell C6, click on the cell Format Painter.
- Clicking the format painter will activate the format painter which can be seen by the brush icon next to the cursor.
- After the activation of the format painter. Select cell C7.
- Then you can see that cell C7 now have the same format as cell C6.
- But at the same time, the format painter brush is gone, which means the format painter is off now.
- So we can’t use the format painter again. We need to reactivate it which can be very annoying.
- In order to avoid this annoyance, you can opt for the below method.
- Select cell C6 and double-click on the Format Painter.
- Double-clicking the Format Painter will fix the format painter.
- Then select cell C7, doing this will copy the format of cell C6 to cell C7.
- Now you can notice that after copying the format of cell C6 to cell C7, the format icon brush is still there.
- Using this you can copy the format of this cell C6 to another cell C9.
- You can do this by selecting cell C9 after this.
- You can see that cell C9 has the same formatting as cell C6.
Read More: How to Use Format Painter Shortcut in Excel
2. Drag Cursor to Copy the Formatting
Dragging the cursor is a great way to use Format Painter multiple times. Especially this works wonderfully for the non-adjacent cells.
Steps
- You can drag over a range of cells while the format painter is on to copy formatting for multiple cells simultaneously.
- For this, select cell C6 and press Alt+H+F+P.
- Doing this will activate the Format Painter of Excel.
- Now we want to apply the format of cell C6 to the range of cell C6:C7 as this value in the range of cell C6:C7 satisfies the requirements.
- Now drag the Fill Handle to the range of cell C6:C8.
- Doing this will now convert the range of cell C6:C8 formatting to the formatting of cell C6.
Read More: How to Use Format Painter to Copy Formatting in Excel
 How to Apply Cell Formatting to Multiple Cells at a Time: 3 Easy Ways
Here we can apply cell formatting of a cell to multiple cells at one go following the below 3 methods. In order to avoid any compatibility issues, try to opt for the Excel 365 edition.
1. Use of Fill Formatting to Utilize Format Painter Multiple Times
Fill formatting is another handy way to replicate formatting in multiple cells using the format painter only once. Careful use of the context menu is advised.
Steps:
- Here, we can use the fill formatting mode, to replicate the formatting of the cell multiple times.
- For this, first, select cell C7.
- Then drag the Fill Handle on the corner of the cell by pressing the right mouse button to cell C9.
- After the dragging is done carefully release the mouse button.
- Upon releasing the button, you will see that there is a new context menu appear.
- Then in that context menu, click on Fill Formatting Only.
- Doing this will fill the range of cells C7:C9 with the formatting of cell C14 in one go.
Read More: How to Use Format Painter for Multiple Rows in Excel
2. Use of Paste Special Tool
Like another useful process inside the Paste special tool, it can also reformat the desired cells according to the formatting of other cells.
Steps
- To use the same formatting tool, we need to click on cell C14 and right-click on the mouse.
- Then from the context menu, click on Copy.
- After that cell C14 will be copied with formatting.
- Then select the range of cell C7:C9 and right-click on the mouse.
- From the context menu, click on Paste Special.
- Then in the Paste Special window, select Formats in the Paste option.
- Next, click OK after this.
- Then we will see that the range of cell C5:C9 is now filled with the same formatting as the cell C14.
Read More: How to Use Format Painter for Multiple Cells in Excel
3. Embedding VBA Macro
Using a VBA macro can make use of Format Painter multiple times without any issues or hassle. Users just have to edit the VBA code to insert the desired cell into the format.
Steps
- First, go to the Developer tab and click on Visual Basic. If you don’t have that, you have to enable the Developer tab. Or You can also press ‘Alt+F11’for open the Visual Basic Editor.
- Then there will be a new dialog box. In that dialog box, click on Insert > Module.
- Next, in the Module editor window, type the following code:
- Then close the Module window.
- After then, go to View tab > Macros.
- Then click on View Macros.
- After clicking View Macros, select the macros that you created just now. The file name here is Formatpainter. Then click Run.
- Finally, we can see that the range of cell C6:C9 is now formatted in the same format as cell C14.
Download Practice Workbook
Conclusion
To sum it up, the issue of how we can use Format Painter multiple times in Excel is shown here in 5 separate methods. For this problem, a macro-enabled workbook is available to download where you can practice these methods. Feel free to ask any questions or feedback through the comment section. Any suggestion for the betterment of the Exceldemy community will be highly appreciated.