Watch Video – Create an Account Statement in Excel
Step 1: Prepare an Appropriate Outline
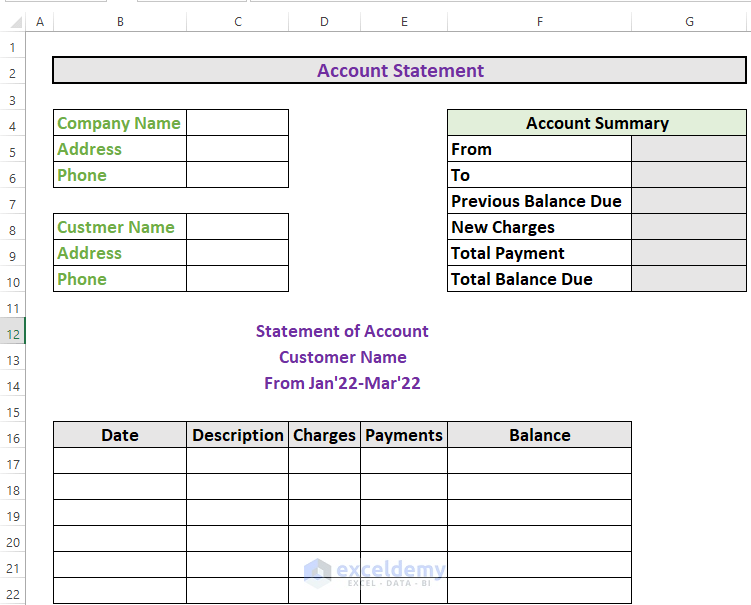
The first step is to create an outline for the account statement. There is no fixed rule or template for an account statement. An account statement generally contains the details of:
- The organization.
- The customer.
- The transactions &
- A summary of the account.
Here is a sample:
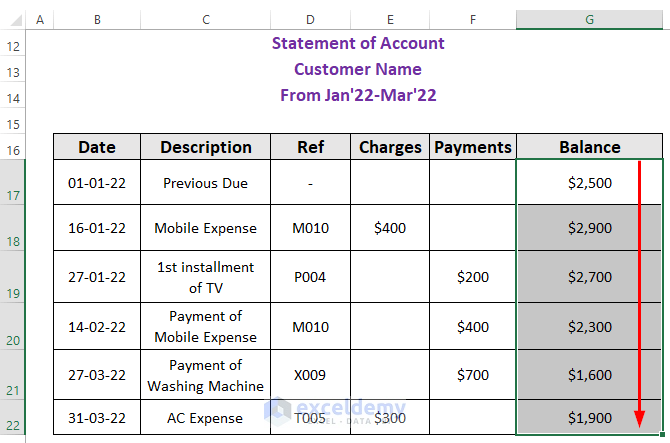
Step 2: Write Down Necessary Transactions
The next step is to write down the transactions that took place over the time period. Each transaction should have a date and a short description.
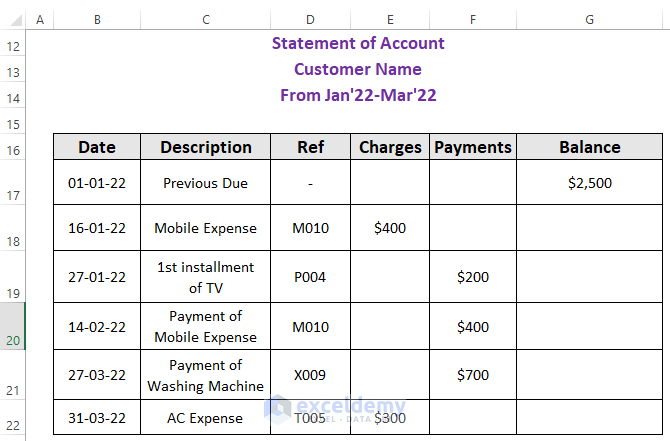
- The Ref column indicates the Invoice number for that specific transaction.
Step 3: Calculate Net Balance
Next comes the calculation of the balance. To do so:
- Go to G18 and enter the following formula:
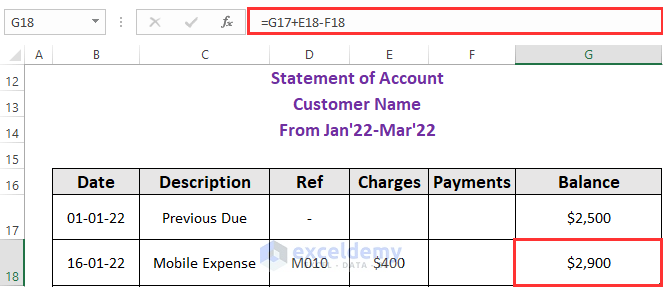
=G17+E18-F18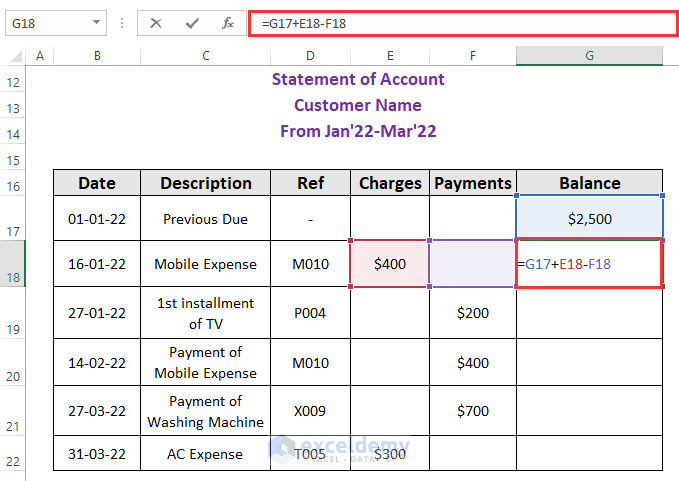
- Press ENTER to get the result.
- Use Fill Handle to AutoFill up to G22.
Step 4: Summarize Statement
I will add a summary to the account statement. This will include the time period, total payments, total charges, and the balance due.
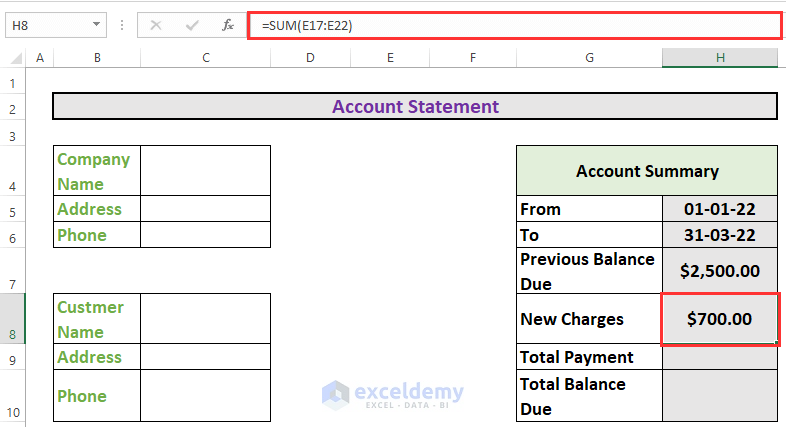
- To calculate the total charge, go to H8 and enter the following formula:
=SUM(E17:E22)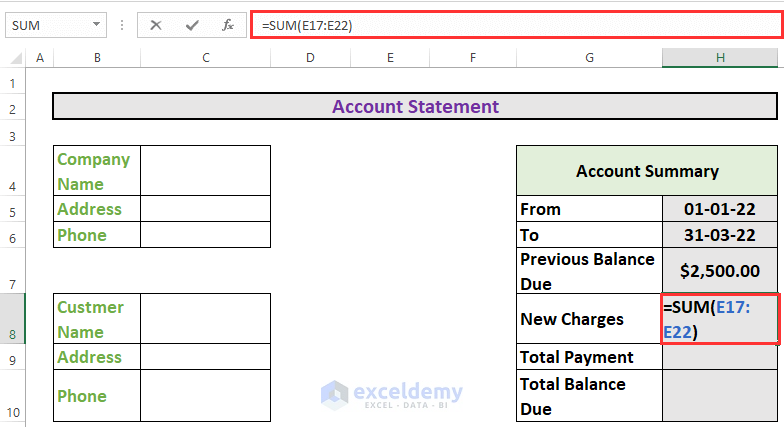
- Press ENTER to get the output.
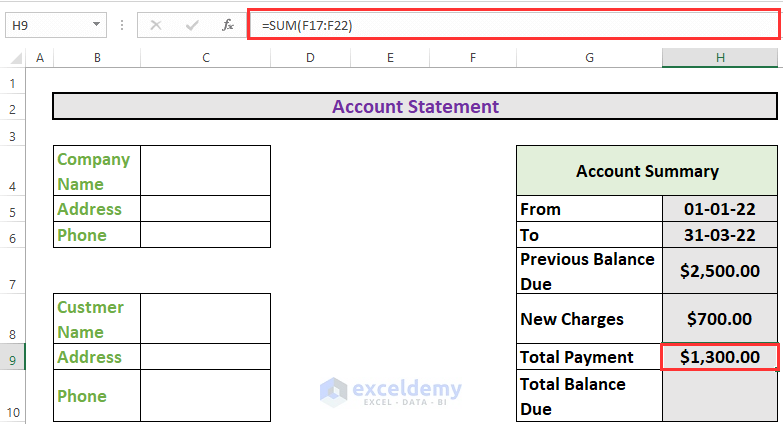
- To calculate the total payment, go to H9 and enter the following formula:
=SUM(F17:F22)
- Press ENTER to get the output.
- You can calculate the balance due from the transaction. This is $1,900.
- The summary becomes:

Things to Remember
- The previous balance due is from the due that was in the previous time period.
Download the Practice Workbook
Download this workbook and practice.
<< Go Back to How to Maintain Accounts in Excel | Excel for Accounting | Learn Excel
Get FREE Advanced Excel Exercises with Solutions!
