Method 1 – Copy and Paste Thousands of Rows from Address Bar
Steps:
- Go to Address Bar and type in the range (in the sample dataset, it is B4:D1004).
- Hit Enter and it will select all the rows within range.
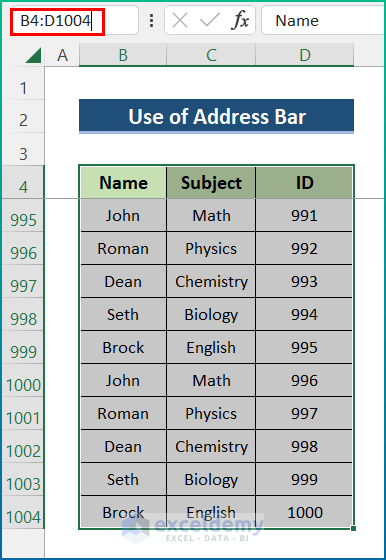
- Copy the selected set of rows by right-clicking the mouse, or pressing Ctrl + C.
- Select an empty cell that you want as the first cell of your new copied set of rows.
- Paste the set of rows by right-clicking the mouse and selecting Paste, or pressing Ctrl + V on your keyboard.
Method 2 – Use Find and Replace Option in Excel to Copy and Paste Without Losing Formula References
Steps:
- Select the coloumn that contains the data with formulas that you want to copy.
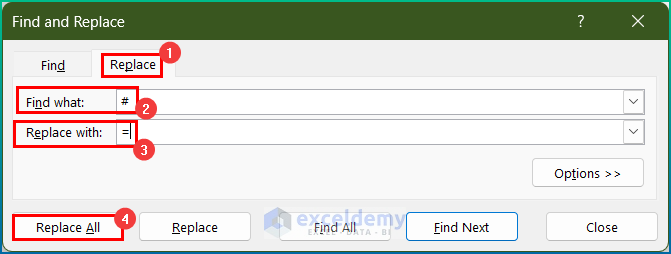
- Press Ctrl + F to open Find and Replace.
- Select Replace.
- Type the equal (=) sign in the Find what label box and fill the Replace with label box with a hash (#) sign.
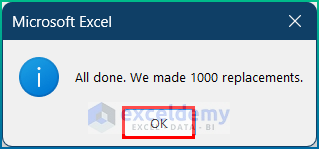
- Click Replace All.
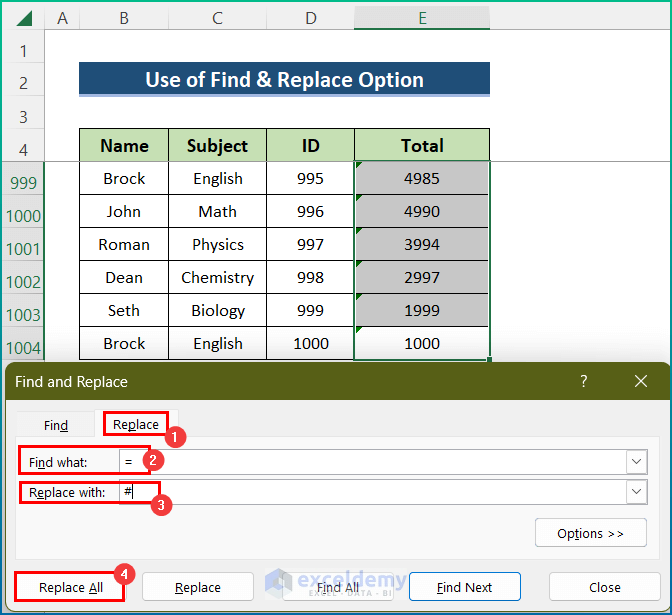
- Click OK.
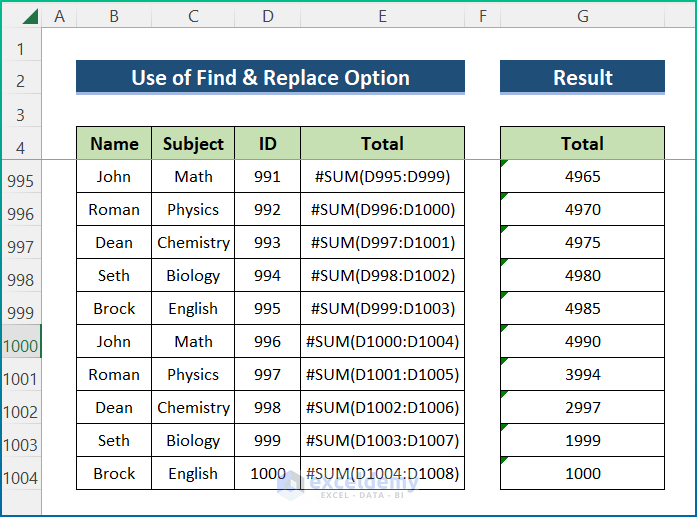
- This will convert all formulas to text with the hash (#) sign at the front.
- Select this column and paste it into another empty cell.
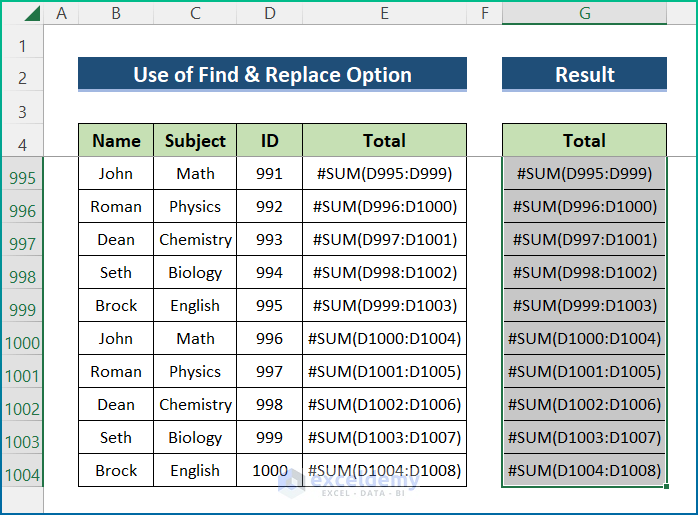
- Go to Find and Replace and enter the hash (#) sign in the Find what label box and fill the Replace with label box with an equal (=) sign.
- Click Replace All.
- The data will be pasted along with the original formulas.
Method 3 – Copy and Paste Thousands of Rows with Keyboard Shortcuts
Steps:
- Select the first cell of your dataset.
- Hold the Ctrl key and hit the Down arrow. It will take you to the end of the dataset.
- Select the cells in the last row.
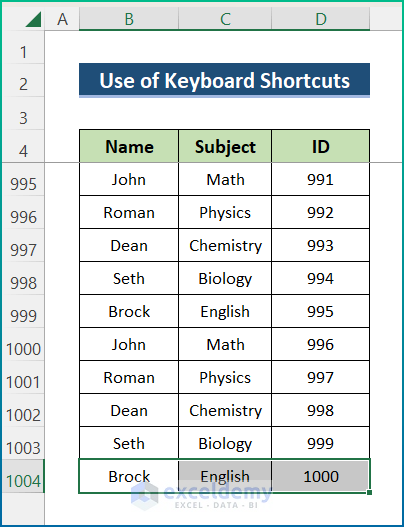
- Hold Ctrl + Shift and press the Up arrow. This will select the complete dataset.
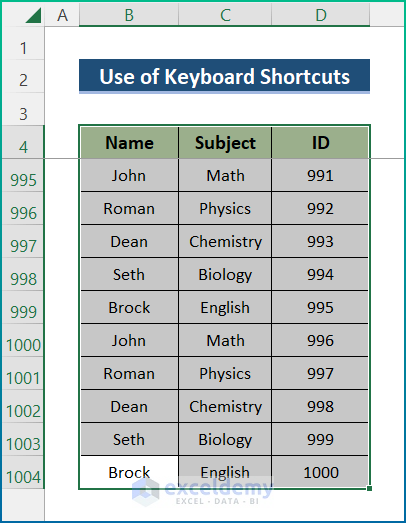
- Copy the selected set of rows by pressing Ctrl + C and paste it by pressing Ctrl + V.
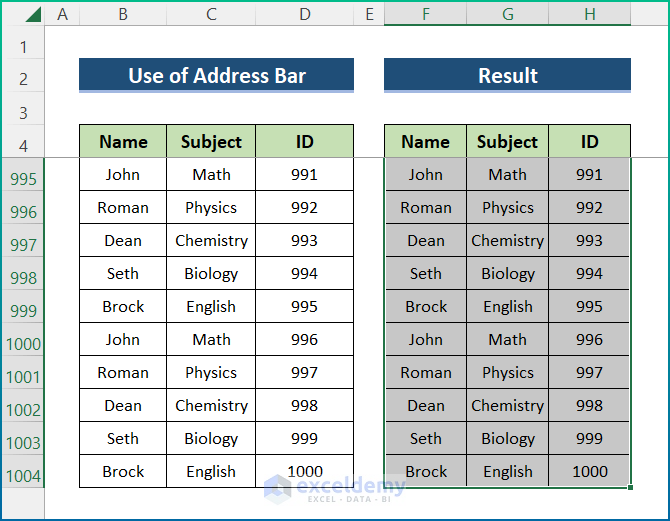
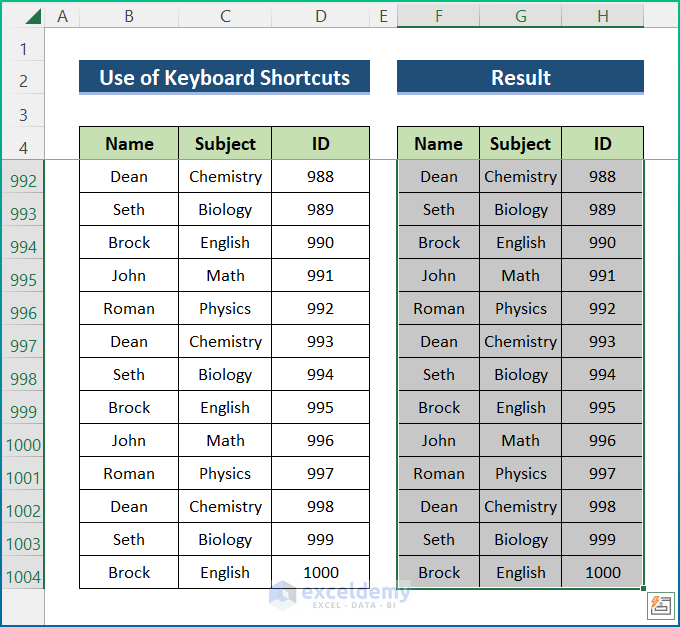
- The output will appear as shown below.
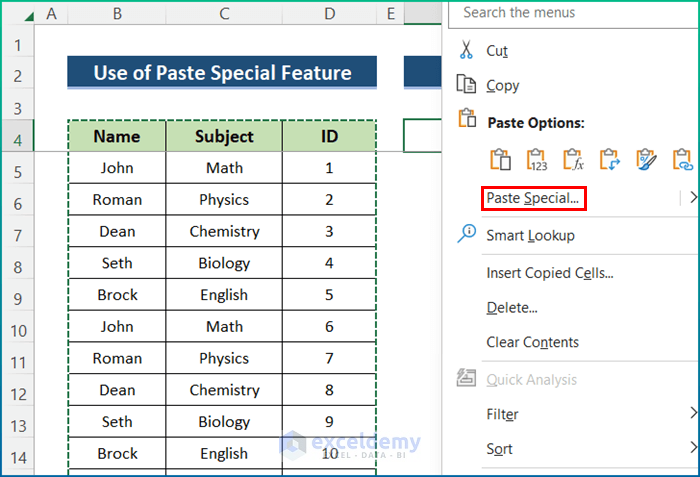
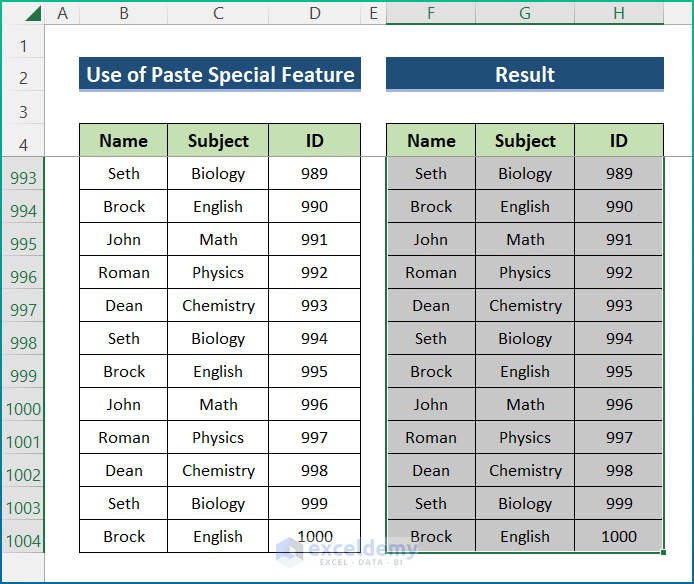
Method 4 – Utilize the Paste Special Feature in Excel to Copy and Paste Keeping Column Width Intact
Steps:
- Select and copy the range of rows that you want to paste with the same width as the original.
- In another worksheet or another place of the same worksheet, select an empty cell to place the copied data.
- Right-click the mouse and select Paste Special.
- In the pop-up box, select the Columns widths option.
- Click OK.
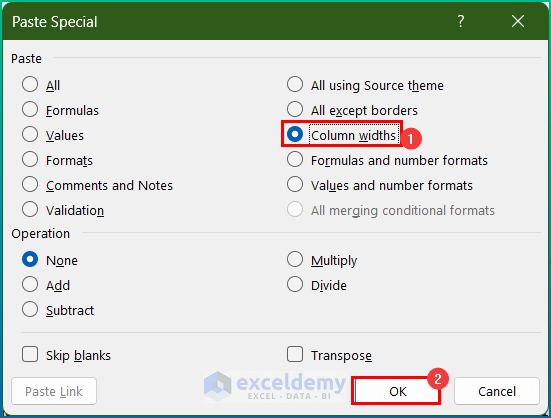
- The data will be pasted with the column width intact.
Read More: Copy Rows in Excel with Filter
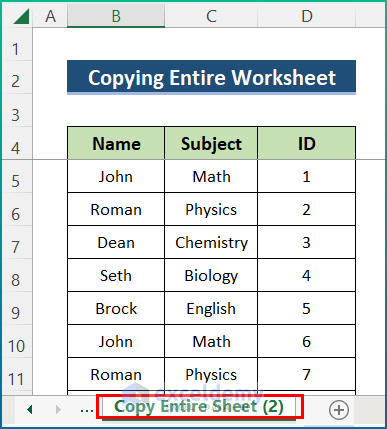
Method 5 – Copy and Paste Whole Worksheet Containing Thousands of Rows
Steps:
- Hold the Ctrl key.
- Left-click the sheet you want to copy and a sheet icon will appear with a + sign just beside the sheet.
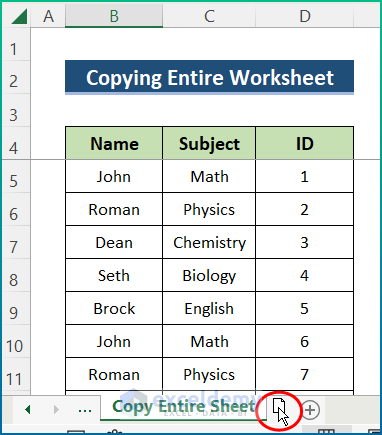
- Drag the icon to the left or right to create a copy of the entire sheet.
Read More: Copy Rows from One Sheet to Another Based on Criteria
Download Practice Workbook
You can download the workbook used for the demonstration from the download link below.
Related Articles
- Copy Every Nth Row in Excel
- Copy Alternate Rows in Excel
- Copy Excluding Hidden Rows in Excel
- Copy Rows Automatically in Excel to Another Sheet
<< Go Back to Copy Rows | Copy Paste in Excel | Learn Excel
Get FREE Advanced Excel Exercises with Solutions!
