Solution 1 – Unprotect Workbook Structure While Delete Sheet in Excel is Not Working
Overview
- If you’re unable to delete a sheet in Microsoft Excel, the most probable reason is that your workbook is protected.
- We’ll unprotect the workbook structure to enable the Delete sheet option.
Steps
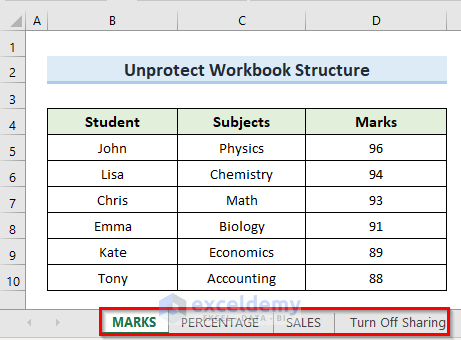
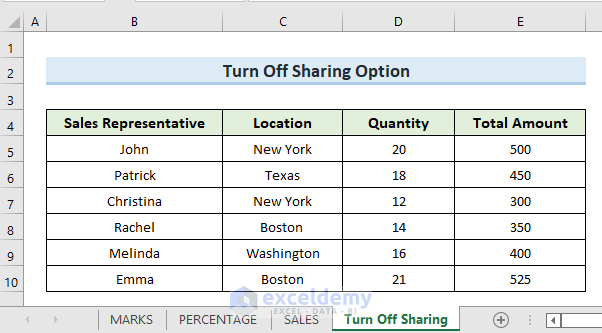
- Consider a dataset with multiple worksheets, where the workbook is protected.
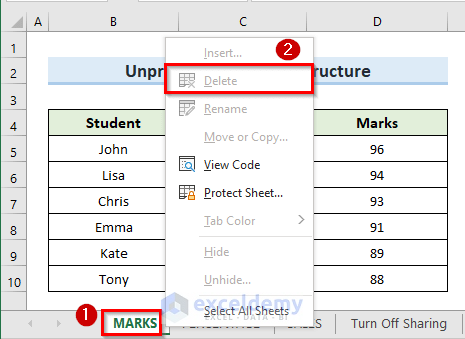
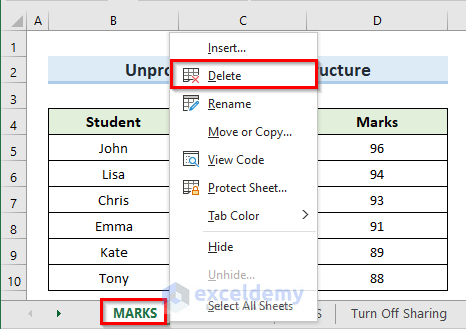
- Right-click on the worksheet named MARKS.
- Observe that the Delete option is greyed out, indicating it’s not functioning.
- To solve this:
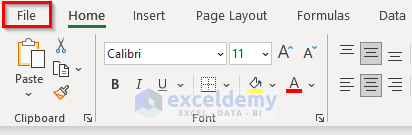
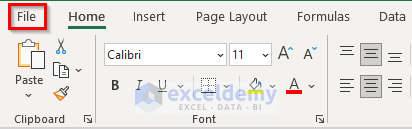
- Go to the File tab.
- Select Info.
- Choose Protect Workbook.
- Click the drop-down icon and select Protect Workbook Structure.

- A new dialog box named Unprotect Workbook will appear.
- Enter the password in the input box (you must know the password for a protected workbook).
- Click OK.
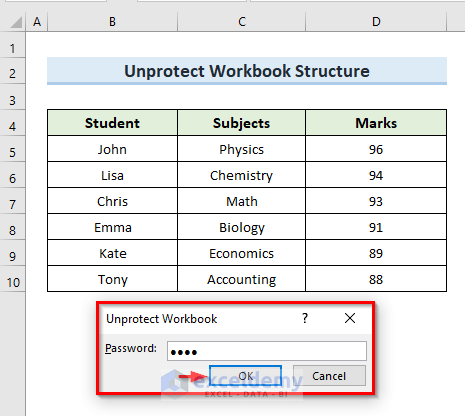
NOTE
Use password 1234 if you’re working with the practice workbook provided in this article.
- If we right-click on the MARKS sheet again, we’ll see that the Delete option is available. You can now delete any worksheet from the workbook.
Read More: Shortcut to Delete Sheet in Excel
Solution 2 – Disabling Worksheet Sharing When the Delete Sheet Option Isn’t Working in Excel
Sometimes, the Delete Sheet option in Excel doesn’t work due to the worksheet being shared. To delete a sheet from a shared workbook, you’ll need to unshare it first.
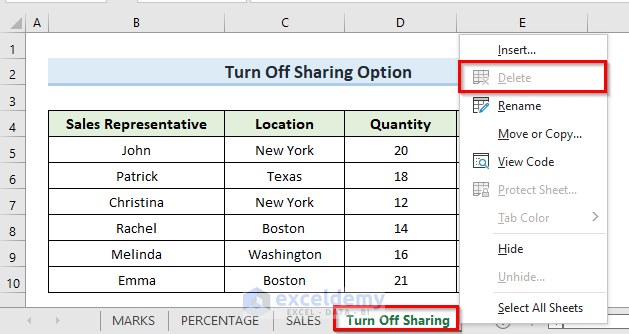
When we right-click on the worksheet Turn Off Sharing we can see the grey color in the option Delete, indicating that it is not active.
The process of sharing a workbook is a little bit complex. So, in order to understand this solution better, we will first show how to share a workbook, then we will show how to unshare that workbook to enable the delete sheet option.
STEPS
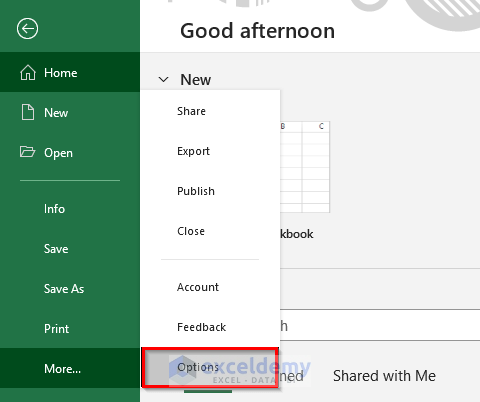
- Click the File tab.
- From the menu, select Options.
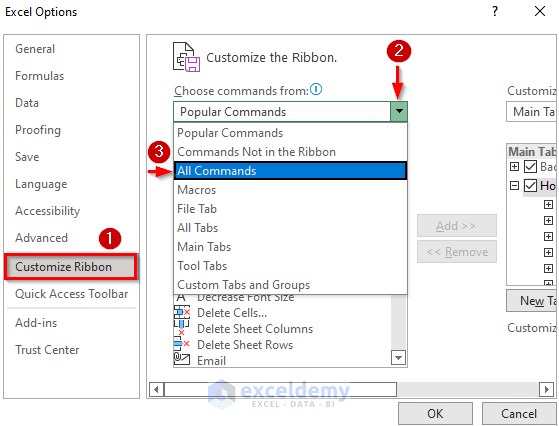
- In the new dialog box that appears, choose the Customize Ribbon option.
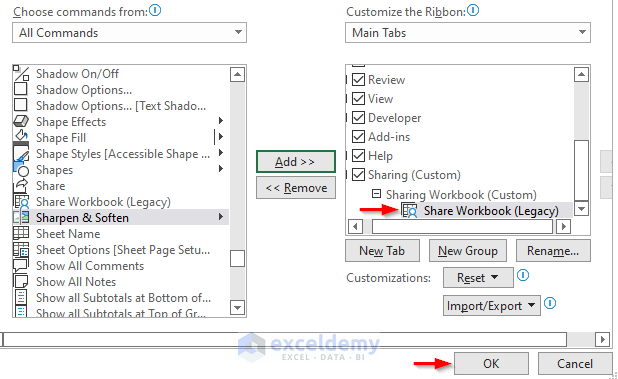
- Click the drop-down icon next to Choose commands from and select All Commands.
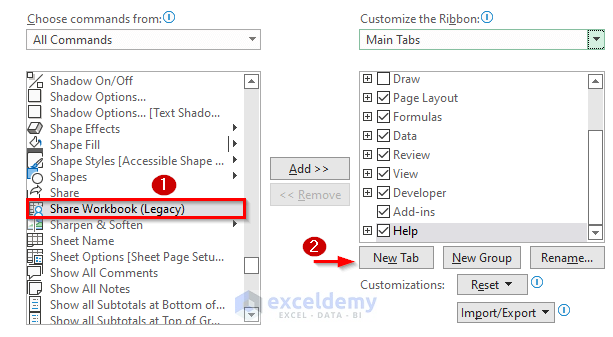
- Scroll down the list of commands and find Share Workbook (Legacy).
- Click on New Tab to create a custom tab.
- Select the newly created New Tab (Custom) and click on Rename.
- In the Rename dialog box, enter the name Sharing as the display name.
- Click OK.

- Rename the default New_Group (custom) to Sharing Workbook.
- Click Add.
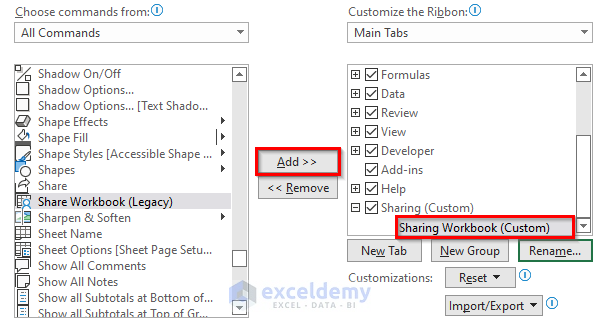
- Now, you’ll find a new option called Share Workbook (Custom) in the ribbon.
- Press OK to save the modifications.
- You’ll notice a new tab named Sharing in the Excel ribbon.

- To share the workbook, go to the Sharing tab and select the option Share Workbook (Legacy).

- A new dialogue box will appear. Check the option shown in the image below and press OK.
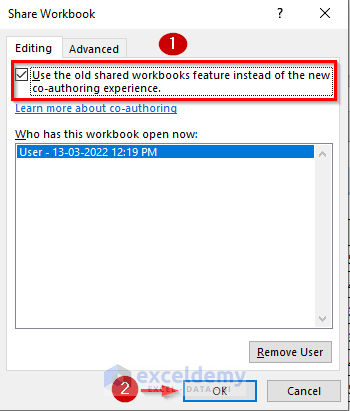
- The command shares our workbook with other users. If we right-click on the sheet Turn Off Sharing, we will see that the option Delete is greyed out, which means we cannot delete any sheet from a shared workbook.

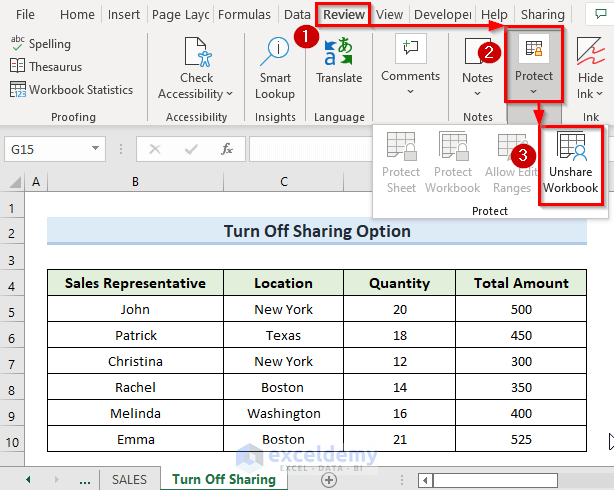
- We need to unshare this workbook to solve this problem.
- Go to the Review tab in Excel.
- Look for the Protect section within the Review tab.
- Select the option labeled Unshare Workbook.
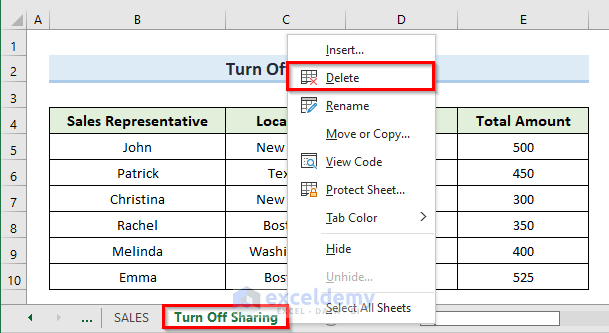
- After unsharing the workbook, right-click on the sheet named Turn Off Sharing.
- You’ll notice that the Delete option is now active and available.
Download Practice Workbook
You can download the practice workbook from here:
Related Articles
- How to Delete Multiple Sheets in Excel
- How to Undo Delete Sheet in Excel
- How to Delete Hidden Sheets in Excel
- How to Delete All Sheets in Excel Except One
<< Go Back to Delete Sheet | Worksheets | Learn Excel
Get FREE Advanced Excel Exercises with Solutions!

The data is NOT shared.
Right-clicking the tab shows the “Delete” option – it is NOT greyed out.
Clicking “Delete” does not do anything. The sheet remains in the workbook.
Hello DAVID,
Thank you for reaching out with your comment. You encountered a different problem than what was described in the article. There could be several reasons why the problem is happening. Some of your add-ins may mess up the delete sheet feature, which may not work in your version of Microsoft Excel. To fix this, you should update your program.
You can use an Excel VBA code to delete a sheet by inputting the sheet name.
Excel VBA Code:
The VBA code and suggestions will solve your issue. Good luck.
Regards,
Lutfor Rahman Shimanto
I discovered two different solutions:
1.: A work around: Instead of selecting “Delete”, select “Move or copy”, take as target “New Book” and leave the checkbox “Create a copy” empty. This moves the worksheet out of your file into a new “Book 1”, which can then be closed without saving.
2: Permanent solution
Close Excel, then rename the folders %appdata%\Microsoft\Excel and %localappdata%\Microsoft\Excel into %appdata%\Microsoft\Excel_old and %localappdata%\Microsoft\Excel_old.
Start Excel again, and the issue should be gone.
Thanks for the solution 1.
Hello Derek,
We are glad to hear that our solution helped you. Thanks for your appreciation. Keep learning Excel with us.
Regards
ExcelDemy
Thanks Wolfgang. Just tried your number 1 solution and it worked:)