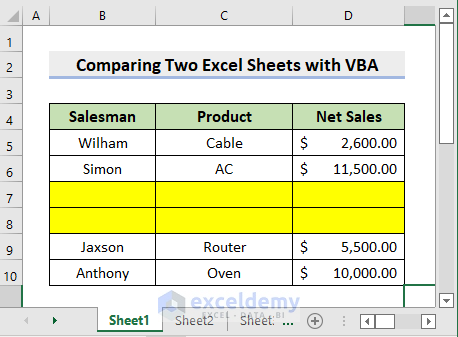
The sample dataset below will be used for illustration. It contains the Salesman, Product and Net Sales in Sheet1. The 7th and 8th rows are empty.
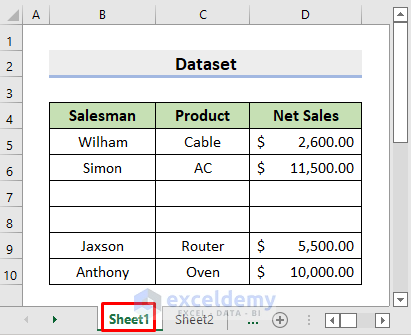
In Sheet2, the complete dataset is available with both the 7th and 8th rows.

Method 1 – Apply VBA Code to Compare Two Excel Sheets of Same File and Copy Differences
In our first example, you’ll see the process of applying VBA Code to Compare Two Excel Sheets of the Same File and Copy Differences. Therefore, follow the steps below carefully to perform the task.
STEPS:
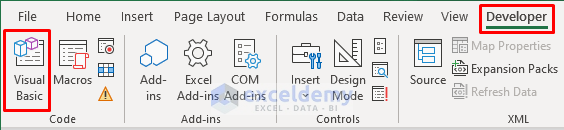
- Go to Developer ➤ Visual Basic.
- The VBA window will pop up.
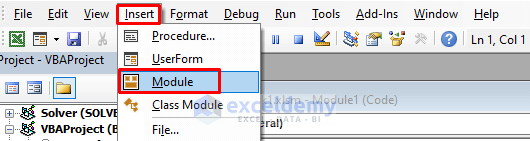
- Click Insert ➤ Module.
- Enter the following code in the Module window.
Option Explicit
Sub Compare_Two_Excel_Sheets()
    'Define Fields
    Dim iR As Double, iC As Double, oRw As Double
    Dim iRow_M As Double, iCol_M As Double
    Dim s1 As Worksheet, s2 As Worksheet
    Dim s3 As Worksheet
    Set s1 = ThisWorkbook.Sheets(1)
    Set s2 = ThisWorkbook.Sheets(2)
    Set s3 = ThisWorkbook.Sheets(3)
    iRow_M = s1.UsedRange.Rows.Count
    iCol_M = s1.UsedRange.Columns.Count
    For iR = 1 To iRow_M
    For iC = 1 To iCol_M
        s1.Cells(iR, iC).Interior.Color = xlNone
        s2.Cells(iR, iC).Interior.Color = xlNone
        If s1.Cells(iR, iC) <> s2.Cells(iR, iC) Then
           s1.Cells(iR, iC).Interior.Color = vbYellow
           s2.Cells(iR, iC).Interior.Color = vbYellow
           oRw = oRw + 1
           s3.Cells(oRw, 1) = s1.Cells(iR, iC)
           s3.Cells(oRw, 2) = s2.Cells(iR, iC)
        End If
    Next iC
    Next iR
End Sub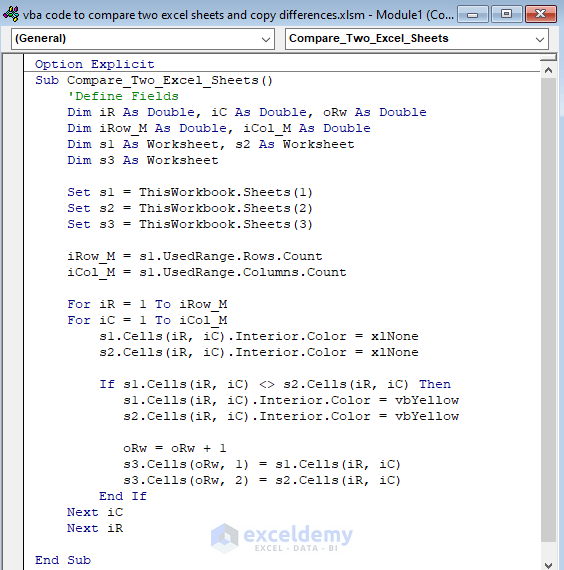
- Save the file and press the F5 key to run the code.
- It will return the differences in a new worksheet (Sheet3).
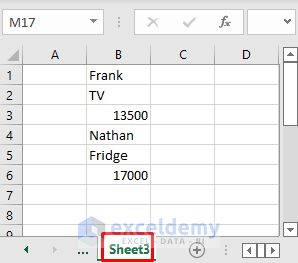
- You will see the differences highlighted in the sheets.
- The 7th and 8th rows are in Yellow in Sheet1.
- Sheet2 will also get highlighted.

Method 2 – Compare Two Sheets of Different Excel Files and Copy Differences with VBA
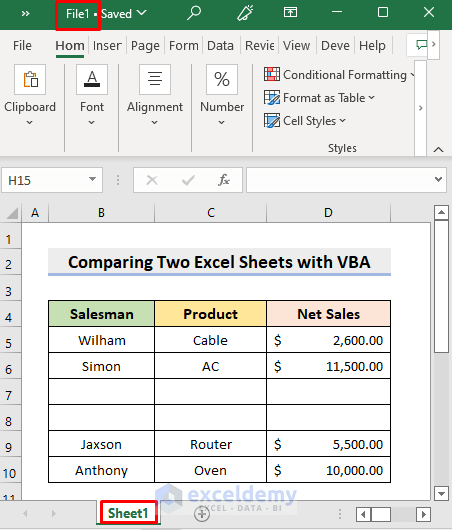
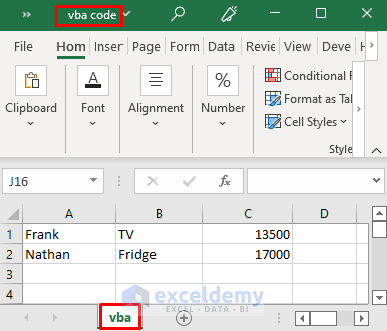
The sample dataset below is in Sheet1 of the File1 Excel file.
The completed version of the same dataset is in Sheet1 of the File2 Excel file.
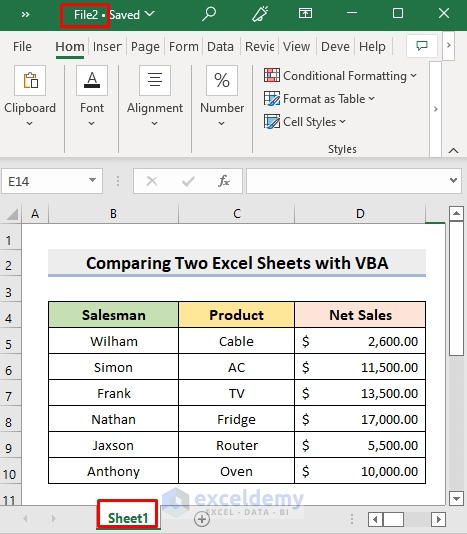
We will compare the sheets and copy the differences.
STEPS:
- Open a new Excel file.
- Go to the Developer
- Select Visual Basic.
- Click Module from the Insert drop-down.
- Enter the following code in the Module dialog box.
Sub Compare_Two_Files()
SummaryFile = "vba code"
SummarySheet = "Sheet1"
File1 = "D:\SOFTEKO\vba code to compare two excel sheets and copy differences\File1.xlsx"
File2 = "D:\SOFTEKO\vba code to compare two excel sheets and copy differences\File2.xlsx"
File1_Sheet = "Sheet1"
File2_Sheet = "Sheet1"
Set Workbook1 = Workbooks.Open(File1)
Set Workbook2 = Workbooks.Open(File2)
Set Rng1 = Workbook1.Worksheets(File1_Sheet).UsedRange
Set Rng2 = Workbook2.Worksheets(File2_Sheet).UsedRange
Count = 1
For i = 1 To Rng1.Rows.Count
For j = 1 To Rng1.Columns.Count
If Rng1.Cells(i, j) <> Rng2.Cells(i, j) Then
    For k = 1 To Rng1.Rows.Count    Workbooks(SummaryFile).Worksheets(SummarySheet).Cells(Count, k) = Rng2.Cells(i, k)
    Next k
    Count = Count + 1
    Exit For
End If
Next j
Next i
End Sub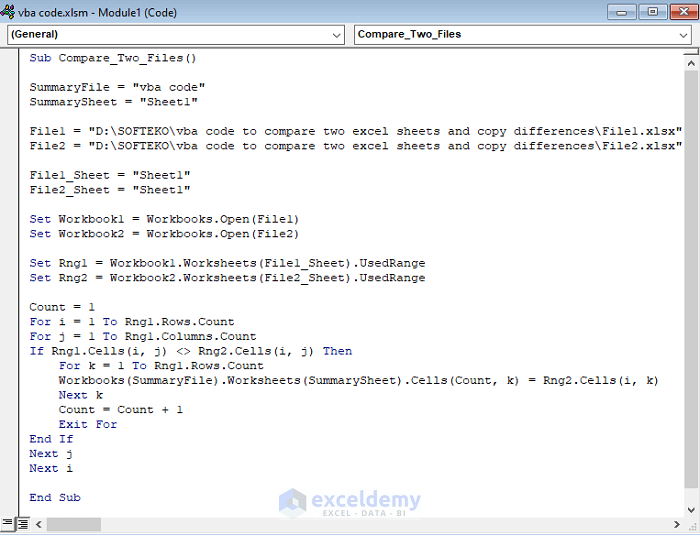
- Save the file.
- Run the code by pressing F5.
- You will get the differences in the new Excel file.
Download Practice Workbook
<< Go Back to Learn Excel | Compare


Hello Aung. Nice work. I have an issue I need assistance on. I have a workbook with userform. I want to make different users access and edit the file on a network computer. How can I do that? Is it possible to keep the main workbook and have just a shell userform pulling data from the network workbook and displaying it and all changes made made can then be saved even though the workbook is closed?
Hi NOUR,
Thanks for the appreciation.
As per your requirement, it is possible to allow multiple users to access and edit a workbook on a network computer. Here are some steps you can follow in this regard:
1. Save your workbook on a shared network drive that all users have access to.
2. Restrict editing access for other users to ensure only authorized users can edit the workbook.
3. Create a login form that allows users to enter their credentials to access the userform. You can store user credentials in a separate worksheet within the workbook or use an external database.
4. Use VBA code to pull the necessary data from the shared workbook and display it to the userform.
5. When a user makes changes to the data in the userform, use VBA code to write the changes back to the shared workbook.
6. Implement a save feature that automatically saves changes made to the shared workbook when the userform is closed.
7. Create a backup plan to ensure data is not lost in case of system failure or network issues. This can include regular backups or saving a copy of the workbook in a secure location.
8. Test the userform with different user accounts to ensure it works as intended and all users can access and edit the shared workbook.
Hope this guide helps you to approach and solve the issue you’re facing. Actually it is not possible to give an exact solution without checking the Excel file. Most probably you need physical assistance in this regard. Let us know if you have any additional questions or concerns. You can also send your Excel file to our official mail address: [email protected]
Have a great day!
Regards
Rafiul Hasan | ExcelDemy Team