Dataset Overview
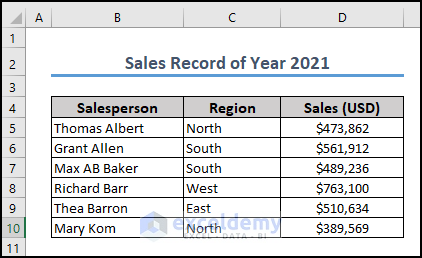
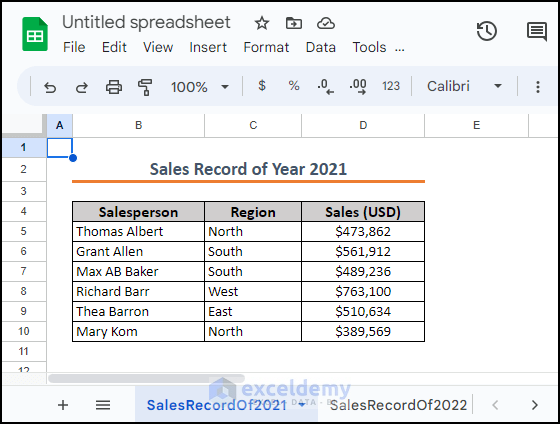
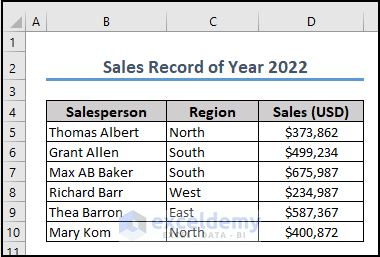
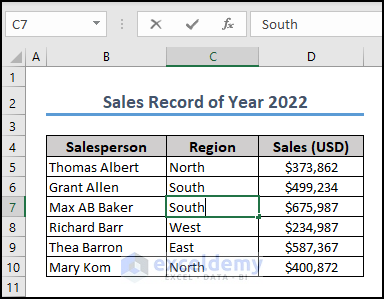
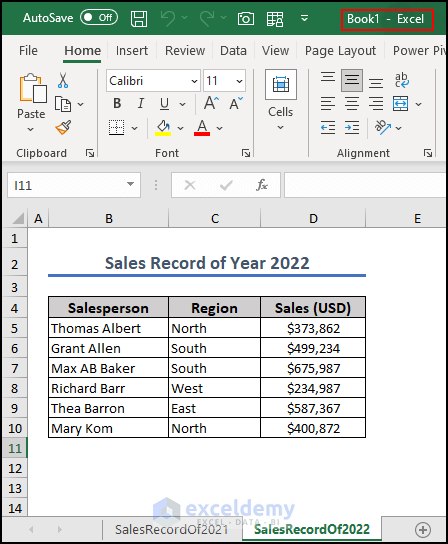
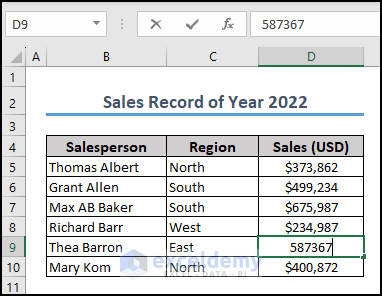
Assume we have a dataset with two worksheets: Sales Record of Year 2021 and Sales Record of Year 2022. Both worksheets contain 7 rows and 3 columns.
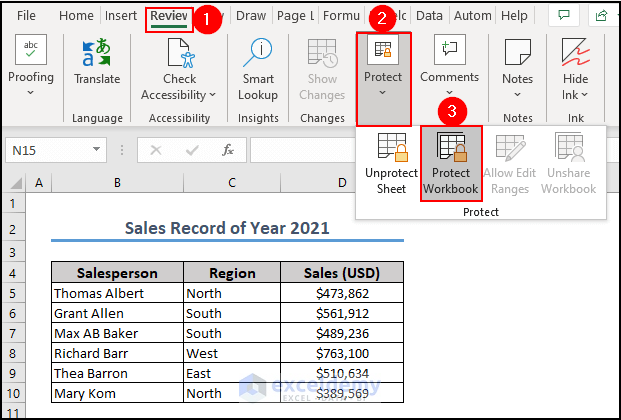
Method 1 – Unprotect Excel Workbook from the Review Tab
- Go to the Review tab.
- Click on Protect and select Protect Workbook.
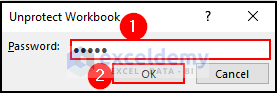
- A small dialog box called Unprotect Workbook will appear.
- Enter the password you set when you protected the workbook (e.g., 12345).
- Click OK.
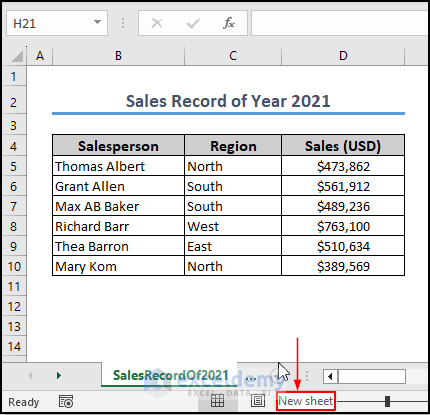
- The protected workbook will now be accessible as an unprotected workbook, allowing you to add or delete sheets.
Method 2 – Unprotect Excel Workbook Using Excel’s Info Feature
- Open your Excel workbook.
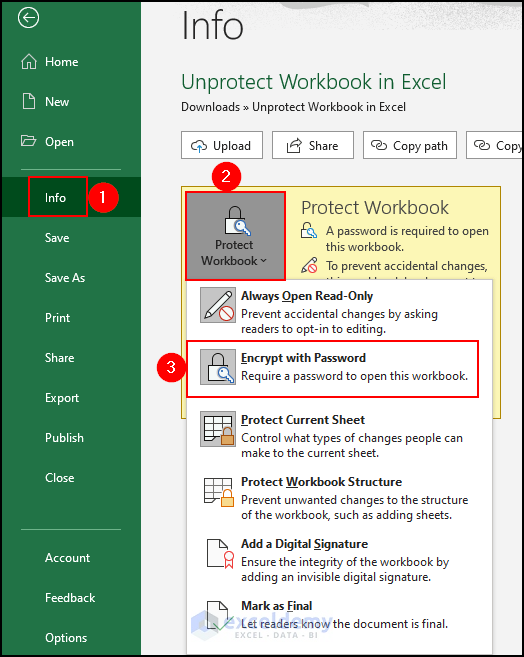
- Go to File and select Info.
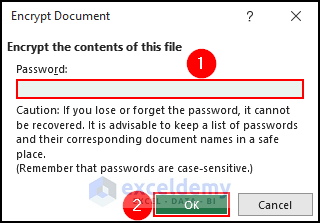
- Click on Protect Workbook and choose Encrypt with Password.
- In the Encrypt Document dialog box, delete the existing password.
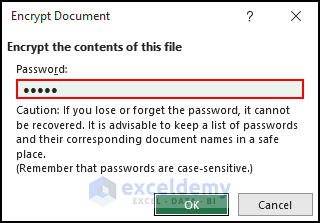
- Click OK.
- Save the workbook and close the Excel file.
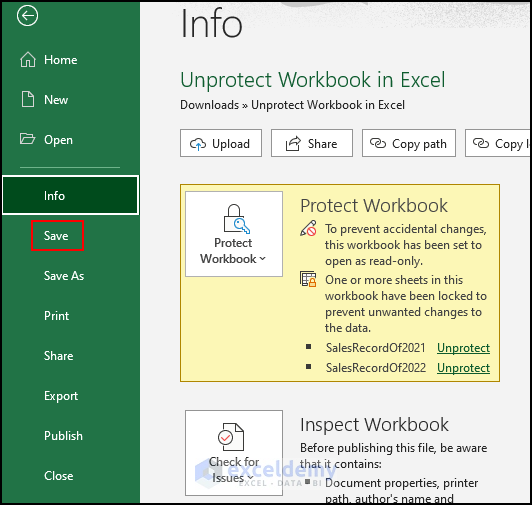
- Reopen the Excel file, and you won’t need a password to access the data.
Method 3 – Unprotect Excel Workbook with VBA Code
- Press ALT + F11 to open Visual Basic.
- Click Insert and select Module.
- Insert the following code in the code editor:
Sub Unprotect_Workbook_with_Password()
Dim p As Integer, q As Integer, r As Integer
Dim s As Integer, t As Integer, u As Integer
Dim X_1 As Integer, X_2 As Integer, X_3 As Integer
Dim X_4 As Integer, X_5 As Integer, X_6 As Integer
On Error Resume Next
For p = 65 To 66: For q = 65 To 66: For r = 65 To 66
For s = 65 To 66: For t = 65 To 66: For X_1 = 65 To 66
For X_2 = 65 To 66: For X_3 = 65 To 66: For X_4 = 65 To 66
For X_5 = 65 To 66: For X6 = 65 To 66: For u = 32 To 126
ActiveSheet.Unprotect Chr(p) & Chr(q) & Chr(r) & _
Chr(s) & Chr(t) & Chr(X_1) & Chr(X_2) & Chr(X3) & _
Chr(X_4) & Chr(X_5) & Chr(X6) & Chr(u)
If ActiveSheet.ProtectContents = False Then
MsgBox "Possible password: " & Chr(p) & Chr(q) & _
Chr(r) & Chr(s) & Chr(t) & Chr(X_1) & Chr(X2) & _
Chr(X_3) & Chr(X_4) & Chr(X_5) & Chr(X_6) & Chr(u)
Exit Sub
End If
Next: Next: Next: Next: Next: Next
Next: Next: Next: Next: Next: Next
End Sub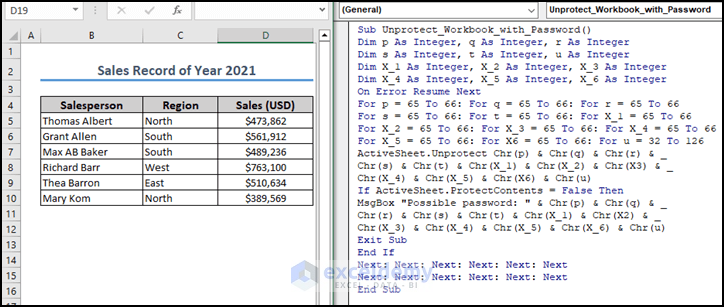
- Press F5 to run the code.
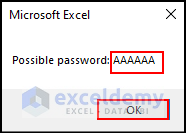
- The code will attempt to find a possible password. If successful, it will display it in a message box.
- Click OK to proceed.
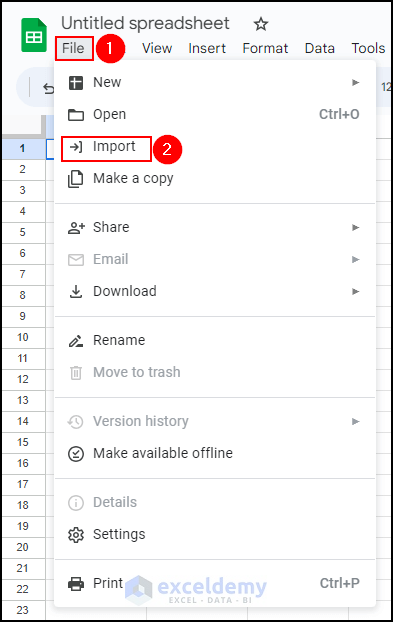
Method 4 – Unprotect Excel Workbook Using Google Sheets
- Open a new Google Sheet.

- Go to the File menu and select Import.
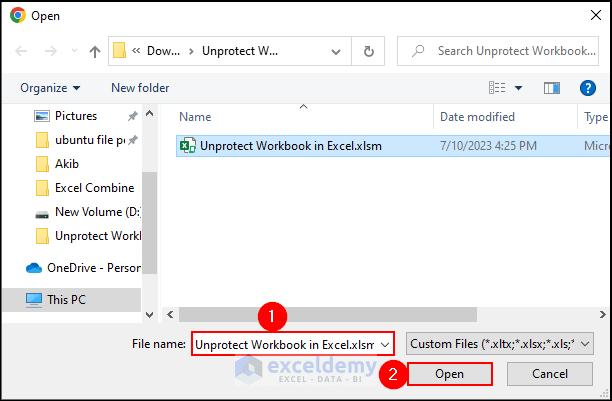
- Choose the Upload option and browse for your Excel file.

- Click Open.
- Import the data.
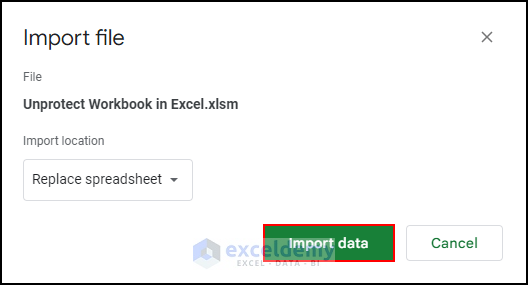
- As a result, you will be able to import your Excel file into Google Sheets.
- Go to the File menu, select Download, and choose Microsoft Excel (.xlsx).
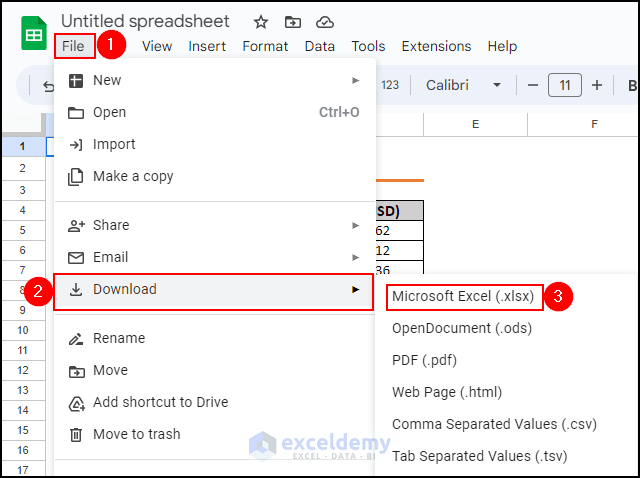
- Save the file with a new name.
- Open the file, and you won’t need a password to access the data.
Method 5 – Unprotect an Excel Workbook by Copying Contents to a New Workbook
5.1 Use of Copy-Paste Options
In this section, we’ll explore the fastest and most straightforward way to unprotect an Excel workbook without needing passwords. Follow these steps:
- Press Ctrl + A to select the entire worksheet in the protected workbook.
- Copy the worksheet by pressing Ctrl + C or right-clicking and selecting Copy.
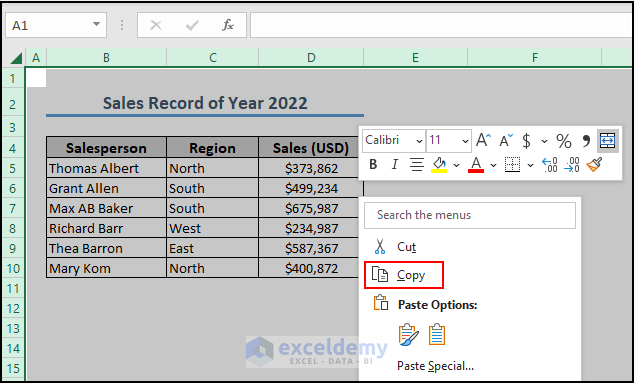
- Open a new workbook and paste the copied content using Ctrl + V.
- Finally, open the new workbook, and it will be accessible without requiring a password.
This method allows you to unprotect an Excel workbook by transferring its contents to a new workbook.
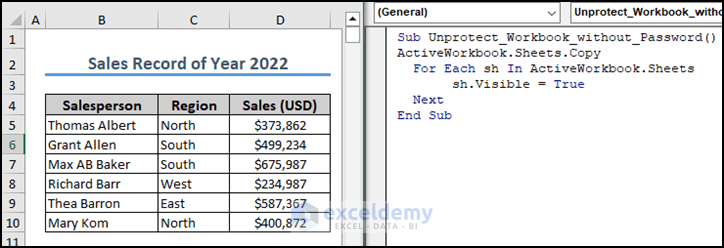
5.2 Use of VBA Code
You can also utilize VBA (Visual Basic for Applications) code to unprotect an Excel workbook without a password. Here’s how:
- Press ALT + F11 on your keyboard to open the Visual Basic editor.
- Click Insert and select Module.
- Insert the following code into the code editor:
Sub Unprotect_Workbook_without_Password()
ActiveWorkbook.Sheets.Copy
  For Each sh In ActiveWorkbook.Sheets
       sh.Visible = True
  Next
End Sub- Press F5 to run the code.
- The code will create a new workbook with the same content as the original workbook.
- Using this VBA macro, you can successfully unprotect an Excel workbook without needing a password.
How to Unprotect Worksheet in Excel
1. Unprotect Excel Worksheet with Password
- Go to the Review tab.
- Select Unprotect Sheet under the Protect section.
- Enter the password that was previously used to protect the worksheet.
- Click OK.
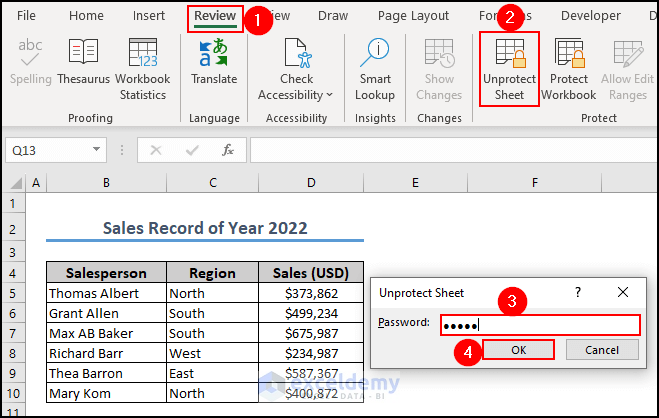
This process allows you to unprotect an Excel worksheet easily.
2. Remove Password to Unprotect Specific Sheets in an Excel Workbook
- Right-click on the Excel file you want to unprotect and select Rename.
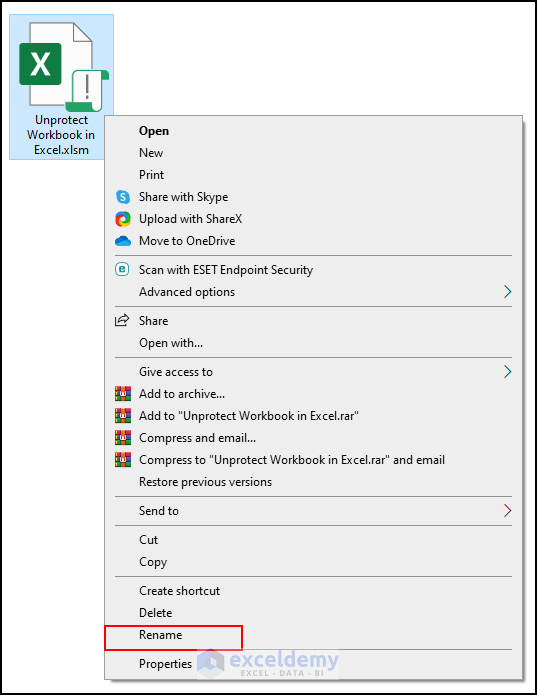
- Remove the .xlsm extension (since we have a VBA macro) and add .zip.
- Press Enter.
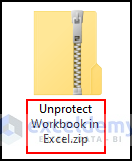
- Open the zipped folder by double-clicking on it and navigate to the xl folder.
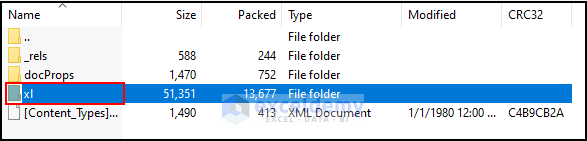
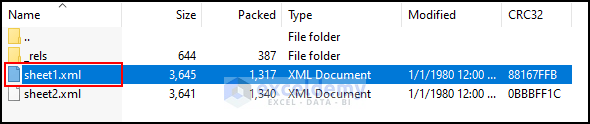
- Open the worksheets folder within the xl folder.
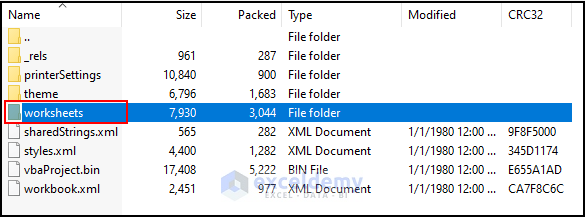
- Copy the sheet1.xml file using Ctrl + C.
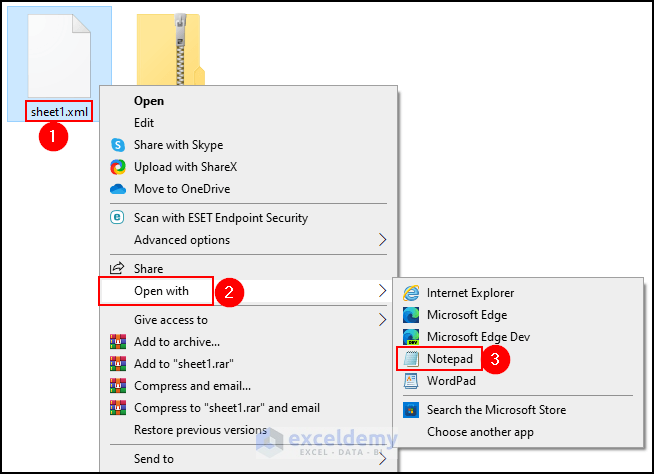
- Paste it into your desired folder.
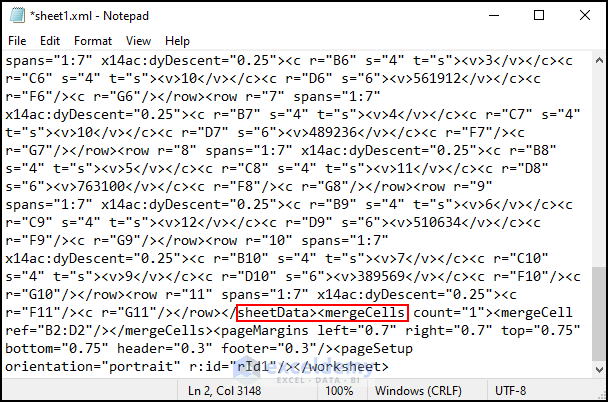
- Open the XML file in Notepad.
- Use Ctrl + F to open the Find search box.
- Search for Protection and click Find Next.
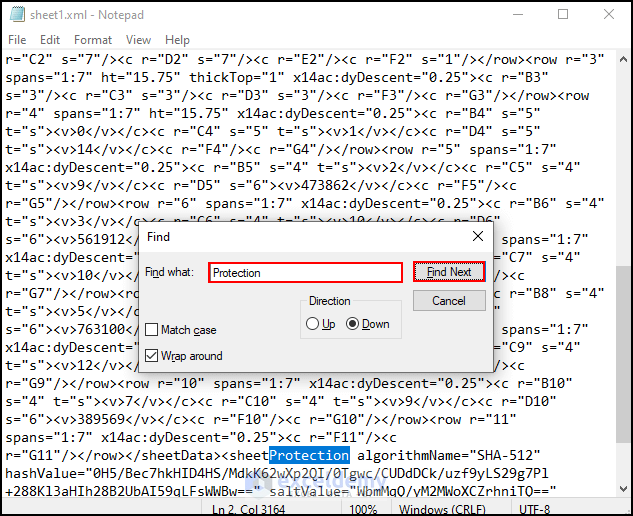
- Select the <sheetProtection> tag and drag the mouse to the end of the /> tag.
- Remove the selected line from the code and save the file with Ctrl + S.
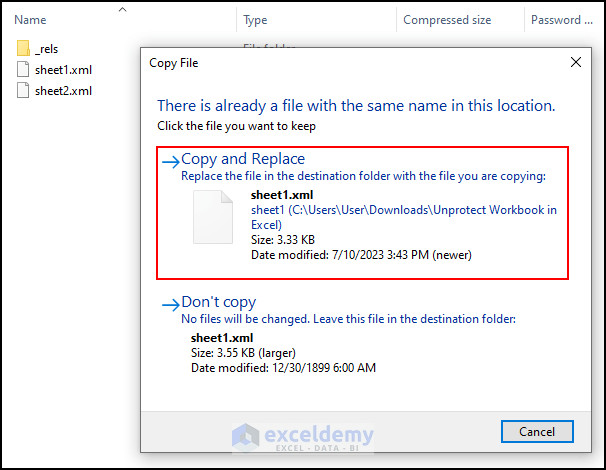
- Copy the modified file using Ctrl + C and replace the original file.
- Rename the zip folder by removing the .zip extension and adding .xlsm.
- Open the file, and it will be viewable without a password.
These steps allow you to remove the password and unprotect specific sheets in an Excel workbook.
Unprotecting a Workbook vs. Unprotecting a Worksheet in Excel
In Excel, protecting both workbooks and individual worksheets prevents unauthorized access or modification. However, unprotecting a workbook and unprotecting a worksheet serve different purposes:
- Unprotecting a Workbook: Allows structural modifications to the entire workbook, such as adding, deleting, concealing, or renaming worksheets. It also enables changes to workbook properties and settings.
- Unprotecting a Worksheet: Allows modifications to the worksheet’s data and formatting, such as altering cell content, inserting or deleting rows and columns, and applying or removing filters. Other worksheets remain protected unless explicitly unprotecting them.
Frequently Asked Questions
1. What is the Shortcut to Unprotect a Workbook?
The shortcut to unprotect Excel workbooks depends on the version you are using. Here are the common shortcuts for different Excel versions:
-
- Excel 2010 and Later Versions: Press Alt + R, followed by G, and then U.
- Excel 2007: Press Alt + R, followed by U.
- Excel 2003 and Earlier Versions: Press Alt + T, followed by P. Then, press U.
2. What Are the Workbook Protection Types in Excel?
A workbook can be protected at the file or worksheet level in Excel. Excel provides three levels of password protection:
-
- Password Protection for Opening Files: Requires a password to open the workbook.
- Password Protection for Changing Data: Requires a password to modify data within the workbook.
- Password Protection for Adding, Deleting, or Hiding Worksheets: Controls access to structural changes in the workbook.
3. What Are Workbook Properties?
Workbook properties in Excel include information such as the author, title, subject, creation date, and modification date. You can access and modify these properties through the document properties settings.
Key Takeaways from the Article
In this article, we covered effective ways to unprotect a workbook:
- Unprotecting a workbook with or without a password.
- Using VBA macros to unprotect Excel workbooks.
- Step-by-step procedures for each method.
- Unprotecting an Excel worksheet.
- Understanding the differences between unprotecting a workbook and a worksheet.
Download Practice Workbook
You can download the practice workbook from here:
Unprotect Workbook in Excel: Knowledge Hub
- How to Unprotect Excel Workbook without Password
- How to Remove Password from Excel File
- How to Recover Excel File Password
<< Go Back to How to Unprotect in Excel | Learn Excel
Get FREE Advanced Excel Exercises with Solutions!

I am trying to allow users of an Excel workbook to only access some cells but click on all CommandButtons.
There are 4 sheets, but ‘mainSht’ (693 lines of VBA code), but it draws data from sheets 2,3, and 4. When I protect the 3 data sheets, mainSht can’t pull off the data it needs to complete the algorithms.
Nothing seems to work, but I’m sure I’m missing something. Can you direct me to a helpful source?
Hello Timothy,
It seems the issue is due to the protection on the data sheets preventing your mainSht from accessing the necessary data. You can modify your VBA to temporarily unprotect the sheets when running the code.
You can also try setting the UserInterfaceOnly property when protecting the sheets. This allows VBA code to modify protected sheets while still restricting user interaction:
This way, your VBA code can still manipulate the data without fully unprotecting the sheets each time. I hope this helps! Let me know if you need further clarification or additional resources.”
This approach ensures the sheets remain protected for users but accessible for the code execution.
Regards
ExcelDemy