We can rename multiple sheets by using a simple Visual Basics for Applications (VBA) code.
Step 1: Insert Multiple Sheets
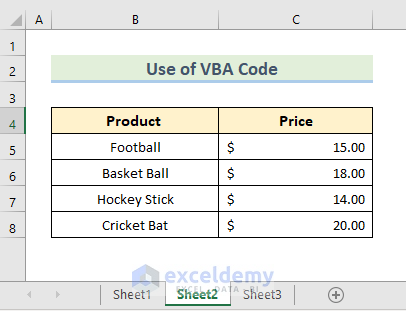
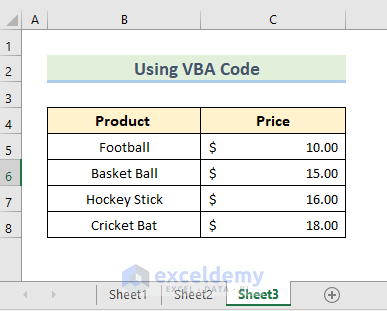
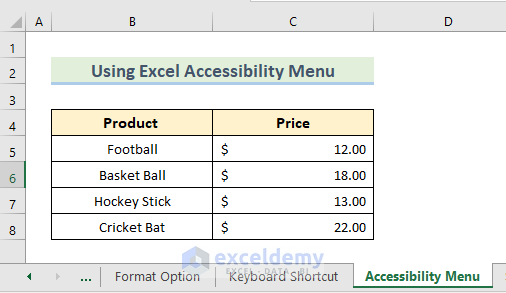
- In this example, we have created three separate sheets whose names we want to change at once. The sheets contain data on products and their price.
Sheet1

Sheet2
Sheet3
Step 2: Open VBA Window
- Open the VBA window by selecting the Developer tab > Visual Basic.

- We can also use the keyboard shortcut Alt + F11 to open the VBA window.
- Fom VBAProject we select our active sheet and right-click on it.
- Select Insert > Module.
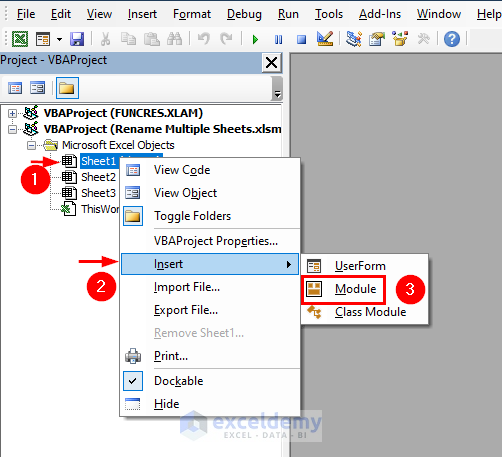
- A VBA code window will pop up.
Step 3: Write VBA Code
- In the window enter the below VBA code.
Sub ChangeWorkSheetName()
Dim R_N_G As Range
Dim W_R_N_G As Range
On Error Resume Next
xTitleId = "Rename Sheets"""
newName = Application.InputBox("Name", xTitleId, "", Type:=2)
For k = 1 To Application.Sheets.Count
Application.Sheets(k).Name = newName & k
Next
End Sub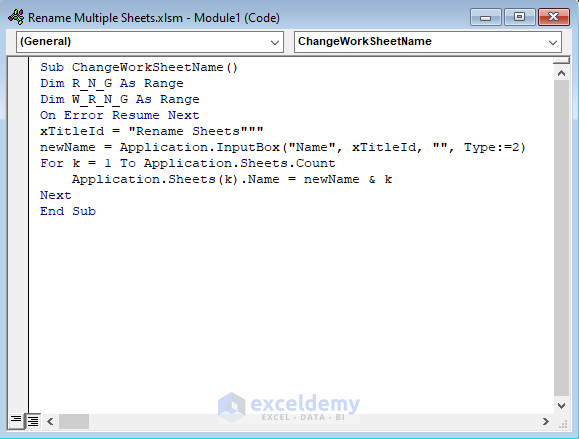
How Does the Code Work?
Sub ChangeWorkSheetName()
Dim R_N_G As Range
Dim W_R_N_G As Range
In the code, we have introduced a sub-procedure named ChangeWorkSheetName, declaring R_N_G and W_R_N_G as range variables.
xTitleId = "Rename Sheets"""
This creates a rename sheet box where we will type our new name for sheets.
newName = Application.InputBox("Name", xTitleId, "", Type:=2)
This line calls for a rename sheet with the name typed in the box and a number.
For k = 1 To Application.Sheets.Count
Application.Sheets(k).Name = newName & k
This section adds a number beside the new sheet name and its value increases with additional sheets.
Step 4: Run the Code
- Click Run.

- A Rename Sheets box will appear. Type the new name (Product-Price-Sheet) for our sheets.
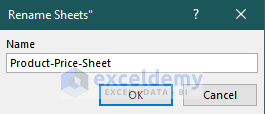
- Select OK and close the VBA window.
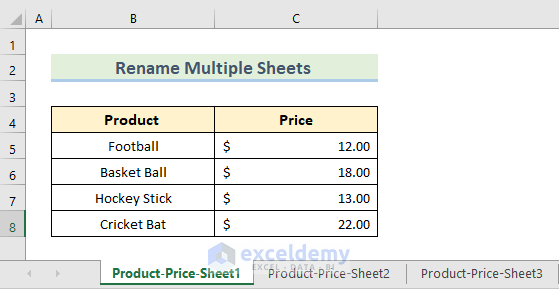
- Go back to the workbook, all the names of the sheets have changed to the new name and a suffix number.
Rename One Sheet at a Time in Excel
So far we have changed multiple sheet names at once. We can change the sheet names individually following several different methods.
Method 1 – Rename the Sheet by Double Clicking on the Sheet Tab
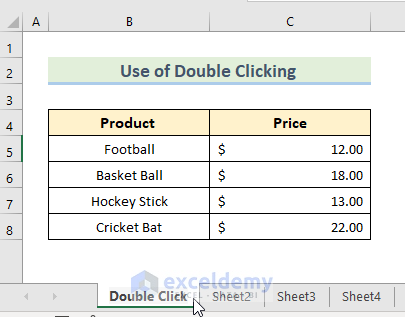
The sheet name can be changed by double-clicking on the sheet tab.
- Left double-click on the sheet name from the sheet name tab at the bottom.
- Type the new name (Double Click).
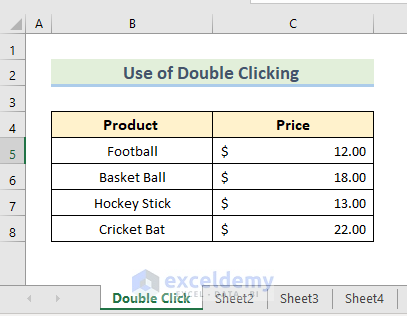
- Press Enter.
- We can see the sheet name changed.
Method 2 – Use the Rename Option from the Menu in Excel
- Select the sheet from the sheet tab at the bottom and right-click on it.
- The context menu will appear and we can select Rename from the options.
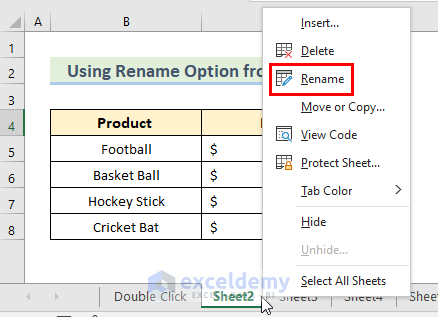
- Type the new name which is Rename Option.
- Press Enter.
- We can see the sheet name changed.

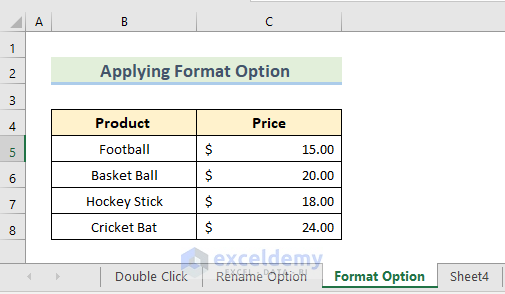
Method 3 – Rename Sheet with Format Option
- From the Home tab in the ribbon, select the Format option and choose Rename Sheet.
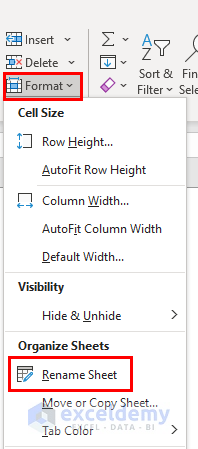
- Type the new name (Format Option) for the sheet and hit Enter.
Method 4 – Apply the Keyboard Shortcut to Rename a Sheet
- Open the sheet.
- Press the keyboard shortcut Alt + O + H + R.
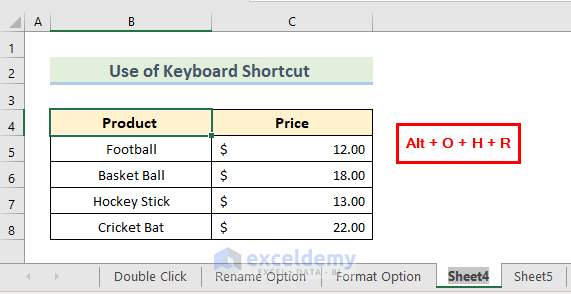
- Type the new name (Keyboard Shortcut) for the sheet.
- Hit Enter and we will see the sheet name changed.
Read More: How to Rename a Sheet without Using Mouse in Excel
Method 5 – Rename a Sheet Using Excel Accessibility Menu
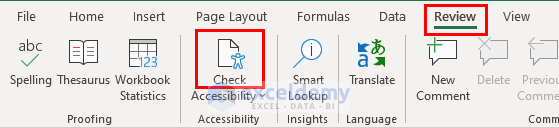
- Go to Review on the ribbon and select Check Accessibility.
- The Accessibility tab will open and we can choose the Rename Sheet from the options.
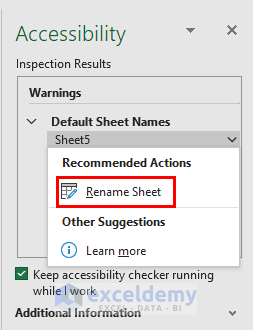
- Type the new name (Accessibility Menu) and hit Enter.
Method 6 – Use the Navigation Pane to Rename One Sheet at a Time
- Select Navigation from the View tab on the ribbon.
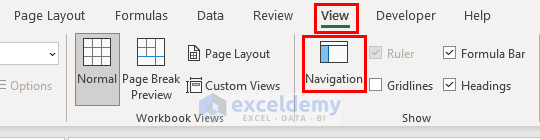
- A Navigation tab will open.
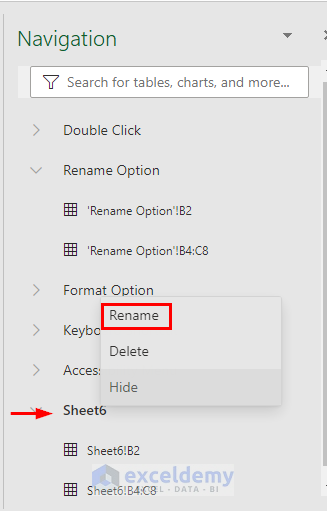
- Select the sheet to be renamed and right-click on it.
- Select Rename from the options.
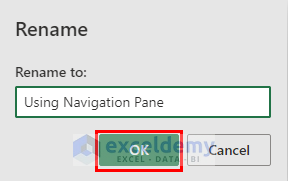
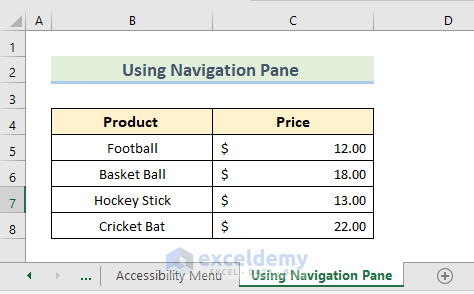
- Type the new name (Using Navigation Pane) for the sheet and select OK.
Rules for Renaming Multiple Sheets in Excel
- The sheet name can’t be more than 31 characters.
- We can’t give the same name to different sheets.
- The sheet name can’t be Blank.
- We can’t start or end the sheet name with apostrophes (‘) but we can use it in the middle of the name.
- Some characters ([ ] \ / ? : * ) can’t be used in the sheet name.
- We can’t name a sheet History as it is internally used by Excel.
Download Practice Workbook
You can download the practice workbook from here.
For each sheet,
<< Go Back to Rename Worksheet | Worksheets | Learn Excel
Get FREE Advanced Excel Exercises with Solutions!
