Download Practice Workbook
Download the practice workbook.
To change the case of text in the cells:
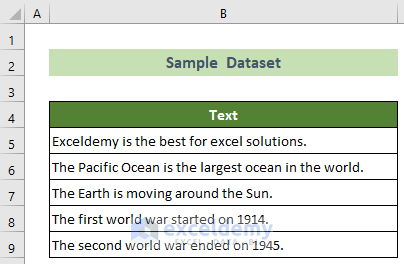
Example 1 – Transform Text to Upper Case
Steps:
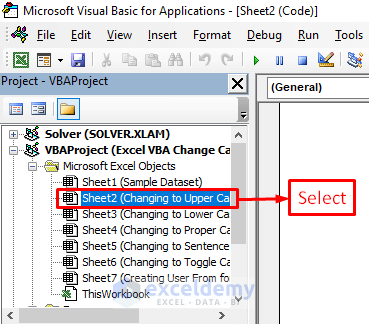
- Go to the Developer tab >> Visual Basic.

- In the Microsoft Visual Basic for Applications window, select Sheet2.
- Enter the VBA code below and press CTRL + S.
Sub Change_Selected_Text_to_Upper_Case()
On Error Resume Next
Dim ChangeCell As Range
For Each ChangeCell In Selection.Cells
ChangeCell.Value = UCase(ChangeCell.Value)
Next
On Error GoTo 0
End Sub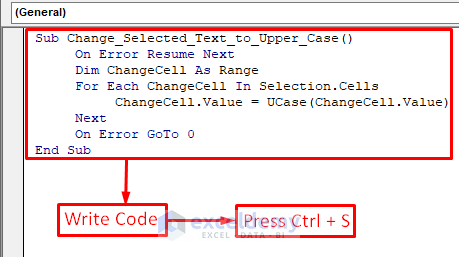
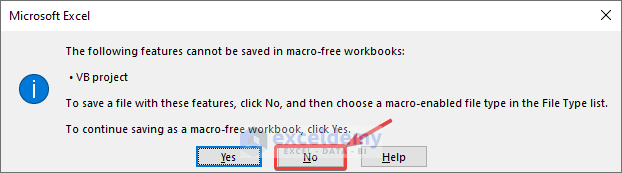
- In the dialog box, click No.
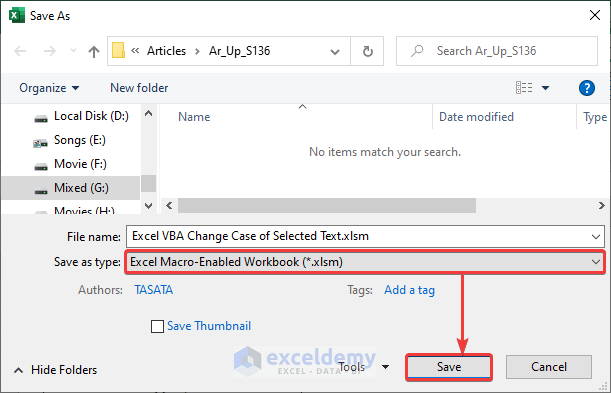
- In Save As, select Save as type:
- Choose .xlsm and click Save.
- Close the code window and select the text.
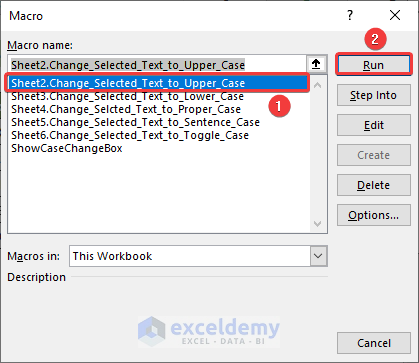
- Go to the Developer tab >> Macros.

- Choose Sheet2.Change_Selected_Text_to_Upper_Case and click Run.
This is the output.

Example 2 – Convert Text to Lower Case
Steps:
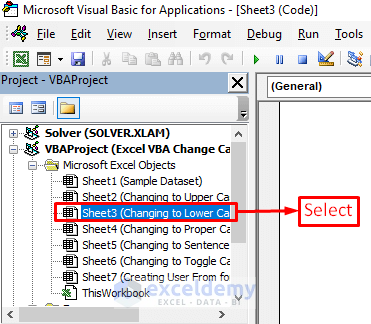
- Open the Microsoft Visual Basic for Applications window.
- Choose Sheet3.
- Enter the VBA code below and press CTRL + S.
Sub Change_Selected_Text_to_Lower_Case()
On Error Resume Next
Dim ChangeCell As Range
For Each ChangeCell In Selection.Cells
ChangeCell.Value = LCase(ChangeCell.Value)
Next
On Error GoTo 0
End Sub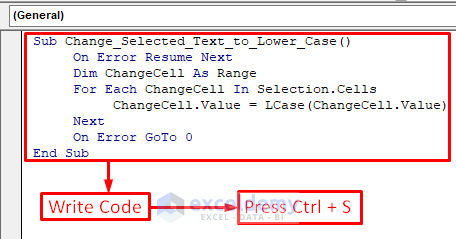
- Close the code window.
- Select the text >> go to the Developer tab >> Macros.
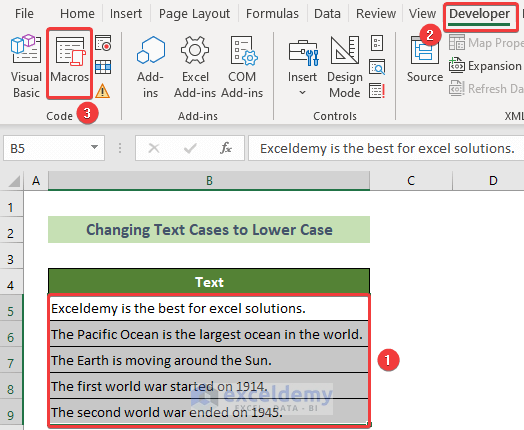
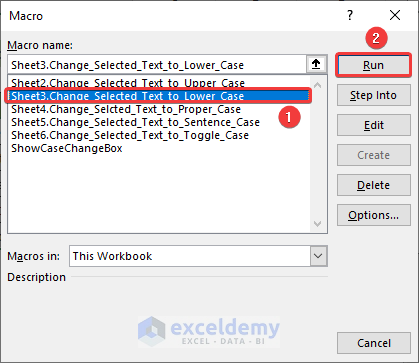
- Select Sheet3.Change_Selected_Text_to_Lower_Case and click Run.
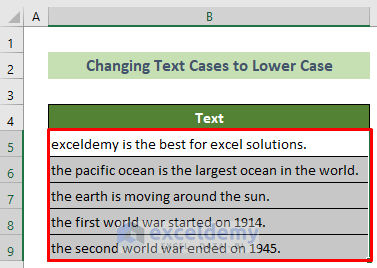
This is the output.
Example 3: Change the Case of the Selected Text to Proper Case Text
Steps:
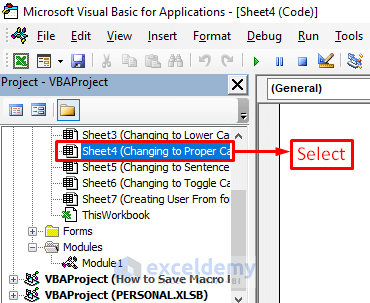
- Open the Microsoft Visual Basic for Applications window.
- Select Sheet4.
- Enter the VBA code below and press CTRL + S.
Sub Change_Selcted_Text_to_Proper_Case()
On Error Resume Next
Dim ChangeCell As Range
For Each ChangeCell In Selection.Cells
ChangeCell.Value = WorksheetFunction.Proper(ChangeCell.Value)
Next
On Error GoTo 0
End Sub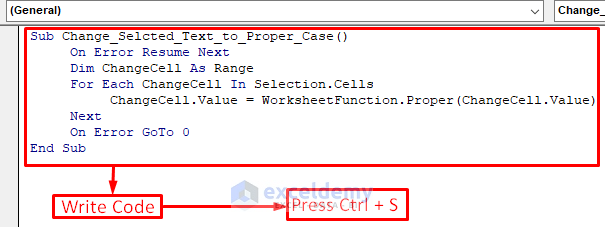
- Close the code window.
- Select the text >> go to the Developer tab >> Macros.
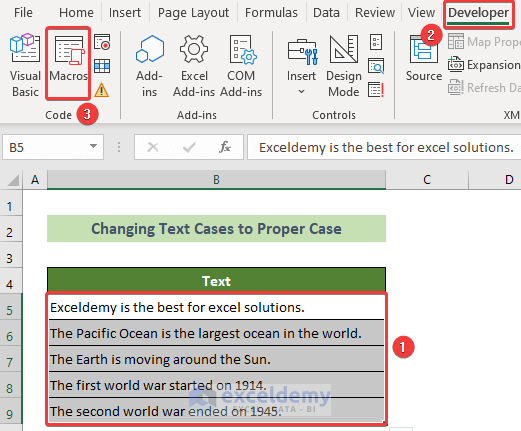
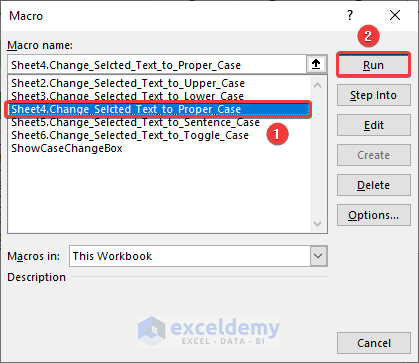
- Select Sheet4.Change_Selected_Text_to_Proper_Case and click Run.
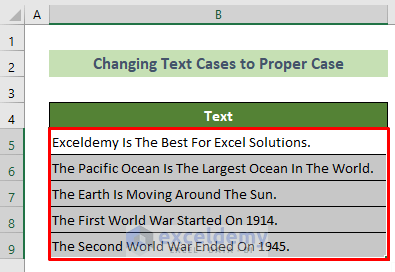
This is the output.
Example 4 – Convert the text to Sentence Case
Capitalize the first letter of each sentence only:
Steps:
- Open the Microsoft Visual Basic for Applications window.
- Select Sheet5.
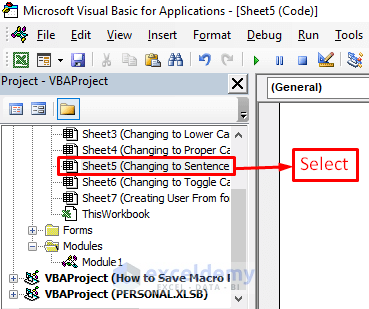
- Enter the VBA code below and press CTRL + S.
Sub Change_Selected_Text_to_Sentence_Case()
On Error Resume Next
Dim ChangeCell As Range
For Each ChangeCell In Selection.Cells
If Len(ChangeCell.Value) >= 2 Then
ChangeCell.Value = UCase(Left(ChangeCell.Value, 1)) & _
LCase(Right(ChangeCell.Value, (Len(ChangeCell.Value) - 1)))
End If
Next
On Error GoTo 0
End Sub
- Close the code window.
- Select the text >> go to the Developer tab >> Macros.
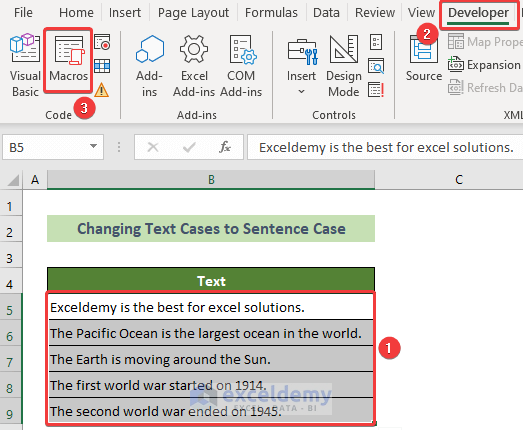
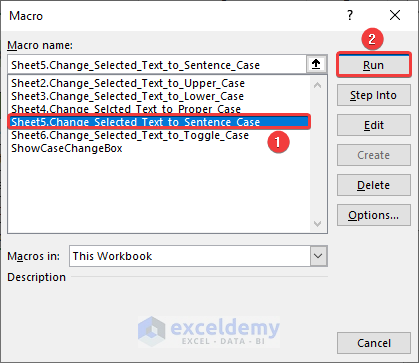
- Choose Sheet5.Change_Selected_Text_to_Sentence_Case and click Run.
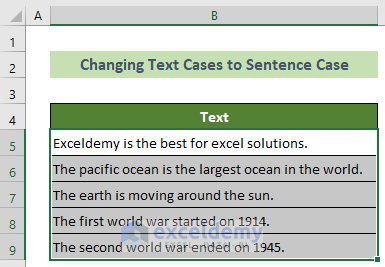
This is the output.
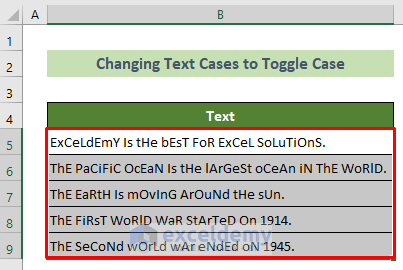
Example 5 – Change the Selected Text to Toggle Case
Steps:
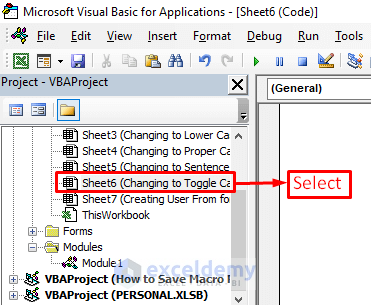
- Open the Microsoft Visual Basic for Applications window.
- Click Sheet6.
- Enter the VBA code below and press CTRL + S.
Sub Change_Selected_Text_to_Toggle_Case()
  Dim ChangeCell As Range
  Dim n As Integer
  On Error Resume Next
  For Each ChangeCell In Selection.Cells
     If Len(ChangeCell.Value) >= 2 And IsNumeric(ChangeCell.Value) = False And _
     IsEmpty(ChangeCell.Value) = False And IsNull(ChangeCell.Value) = False Then
          For n = 1 To Len(ChangeCell.Value) Step 2
               ChangeCell.Characters(n, 1).Text = UCase(ChangeCell.Characters(n, 1).Text)
          Next
          For n = 2 To Len(ChangeCell.Value) Step 2
               ChangeCell.Characters(n, 1).Text = LCase(ChangeCell.Characters(n, 1).Text)
          Next
     End If
  Next
  On Error GoTo 0
End Sub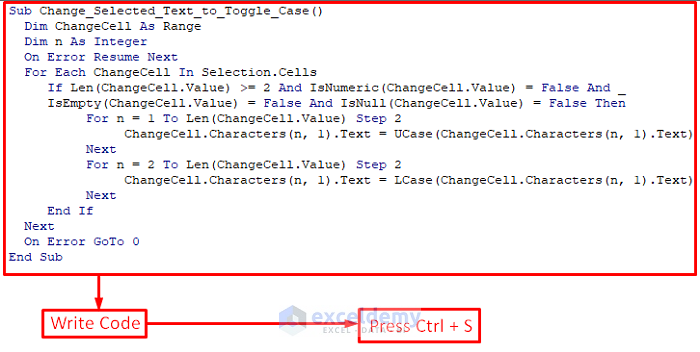
- Close the code window.
- Select the text >> go to the Developer tab >> Macros.
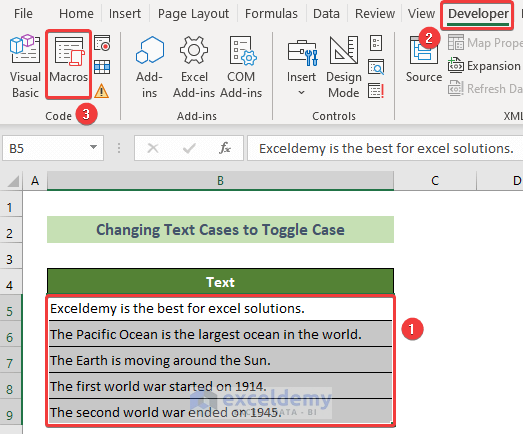
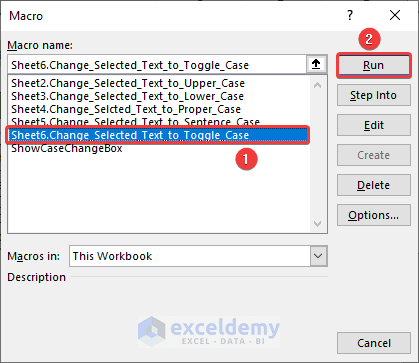
- Choose Sheet6.Change_Selected_Text_to_Toggle_Case and click Run.
This is the output.
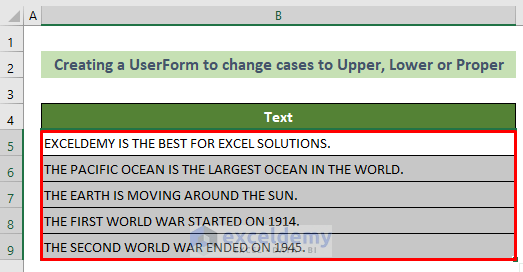
Example 6 – Create a UserForm Using VBA
Step 1: Creating a UserForm
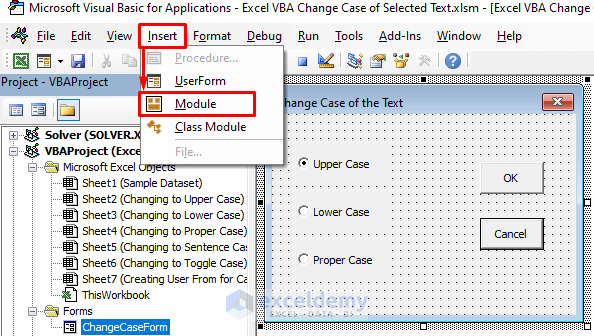
- Go to the Developer tab >> Code >> Visual Basic >> open the VB Editor window.

- Go to the Insert tab >> UserForm.
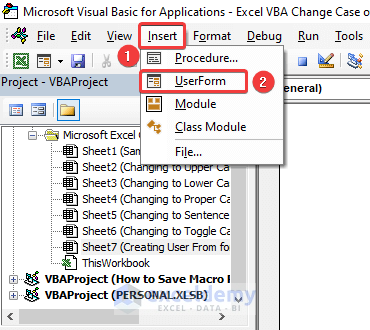
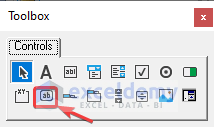
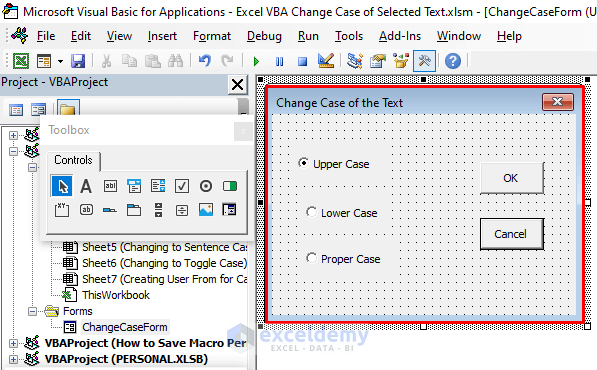
UserForm1 and the Toolbox are displayed.
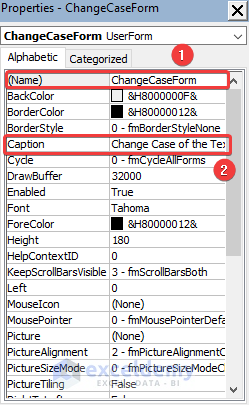
- Press F4 to open the Properties window.
- Change:
(Name) = ChangeCaseForm
Caption = Change Case of the Text
- Add a CommandButton.
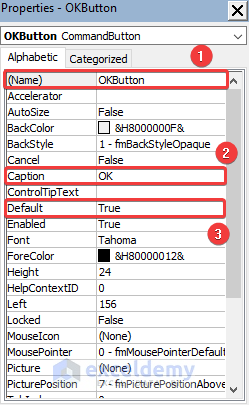
- For the first command button, change the following properties:
(Name) = OKButton
Caption = OK
Default = True
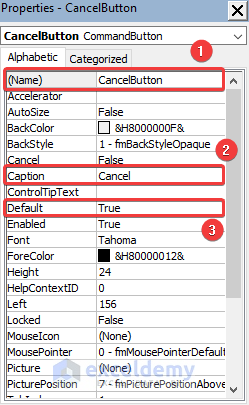
- Add another CommandButton and change the following properties:
(Name) = CancelButton
Caption = Cancel
Default = True
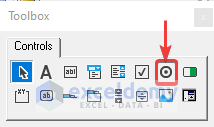
- Add an OptionButton.
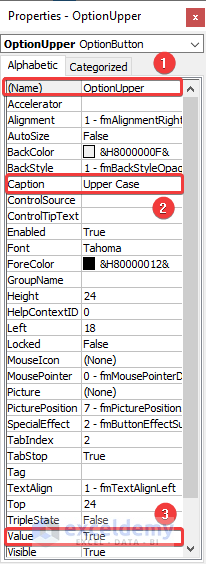
- For the first option button, change the following properties:
(Name) = OptionUpper
Caption = Upper Case
Value = True
- Add a second OptionButton and change the following properties:
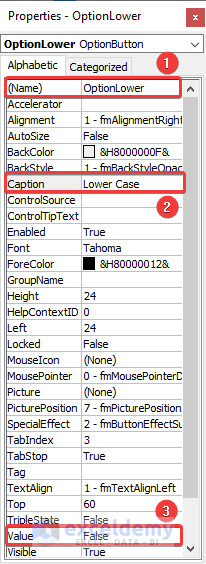
(Name) = OptionLower
Caption = Lower Case
Value = True
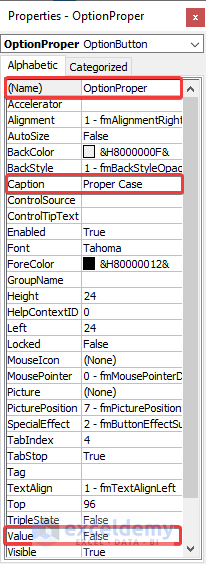
- Add a third OptionButton and change the following properties:
(Name) = OptionProper
Caption = Proper Case
Value = True
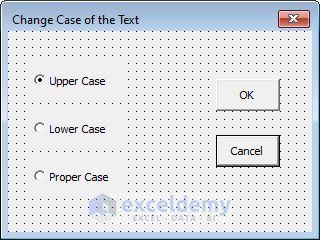
- Adjust the size and position of the controls as shown below.
Step 2: Formatting the Controls in the UserForm
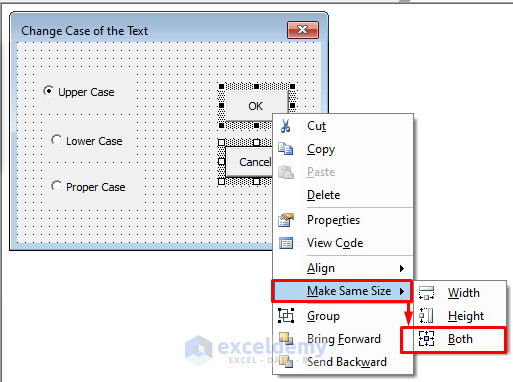
- Press CTRL, select two Commanduttons, and right-click.
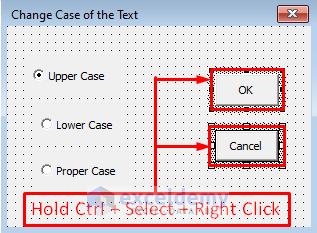
You can also choose a command in Format.
- Choose Make Same Size and Both.
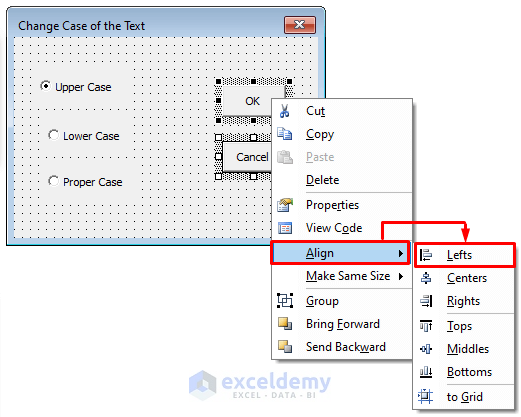
- Choose Align and select Lefts.
- Align and size the three OptionsButton.
Step 3: Creating Event Handler Procedures
To create two event handler procedures: one to handle the Click event of the CancelButton, and the other to handle the Click event of the OKButton:
Read More: Why We Use Form Controls on a Worksheet?
- Select ChangeCaseForm by double-clicking its name in Project.
- Double-click the OKButton.
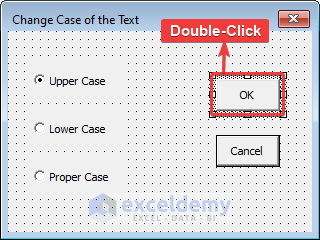
- Enter the VBA code:
Private Sub OKButton_Click()
Dim WorkRange As Range

    Dim cell As Range
    ChangeCaseForm.Hide

'   Exit if a range is not selected
    If TypeName(Selection) <> "Range" Then Exit Sub
    Application.ScreenUpdating = False

'   Avoid processing cells out of the used area
    Set WorkRange = Intersect(Selection, ActiveSheet.UsedRange)

'   Upper case
    If OptionUpper Then
        For Each cell In WorkRange
        If Not cell.HasFormula Then
        cell.Value = StrConv(cell.Value, vbUpperCase)
        End If
        Next cell
    End If

'   Lower case
    If OptionLower Then
        For Each cell In WorkRange
        If Not cell.HasFormula Then
        cell.Value = StrConv(cell.Value, vbLowerCase)
        End If
        Next cell
    End If

'   Proper case
    If OptionProper Then
        For Each cell In WorkRange
        If Not cell.HasFormula Then
        cell.Value = StrConv(cell.Value, vbProperCase)
        End If
        Next cell
    End If

End Sub
The macro asks the user to select a cell or a range of cells. If a range is not selected, the procedure ends. The procedure uses three separate blocks. Only one block is executed, depending on which OptionButton is selected. The selected OptionButton has the value: True. When the user clicks OK, the UserForm is unloaded.
- Enter the code to handle the Click event for the CancelButton control. and the CancelButton click event.
Private Sub CancelButton_Click()
    Unload ChangeCaseForm
End Sub
This procedure will be executed when someone will click the Cancel button (CancelButton). The dialog box will vanish when this code executes.
Step 4: Testing the UserForm
- Go to the Developer tab >> Visual Basic.
- Choose Insert >> Module.
- Enter the following code.
Sub ShowCaseChangeBox()
   ChangeCaseForm.Show
End Sub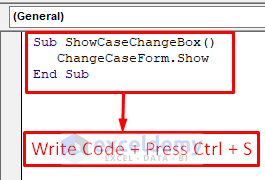
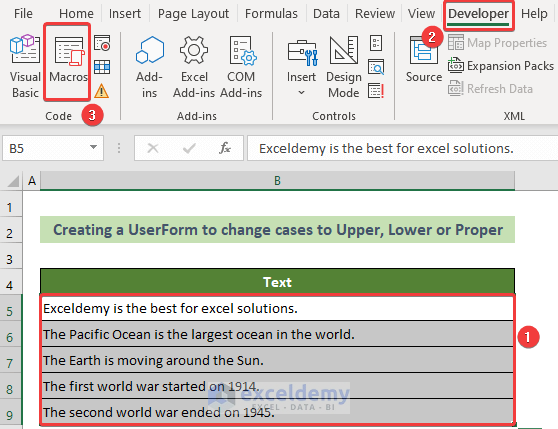
- Enter text into a range of cells.
- Select the range with the text.
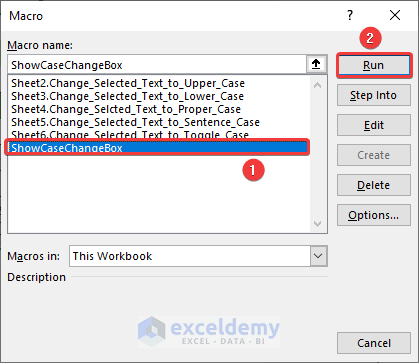
- Go to the Developer tab >> Macros or press Alt+F8.
- Select ShowCaseChangeBox and click Run.
- In the UserForm, select: Upper Case, Lower Case, or Proper Case.
- Click OK.
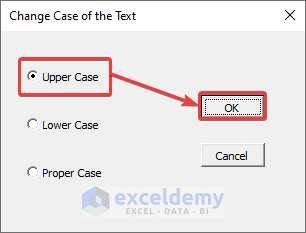
If you click Cancel, no changes happen.
Read More: How to add a macro to your Quick Access toolbar in Excel
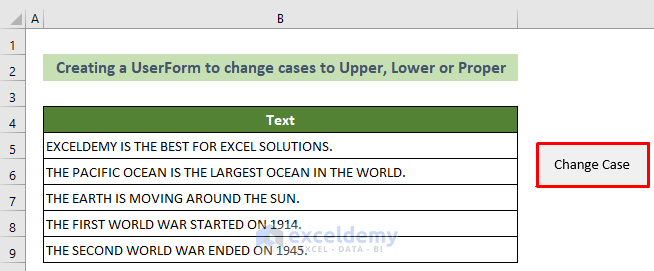
Making the Macro Available from a Worksheet Button:
- Go to: Developer >> Controls >> Insert
- Click Button in Form Controls.
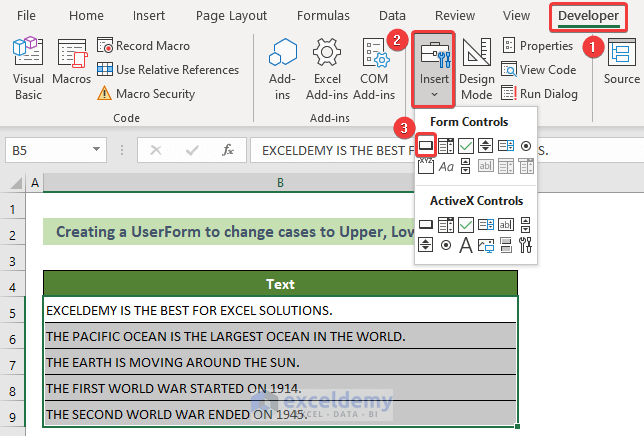
- Click and drag in the worksheet to create the button.
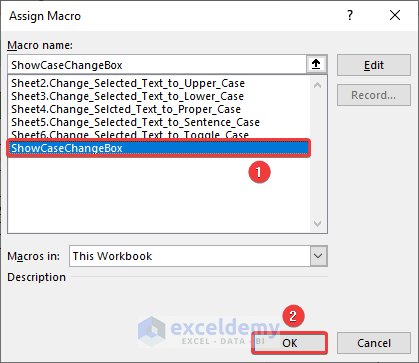
- In Assign Macro, select ShowCaseChangeBox.
- Click OK.
You can right-click the button and change the text.
- Click Change Case to run the macro. (You can change color, text size , etc.)
Get FREE Advanced Excel Exercises with Solutions!

