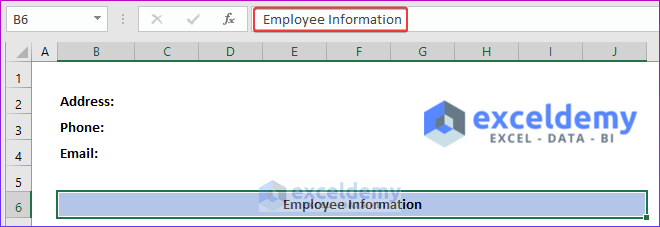
Step 1 – Inserting Organization Information
- Add the organization’s information to the employee details form.
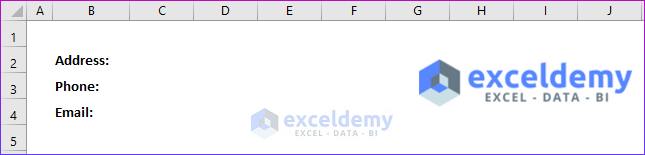
- Enter the following basic institution details (such as address, phone number, and email) into cells B2:B4.

- Insert the company logo into the employee form:
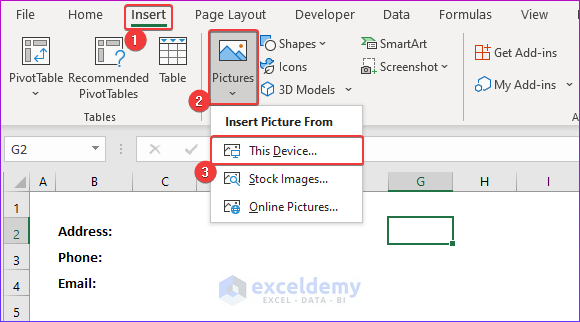
- Select cell G2.
- In the Insert tab, click the drop-down arrow next to Picture and choose This Device from the Illustrations group.
-
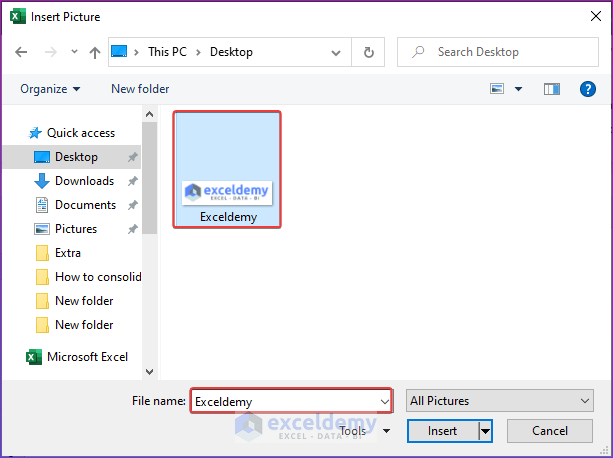
- A dialog box called Insert Picture will appear.
- Select your company logo and click Insert.
-
- The logo will be inserted.
Read More: How to Create a Recruitment Tracker in Excel
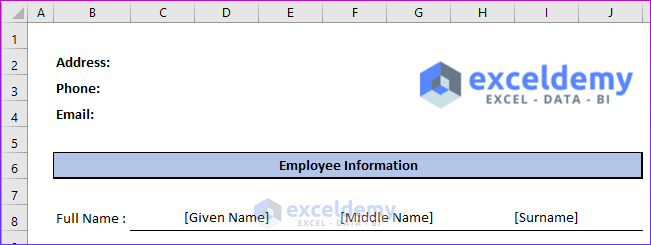
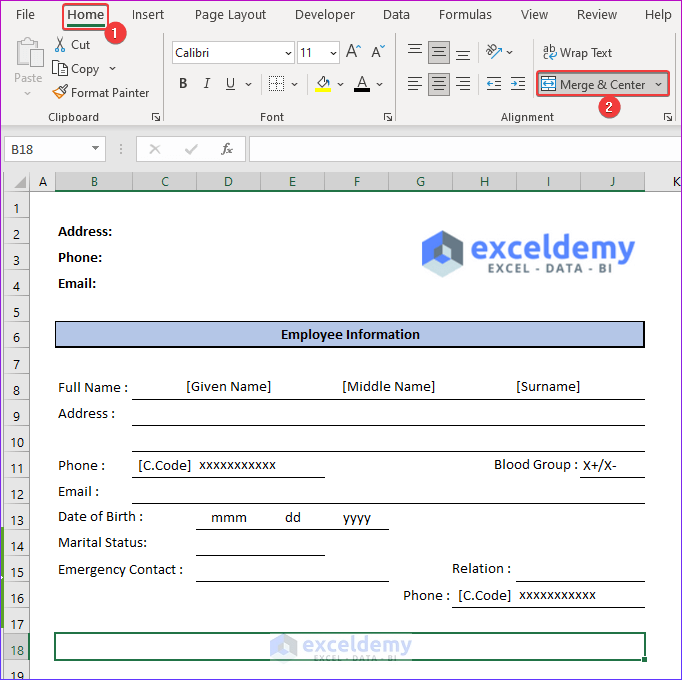
Step 2 – Design Employee Information Section
- Select the range of cells B6:J6.
- In the Home tab, click Merge & Center from the Alignment group to merge the cell.
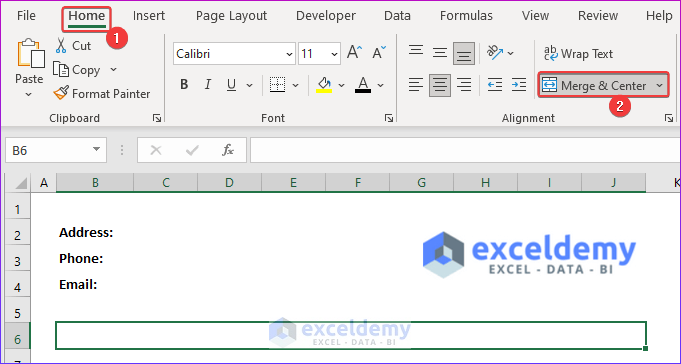
- Write Employee Information as the title in the merged cell.
- Format the cell as desired.
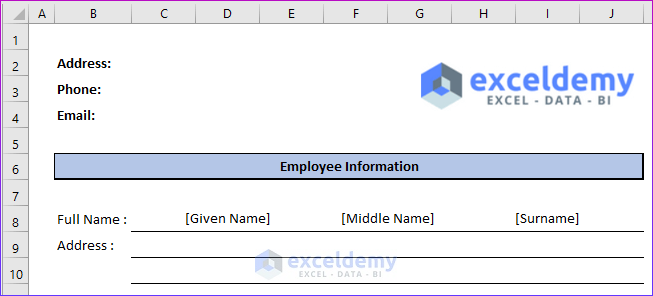
- Specify the cells for inputting the employee’s name in row 8 (consider adding an example for accuracy).
- Rows 9 and 10 are for the employee’s address.
- Add relevant entities in rows 11:14.
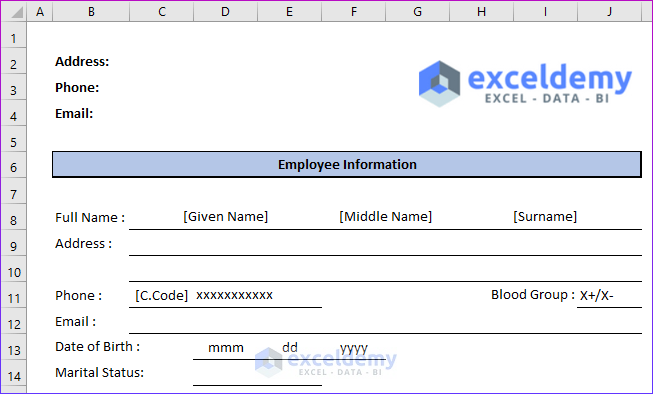
- Include an emergency contact person’s name, relationship, and contact information.
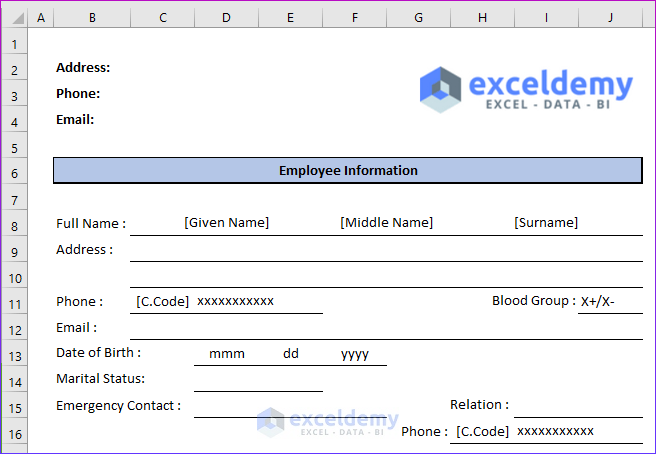
- Your Employee Information section is now ready for input.
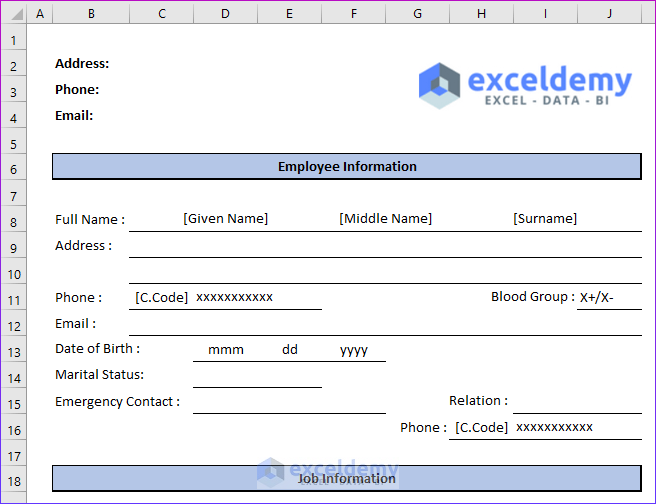
Step 3 – Add Job Information Section
- Select the range of cells B18:J18.
- Merge the cell using Merge & Center in the Home tab.
- Enter Job Information as the title in the merged cell and format it.
- Divide the section into two parts:
- Left section (cells B19:B23): Designation, supervisor’s name, work location, work phone number, and supervisor’s email address.
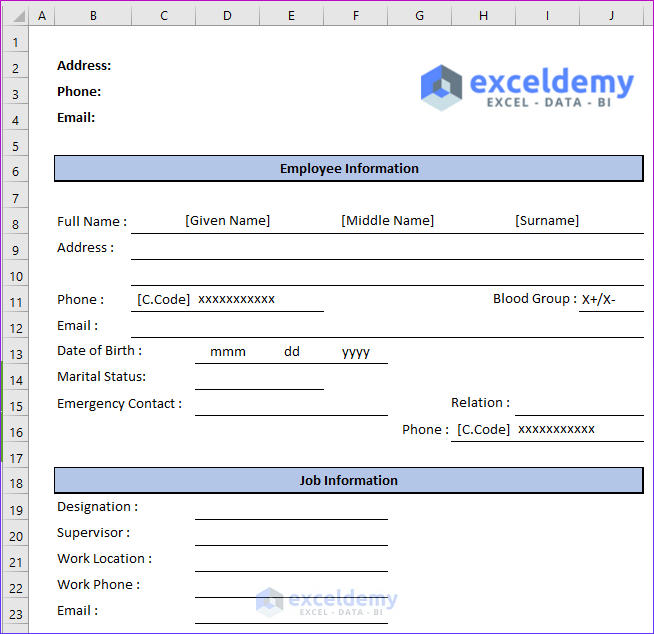
-
- Right section (cells G19:G23): Additional job-related details.
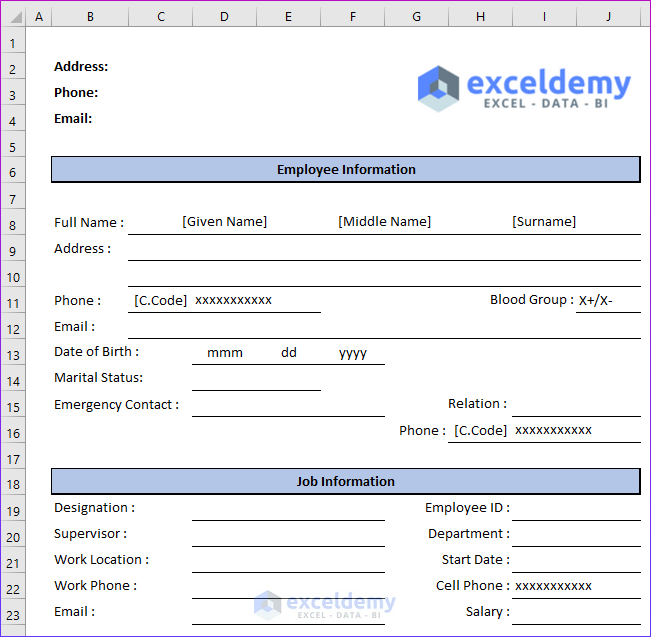
- Your employee details form is complete.
Read More: How to Track Comp Time in Excel
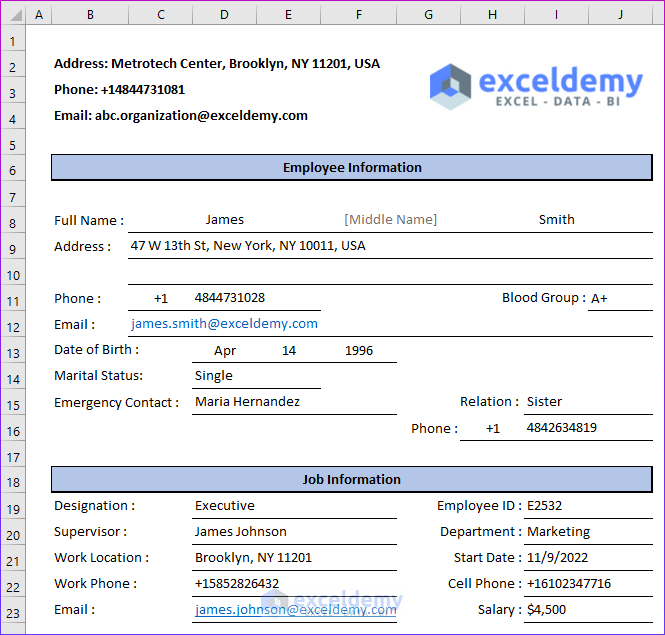
Step 4 – Verify with Sample Data
- Enter sample data into the form.
- The final completed form should resemble the image shown below.
Things to Remember
When you add the phone no, Excel may not allow you to show the ‘plus (+)’ sign before the numeric number. Adding an apostrophe sign before the phone number will solve the problem.
Download Practice Workbook
You can download the practice workbook from here:
<< Go Back to Excel HR Templates | Excel Templates
Get FREE Advanced Excel Exercises with Solutions!
