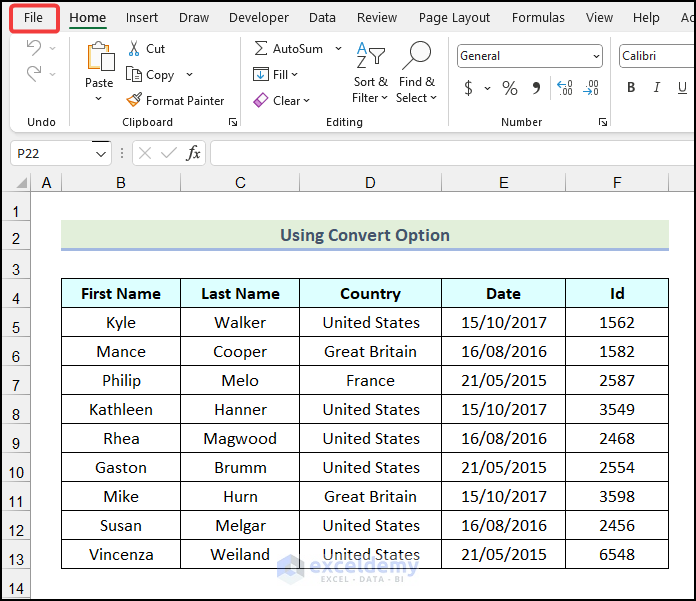
Method 1 – Using Convert Option
Steps:
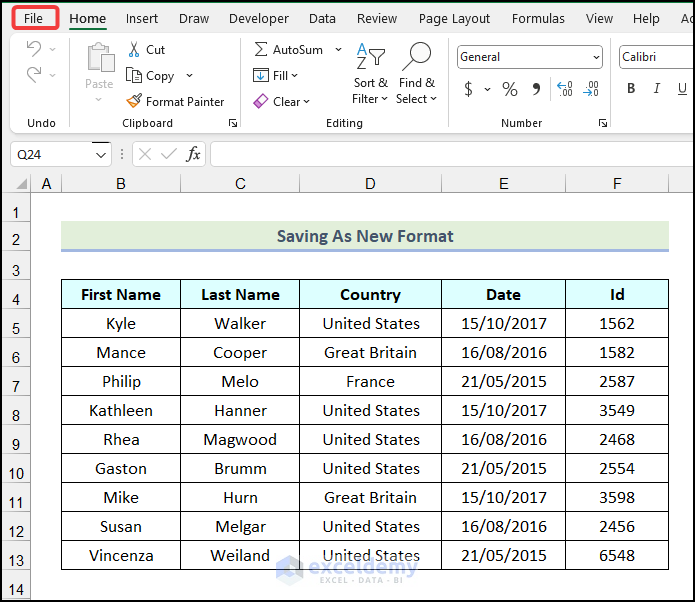
- Go to the File tab from Ribbon.
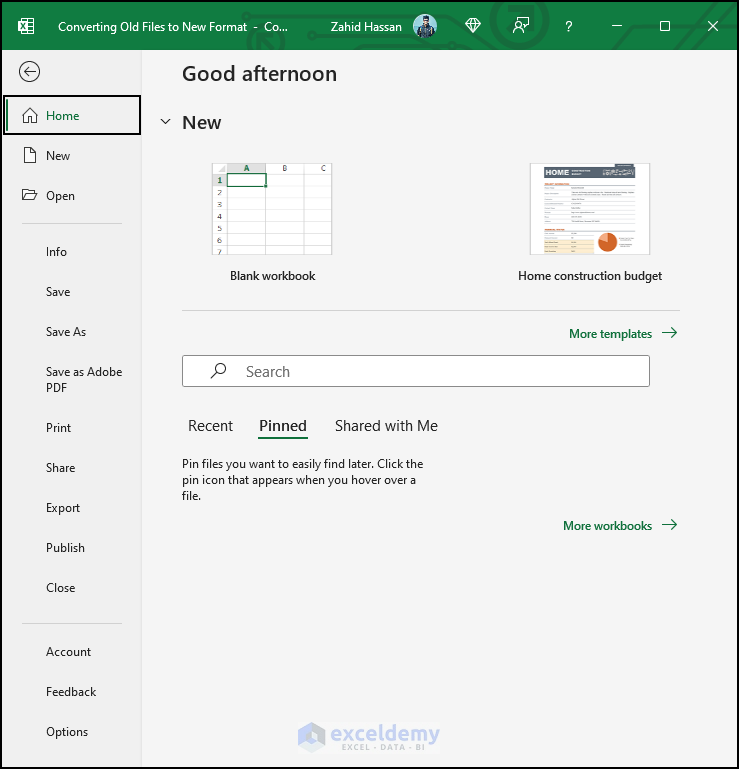
The following window will open in your worksheet.
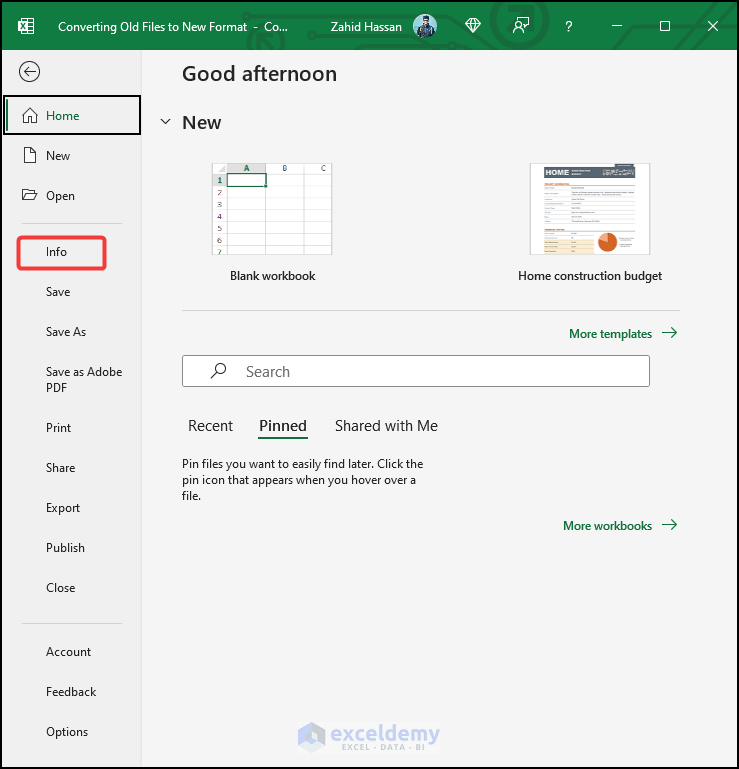
- Select the Info option as marked in the image below.
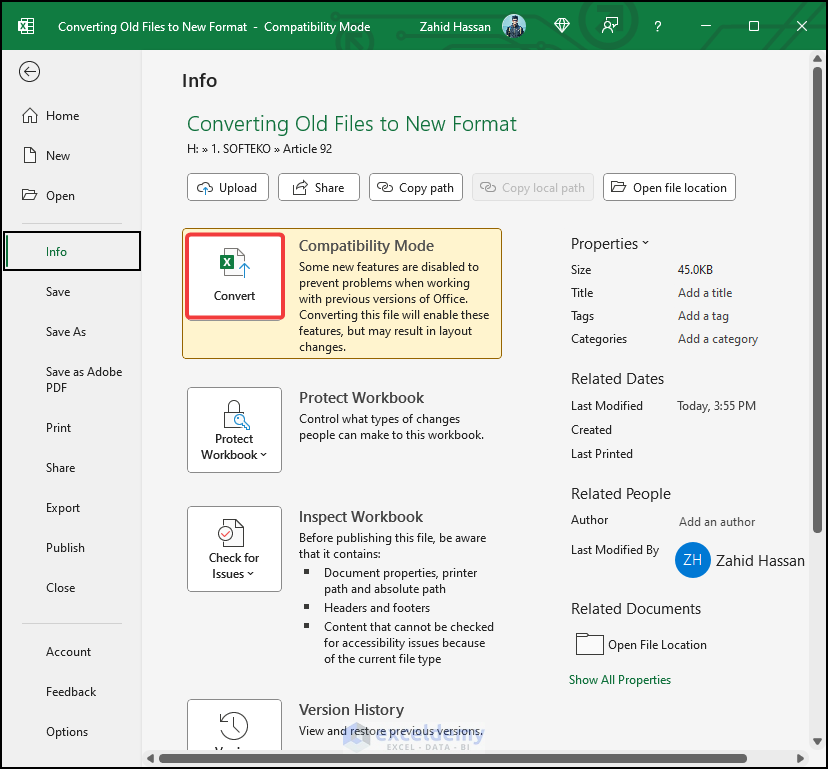
- In the Compatibility Mode section, click the Convert option.
The following dialogue box will open on your worksheet.
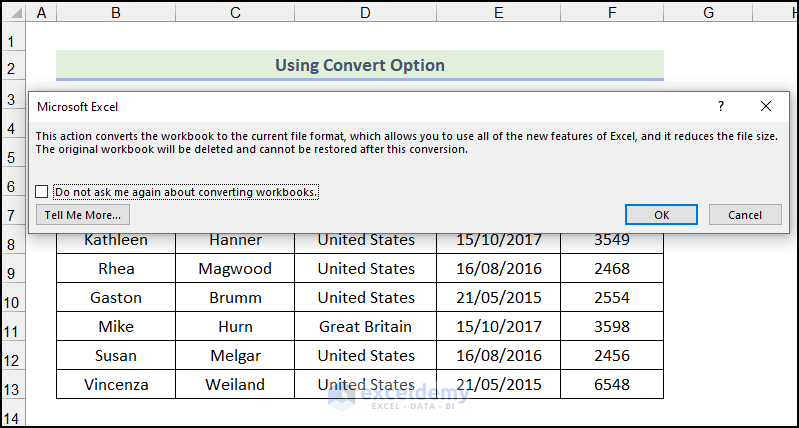
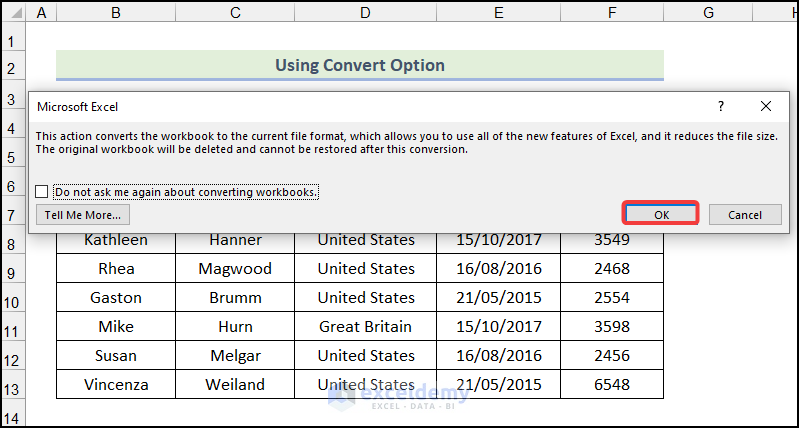
- Click OK in the dialog box.
The old Excel file will be converted into the new format, as demonstrated in the following picture.

Method 2 – Saving As New Format
Steps:
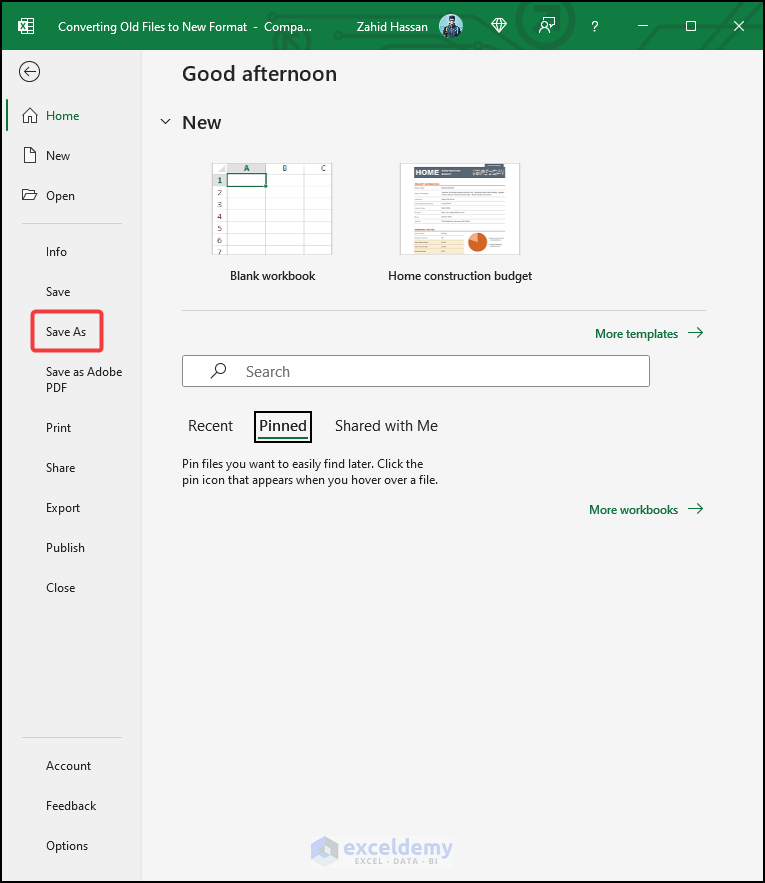
- Open the Excel file and go to the File tab from Ribbon.
- Choose the Save As option, as shown in the following image.
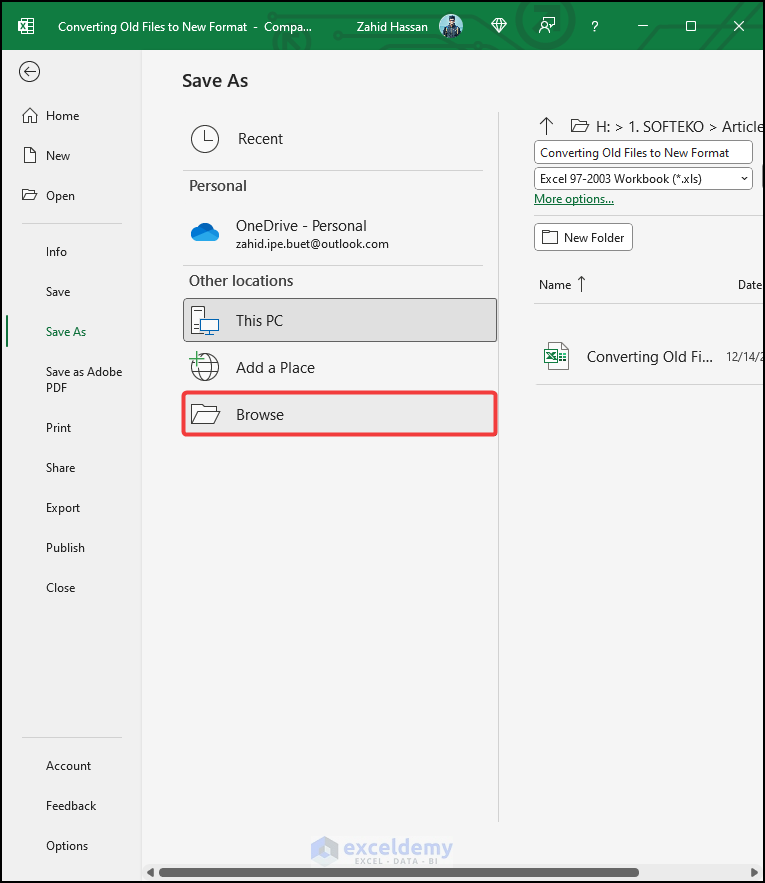
- Select the Browse option to specify the location of the saved file.
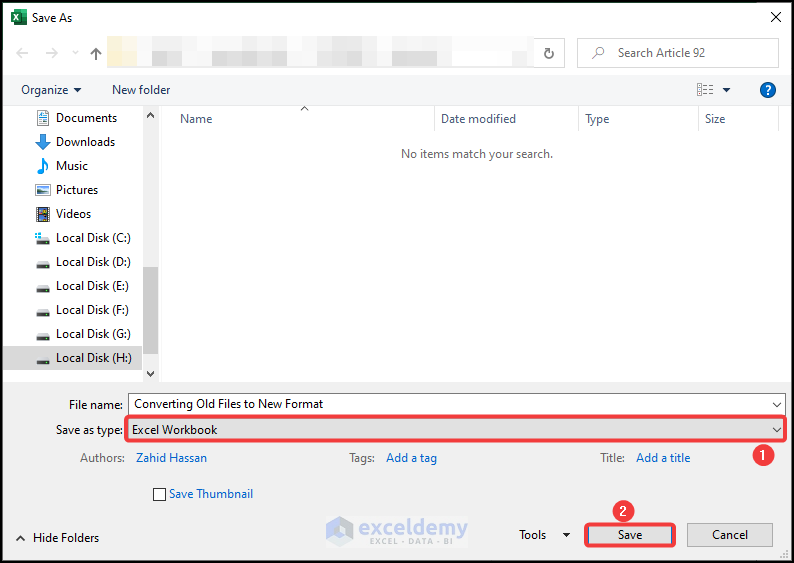
- Click on the Save as type option.
- Choose the Excel Workbook option from the drop-down.
- Click the Save option.
The old Excel file will be converted to the new format, as shown in the picture below.
How to Change .XLS to .XLSX Without Opening in Excel
Steps:
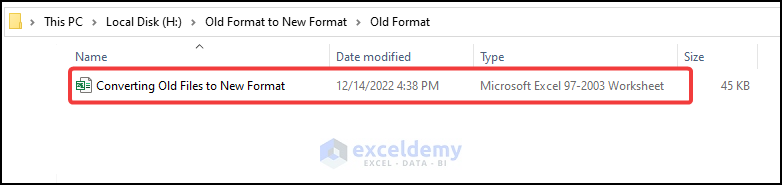
- Create two new folders named “New Format” and “Old Format” in your computer.
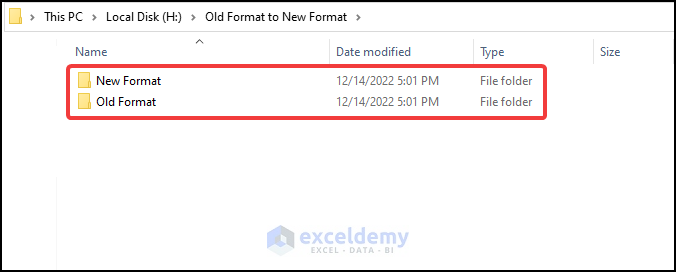
- Place the file in .XLS format in the “Old Format” folder.
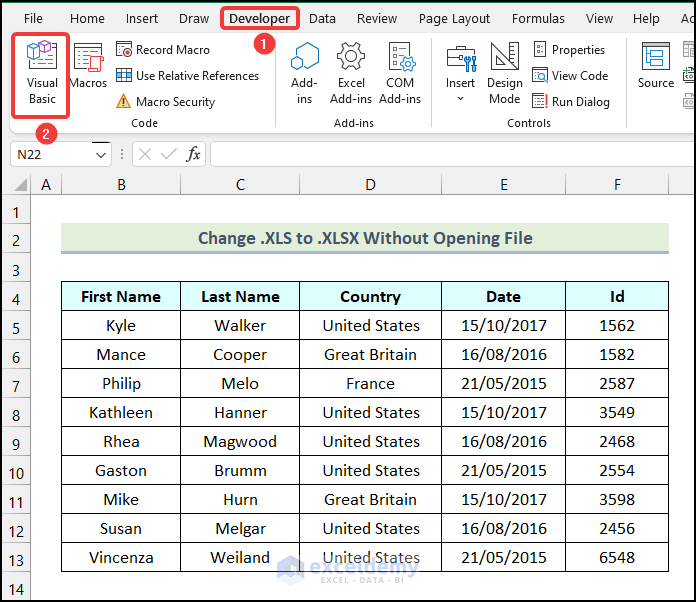
- Open Excel and go to the Developer tab from Ribbon.
- Choose the Visual Basic option from the Code group.
- Go to the Insert tab from the Microsoft Visual Basic window
- Choose the Module option from the drop-down.
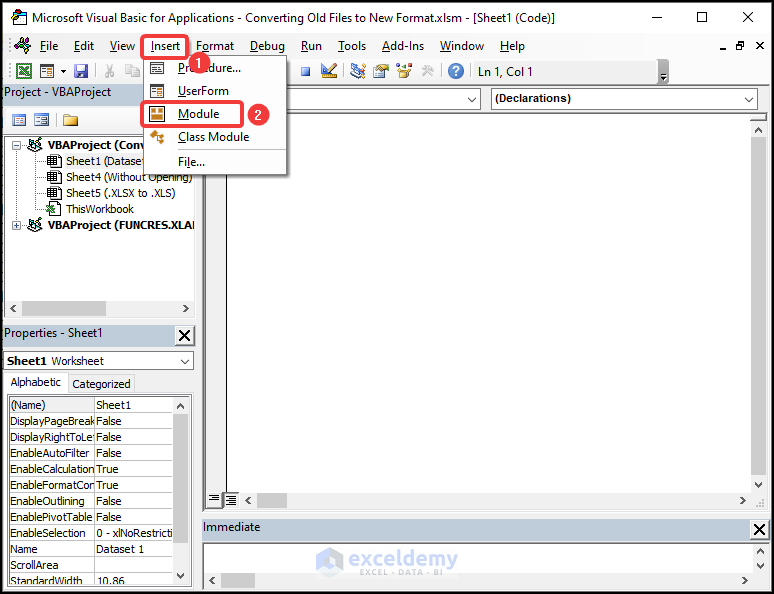
- Write the following code in the blank Module.
Sub Rename_It()
Name "H:\Old Format to New Format\Old Format\Converting Old Files to New Format.xls" As "H:\Old Format to New Format\New Format\Converting Old Files to New Format.xlsx"
End Sub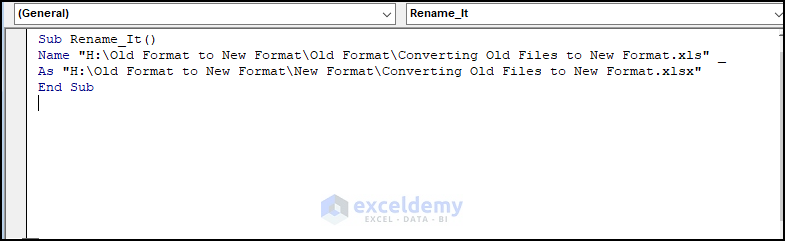
Code Breakdown
- We initiated a Sub routine named Rename_It.
- Used the Name statement to rename the Excel file and save it as .XLSX format.
- We ended the Sub routine.
- Click Save.

- Use the keyboard shortcut ALT + F11 to go to the worksheet.
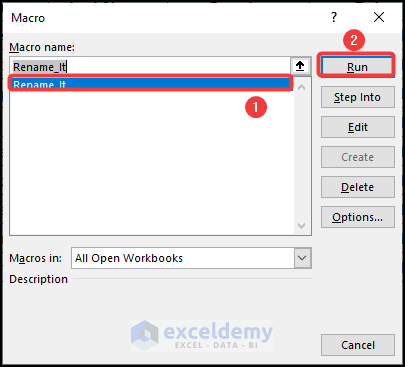
- Use the shortcut ALT + F8 to open the Macro window, as shown in the following image.
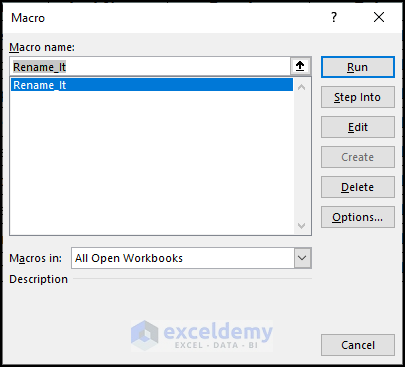
- In the Macro window, choose the Rename_It option.
- Cick Run.
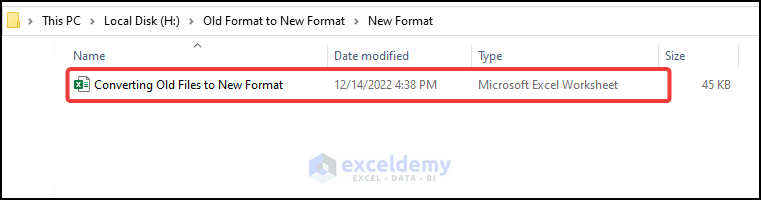
The .XLS file will be removed from the Old Format folder and will be saved into the New Format folder as .XLSX format as shown in the image below.
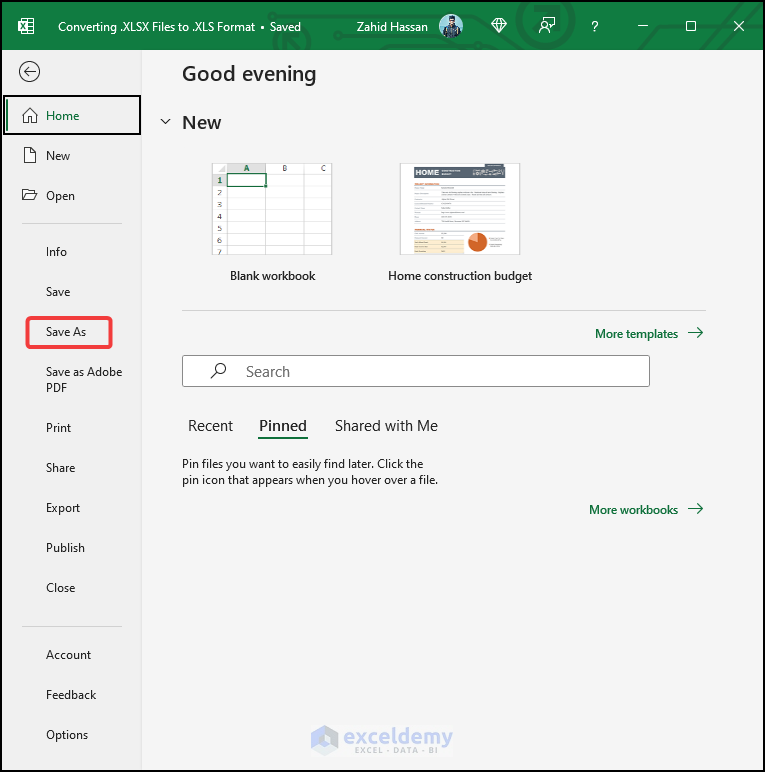
How to Convert .XLSX to .XLS in Excel
Steps:
- Open the Excel file and go to the File tab from Ribbon.
- Click on the Save As option.
- Choose the Browse option as shown in the following image.
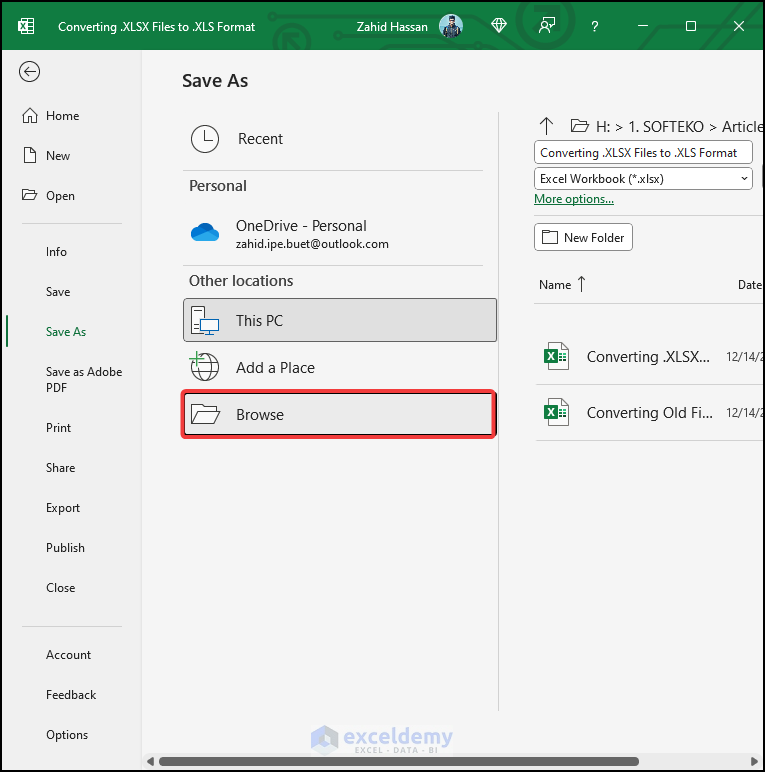
- Select the saving directory from your computer.
- Click on the Save as type option.
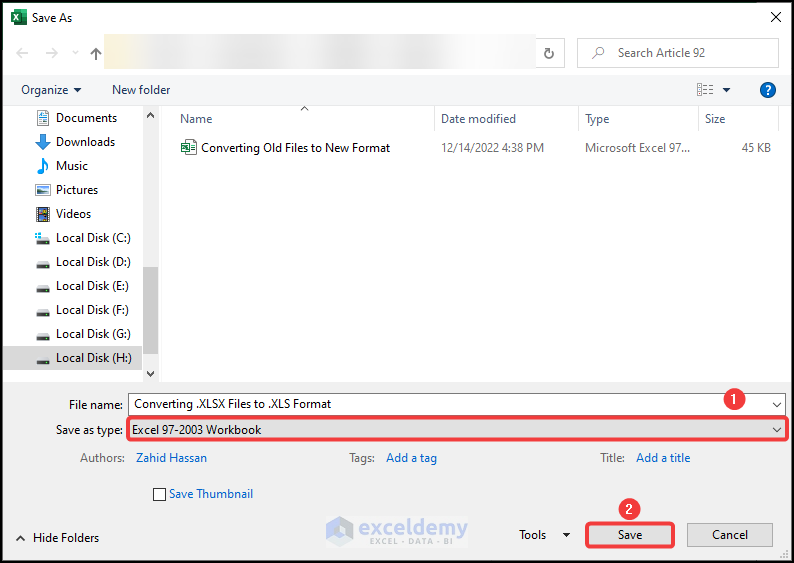
- Choose the Excel 97-2003 Workbook option from the drop-down.
- Click Save.
- A dialogue box will appear on your screen, and click Continue.
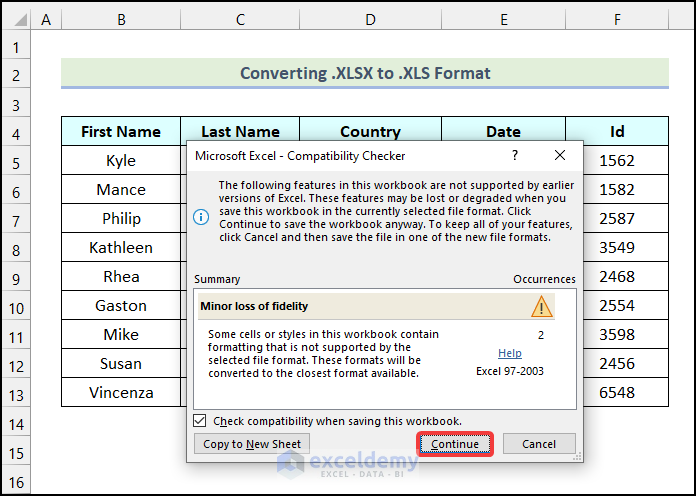
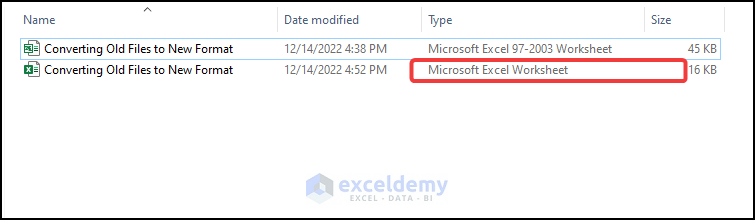
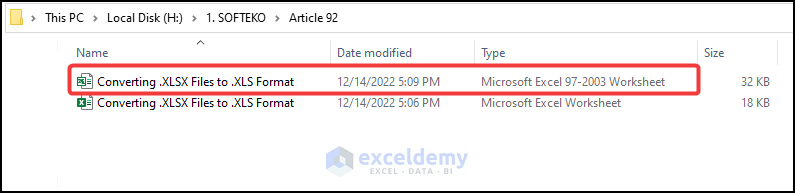
A new file will be saved in your selected directory as .XLS format as demonstrated in the following picture.
Download Practice Workbook
Related Articles
<< Go Back to Compatibility Mode | Workbook in Excel | Learn Excel
Get FREE Advanced Excel Exercises with Solutions!
